

Here is a step by step tutorial for super cute and easy space rocket DIY pencil toppers. These are not only fantastic pencil toppers for kids to make but this rocket ship craft is a great way to get little ones interested in writing, mark making and drawing.

As an early years teacher, I found pencil toppers to be super useful as they would spark the interest of young children and encourage literacy and writing. I'm sure your little ones will love this rocket craft idea. We sure do!
Jump to:
💖 Why You'll Love This Craft
- Super Fun: Blast off into creativity with these super cute rocket pencil toppers!
- Great for Kids: Perfect for little hands to decorate and personalize their own space adventure.
- Awesome School Supplies: Make homework and schoolwork feel like a blast with these fun, spacey toppers.
What Is A Pencil Topper?
A pencil topper is a fun felt or paper creation that kids add to the top of their pencils to make writing a little more interesting. You can make pencil toppers in any theme and they work well as gift idea or party favor.
Pencil toppers similar to bookmarks are great easy to make items which can really encourage children to use their pencils more and develop those fine motor skills required for improvement of hand, finger and eye co-ordination.

🖌️ How To Make DIY Space Rocket Pencil Toppers

- Step 1: Select felt fabrics for the rocket pen topper craft and also prepare the template patterns by printing and cutting them out nicely. Trace the patterns on the selected felts and cut them out.
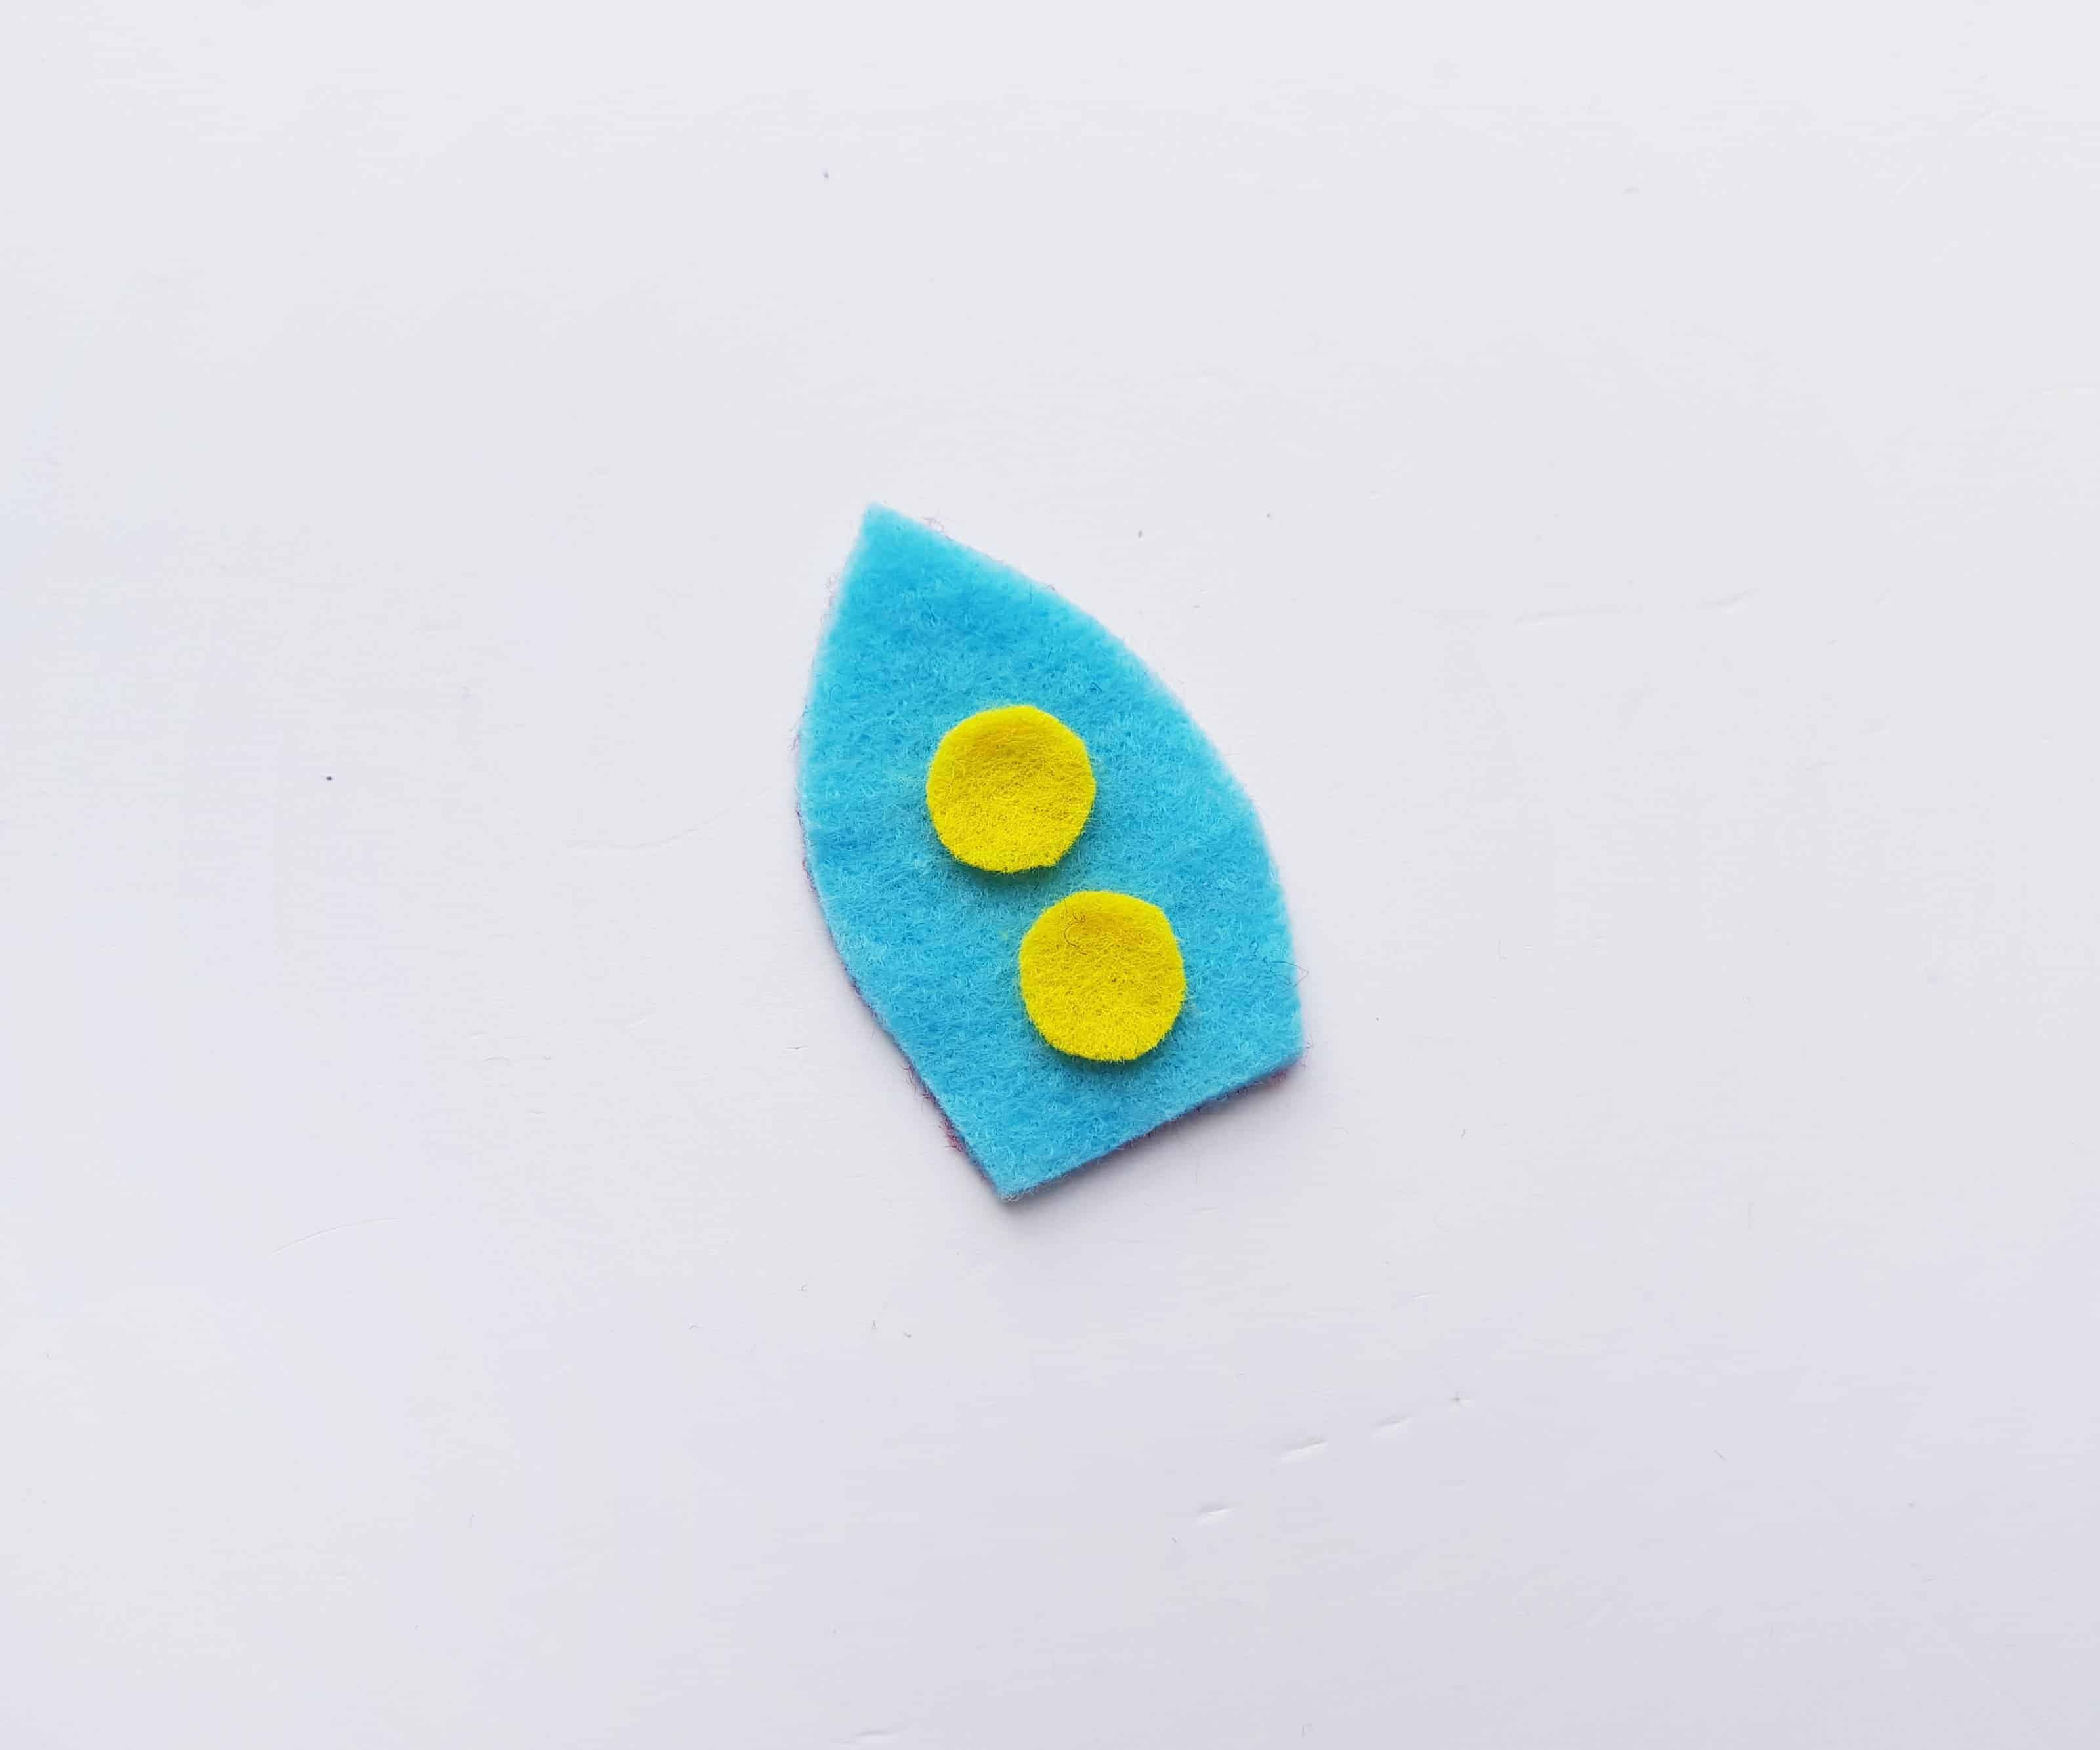
- Step 2: Take the 2 round felts and the bullet shaped felt cutout.

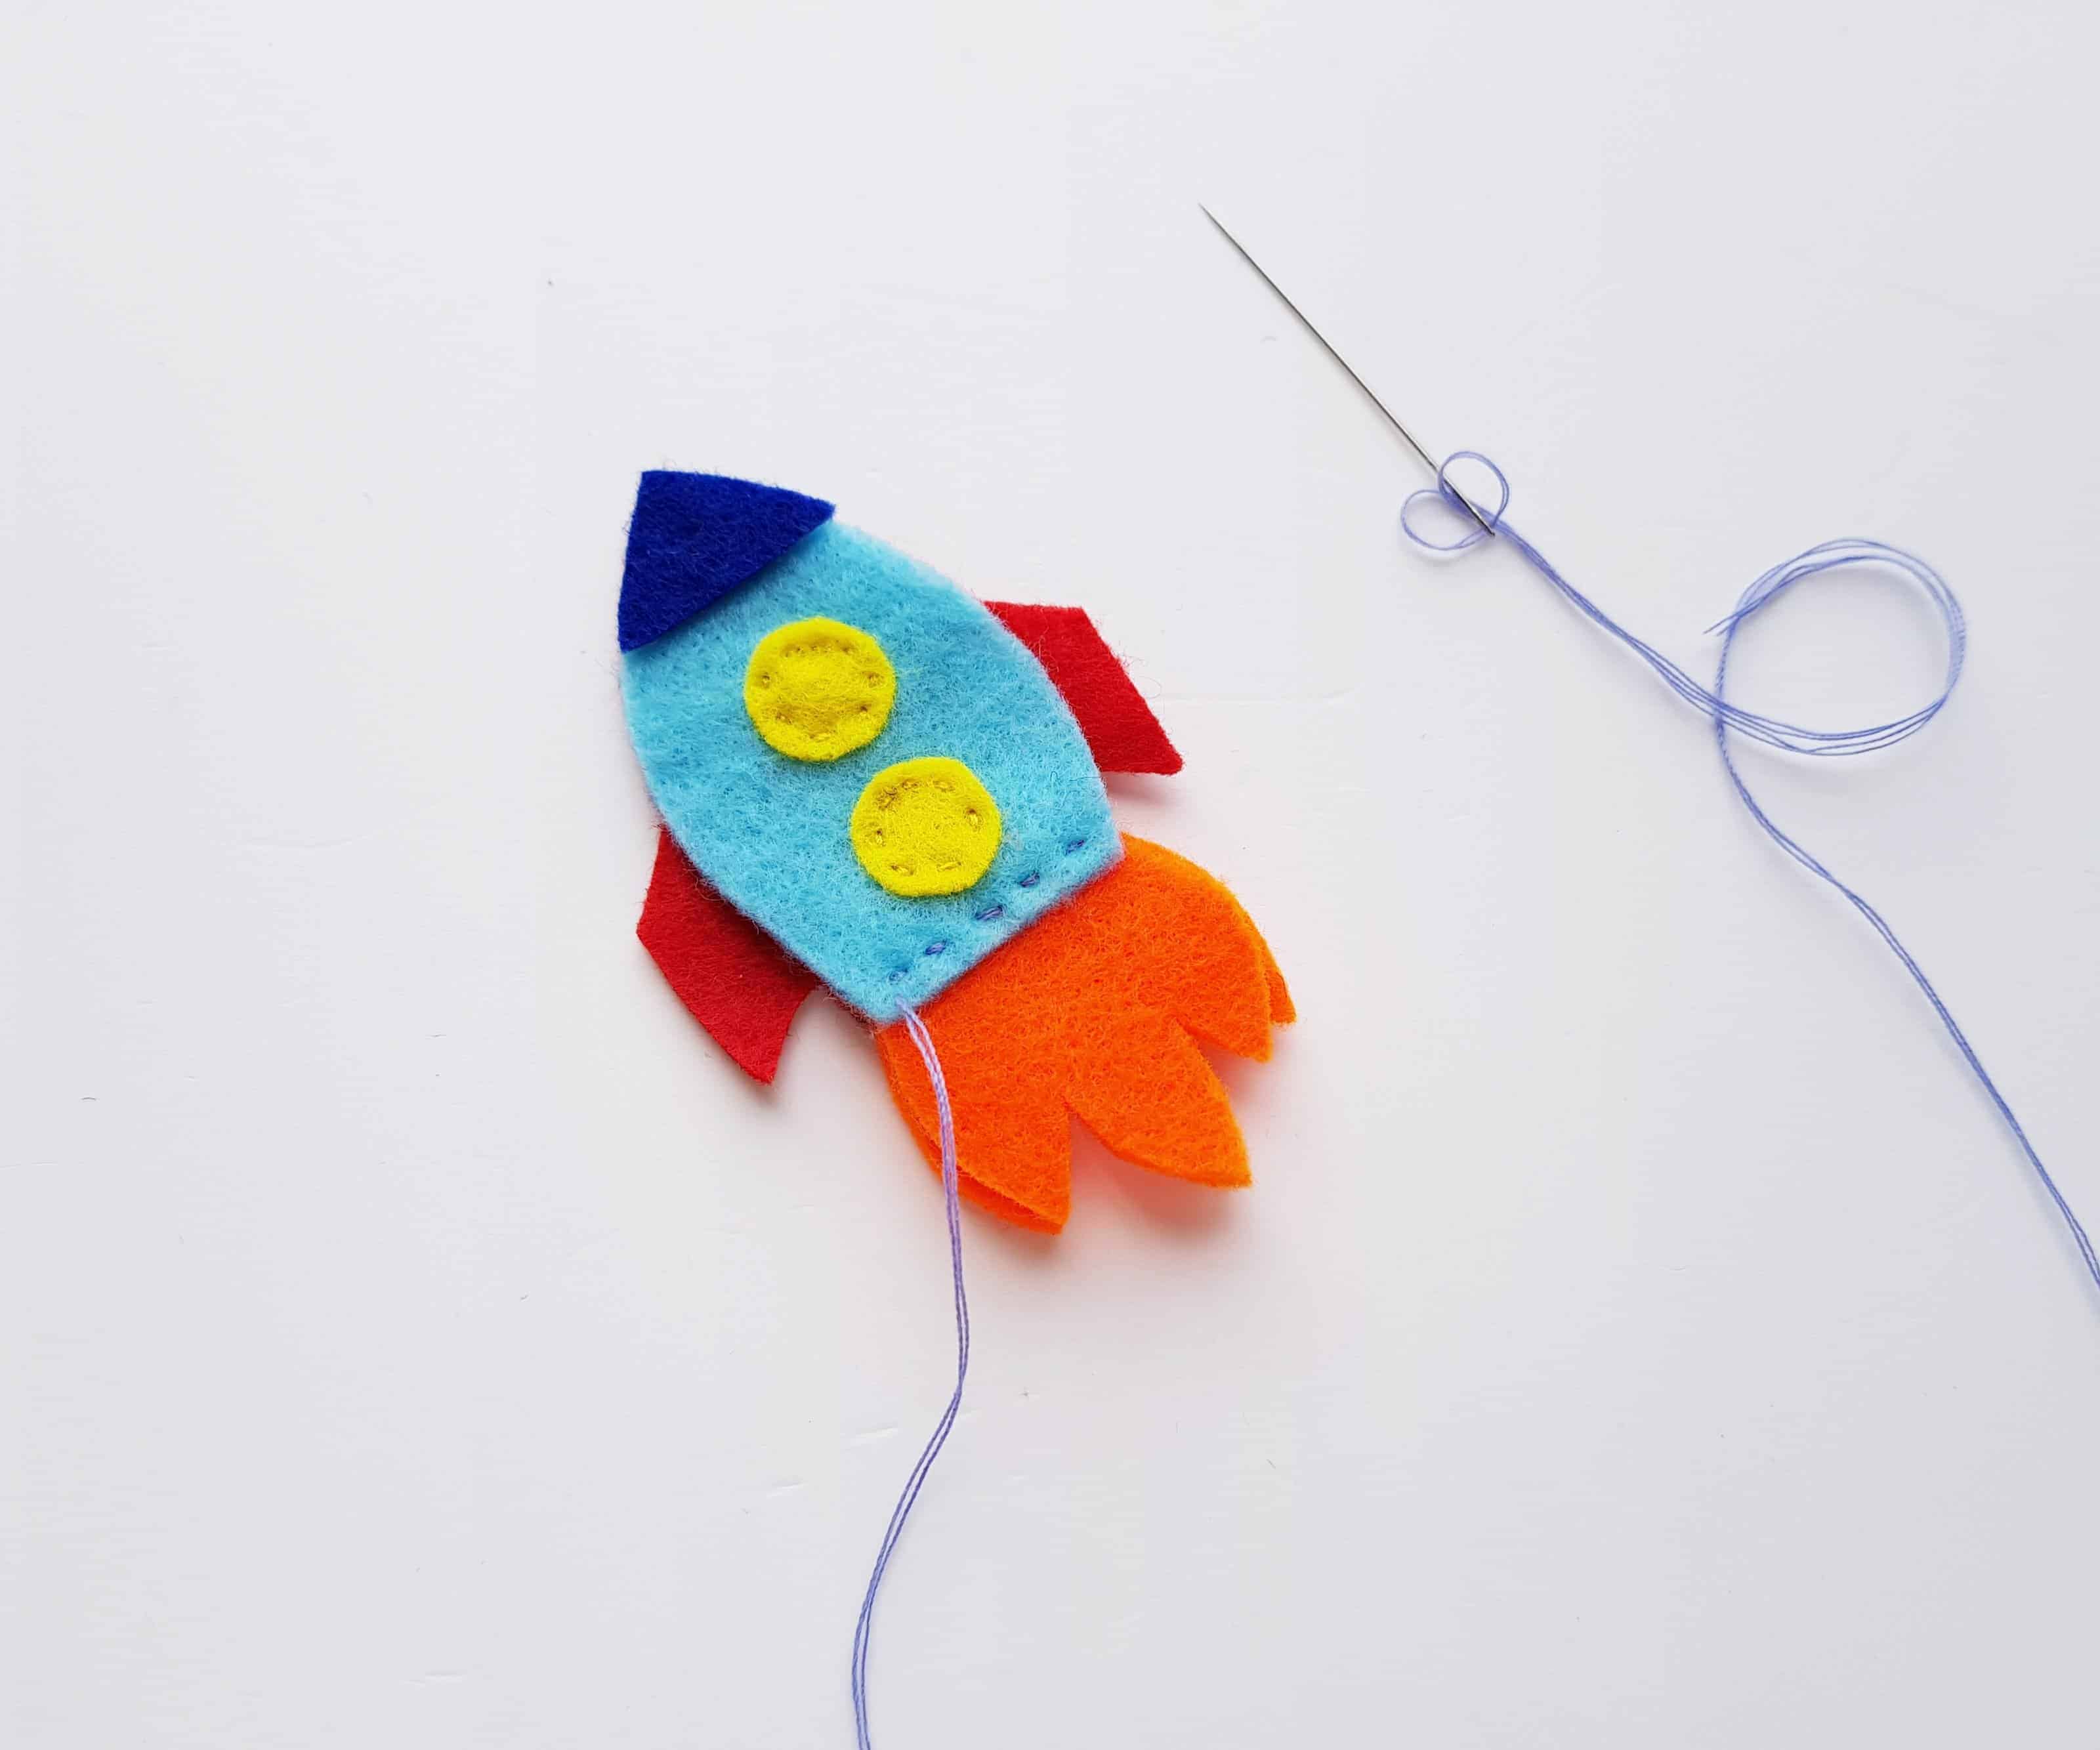
- Step 3: Prepare needle and thread with colour matched with the round felts. Stitch the round felts on the bullet pattern in a column. I did simple running stitch to attach them.
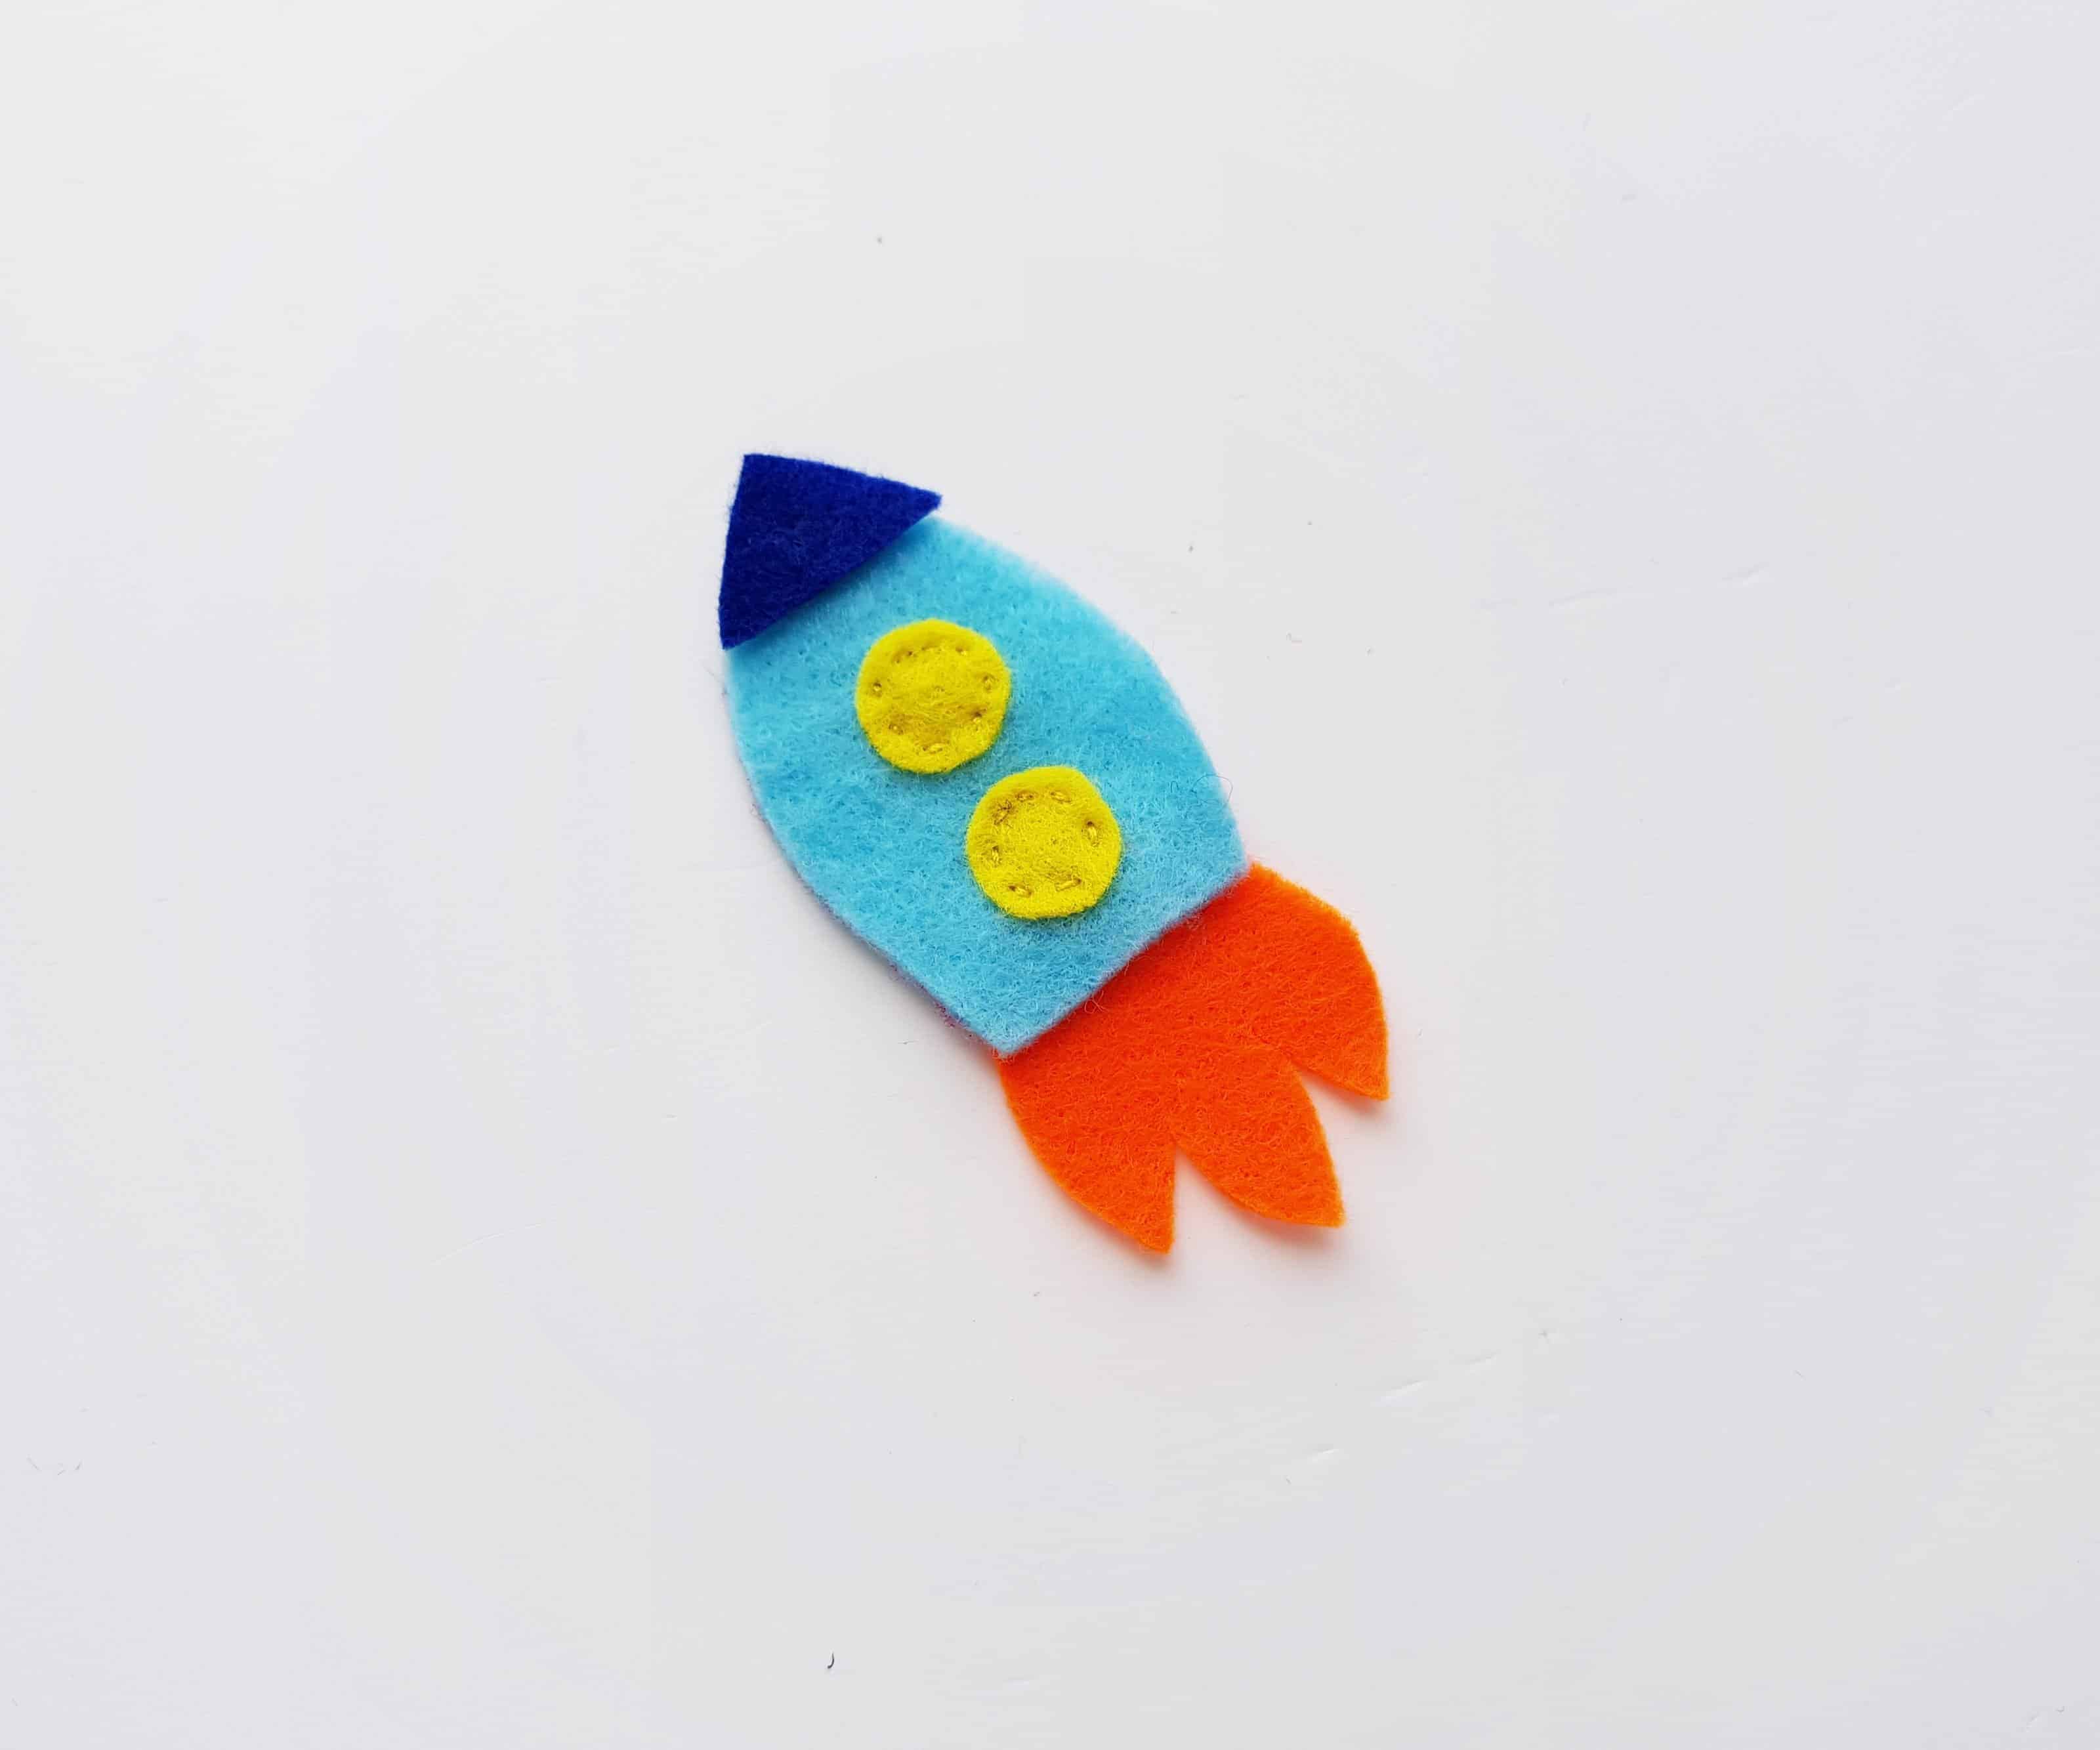
- Step 4: Take the triangular felt and any one of the flame cutouts. Place the triangle felt on the top end of the bullet pattern and place the flame cutout on the bottom, back side of the bullet pattern, making sure to overlap about a cm of both patterns to stitch along.
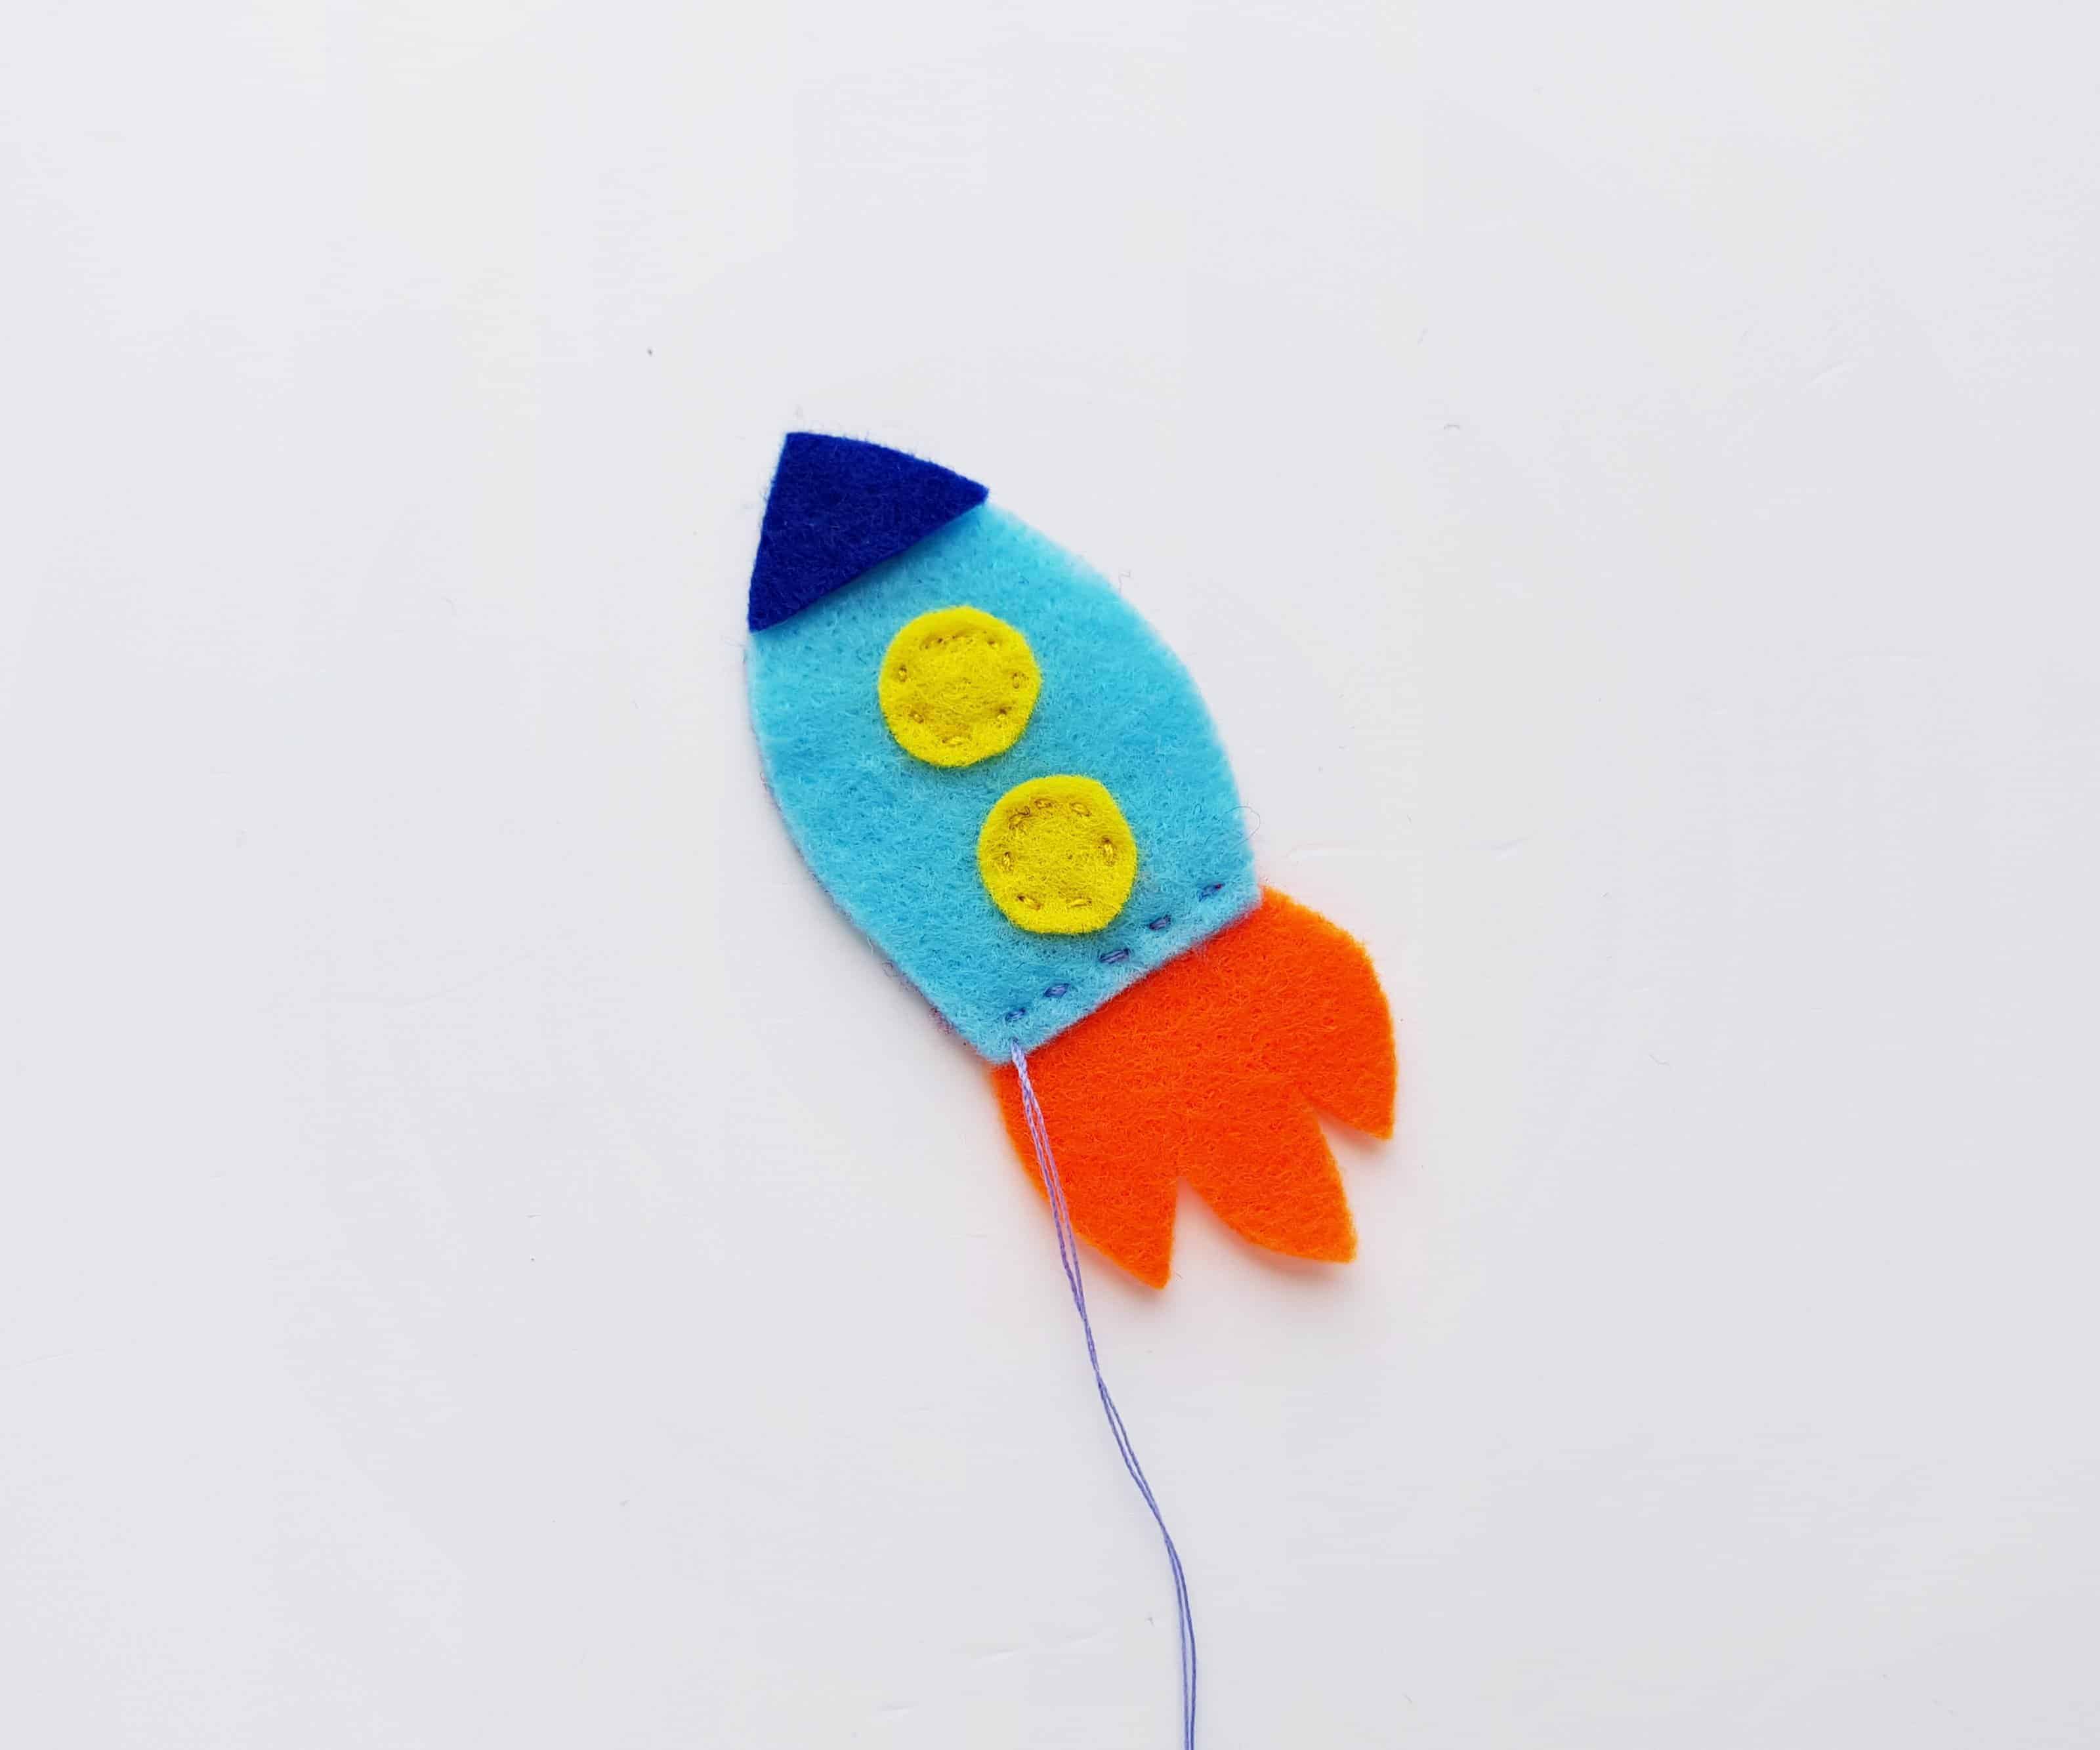
- Step 5: Do running stitch along the overlapped part of the bullet and the flame to attach them together. This is the front side of the rocket pen topper.

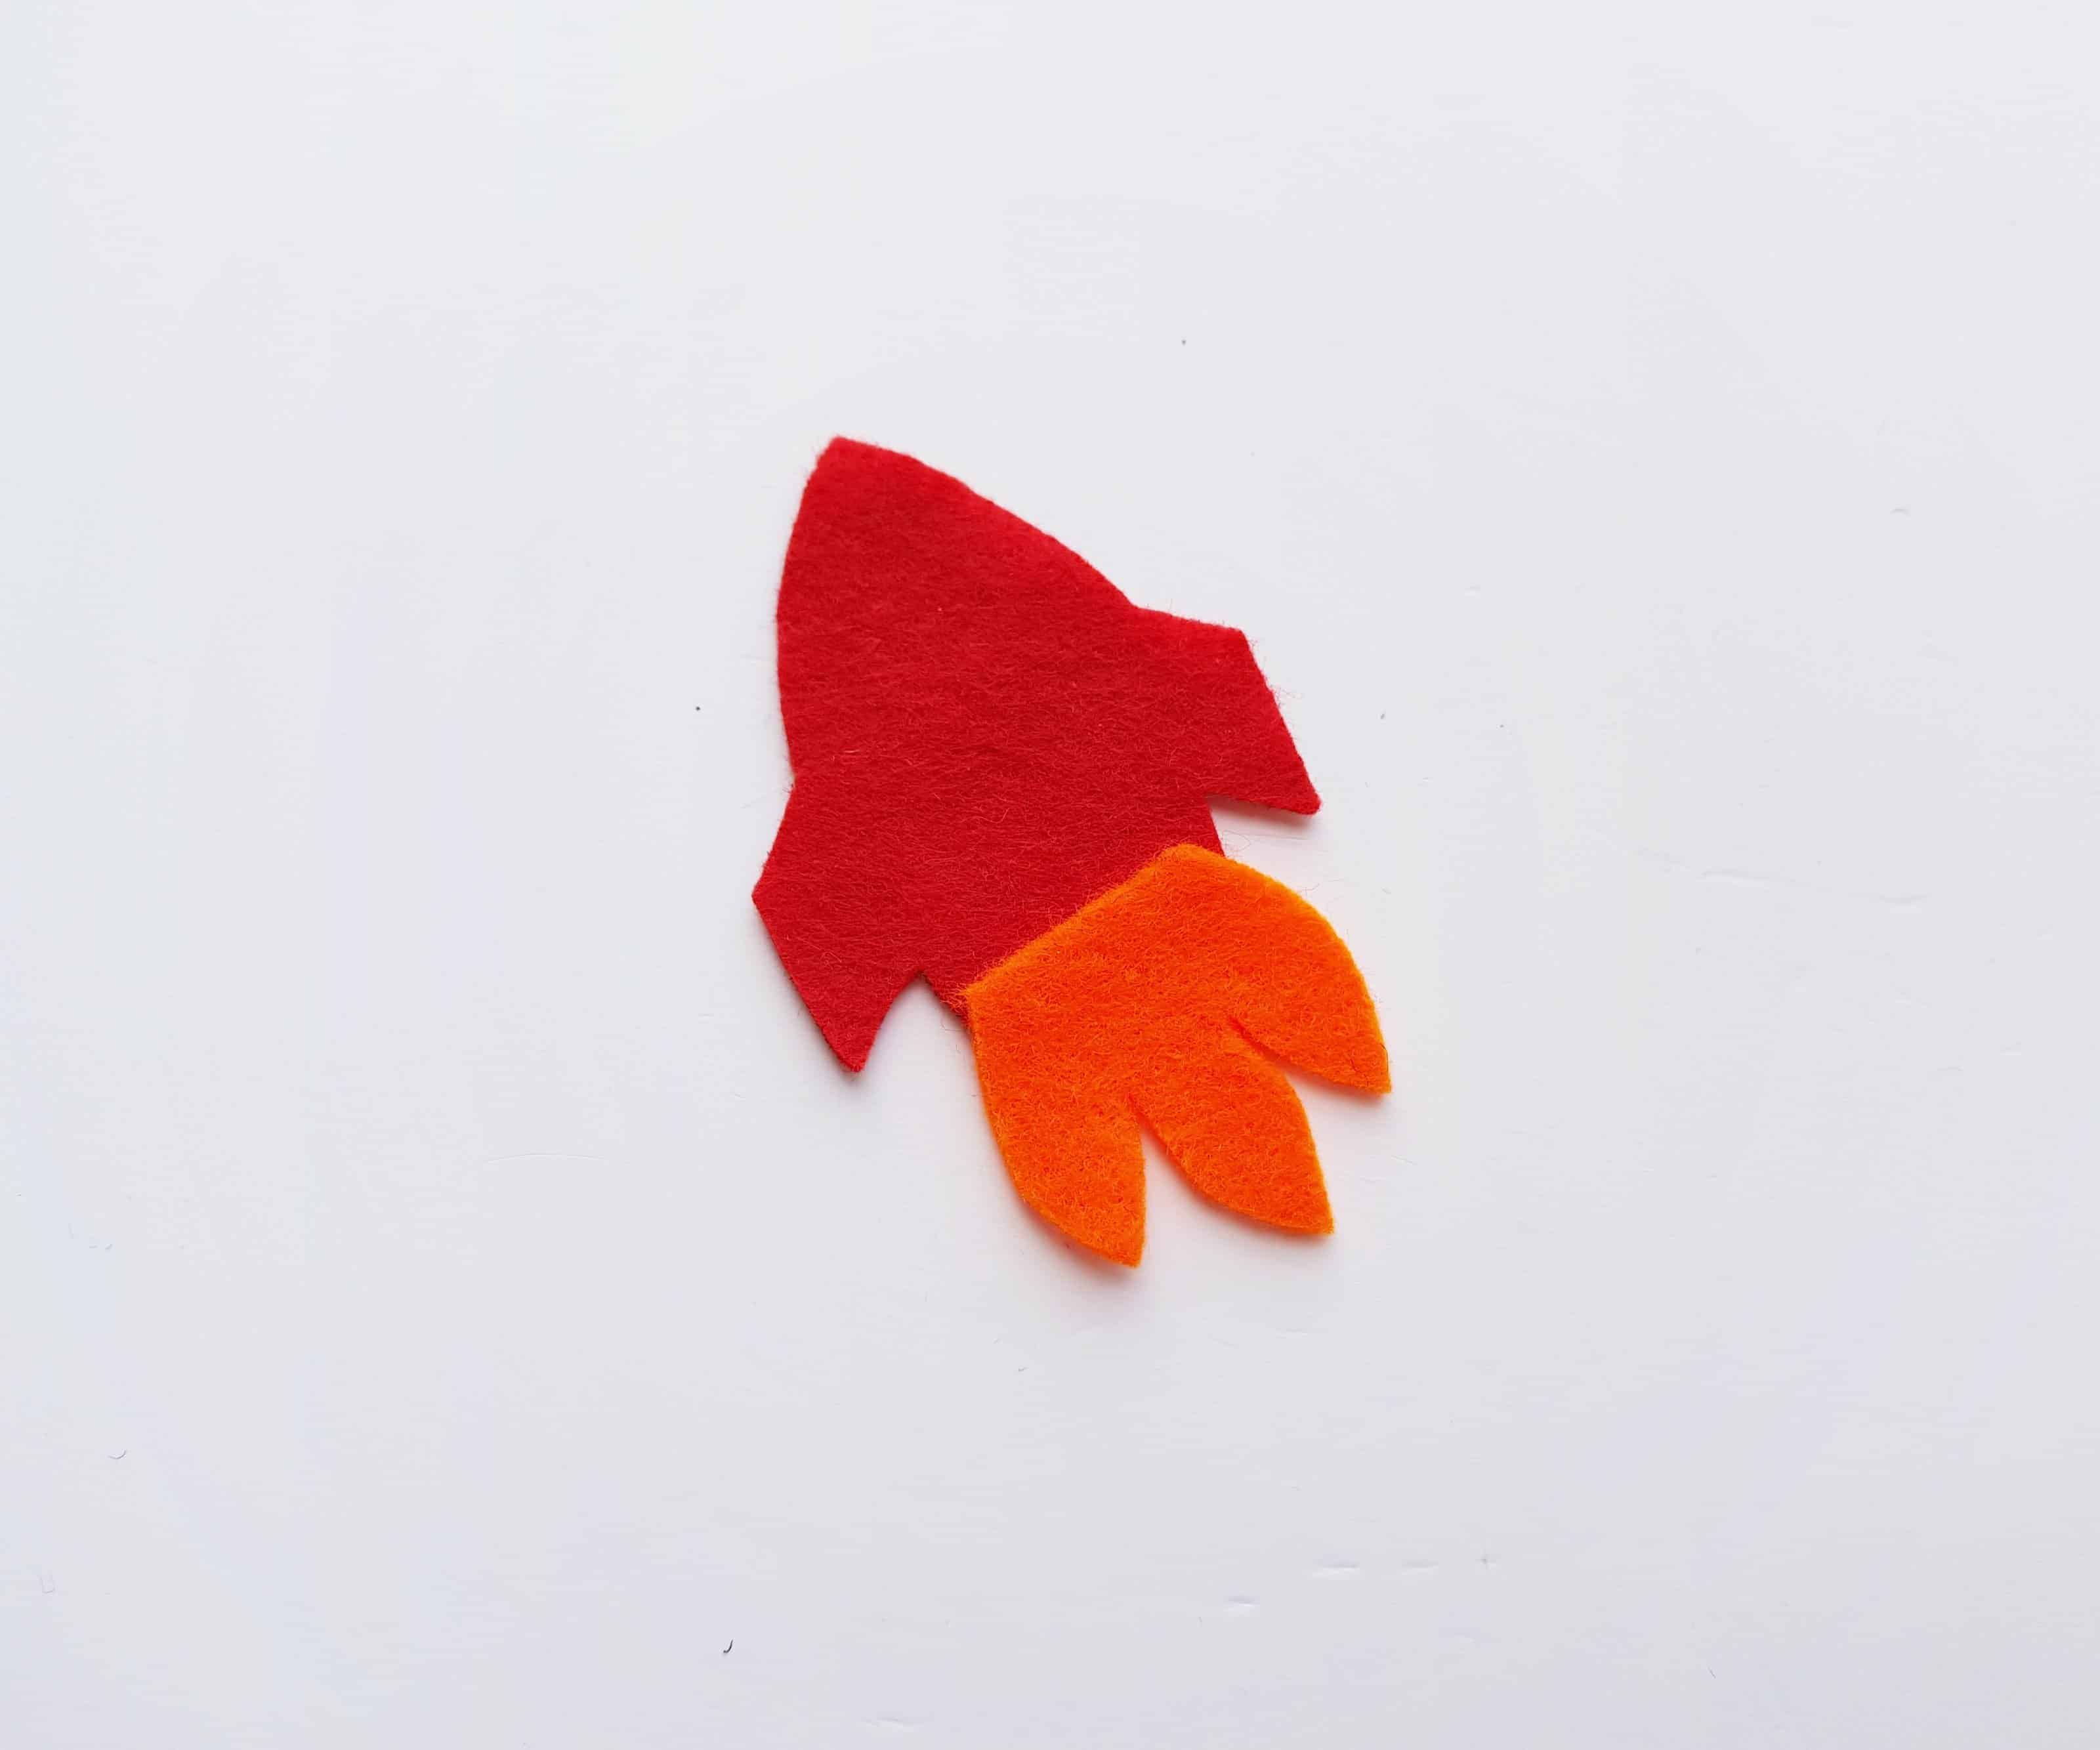
- Step 6: Take the other bullet shaped felt (with square patterns on both sides) and the other flame cutout. Place the flame cutout on the bottom, back side of the bullet shaped felt. Make sure to overlap about a cm of both patterns
- Step 7: Prepare needle and thread. Do running stitch along the overlapped part to attach them together.
- Step 8: Now place the front part felt over the felt pattern prepared in the previous step (step 7). Stitch around the sides to join both bullet shaped felts together.

- Step 9: Only stitch around the sides but keep the bottom end free.

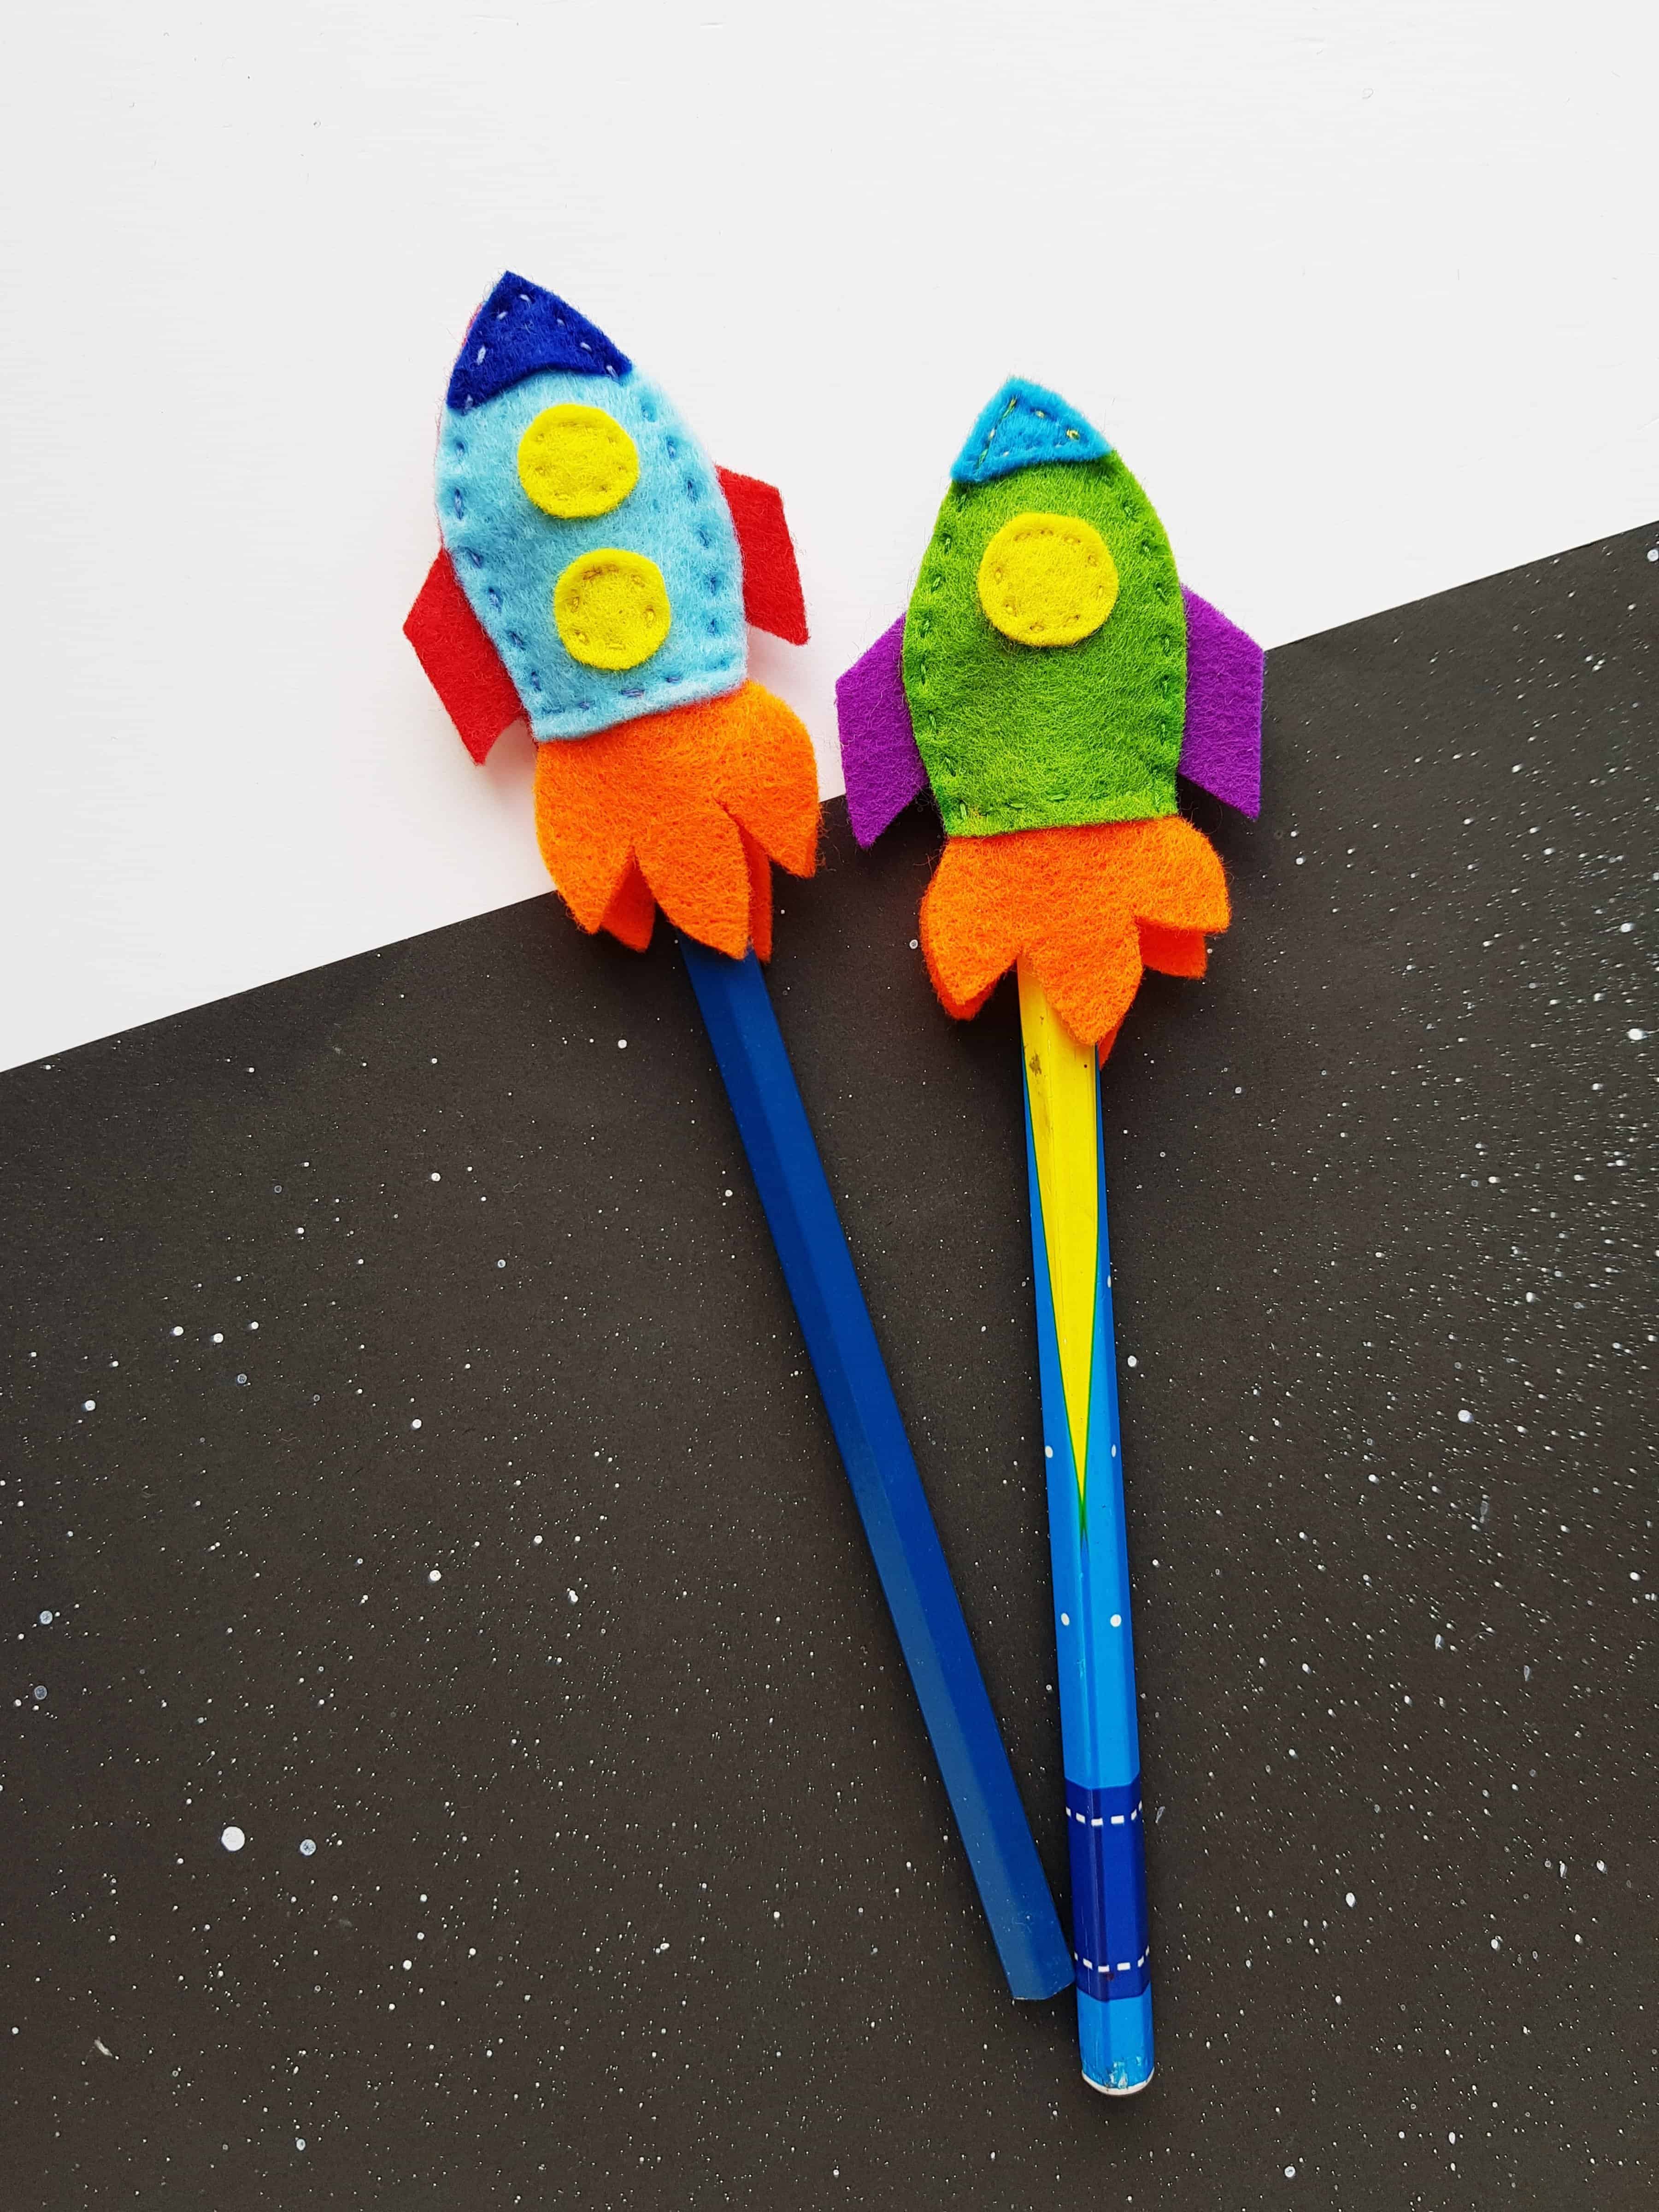
- Step 10: Tie a knot and cut off extra thread when the stitching is over. Insert the pen through the open end of the felt rocket.
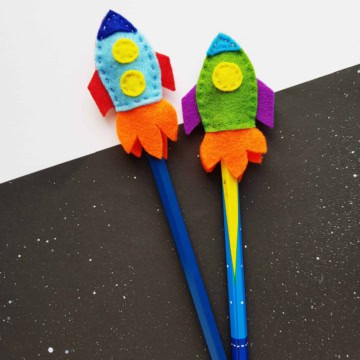
Your space rocket pencil topper is now ready.
💡 Pro Tip: Instead of needle and thread, try using hot glue for a quicker and more secure attachment of fabric pieces. It can be especially useful for younger crafters who may struggle with sewing.
🧑🎨 Expert Tips
- Felt Selection: Choose sturdy, flexible felt to ensure your rocket toppers hold their shape and last longer, even with frequent use.
- Personalize with Embellishments: Add glitter, sequins, or fabric paint to make your rockets stand out with unique details and designs.
- Pencil Fit: When stitching, leave a small opening that fits securely on the pencil to keep the topper in place during use.
- Themed Variations: Experiment with different colors or patterns, like space themes or rocket designs, to create exciting and diverse toppers.
- Educational Touch: Add fun space facts or planets to the rocket toppers, making them both a creative and learning experience.
- Crafting Session: Host a group crafting session where kids can design their own rockets, boosting creativity and teamwork.


Did you make this craft? Leave a review and comment below! Alternatively, bookmark it in your browser or save to Pinterest.
Download Template
Don't forget to download your Printable Rocket Pencil Toppper Template here!
Space Rocket Pencil Toppers
Equipment
- Scissors
Materials
- Colourful felt fabric
- Pencils
- Needle and thread
Instructions
- Select felt fabrics for the rocket pen topper craft and also prepare the template patterns by printing and cutting them out nicely. Trace the patterns on the selected felts and cut them out.
- Take the 2 round felts and the bullet shaped felt cutout.
- Prepare needle and thread with colour matched with the round felts. Stitch the round felts on the bullet pattern in a column. I did simple running stitch to attach them.
- Take the triangular felt and any one of the flame cutouts. Place the triangle felt on the top end of the bullet pattern and place the flame cutout on the bottom, back side of the bullet pattern, making sure to overlap about a cm of both patterns to stitch along.
- Do running stitch along the overlapped part of the bullet and the flame to attach them together. This is the front side of the rocket pen topper.
- Take the other bullet shaped felt (with square patterns on both sides) and the other flame cutout. Place the flame cutout on the bottom, back side of the bullet shaped felt. Make sure to overlap about a cm of both patterns
- Prepare needle and thread. Do running stitch along the overlapped part to attach them together.
- Now place the front part felt over the felt pattern prepared in the previous step (step 7). Stitch around the sides to join both bullet shaped felts together.
- Only stitch around the sides but keep the bottom end free.
- Tie a knot and cut off extra thread when the stitching is over. Insert the pen through the open end of the felt rocket.
- Your space rocket pencil topper is now ready.


Leave a Reply