

This Peacock Paper Plate Craft is a colourful and creative activity that kids will love. Using a paper plate makes it easy to create a bold peacock design while exploring bright colours at home or in the classroom.
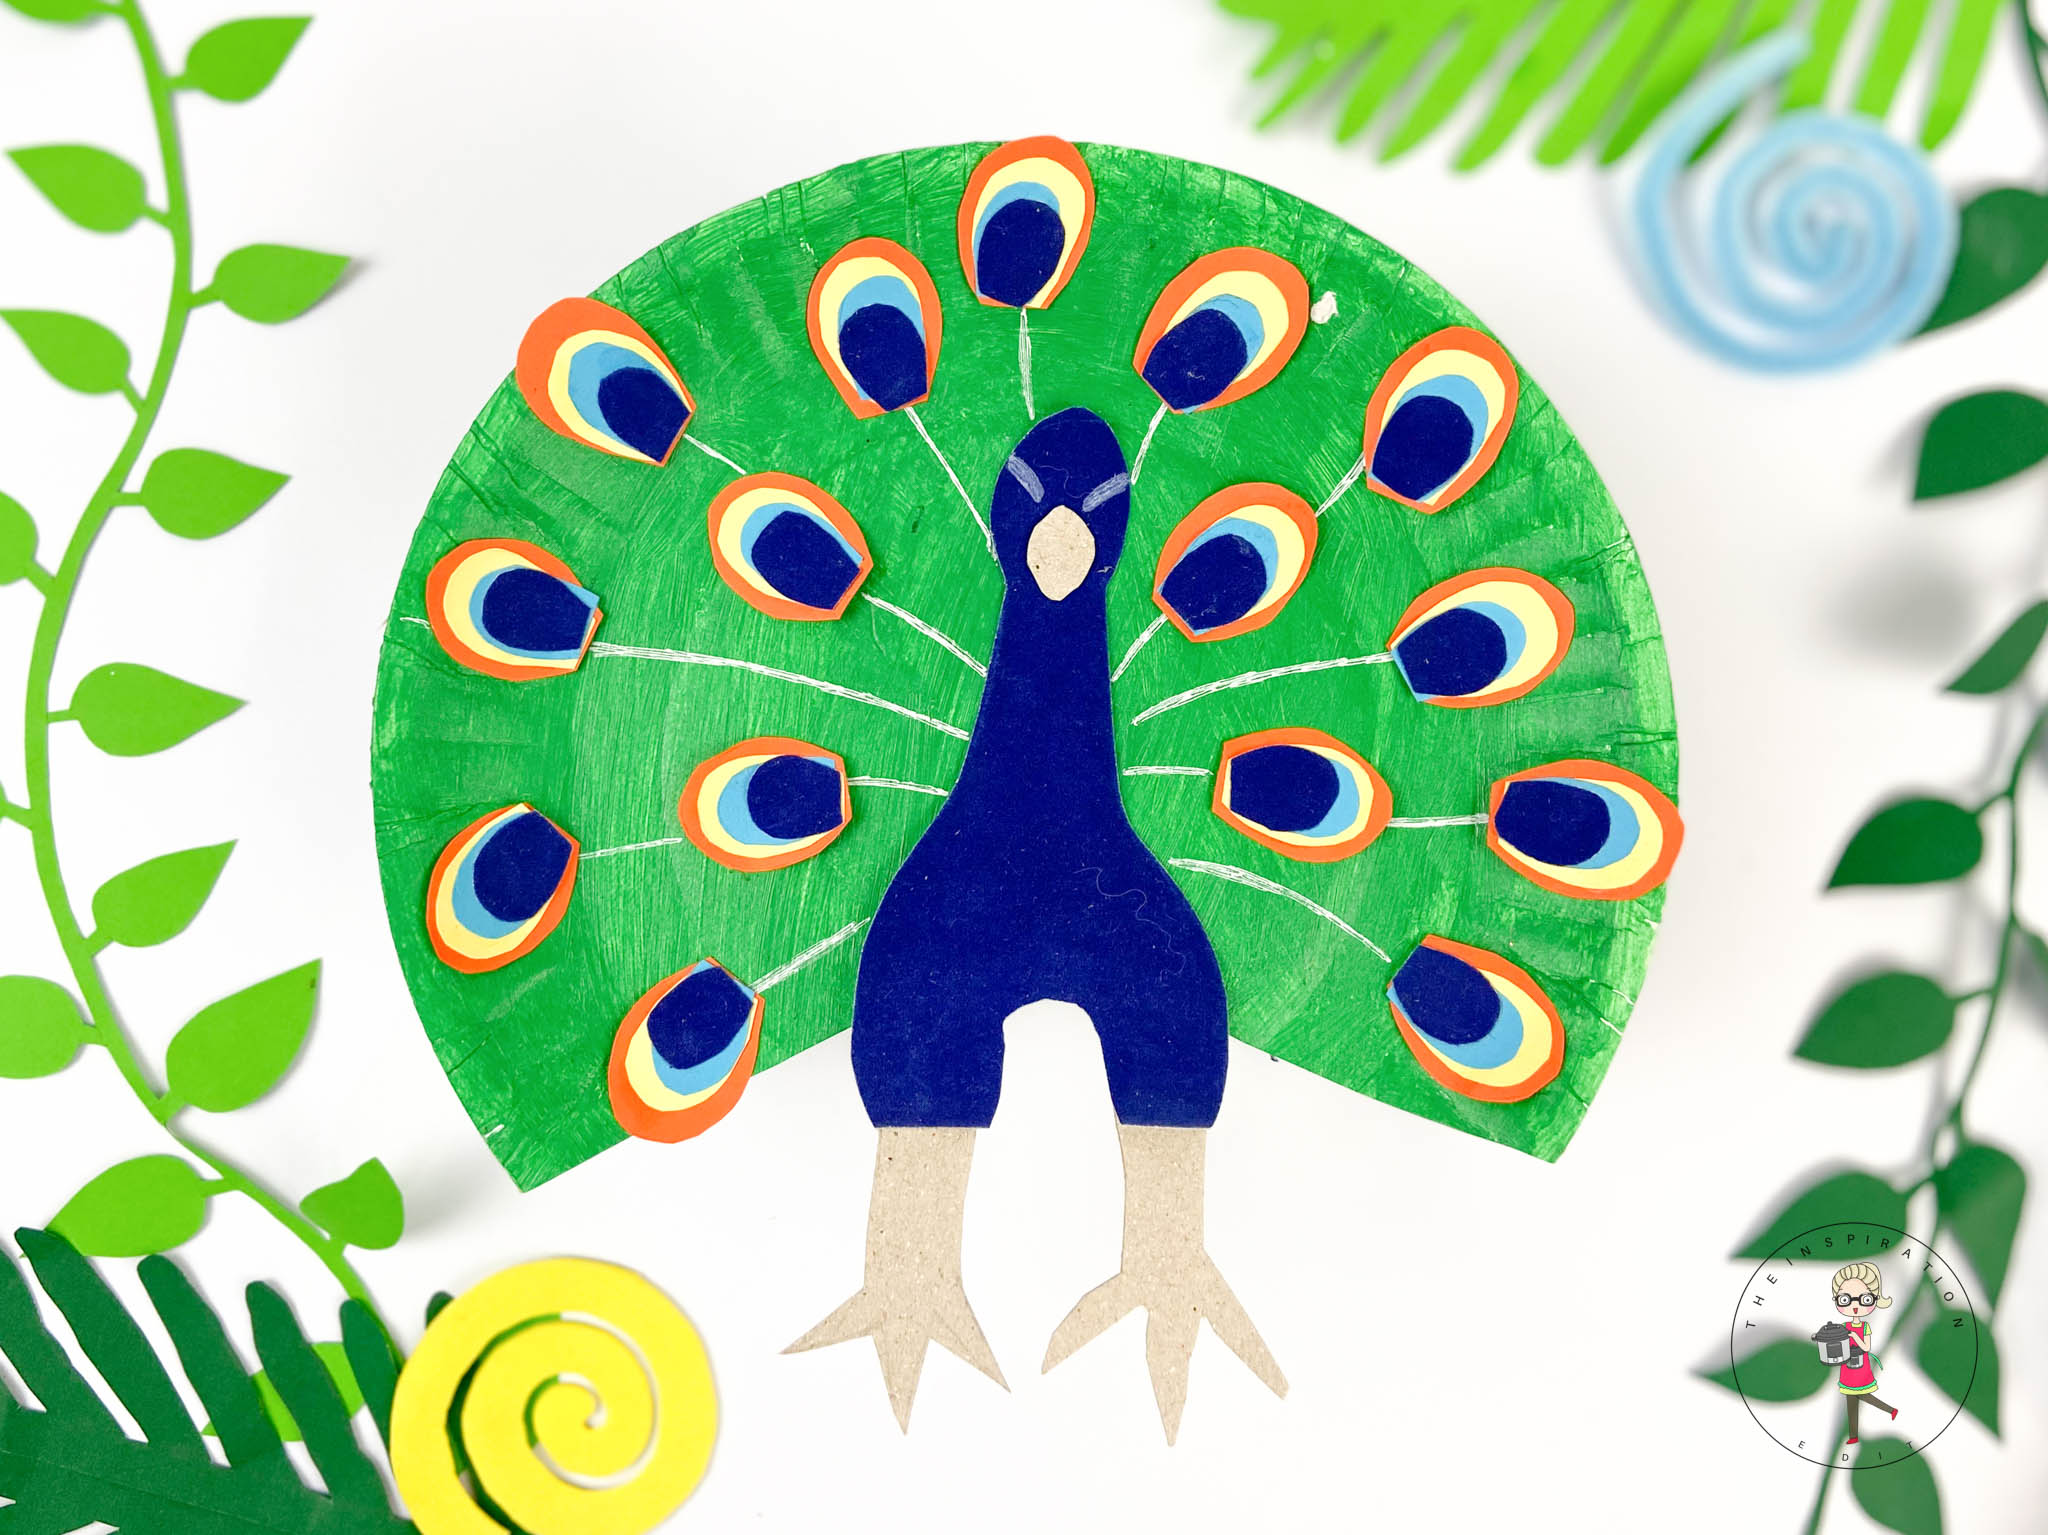
Peacock crafts are especially popular in spring and summer when bright colours and nature-themed activities are in full swing. This type of paper plate craft works beautifully for learning about animals, birds, and symmetry, making it a great choice for early years settings, homeschool activities, and rainy-day crafting. It’s also a fun way to encourage creativity, colour mixing, and fine motor skills without needing complicated supplies.
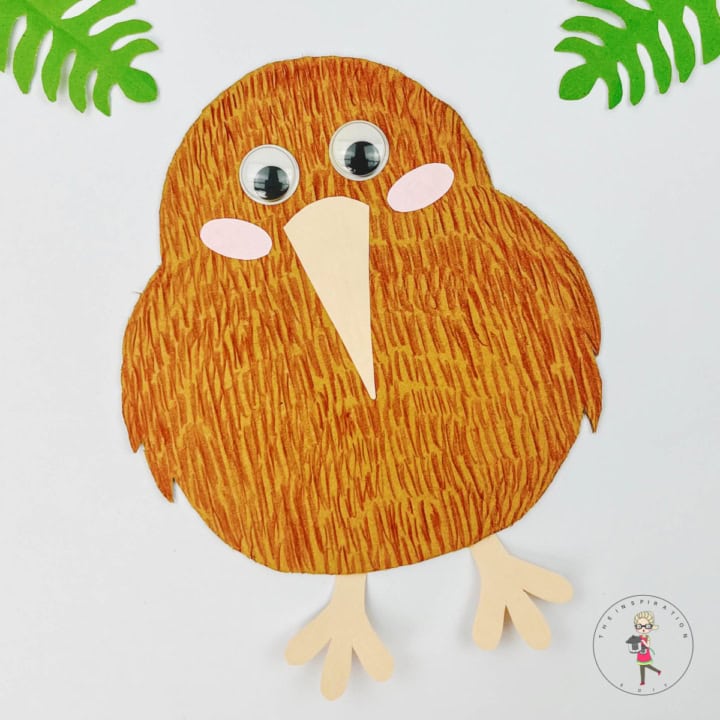
This peacock craft was inspired by other colourful paper plate and bird-themed crafts here on The Inspiration Edit. Try this Pukeko Bird Craft or our fun Paper plate Kiwi bird craft. If you enjoy animal crafts and simple projects using paper plates, you’ll also love exploring similar creative ideas that focus on bright colours, patterns, and easy techniques for young children.
Jump to:
💖 Why You'll Love This Craft
- A simple paper plate craft with a big visual impact.
- Perfect for exploring colours patterns and symmetry.
- Encourages creativity and fine motor skills.
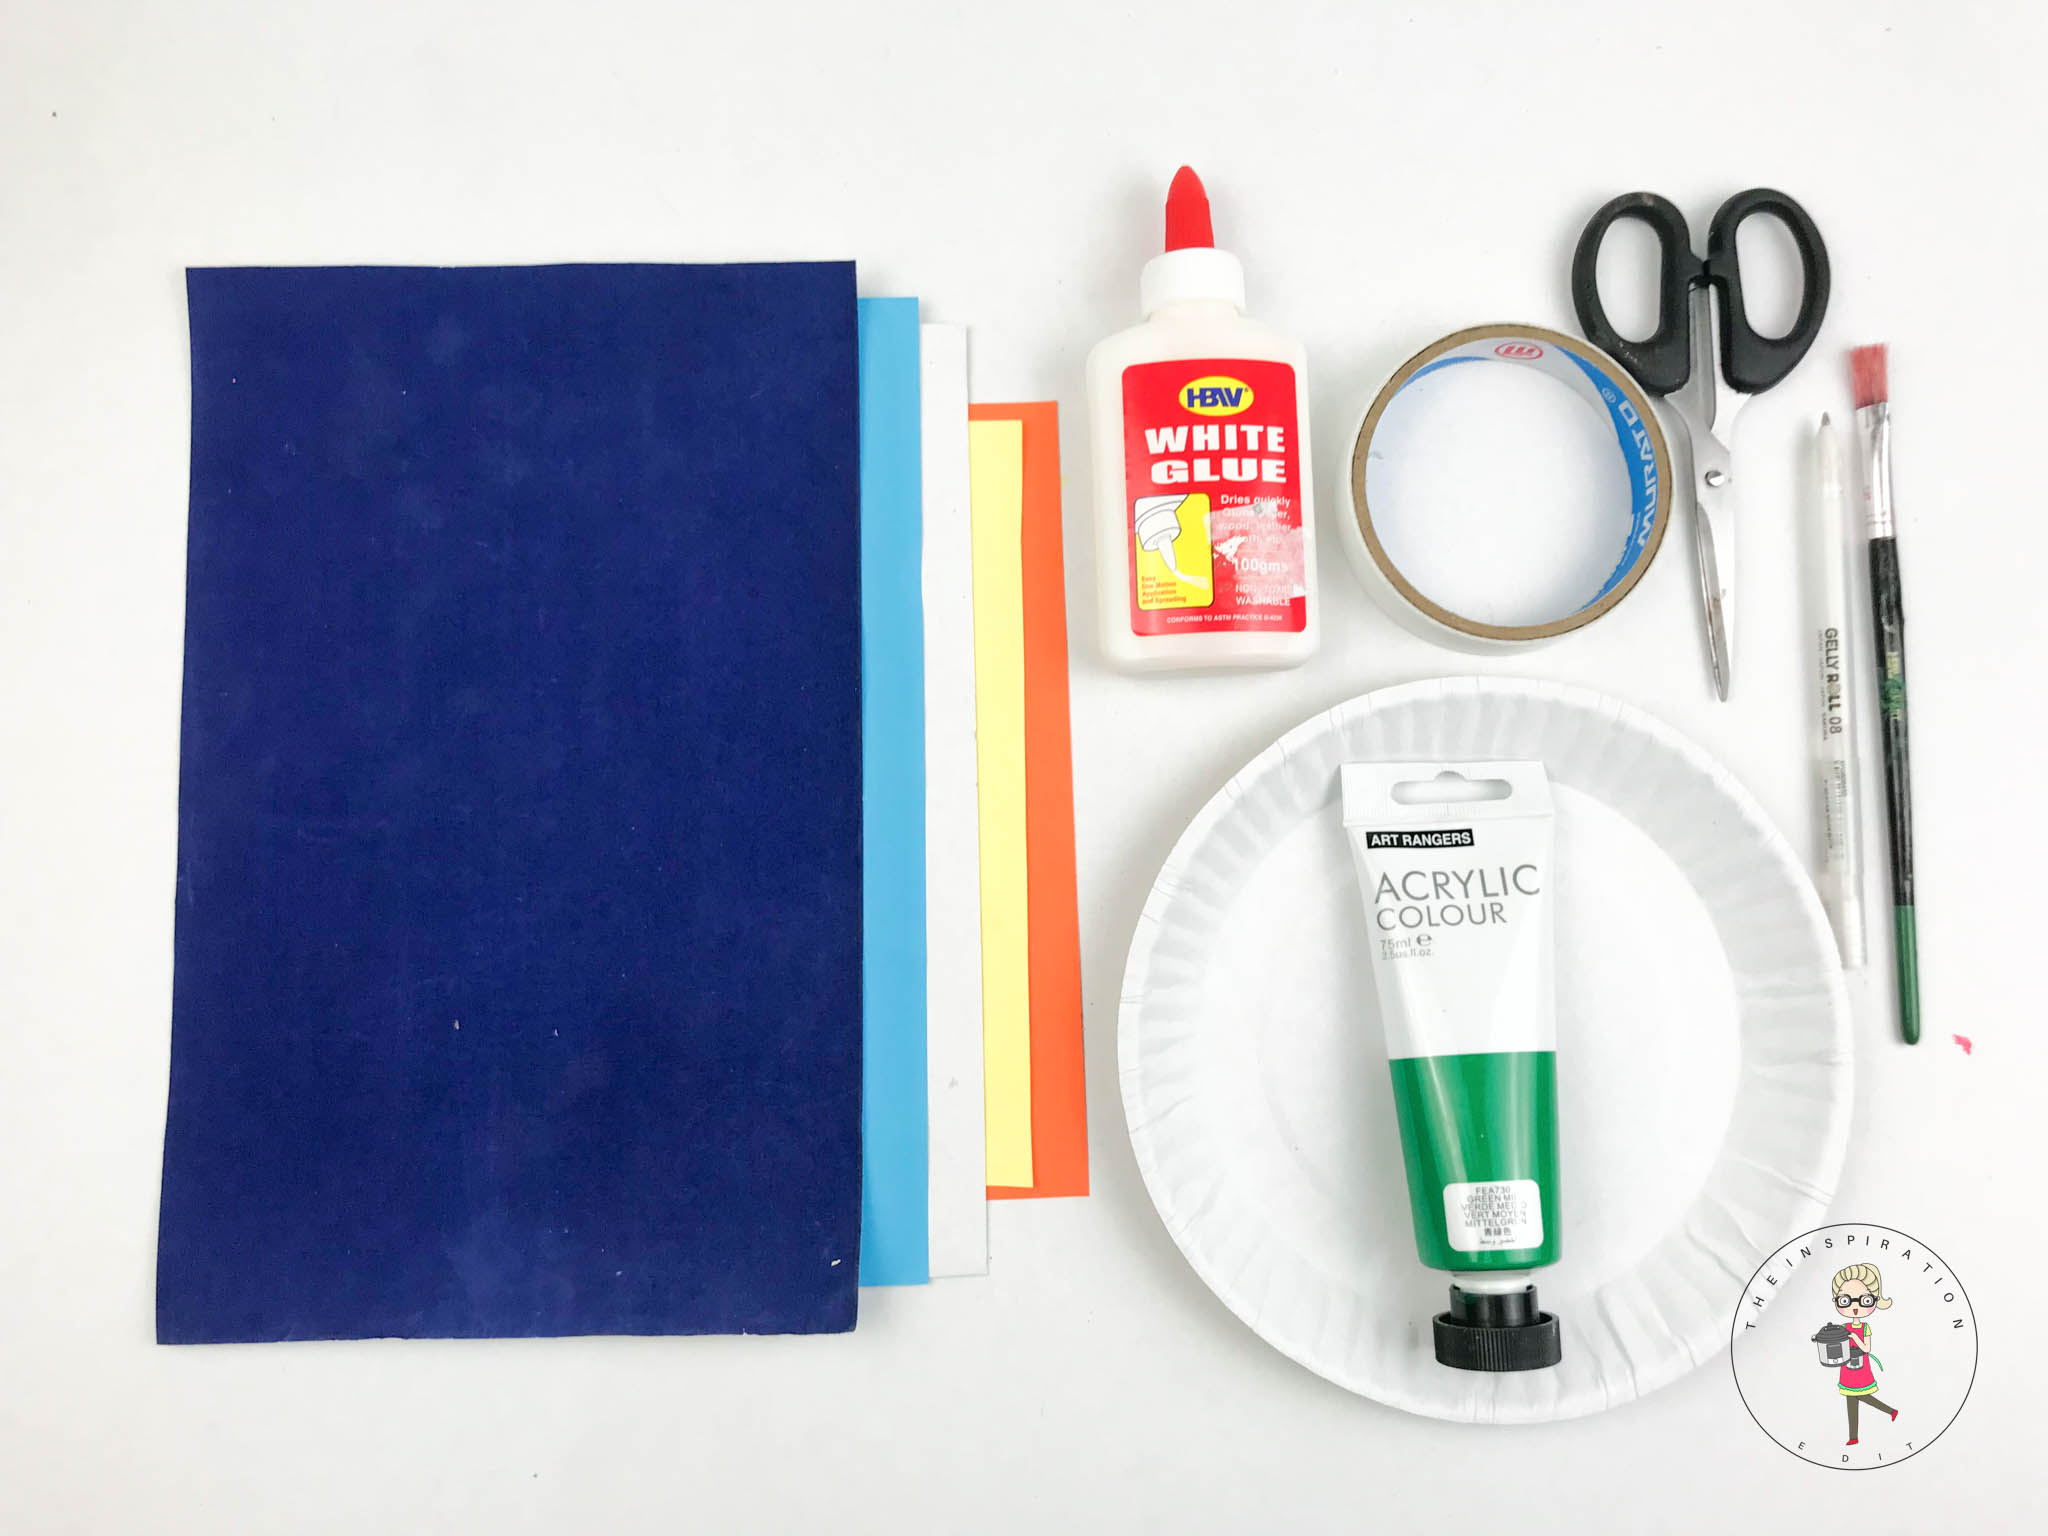
🎨 Supplies Needed
- Paper plate.
- Green Paint.
- Colored Paper.
- Paintbrush.
- Glue.
- Scissors.
- Sellotape.
🖌️ How To Make A Paper Plate Peacock
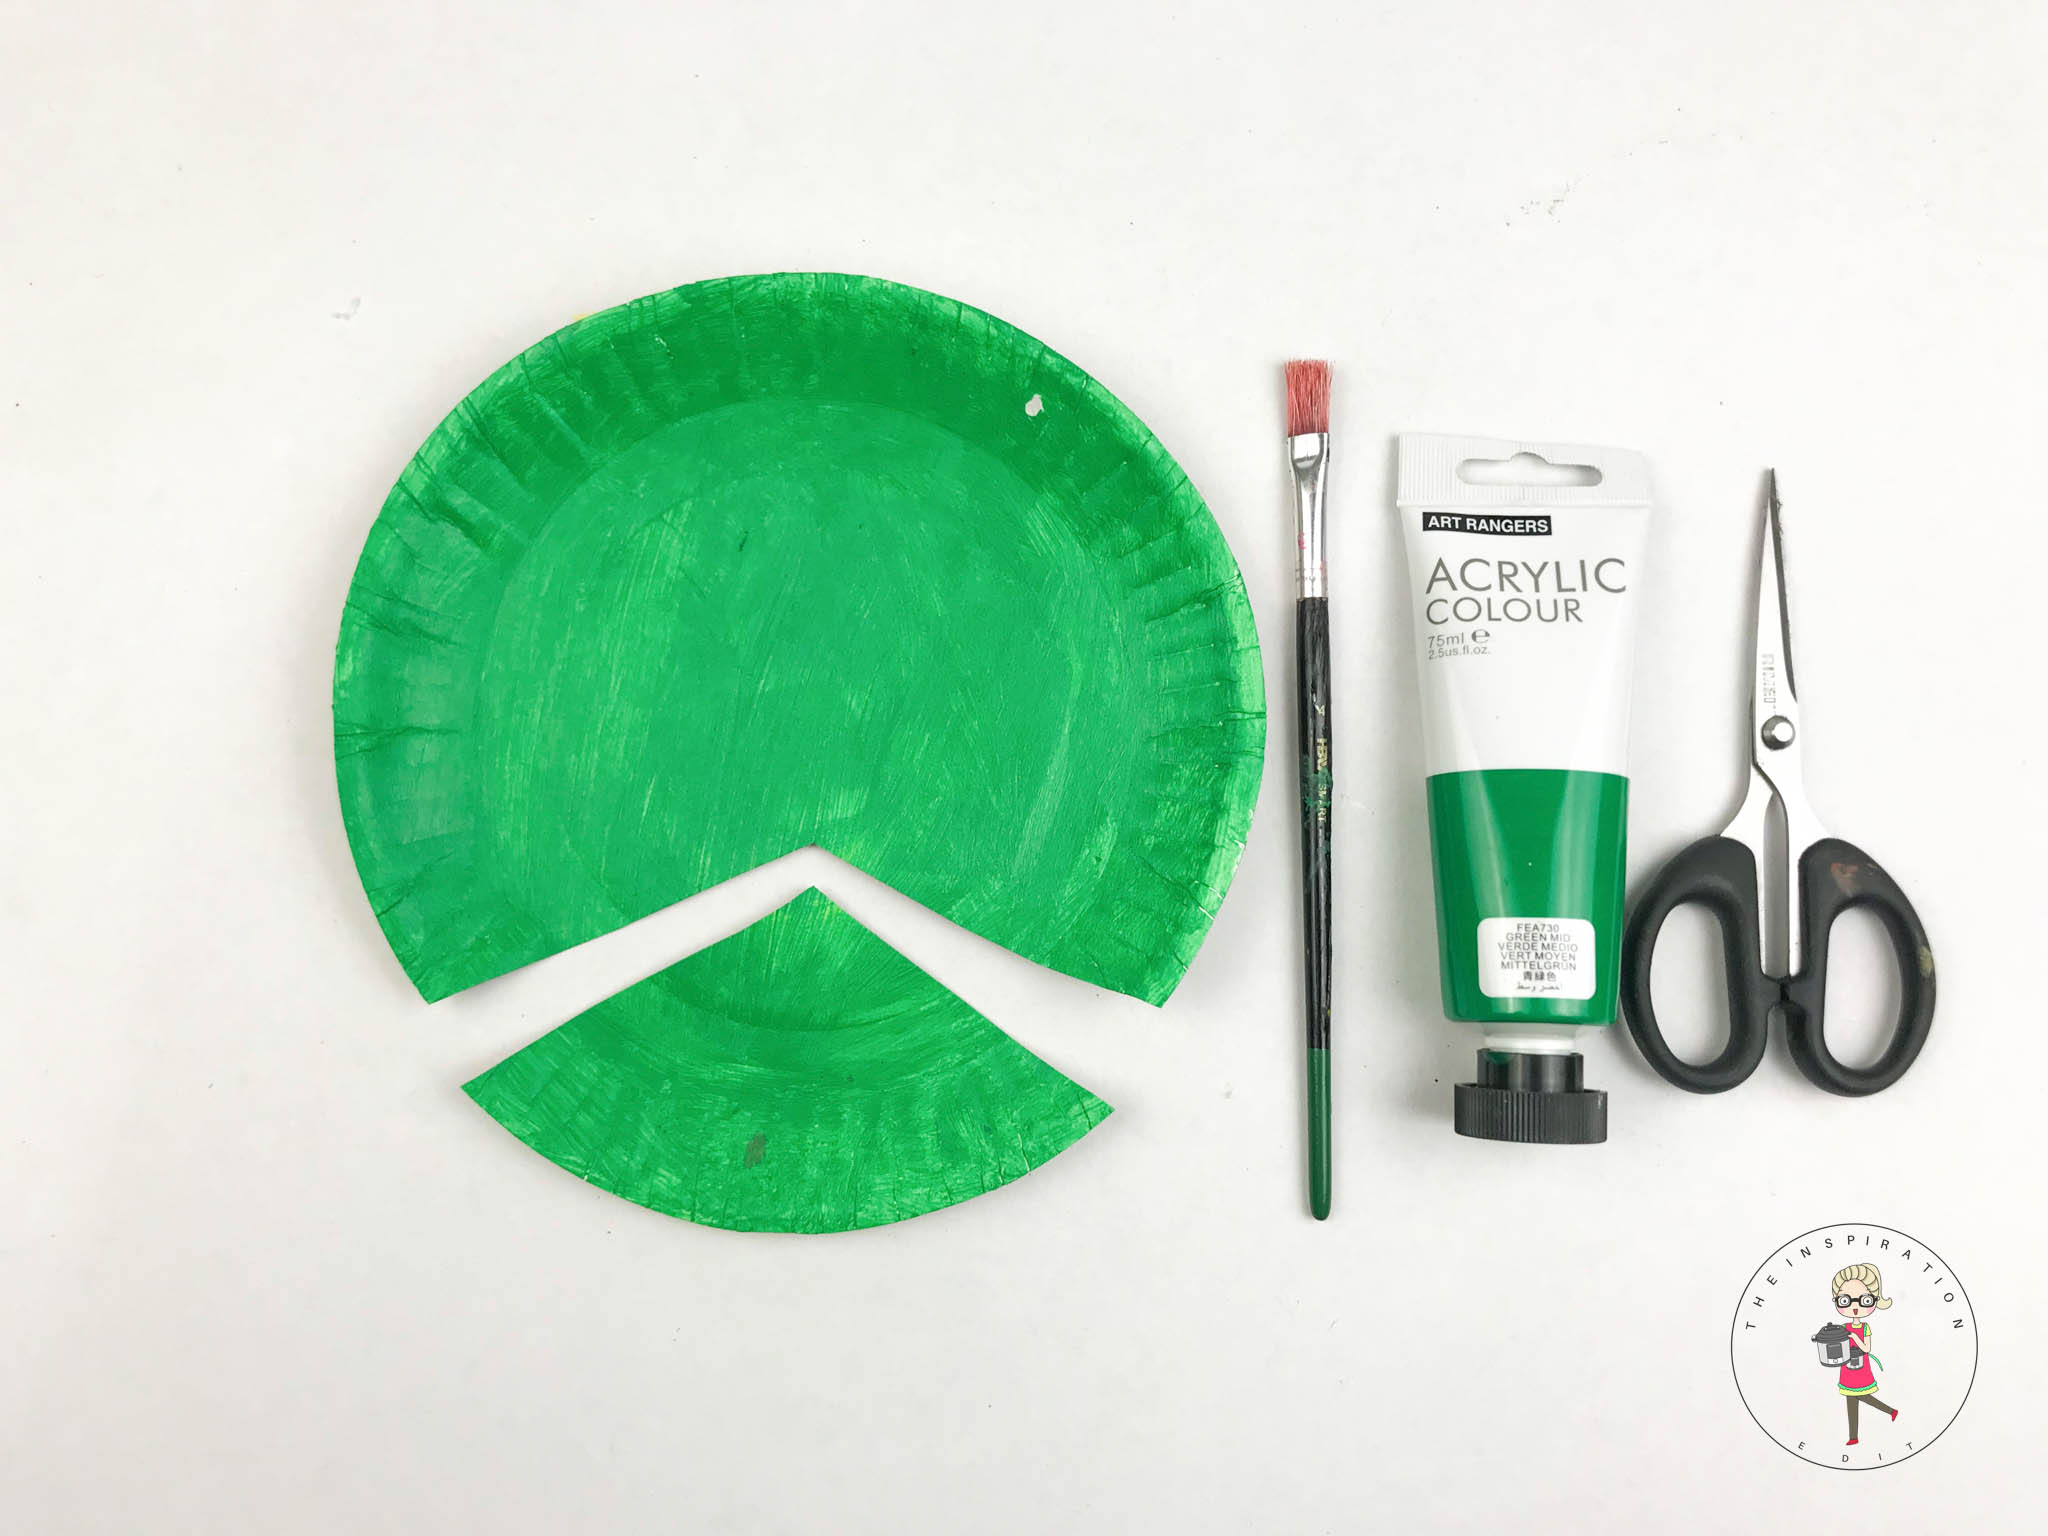
- Step 1: Paint the paper plate green and cut as show in the image.
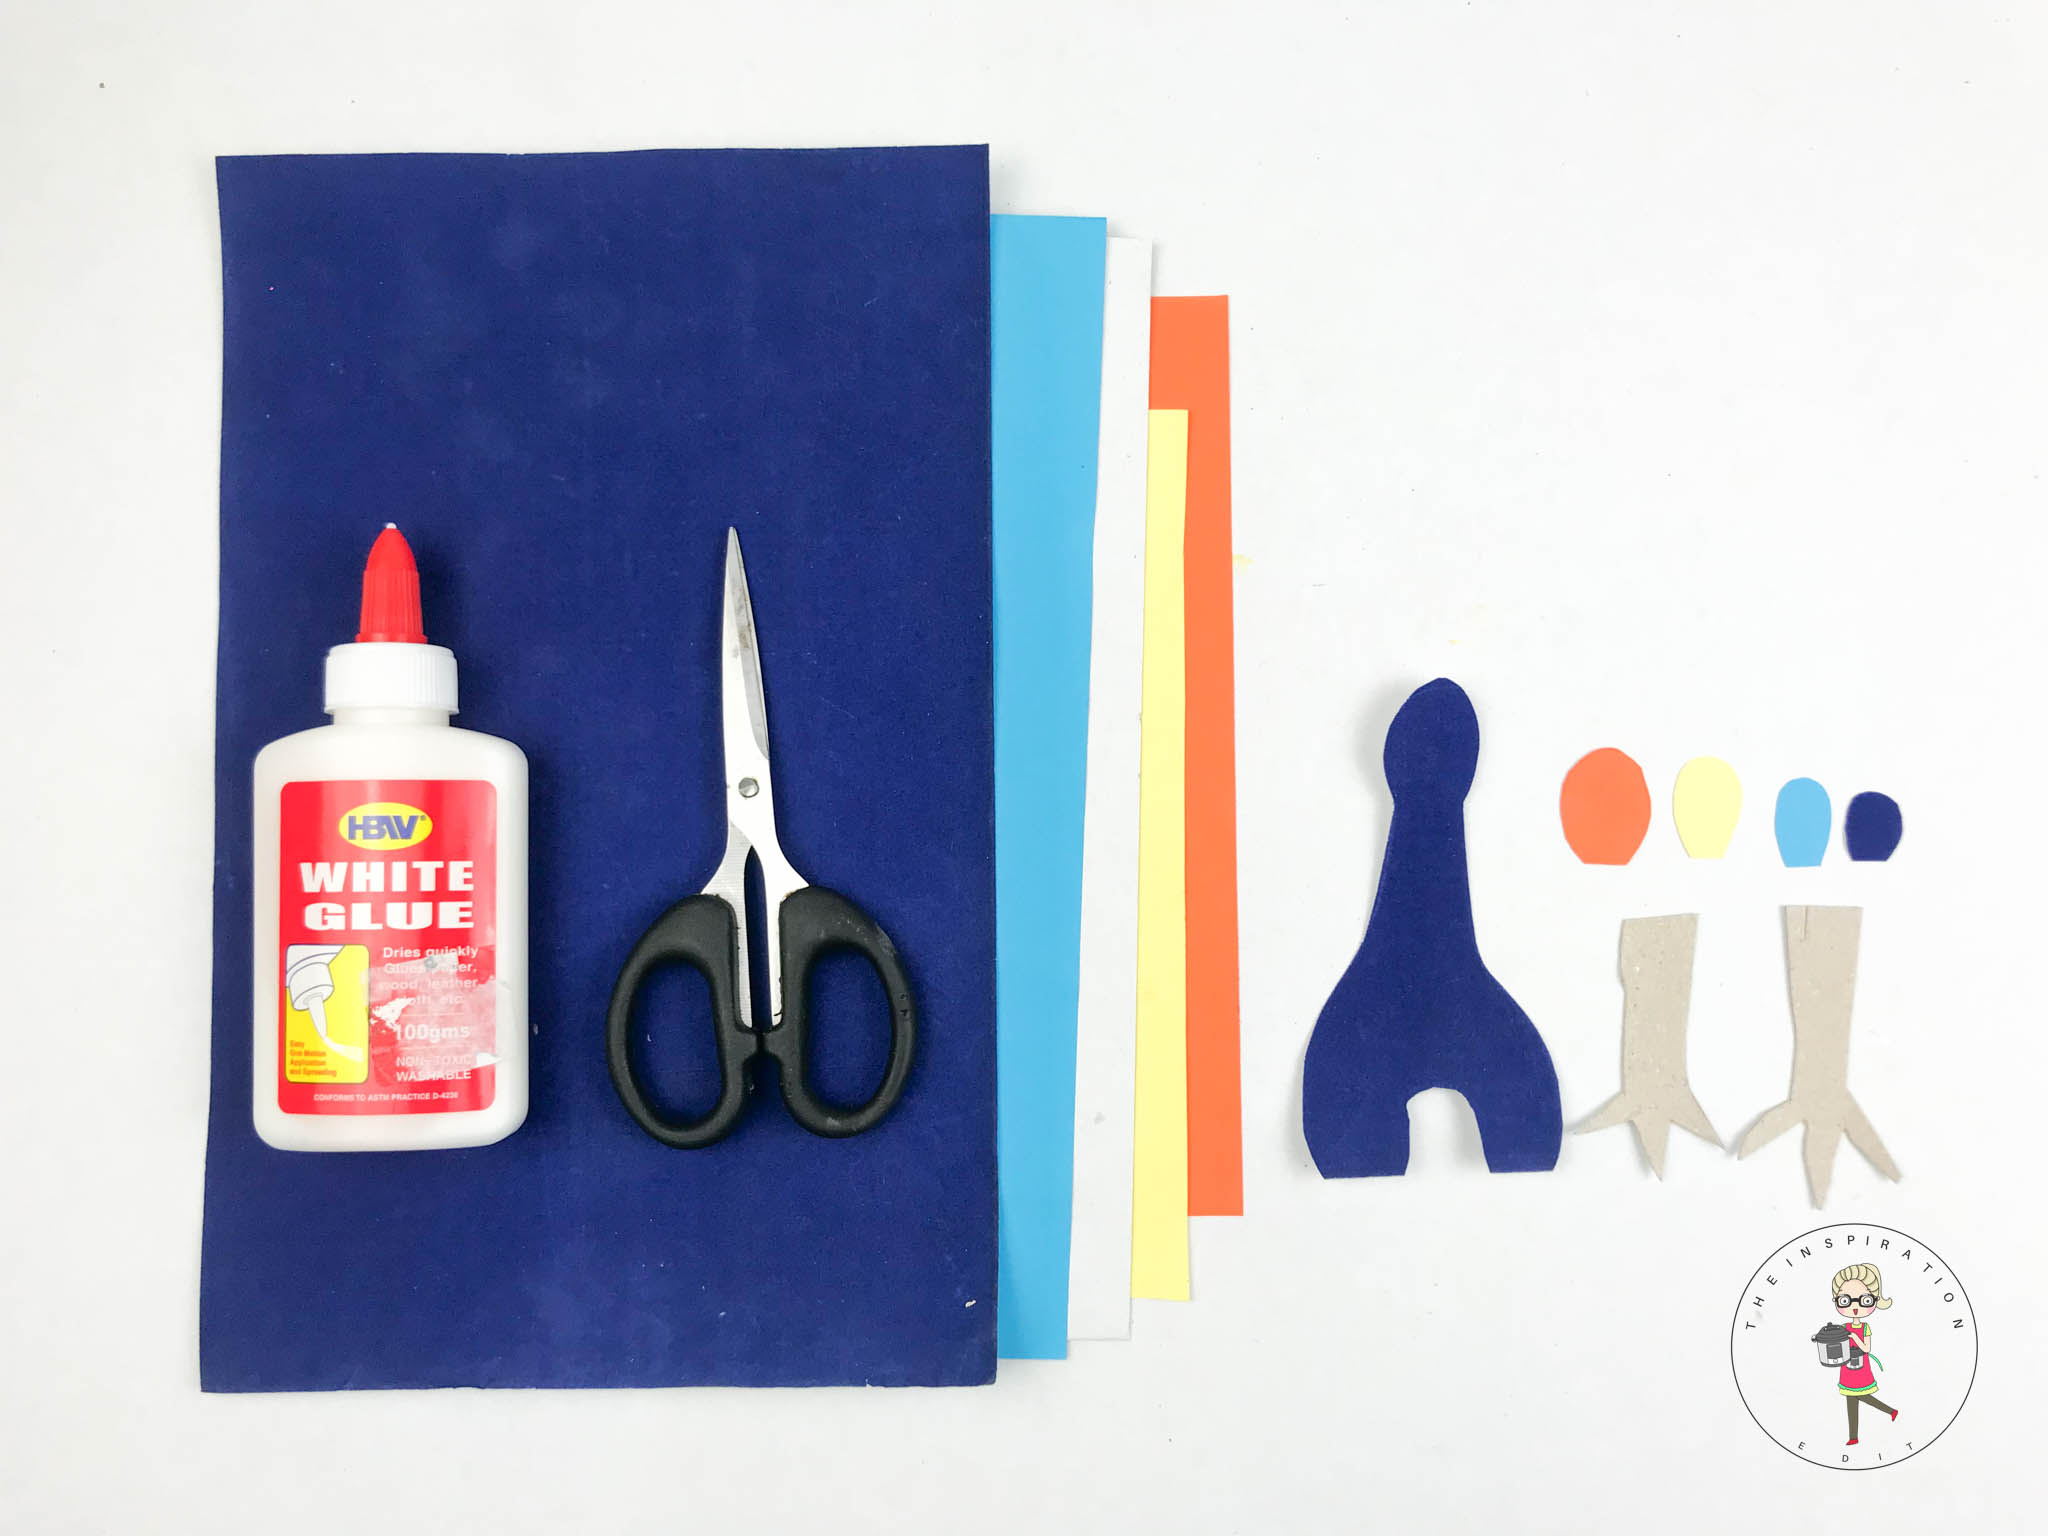
- Step 2: Cut out a body, and legs using the scissors.
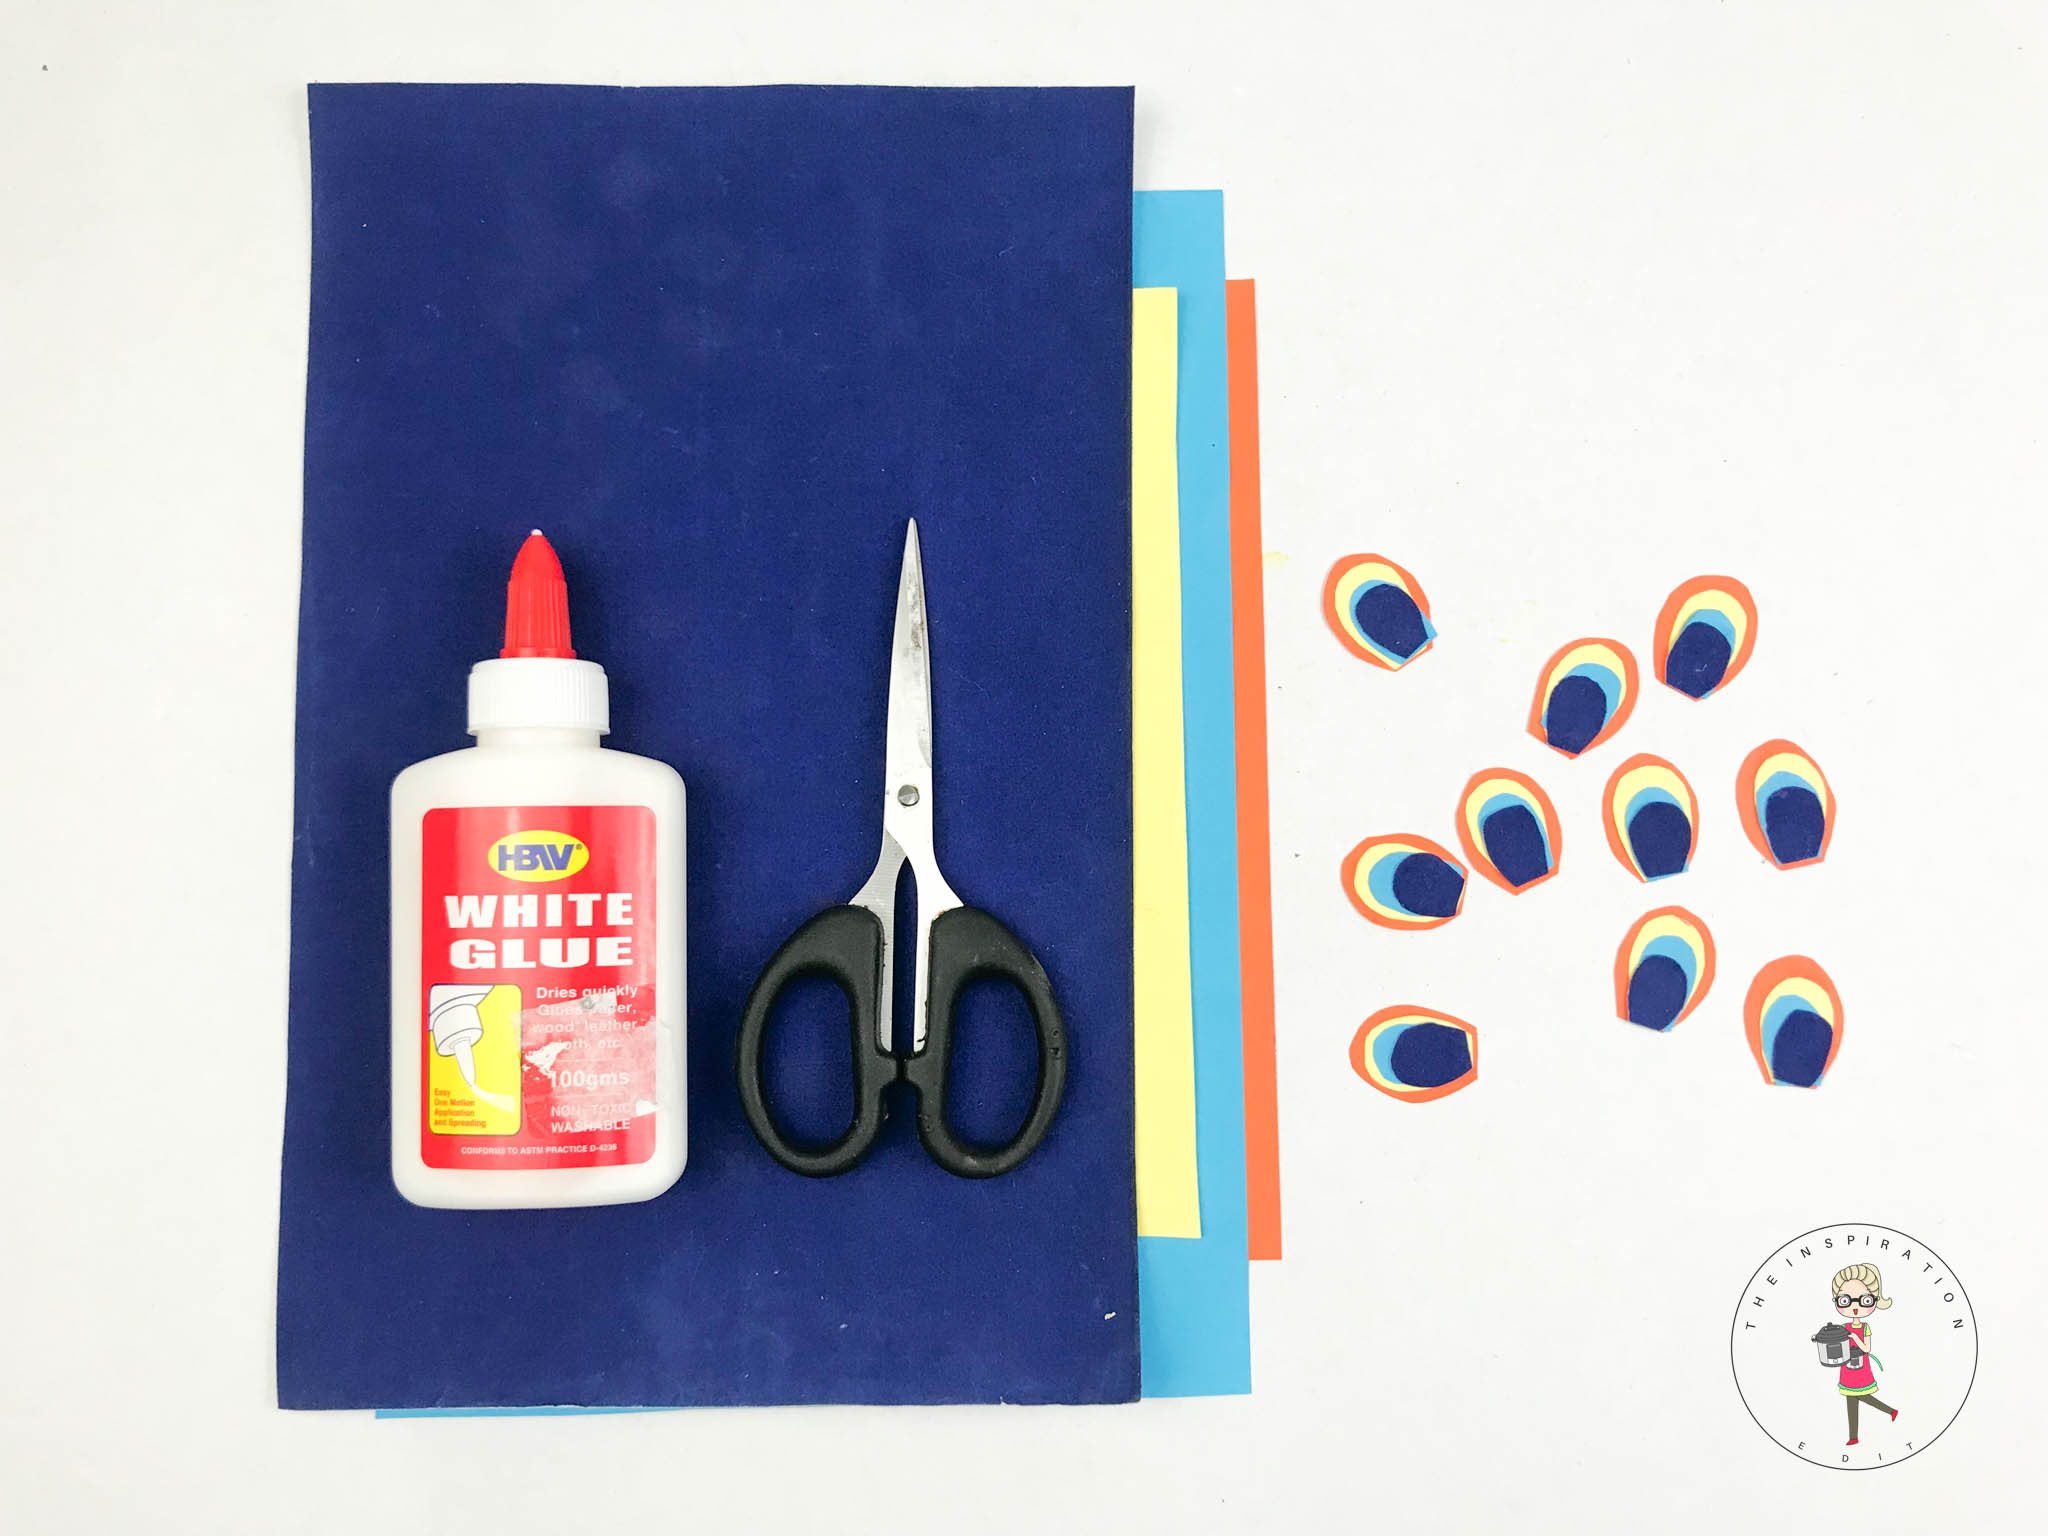
- Step 3: Cut out lots of oval shapes different sizes to create peacock feathers.
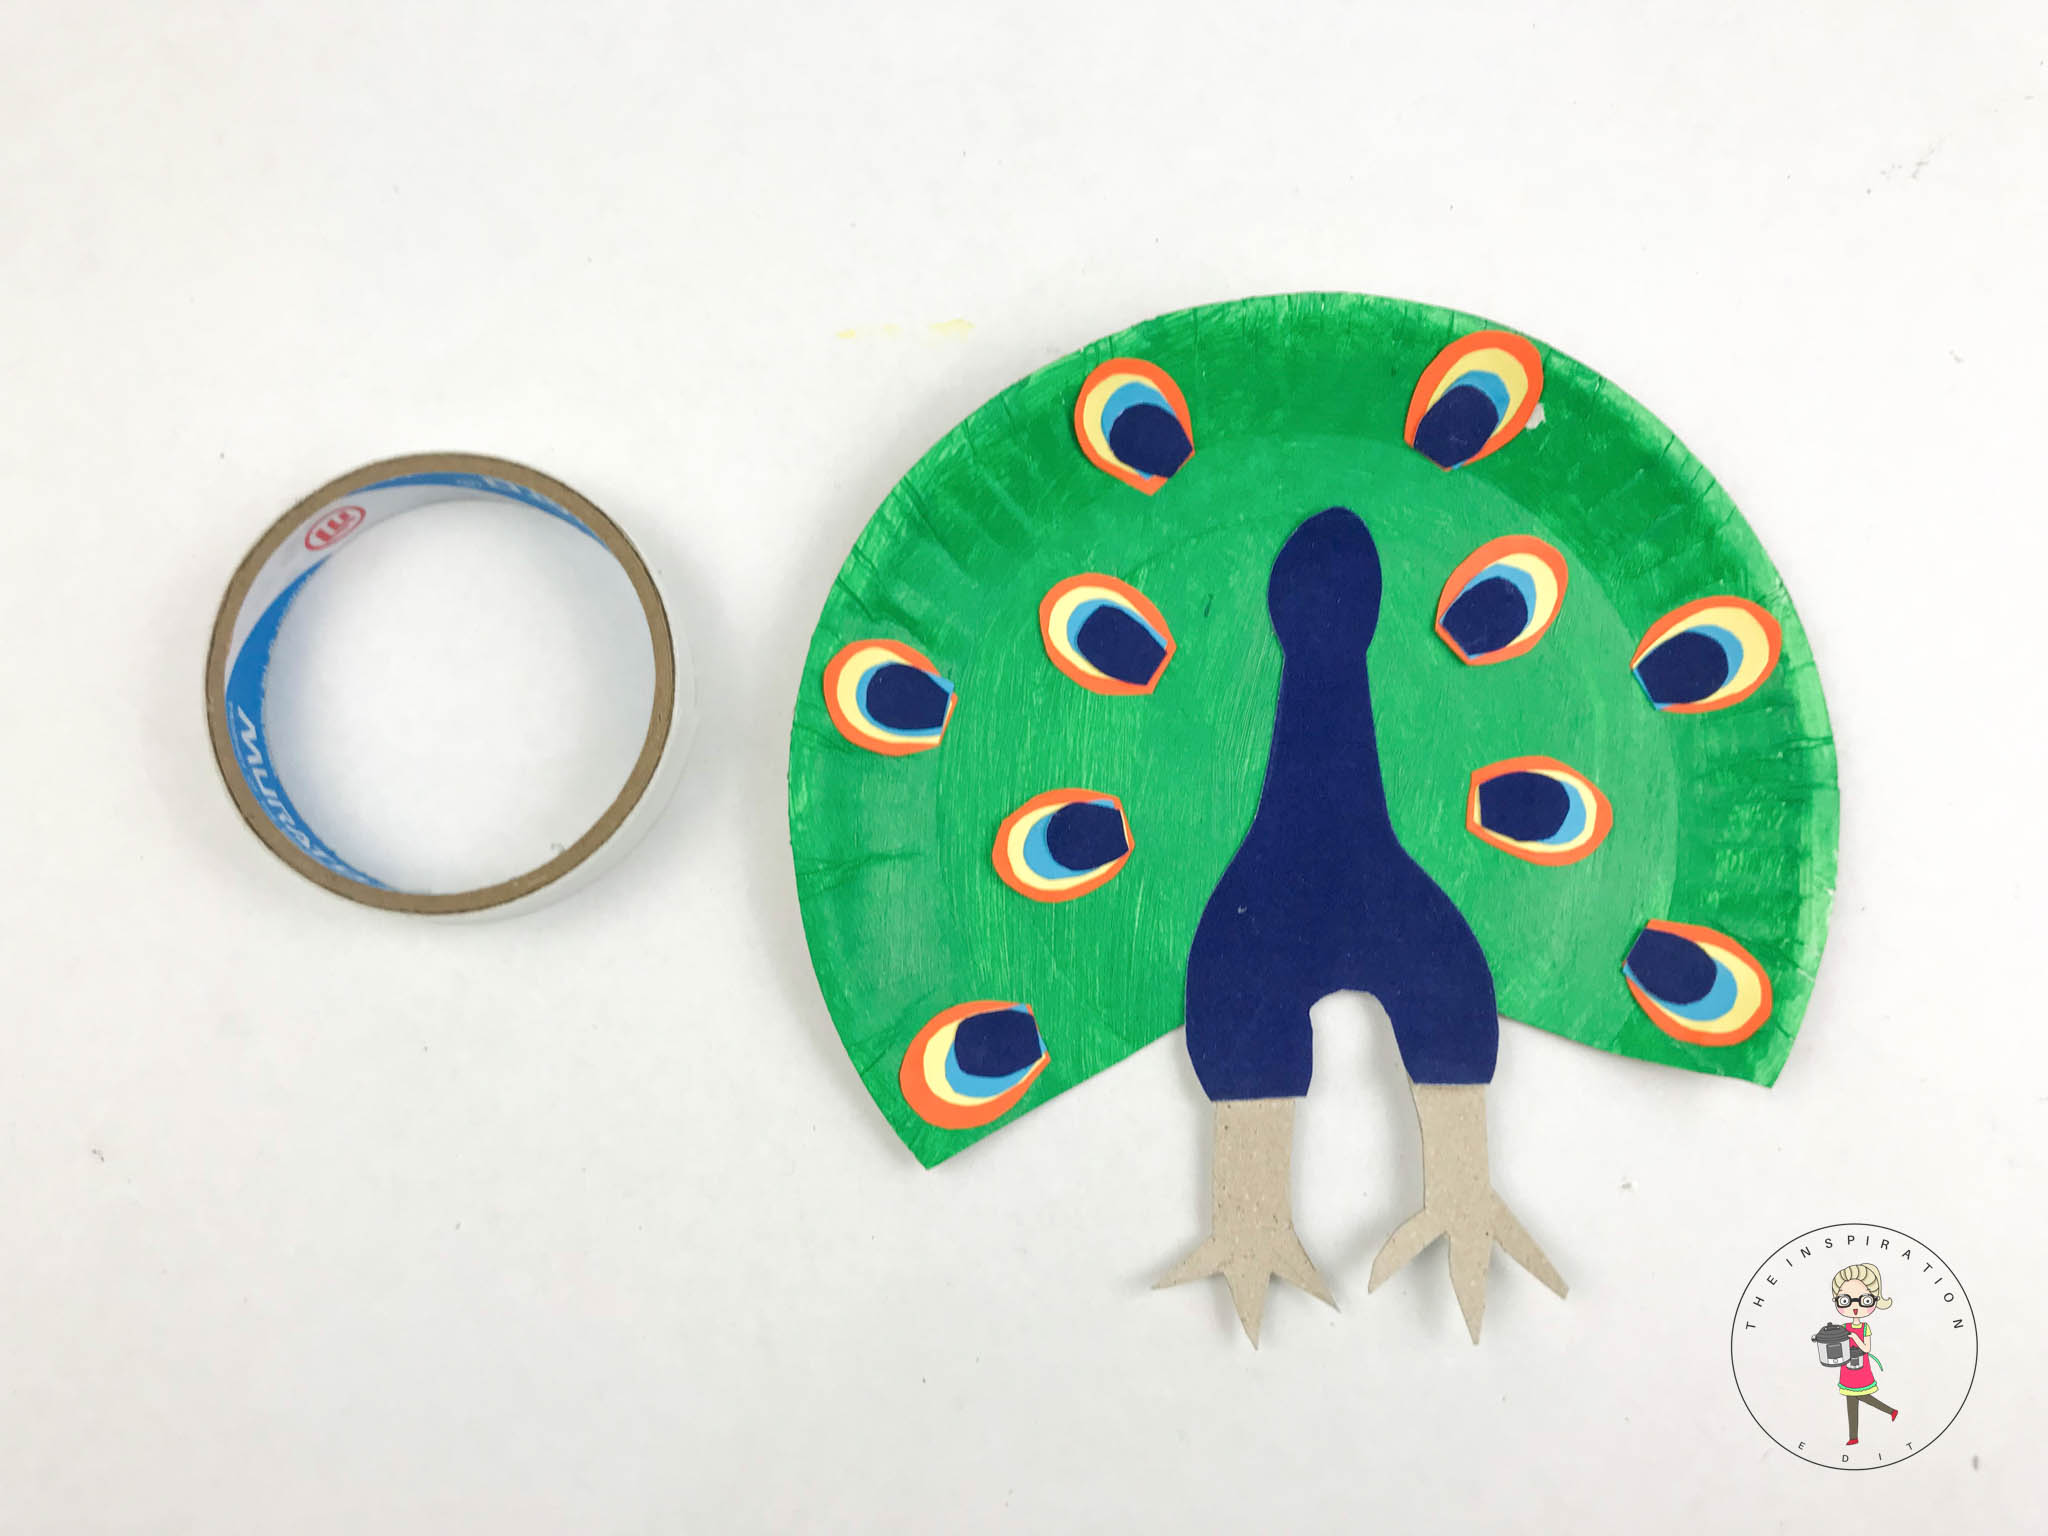
- Step 4: Sellotape or glue the body, legs and feathers to the paper plate.
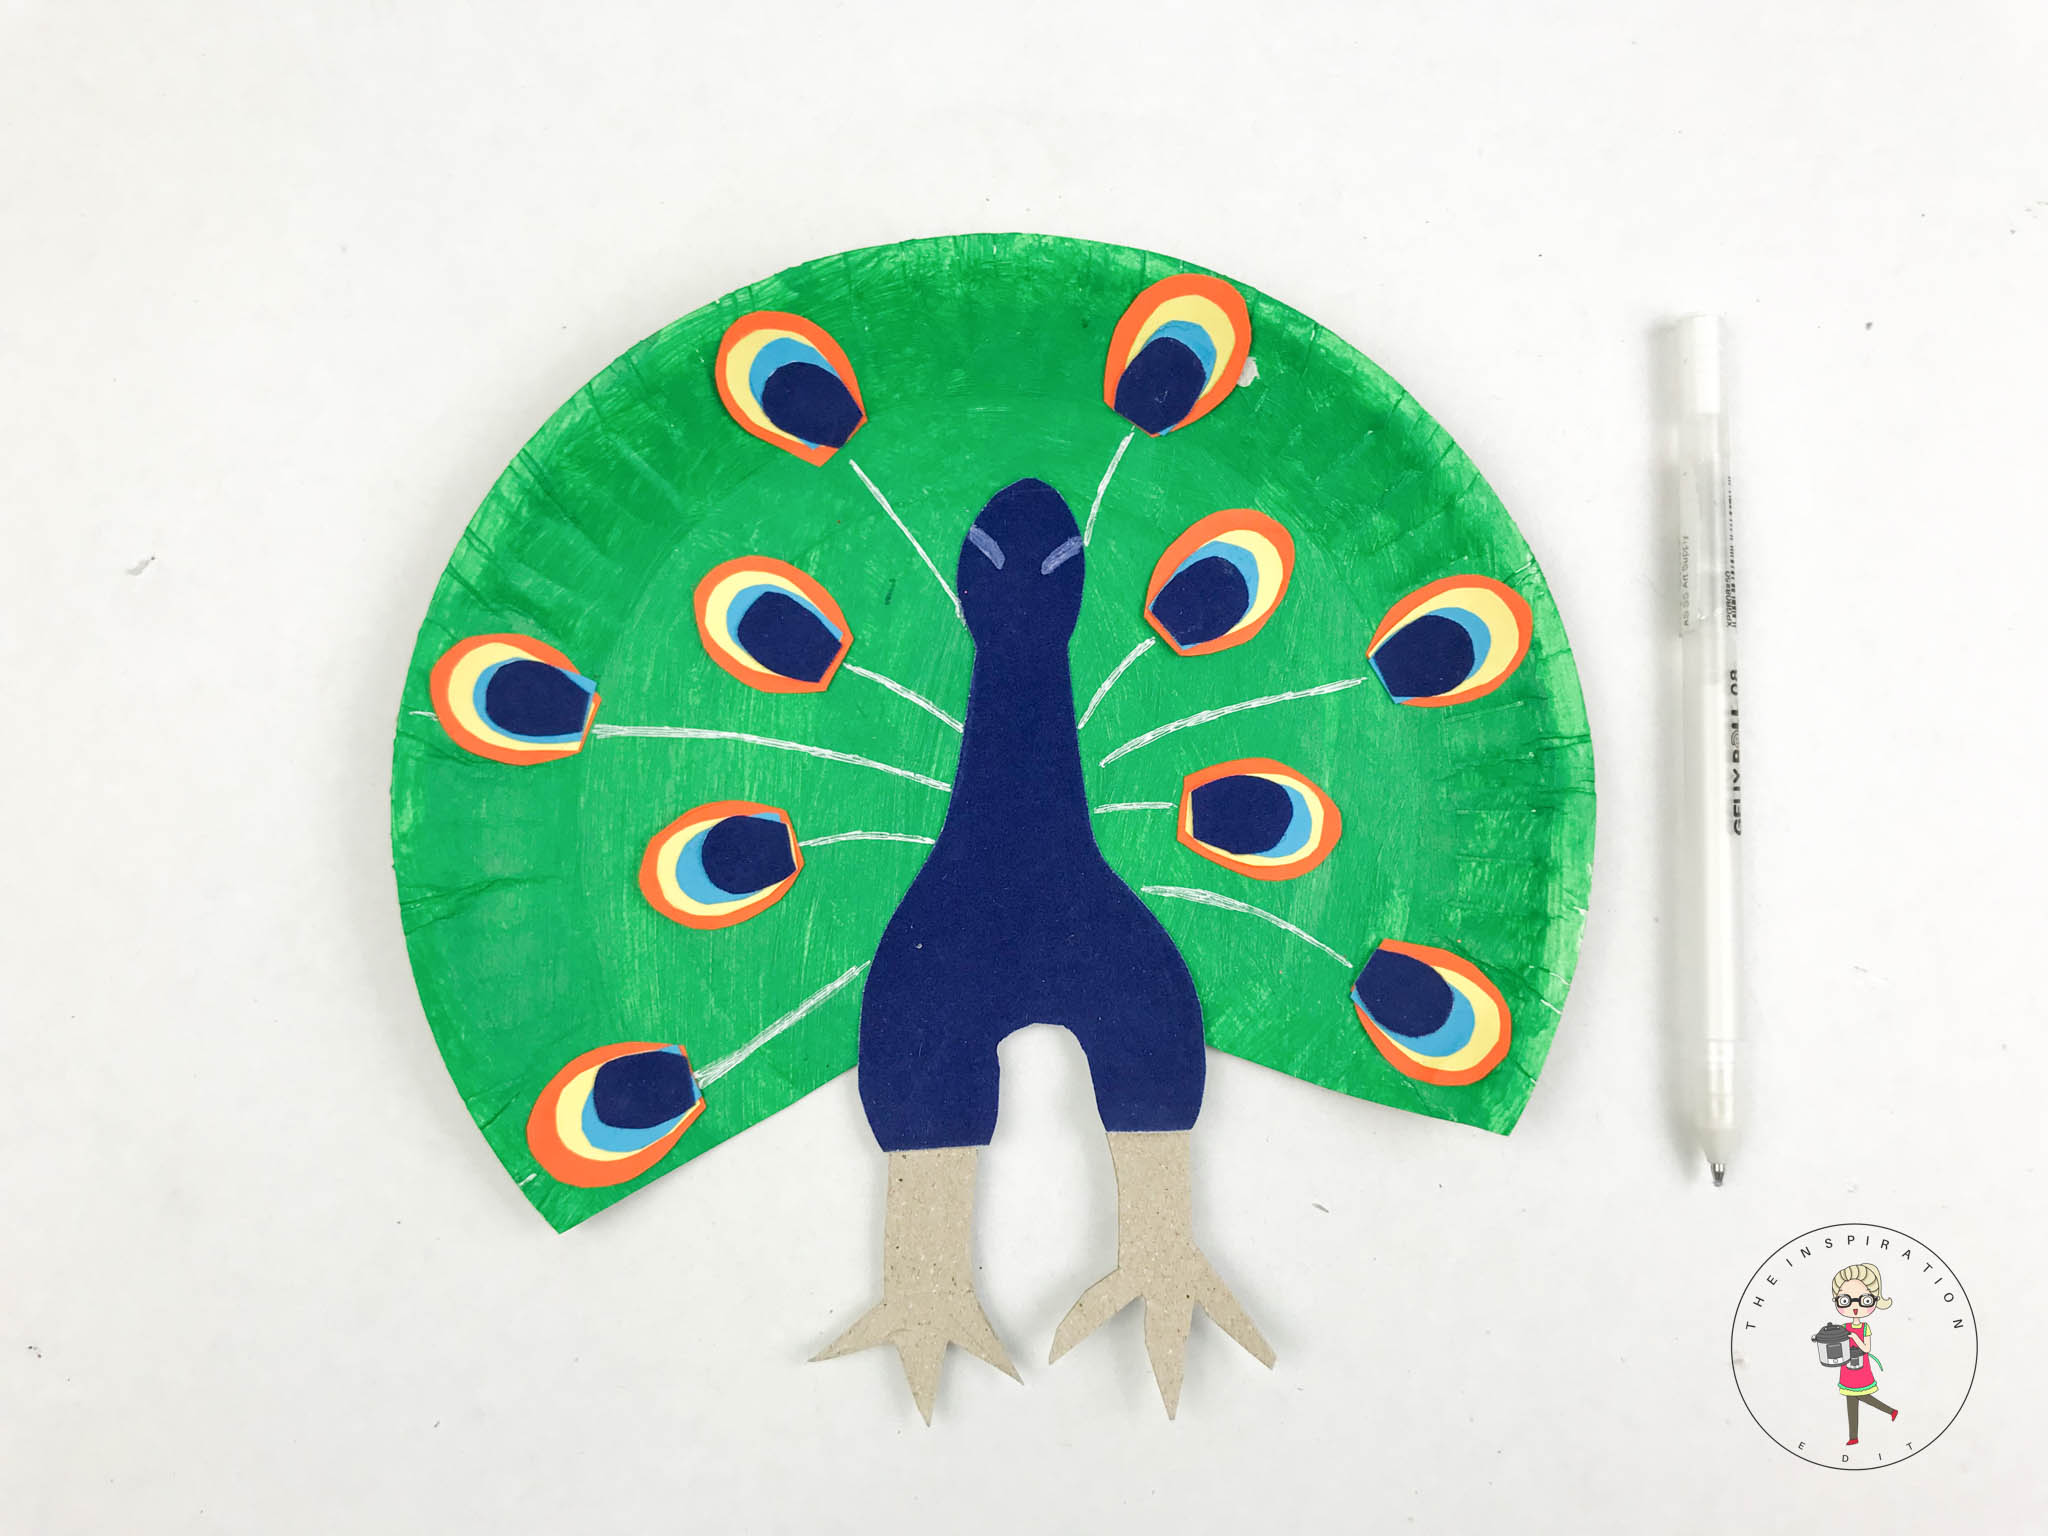
- Step 5: Use the white pencil to draw lines to the feathers.
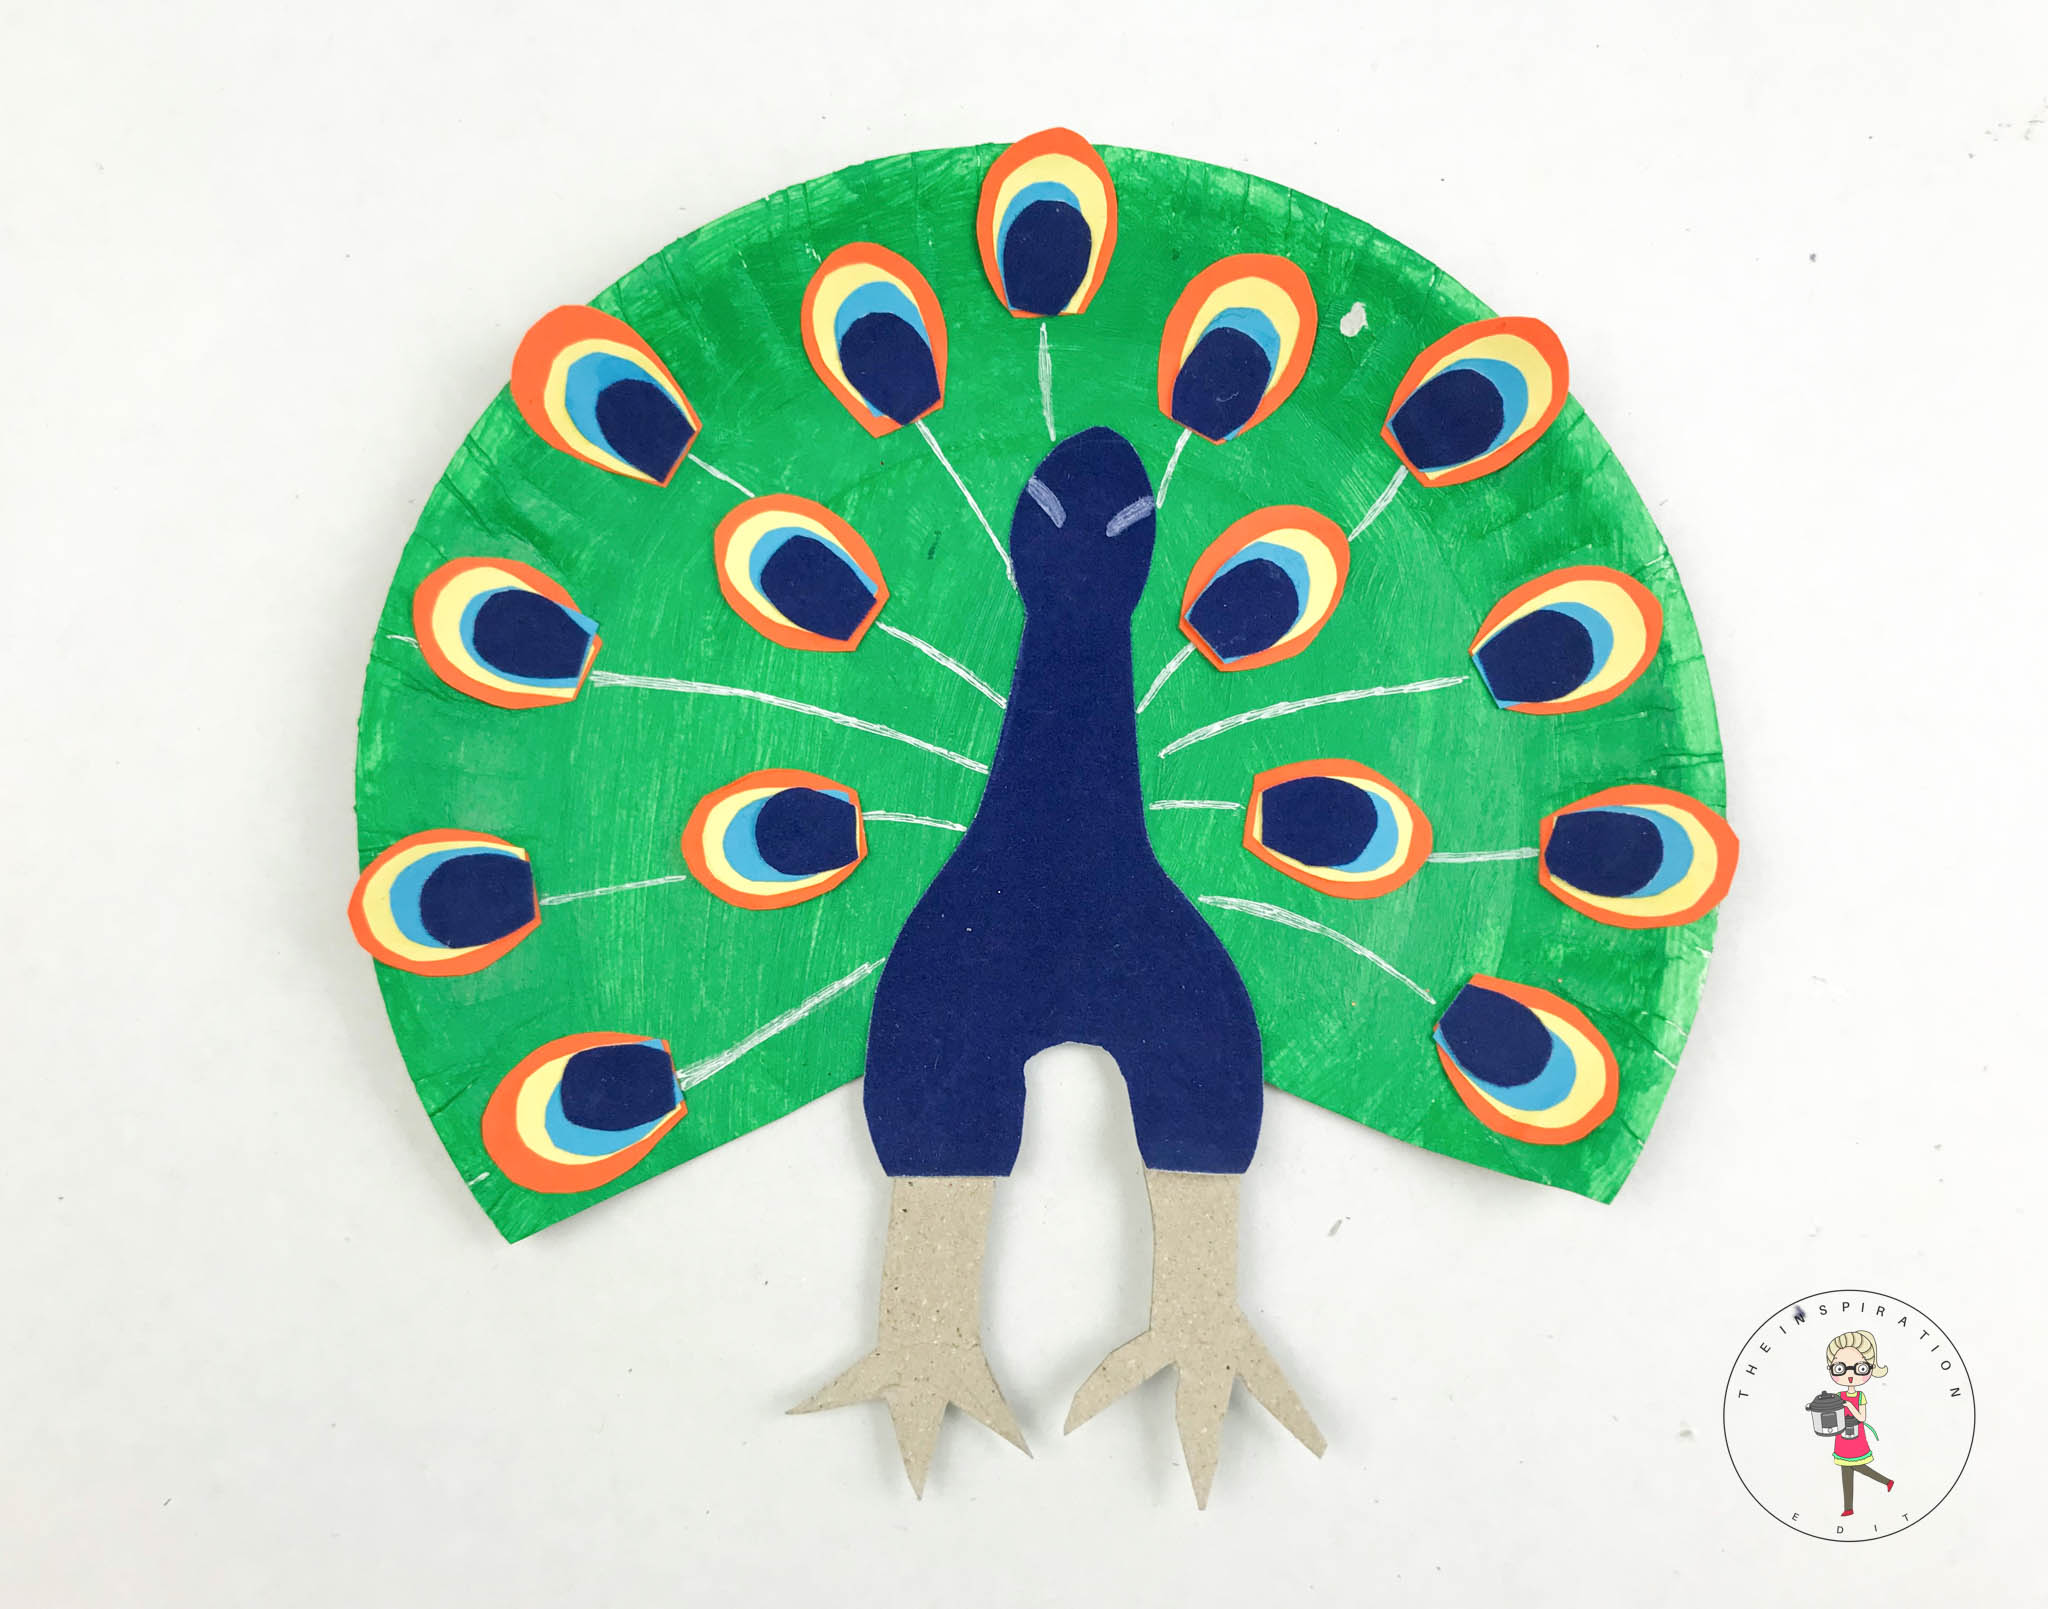
- Step 6: Your Peacock craft is now ready to display.
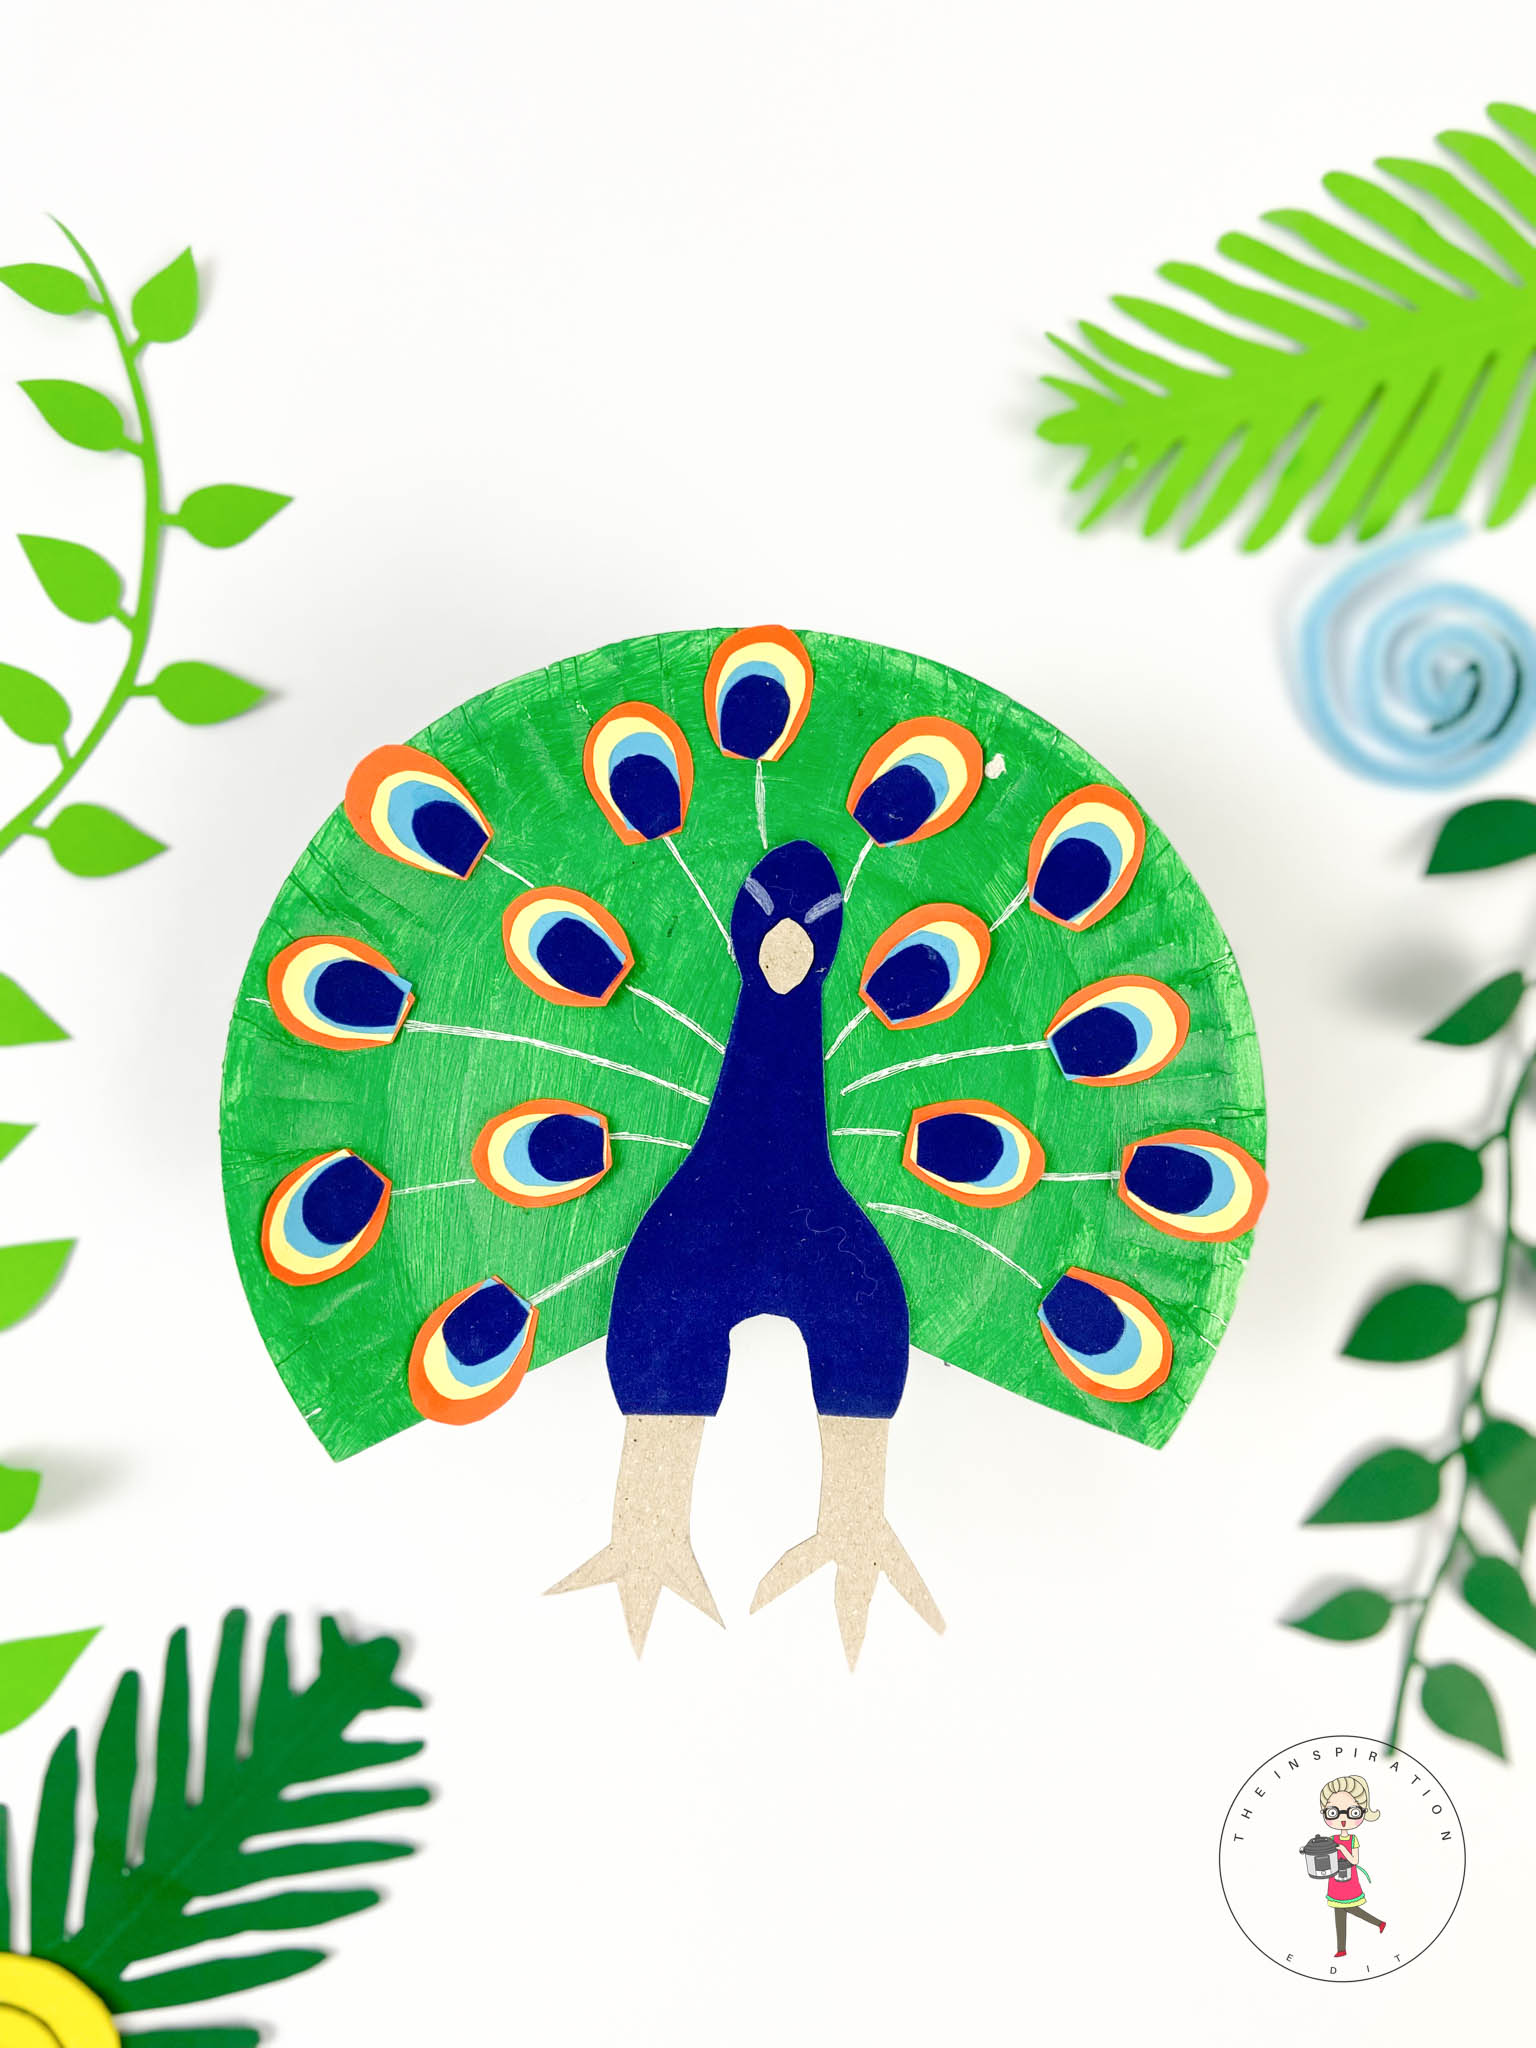
💡 Pro Tip: Use sequins glitter or shiny paper on the tail feathers to give the peacock extra sparkle and texture.
🧑🎨 Expert Tips
- Let the base paint dry fully before adding details to avoid smudging.
- Pre-cut shapes for younger children to make this activity stress-free.
- Encourage children to create their own patterns rather than copying an example.
💭 FAQs
Yes, you can use crayons, felt tips, coloured paper, or even tissue paper collage if you want a low-mess option.
Absolutely, the peacock tail is perfect for talking about patterns and symmetry, especially in early years and classroom settings.
This craft helps develop fine motor skills, creativity, colour recognition, and confidence through open-ended art.
🖌️ More Fun Spring Themed Crafts


Did you make this craft? Leave a review and comment below! Alternatively, bookmark it in your browser or save to Pinterest.

Peacock Paper Plate Craft
Equipment
- 1 Pair of Scissors
- 1 Paintbrush
Materials
- Paper Plate
- Paint Green
- Colored Paper
- Glue or Sellotape
Instructions
- Paint the paper plate green and cut as show in the image.
- Cut out a body, and legs using the scissors.
- Cut out lots of oval shapes different sizes to create peacock feathers.
- Sellotape or glue the body, legs and feathers to the paper plate.
- Use the white pencil to draw lines to the feathers.
- Your Peacock craft is now ready to display.

Leave a Reply