

Everyone should get something on Valentine's Day. Cards are great, but they don't last forever. This Valentines bubble art photo frame gift is something kids can do for their loved ones.
This is something moms and dads can do with their kids for the other parent, or it works really well as a Valentine's gift kids can do at school for both parents.

Jump to:
If you want a gift that comes from the heart and will last throughout the years, this Valentines bubble art photo frame is the perfect gift. Check it out, below!
You'll also love these printable Valentines love notes for kids.
💖 Why You'll Love This Craft
- Totally Unique: Bubble art makes every frame one-of-a-kind – no two are the same!
- Sweet & Personal: Add a favorite photo and boom – instant heart-melting Valentine’s Day gift.
- Easy Setup, Big Wow Factor: Simple materials, but the end result looks super fancy!

🖌️ How to Make Valentine's Bubble Art Photo Frame

- Step 1: Cut squares of bubble wrap and set aside. Place drops of paint onto a plate. Paint a square of bubble wrap (bubble side) and firmly press the bubble wrap onto the wooden frame. Allow the paint to dry completely before overlapping any colors.

- Step 2: Repeat this time again with various paint colors until your desired look is created. Cut a piece of paper to fit the frame window and allow your child to write a message. Place the picture inside the frame. Decorate the frame with heart stickers, glitter, sequins etc.
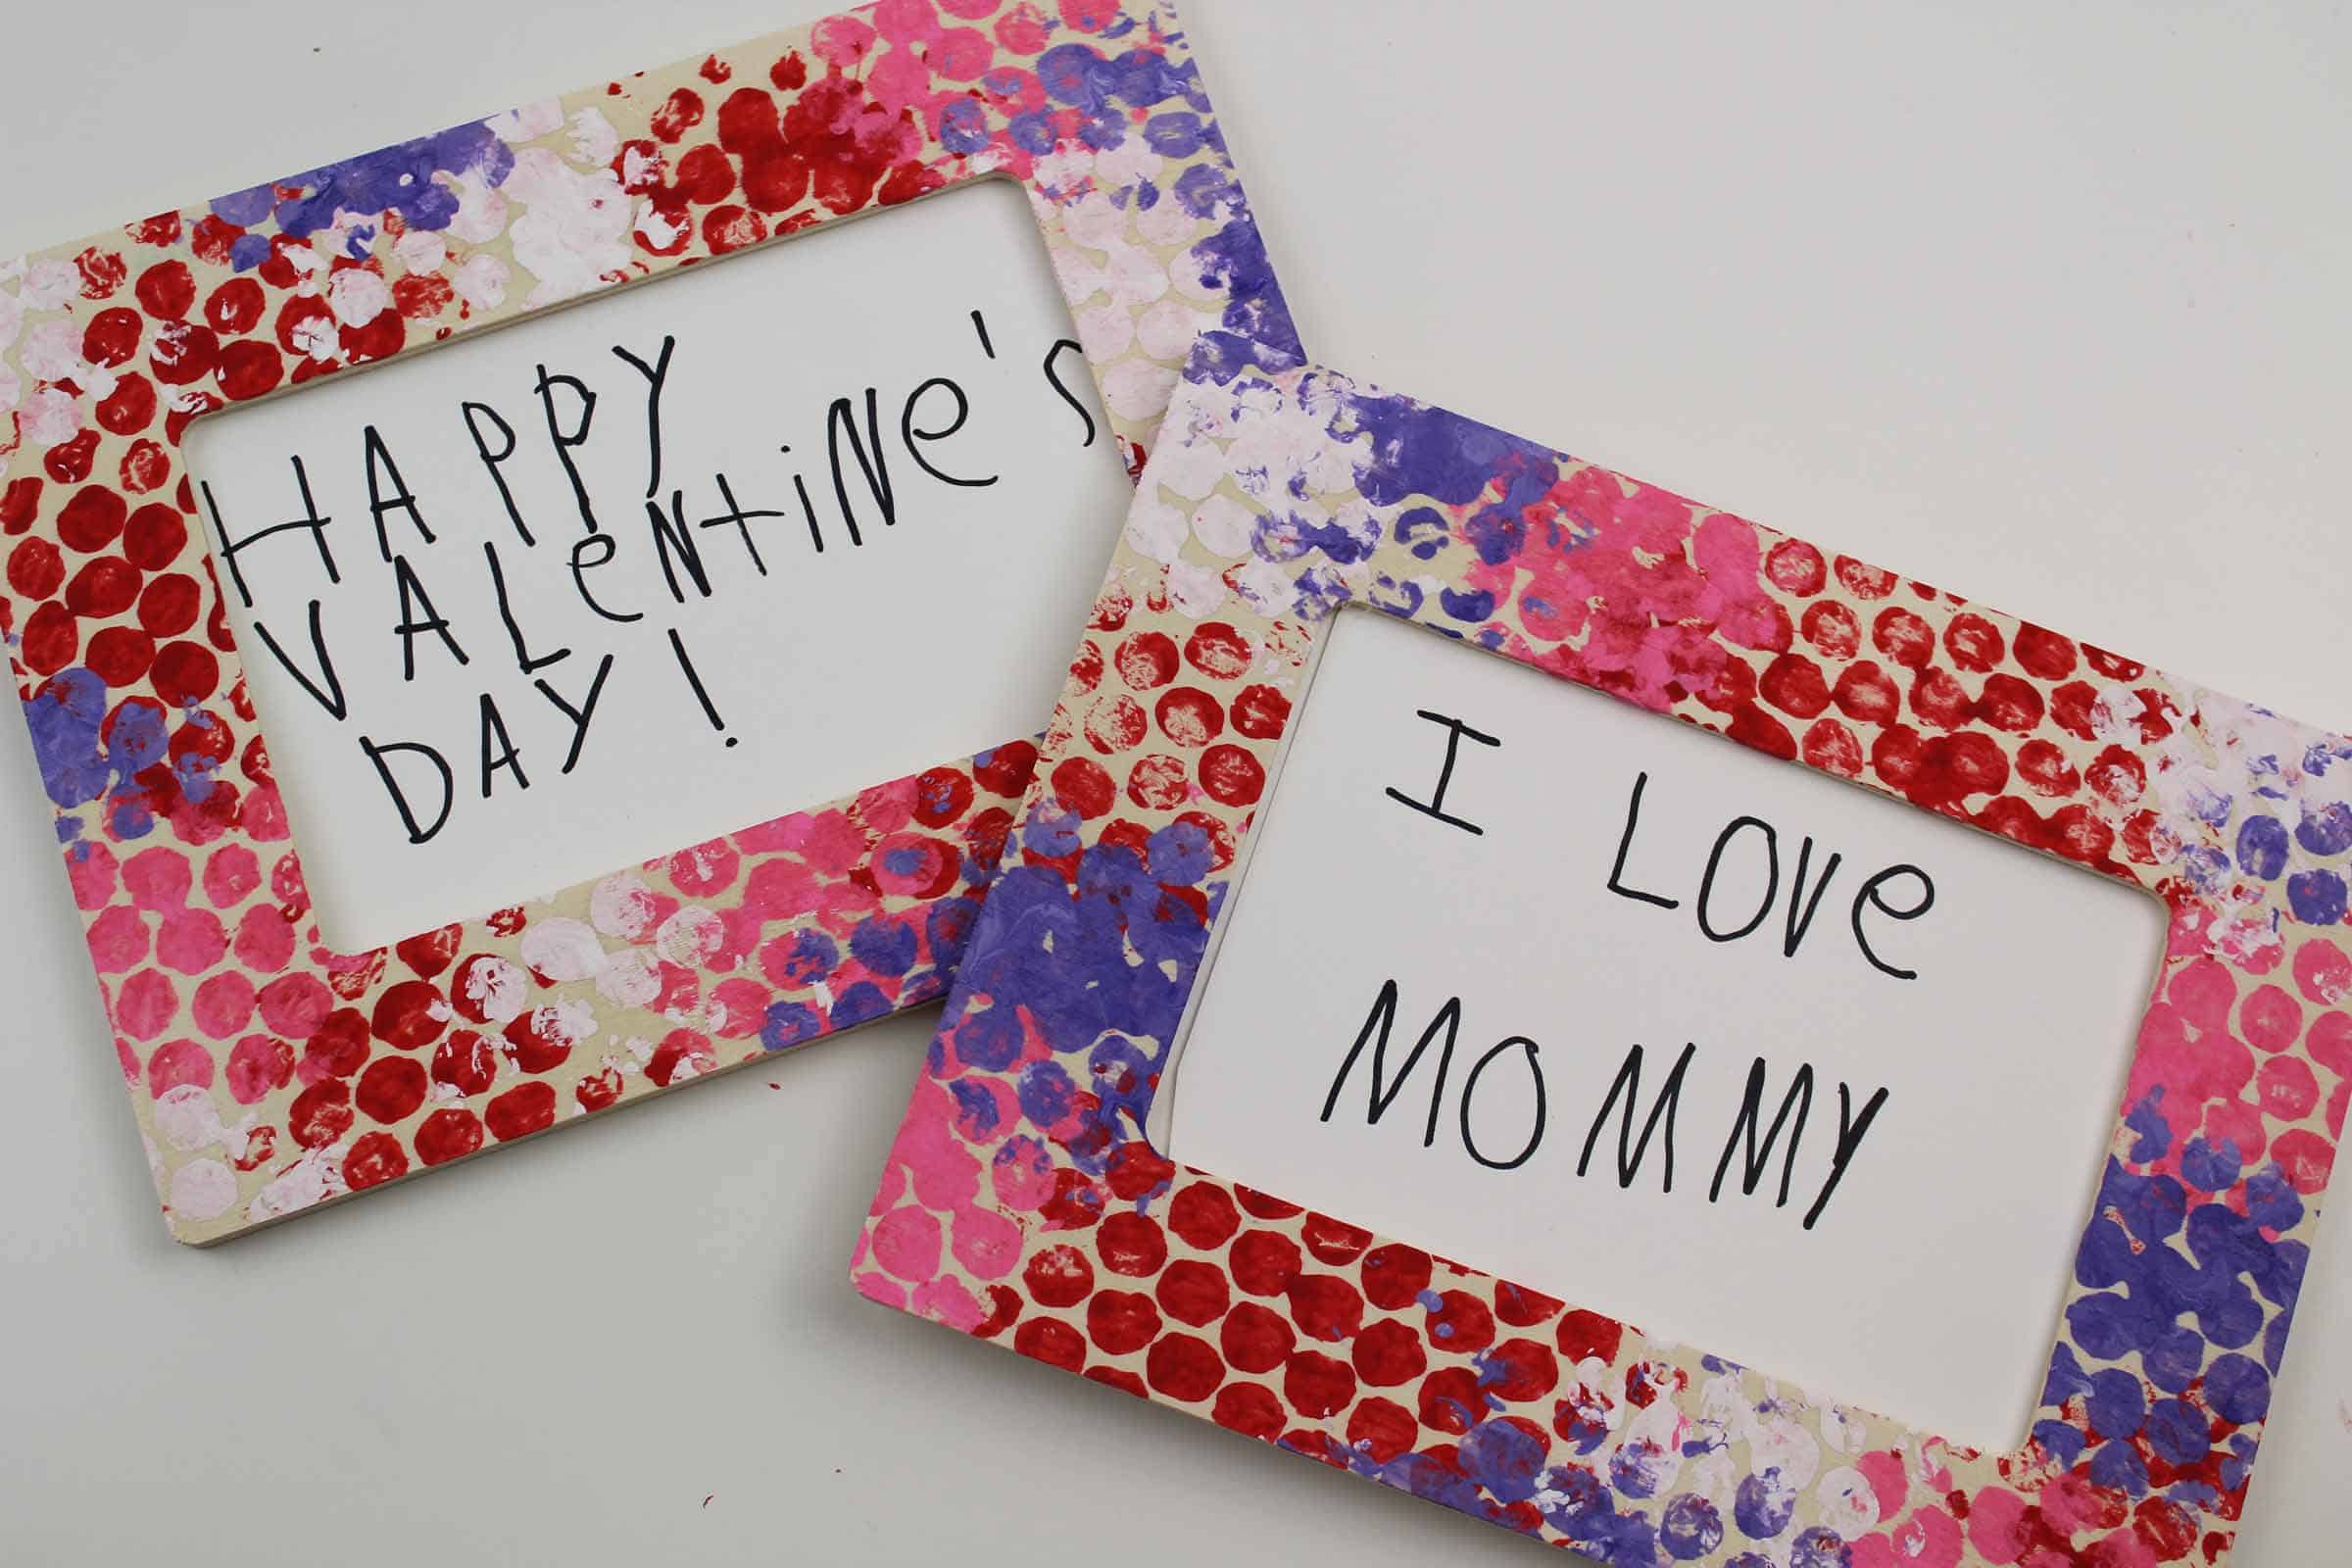
- Step 3: This is an easy project to do for any holiday, just change the colors! Your Valentines Day photo frame is now ready to gift!

💡 Pro Tip: Let the bubble art dry completely before inserting the photo—this ensures the frame stays intact and prevents any colors from bleeding onto the picture during final assembly.
🧑🎨 Expert Tips
- Paint Layering: Apply several light layers of bubble wrap prints to build up a textured background without overwhelming the frame's central design, ensuring a balanced visual effect.
- Color Exploration: Let children experiment with pastel shades for a soft look or bold primary colors for a more vibrant, playful design that catches the eye from across the room.
- Edge Framing: Create a clean boundary by leaving a small white space around the bubble prints—this helps define the artwork and directs focus toward the photo and message.
- Photo Placement: Choose a photo with a soft background to let the bubble art shine, ensuring it doesn't compete with the colors for visual attention.
- Creative Wrapping: Consider wrapping the frame with a colored ribbon or twine to add a finishing touch, reinforcing the theme and adding an extra layer of charm to the gift.
- Activity Integration: Let children personalize the frame by stamping a handprint or writing a name along the edge of the frame, making the craft even more meaningful.
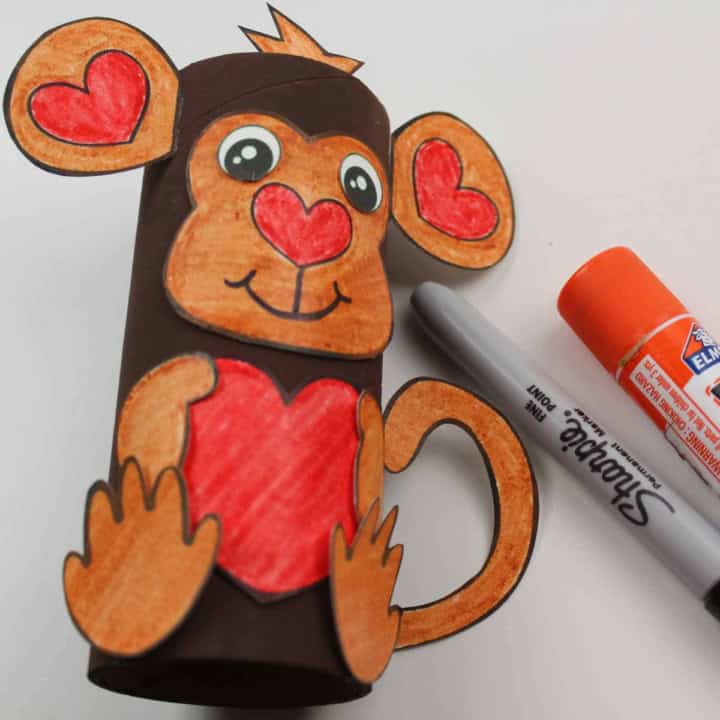
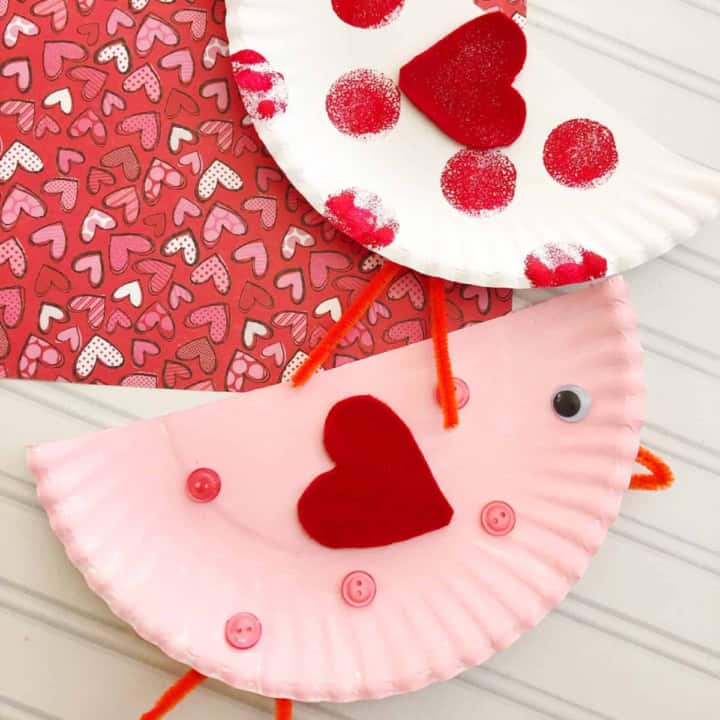
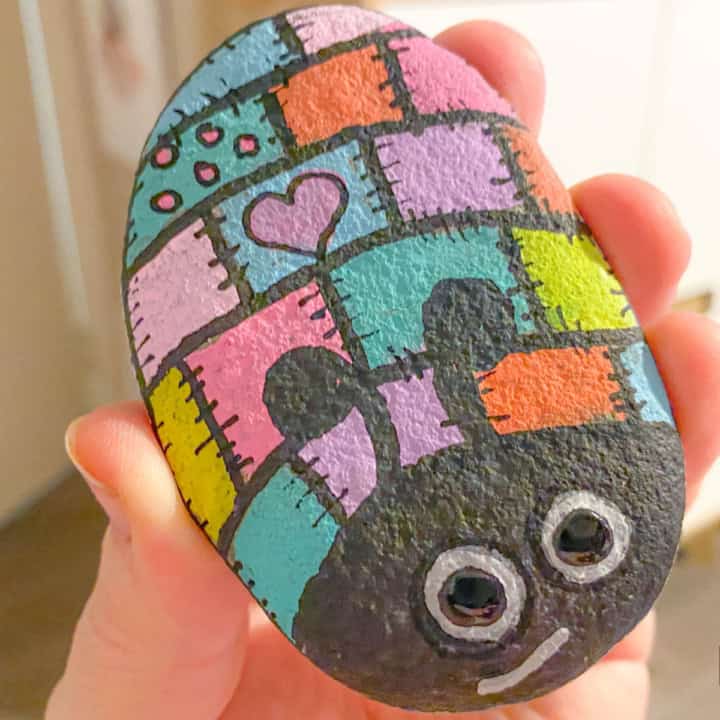
🖌️ More Valentines Day Craft Ideas
Love these crafts! Don't forget to pin them on Pinterest or leave a comment and let us know how you got on!


Did you make this craft? Leave a review and comment below! Alternatively, bookmark it in your browser or save to Pinterest.

Valentines Bubble Art: A Photo Frame Gift
Materials
- Paint
- Paintbrush
- Bubble wrap
- Black Marker
- Wooden Frame
- Paper
- Scissors
- Glue
Instructions
- Cut squares of bubble wrap and set aside.
- Place drops of paint onto a plate.
- Paint a square of bubble wrap (bubble side) and firmly press the bubble wrap onto the wooden frame. Allow the paint to dry completely before overlapping any colours.
- Repeat this time again with various paint colours until your desired look is created.
- Cut a piece of paper to fit the frame window and allow your child to write a message. Place the picture inside the frame.
- Decorate the frame with heart stickers, glitter, sequins etc.
If you liked this Valentine's Day bubble art photo frame, check out some of our other Valentine's ideas, below!


Leave a Reply