

We love to recycle and last year I asked my friends to collect wine corks, bottle tops, and other bits and pieces for me. We ended up with a whole heap of useful items to recycle and use in our craft projects and that is always great for the environment and for the budget. Today we have a fun and easy to make Wine Cork Craft Mouse Decoration.
This was created by a guest crafter and we are sharing it here on The Inspiration Edit.

Jump to:
💖 Why You'll Love This Craft
- Eco-Friendly Fun: This craft gives your wine corks a second life, making it a sustainable and creative holiday project.
- Simple to Make: Perfect for both kids and adults, it’s easy to assemble with just a few materials.
- Personalized Touch: Customize your mice with different colors and accessories for a truly unique decoration.
🎨 Supplies Needed

- Wine corks
- Scissors
- Rhinestones
- Ribbon
- Small jingle bell
- Green sparkly pipe cleaner
- Knife
- Low-temperature hot glue gun
RELATED POST: BUMBLE BEE WINE CORK ART
🖌️ How To Make This Wine Cork Craft

- Step 1: Begin by slicing off two thin circles from one wine cork, these will be the mouse’s ears.

- Step 2: Hot glue the small circle slices to the top of the back of another wine cork, one-off to each side.

- Step 3: Glue two rhinestone eyes onto the front of the wine cork that you just glued the ears to, and another rhinestone for the nose.

- Step 4: Twist a sparkly green pipe cleaner into a spiral shape.

- Step 5: Attach the green spiral pipe cleaner to the back of the wine cork to serve as the tail for your mouse.

- Step 6: Cut a small piece of ribbon and thread it through a small jingle bell. Tie the ribbon around the cork just under the nose of the mouse.

- Step 7: Glue a small loop of twine to the back of the wine cork in between the ears, this will be the hanger for your mouse ornament. Now your Mouse is ready to hang. Enjoy.

You might want to try some other Cork decoration ideas. maybe a rudolf or a snowman.

💡 Pro Tip: Secure a small reusable adhesive dot under the cork base. This will ensure stability while on display and eliminate any risk of accidental tipping or shifting.
🧑🎨 Expert Tips
- Weight Balance: Keep bulkier parts like ears or tails near the centerline to avoid tilting and help the mouse stay upright after decorating.
- Top Lightness: Use lightweight materials for upper features so the cork doesn't become top-heavy and fall forward or backward when displayed.
- Glue Direction: Press glued parts firmly downward during placement to ensure they dry in position and don't slide out of alignment over time.
- Stance Testing: Pause between steps and set the mouse upright to check for tilting—this gives kids a chance to fix the imbalance early on.
- Tail Support: Angle the tail slightly downward or to the side so it adds visual character without pulling the cork backward during standing.
- Base Flattening: Lightly sand the cork’s bottom to help it stand more evenly on flat surfaces, reducing any unintentional wobble or shifting.
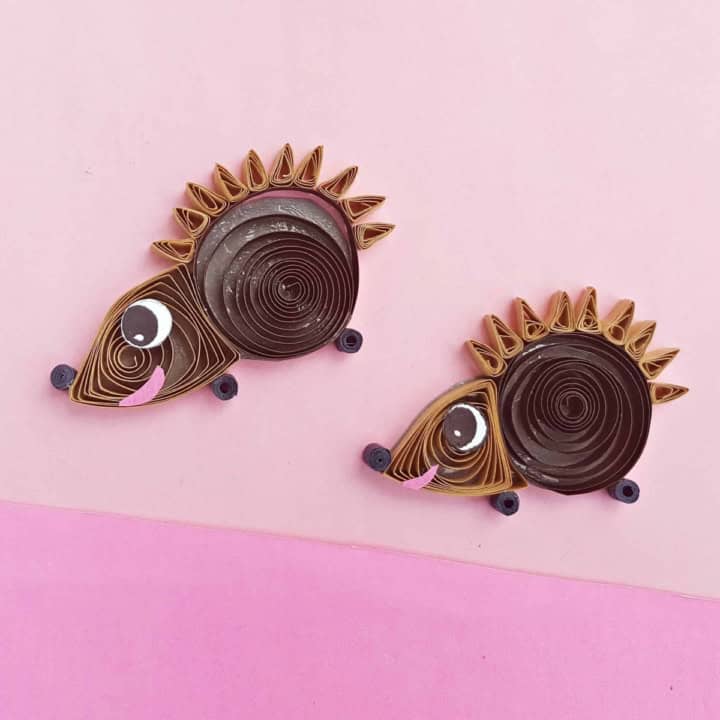
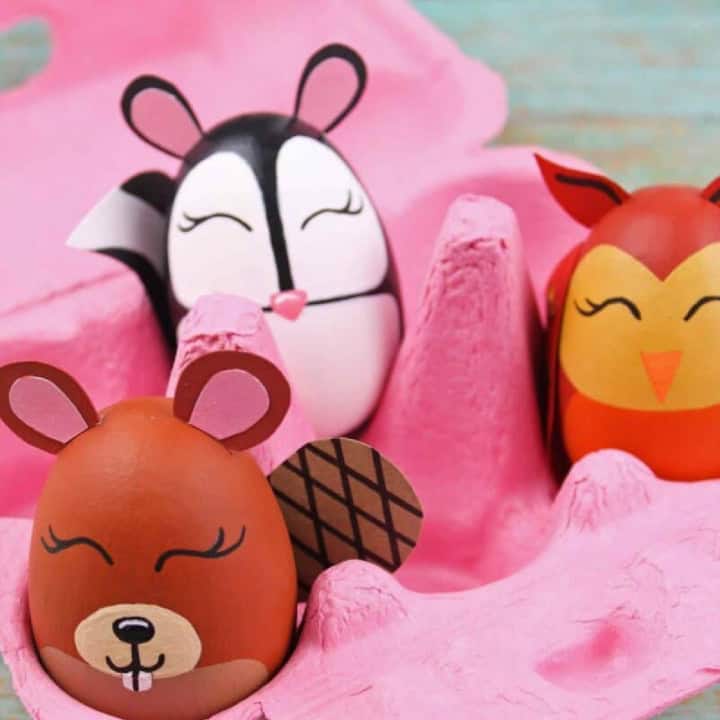
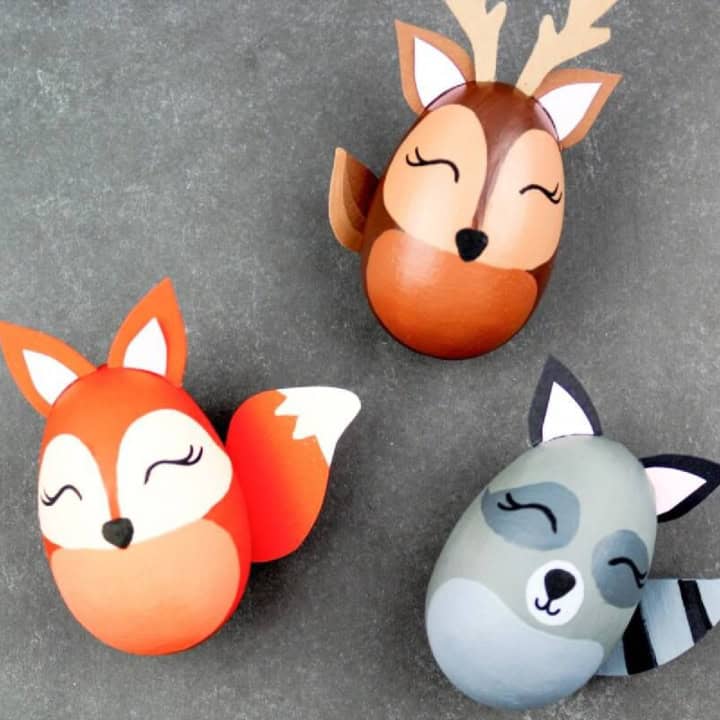
🖌️ More Fun Kids Craft Ideas
Love these crafts! Don't forget to pin them on Pinterest or leave a comment and let us know how you got on!

Did you make this craft? Leave a review and comment below! Alternatively, bookmark it in your browser or save to Pinterest.

Recycled Wine Cork Craft Christmas Mouse Decoration
Materials
- Wine Corks
- Rhinestones
- Ribbon
- Small Jingle Bell
- Green Sparkly Pipe cleaner
- Lemperature Hot Glue Gun
- Scissors
- Knife
Instructions
- Begin by slicing off two thin circles from one wine cork, these will be the mouse’s ears.
- Hot glue the small circle slices to the top of the back of another wine cork, one off to each side.
- Glue two rhinestone eyes onto the front of the wine cork that you just glued the ears to, and another rhinestone for the nose.
- Twist a sparkly green pipe cleaner into a spiral shape.
- Attach the green spiral pipe cleaner to the back of the wine cork to serve as the tail for your mouse.
- Cut a small piece of ribbon and thread it through a small jingle bell.
- Tie the ribbon around the cork just under the nose of the mouse.
- Glue a small loop of twine to the back of the wine cork in between the ears, this will be the hanger for your mouse ornament.
- Now your Mouse is ready to hang. Enjoy!
MORE CRAFTS YOU MIGHT LIKE:


Leave a Reply