

Have you ever thought about transforming overlooked stones into charming, colorful art pieces?
Our refreshed M&M painted rocks tutorial takes rock painting to the next level—ideal for reviving chipped stones and adding a burst of personality to any space.

Jump to:
💖 Why You'll Love This Craft
- Candy-Inspired Creativity: These colorful painted rocks bring the fun and sweetness of M&M’s to life with vibrant designs!
- Easy for All Ages: Whether you’re crafting with little hands or older kids, this project is simple to follow and enjoyable for everyone.
- Learning Colors and Patterns: Kids will have a blast matching M&M colors while practicing their painting skills and exploring fun patterns.
Originally designed by the innovative Barbara Beal, these playful M&M-inspired creations bring a delightful twist to a classic craft. Drawing inspiration from creative trends on platforms like Pinterest, this guide invites you to make the design truly your own by adding your unique flair.
We’re thrilled to share this detailed, step-by-step process and are confident that your version of the M&M painted rocks will soon become a standout piece in your creative repertoire.
🎨 Supplies Needed
- Rock stones (smooth and chipped)
- Dotting tool
- Black Posca Pen
- Acrylic Paint - red, green, yellow, orange, blue, grey, brown, white
- Pencil
- Paint Brush
- Sealer
- Toothpick (Optional)
🖌️How To Paint Chipped Rocks - M&M Rocks

- Step 1: Choose a smooth, rounded rock and apply a neutral primer like grey or white to help bright colors, especially reds, yellows, and oranges, appear more vibrant. This base layer ensures your lighter paints go on evenly and minimizes the number of coats needed for a bold, polished finish.

- Step 2: For your M&M-themed rocks, select a vibrant range of colors—orange, blue, green, red, brown, and yellow. If you plan on creating cracked or “broken” M&Ms, be sure to include white, black, and a chocolate brown. To achieve an even, vivid finish, apply at least two coats of each color.

- Step 3: Begin by outlining any chipped or broken areas with white paint to represent the candy shell. A dotting tool is ideal for precision, but a small brush or even a toothpick will work just as well. Remember, imperfections in the stone add character to the final piece. Once you’ve defined the shell, fill in the broken section with milk chocolate paint, leaving a thin white border for added realism.

- Step 4: Next, it’s time to add character to your M&M rocks by sketching the eyes, mouth, and the iconic “m.” Using a pencil lets you refine your design and easily erase any unwanted lines before painting. Once you’re happy with the layout, you’ll be ready for the finishing touches.

- Step 5: Start by filling in the white sections for the eyes, the letter “m,” and any teeth using a brush, dotting tool, or even a toothpick. Then, use a paint pen, fine-tipped brush, or marker to outline the eyes and mouth in black. If your design includes an open mouth, fill the inside with black for a more defined look.

- Step 6: Add a small black dot in each eye for the pupils and remember to include eyebrows for extra expression. Use a brush or dotting tool with red paint to create a tongue, shaping it like a small heart for a playful touch.

- Step 7: When you’re happy with your final details, apply a clear sealant to protect your design and keep the colors vibrant. If you plan on hiding your painted rocks for others to find, add your group name or social handle on the back before sealing. That way, anyone who discovers your rock can easily share it on your Facebook group or other social platforms.
All done and ready to display!
Painted Rocks – A Memorable Gift Idea
Why not hide these colorful M&M-themed stones in your neighborhood for kids to discover, or present them as a unique birthday surprise?
Pair a set of these whimsical rocks with a big bag of real M&Ms for a sweet and thoughtful gift that’s sure to delight.
You may also love these Minion painted rocks or these super cute Lion King Painted rocks. Rock painting can be super fun! We even have some fantastic Halloween painted rocks here on The Inspiration Edit. I'm sure you will love those!

💡 Pro Tip: Add a few drops of essential oil, like lavender or citrus, to give your unicorn slime a delightful fragrance, enhancing the sensory experience.
🧑🎨 Expert Tips
- Perfect the Slime Consistency: Start with the basic slime recipe and adjust the activator gradually to avoid the slime becoming too stiff or runny.
- Use Clear Glue for Vibrancy: Clear glue helps the colors of the slime pop. Add food coloring or glitter for a more magical look, making it visually exciting for kids.
- Add Foam Beads for Texture: Incorporate foam beads to give your slime a fun, crunchy texture. This adds an extra sensory element to the slime.
- Don't Overmix: Stir the ingredients just enough to combine them. Overmixing can cause the slime to lose its stretchy consistency.
- Experiment with Scent: Add a few drops of essential oil to make your slime smell as magical as it looks. Lavender or vanilla are great options for a soothing aroma.
- Store Properly: Always store the slime in an airtight container to keep it fresh and prevent it from drying out between uses.
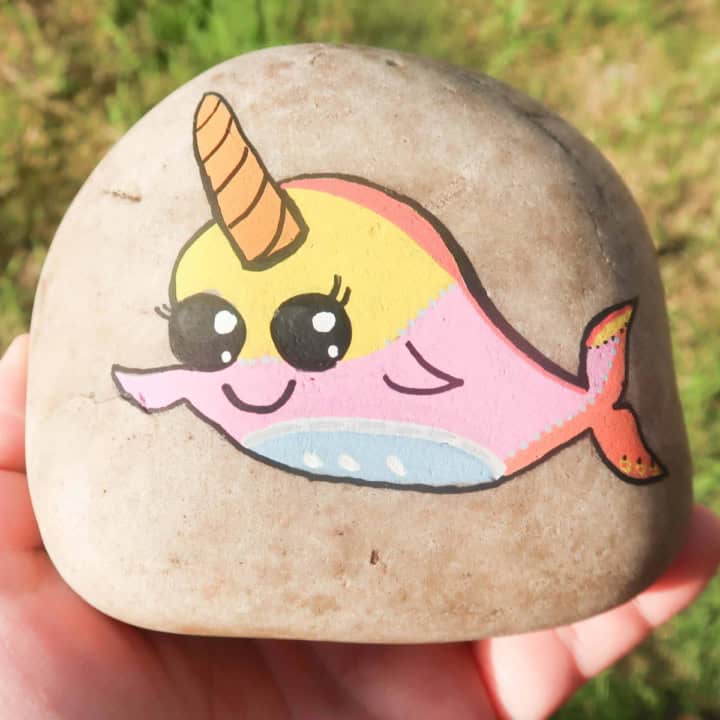
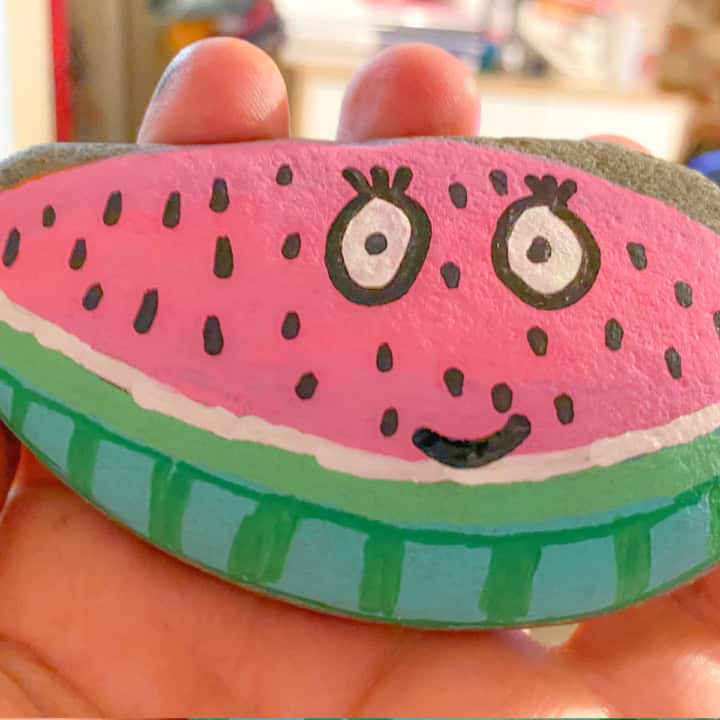
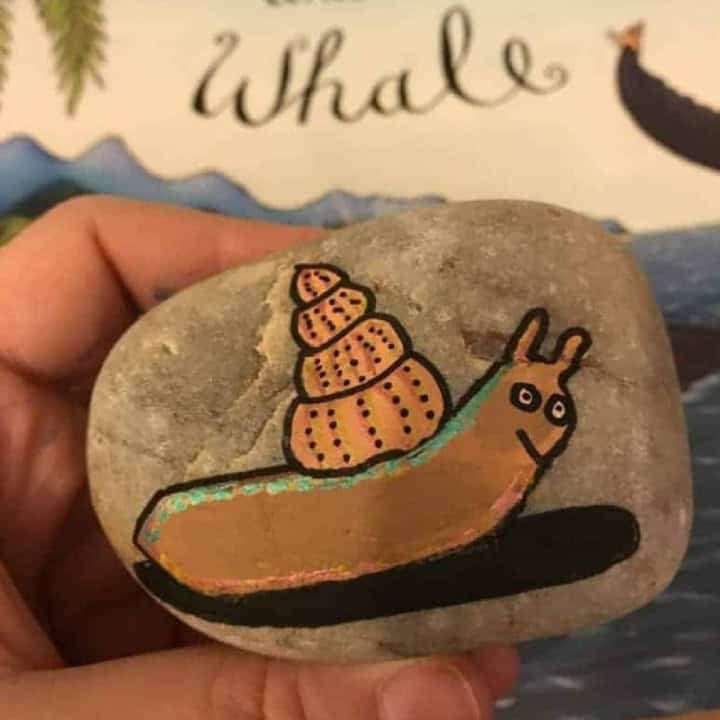
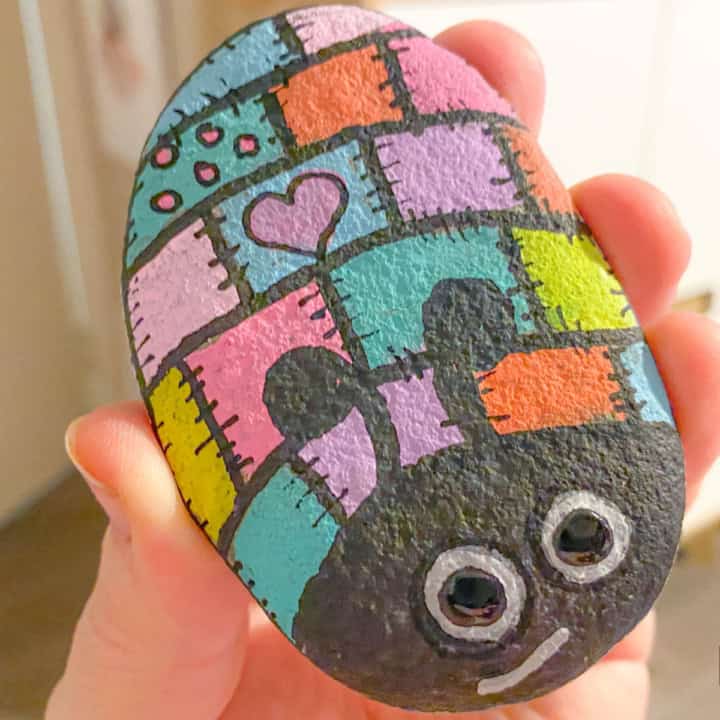
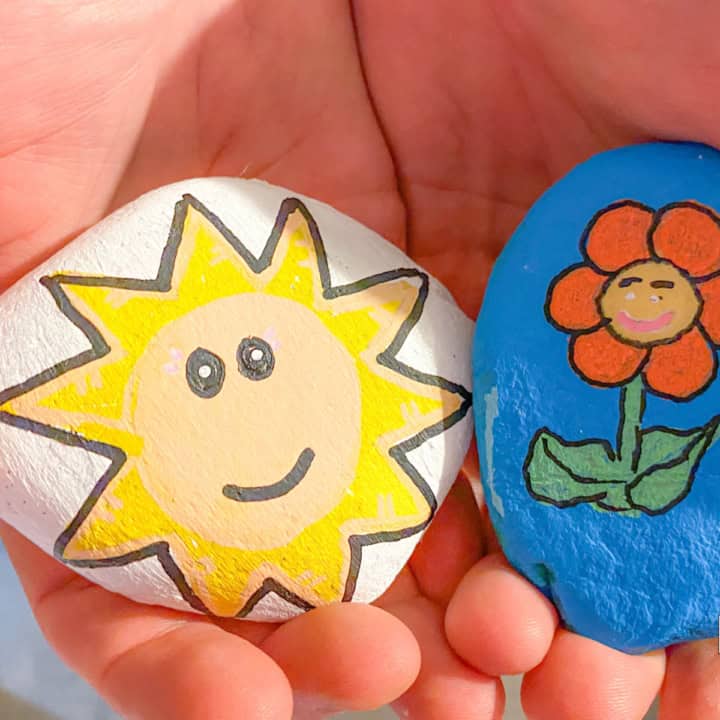
🖌️ More Easy & Colorful Painted Rocks
Love these crafts! Don't forget to pin them on Pinterest or leave a comment and let us know how you got on!

Did you make this craft? Leave a review and comment below! Alternatively, bookmark it in your browser or save to Pinterest.

M&M Painted Rocks Tutorial
Materials
- Rock stones smooth and chipped
- Dotting tool
- Black Posca Pen
- Acrylic Paint – red green, yellow, orange, blue, grey, brown, white
- Pencil
- Paint Brush
- Sealer
- Toothpick Optional
Instructions
- Find the right shaped rock, paint a base coat to prep the stone for light colours. Red, yellow and orange all benefit from having a base coat.
- Paint at least 2 coats of colour.
- Use a dotting tool to apply white candy shell to the edge of any broken part. You can also use a brush or even a toothpick could work.
- Use a brush to apply the milk chocolate color inside the white area trying to leave only a thin layer of white showing.
- Using your brush, dotter or toothpick, paint in the white areas of the eyes, the letter m and any teeth.
- Using a paint pen, brush, dotter, or marker use black to outline the eye area and the mouth. If the mouth is open colour the inside black.
- Add a black dot for the eyeball and to add any eyebrows.
- Use a dotter or brush with red paint to make a tongue.
- Once you are done with final touch-ups you are ready to apply sealer.All done and ready to display!


These are adorable. Did you do the "M" free hand or use a stencil. If you did free hand you did a great job!
the artist did hand paint these.
after a quick Google search for broken m&m rocks, I'm so glad your page popped up at the top.
I am no way an artist, and just getting into painting rocks for a friends fb page for their daughter. with rocks all over the world, I was looking for something to paint that everyone knows, so between this page and your minions page, it's a one stop (ok 2) shop.
thanks ever so much for the easy to read information and photos along the way.
good luck everyone 👋