DIY Honey Bee Craft Idea for Valentines
DIY Paper Honey Bee Craft – A Valentine’s Day Craft For Kids!
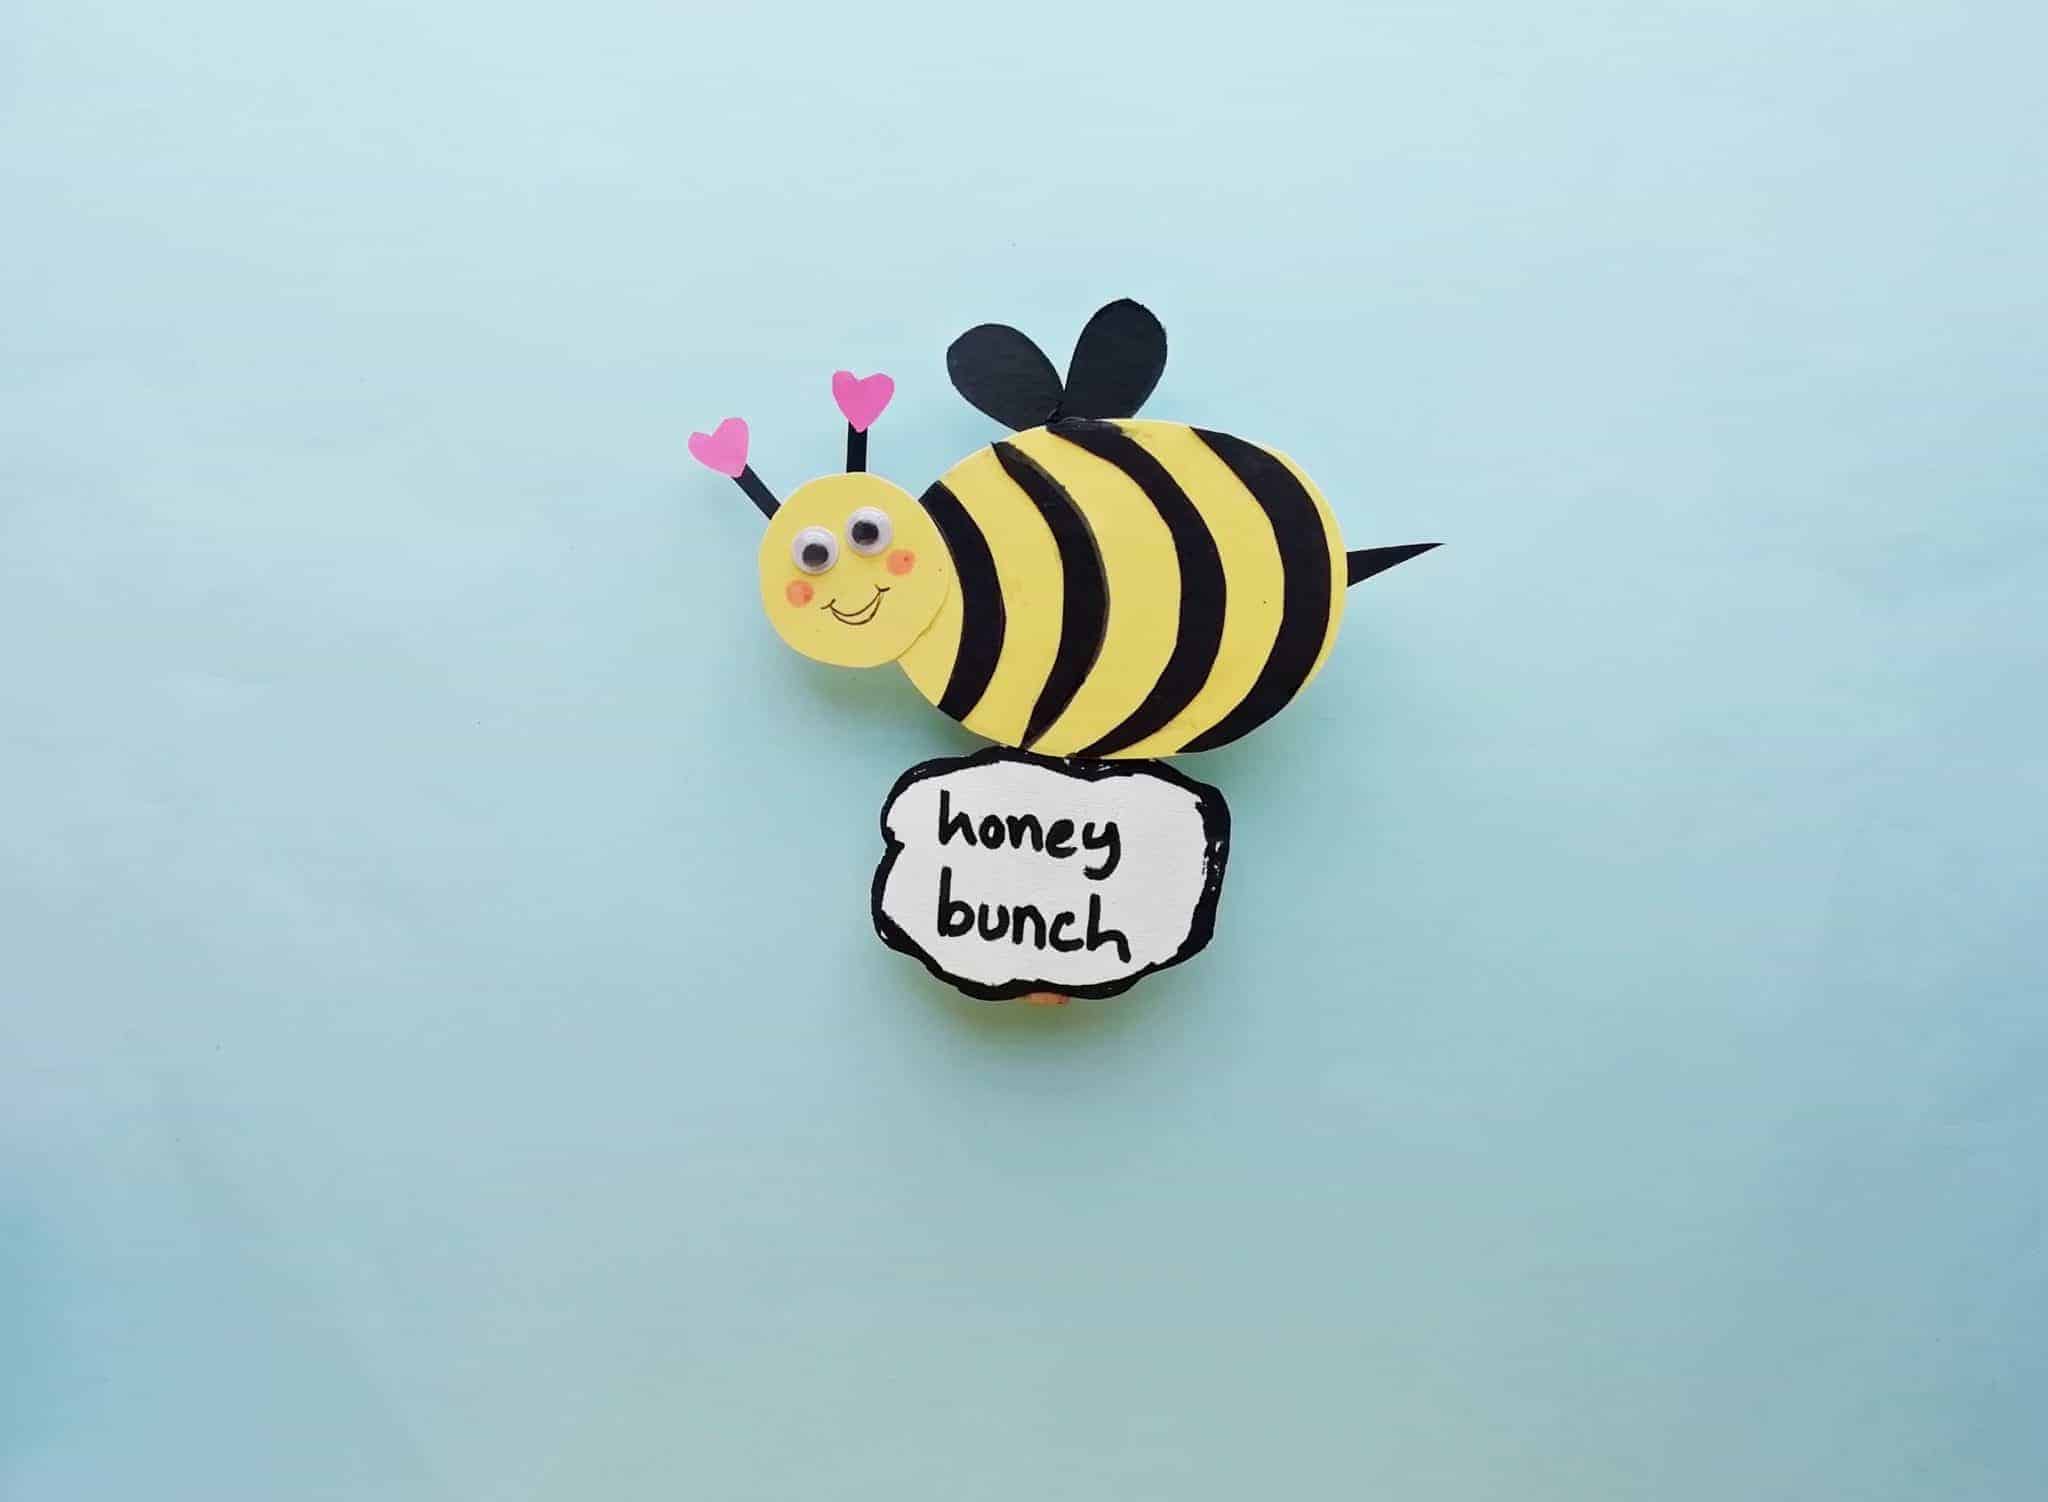
We do love simple craft ideas here on The Inspiration Edit and today we are sharing this super fun and easy bee craft which can be made any time of the year, for spring or valentines.
This is a preschool craft idea but could also be a great adult spring craft or homemade valentines card idea. Enjoy!

Supplies Needed for This Easy Bee Craft Idea
Contents
- Colourful Cardstock Paper.
- Scissors.
- Pencil.
- Markers.
- Paper Glue.
- Googly Eyes.
- Highlighter Pens.
- Clothes Pin.

Let’s Make It: Simple Craft Ideas – Valentines Honey Bee Craft
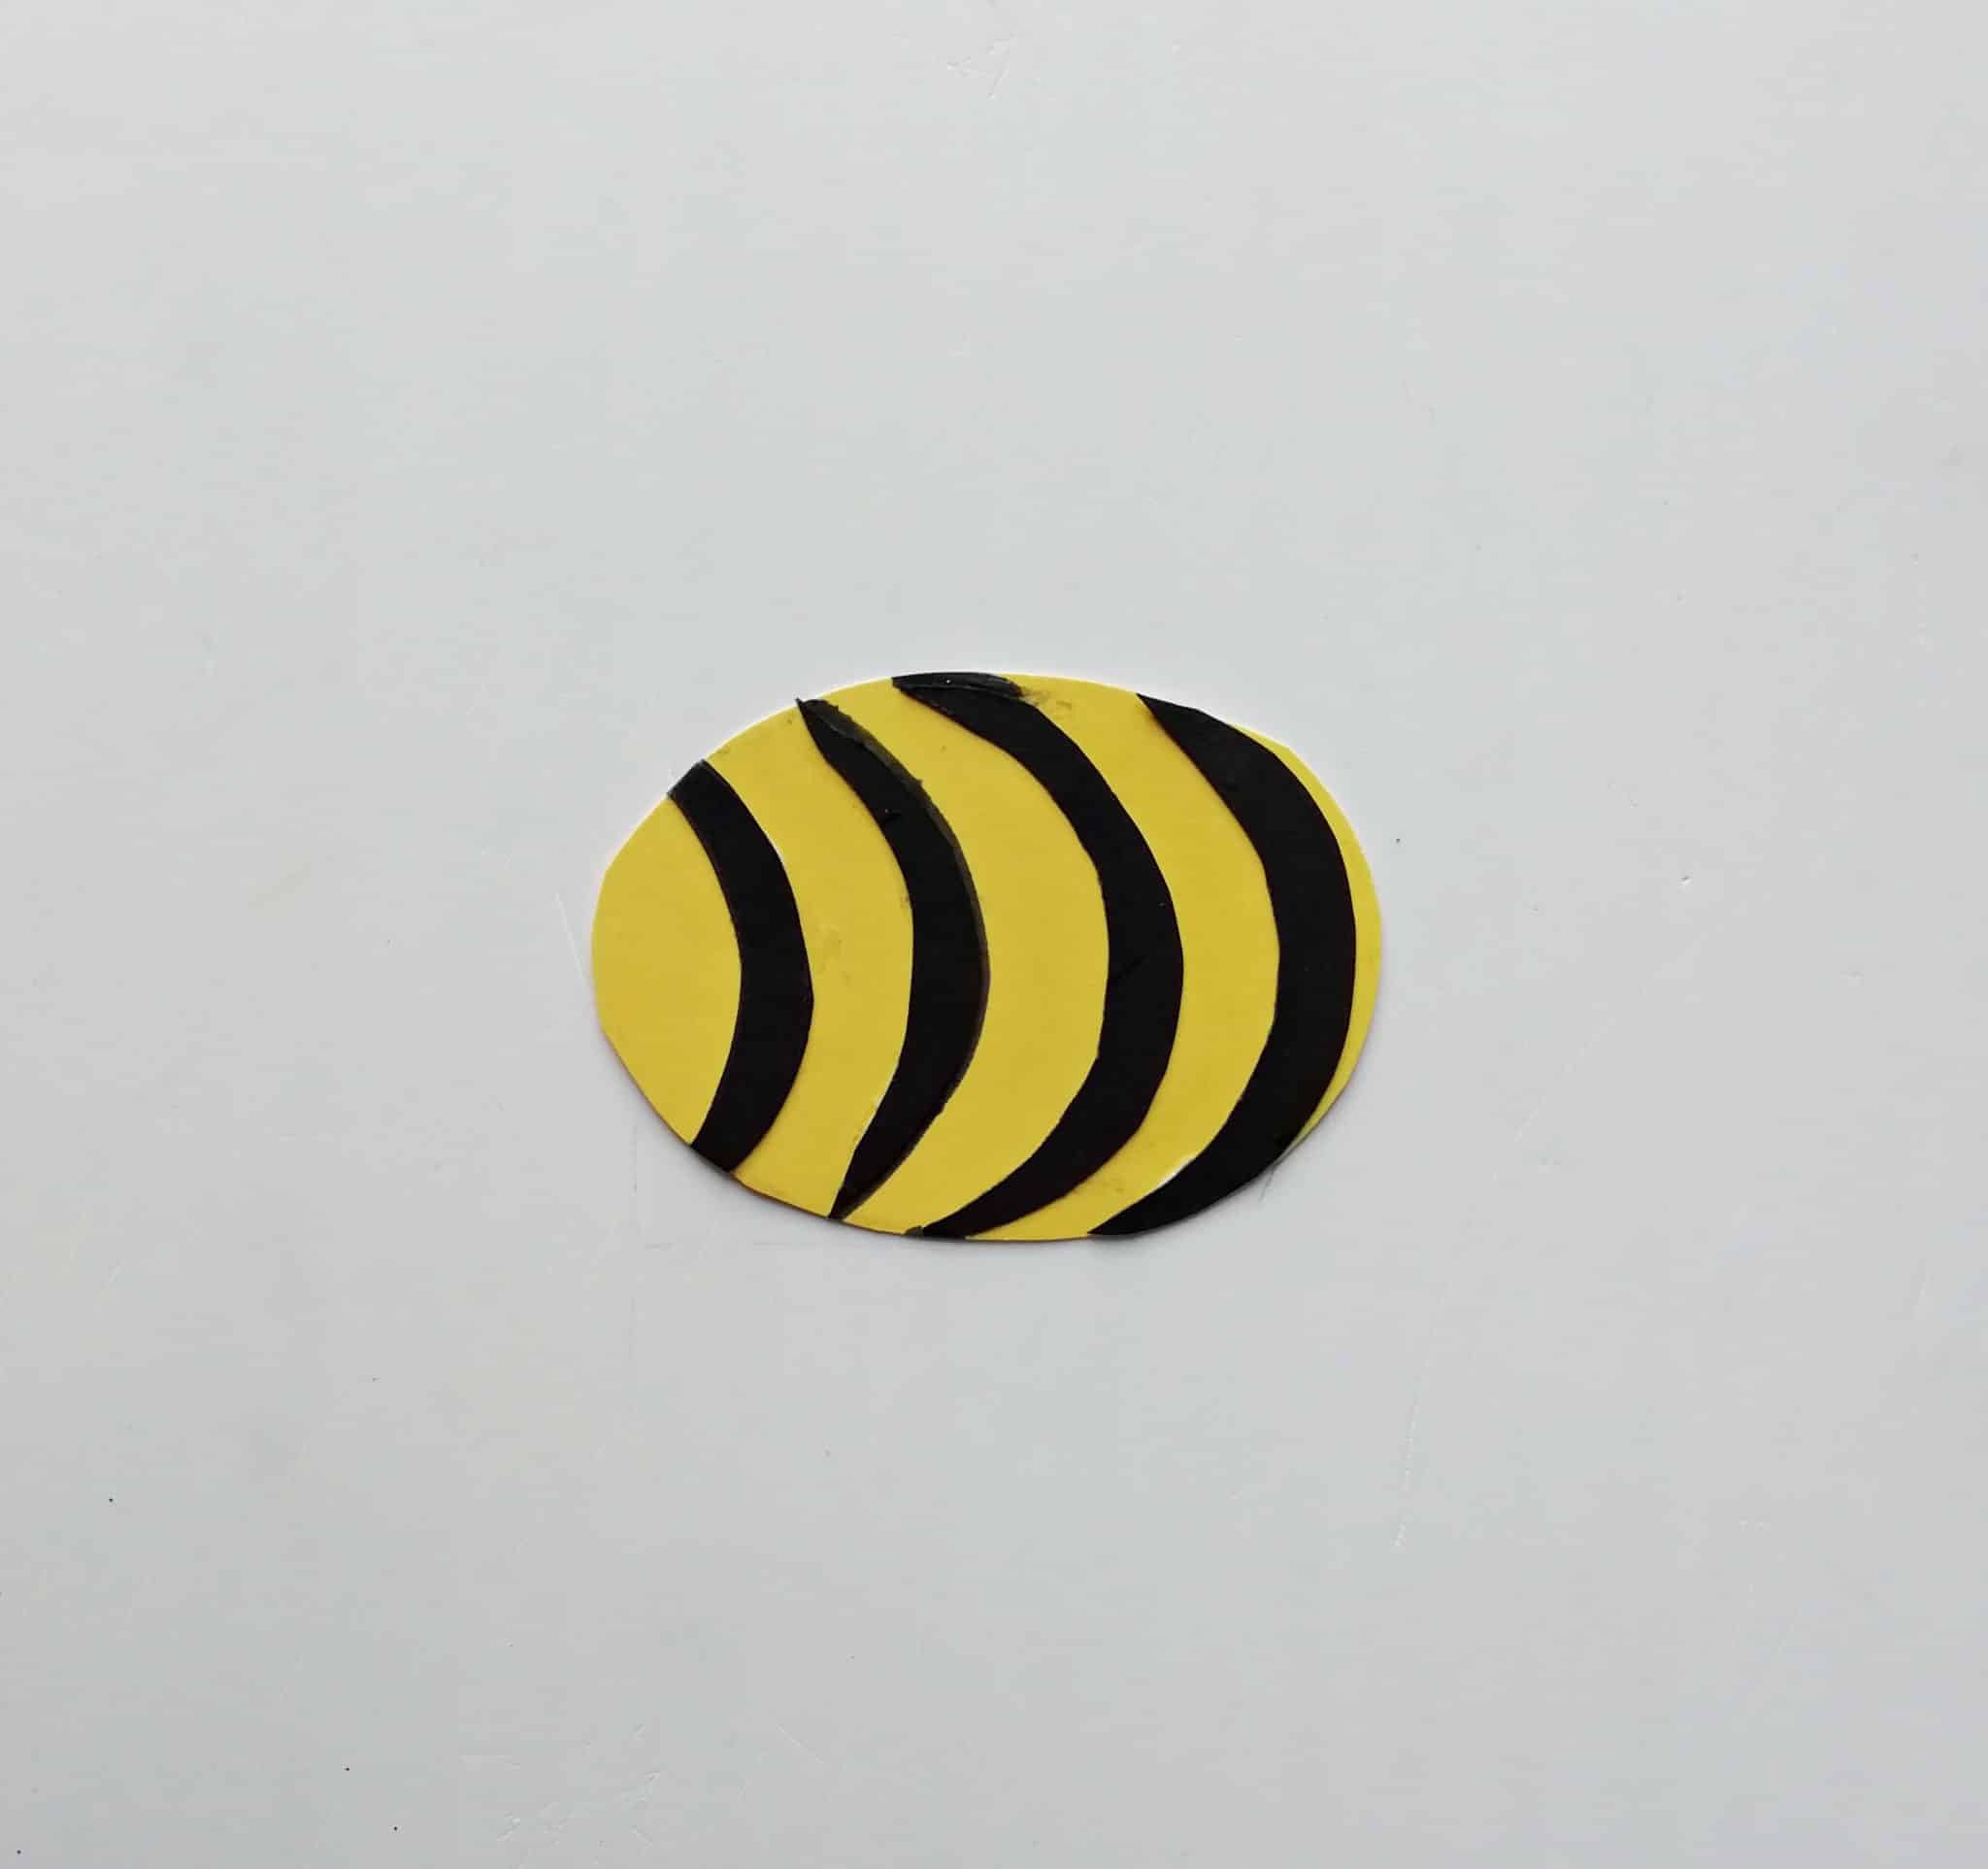
Step 1: Cut out all the pieces of the bee using the templates.

Step 2: Place the black curved stripes over the large oval shape.
Glue the stripes there. Start with a smaller sized stripe, the largest stripes should be on the
middle part of the oval.
Then at the end use the smaller stripes again .
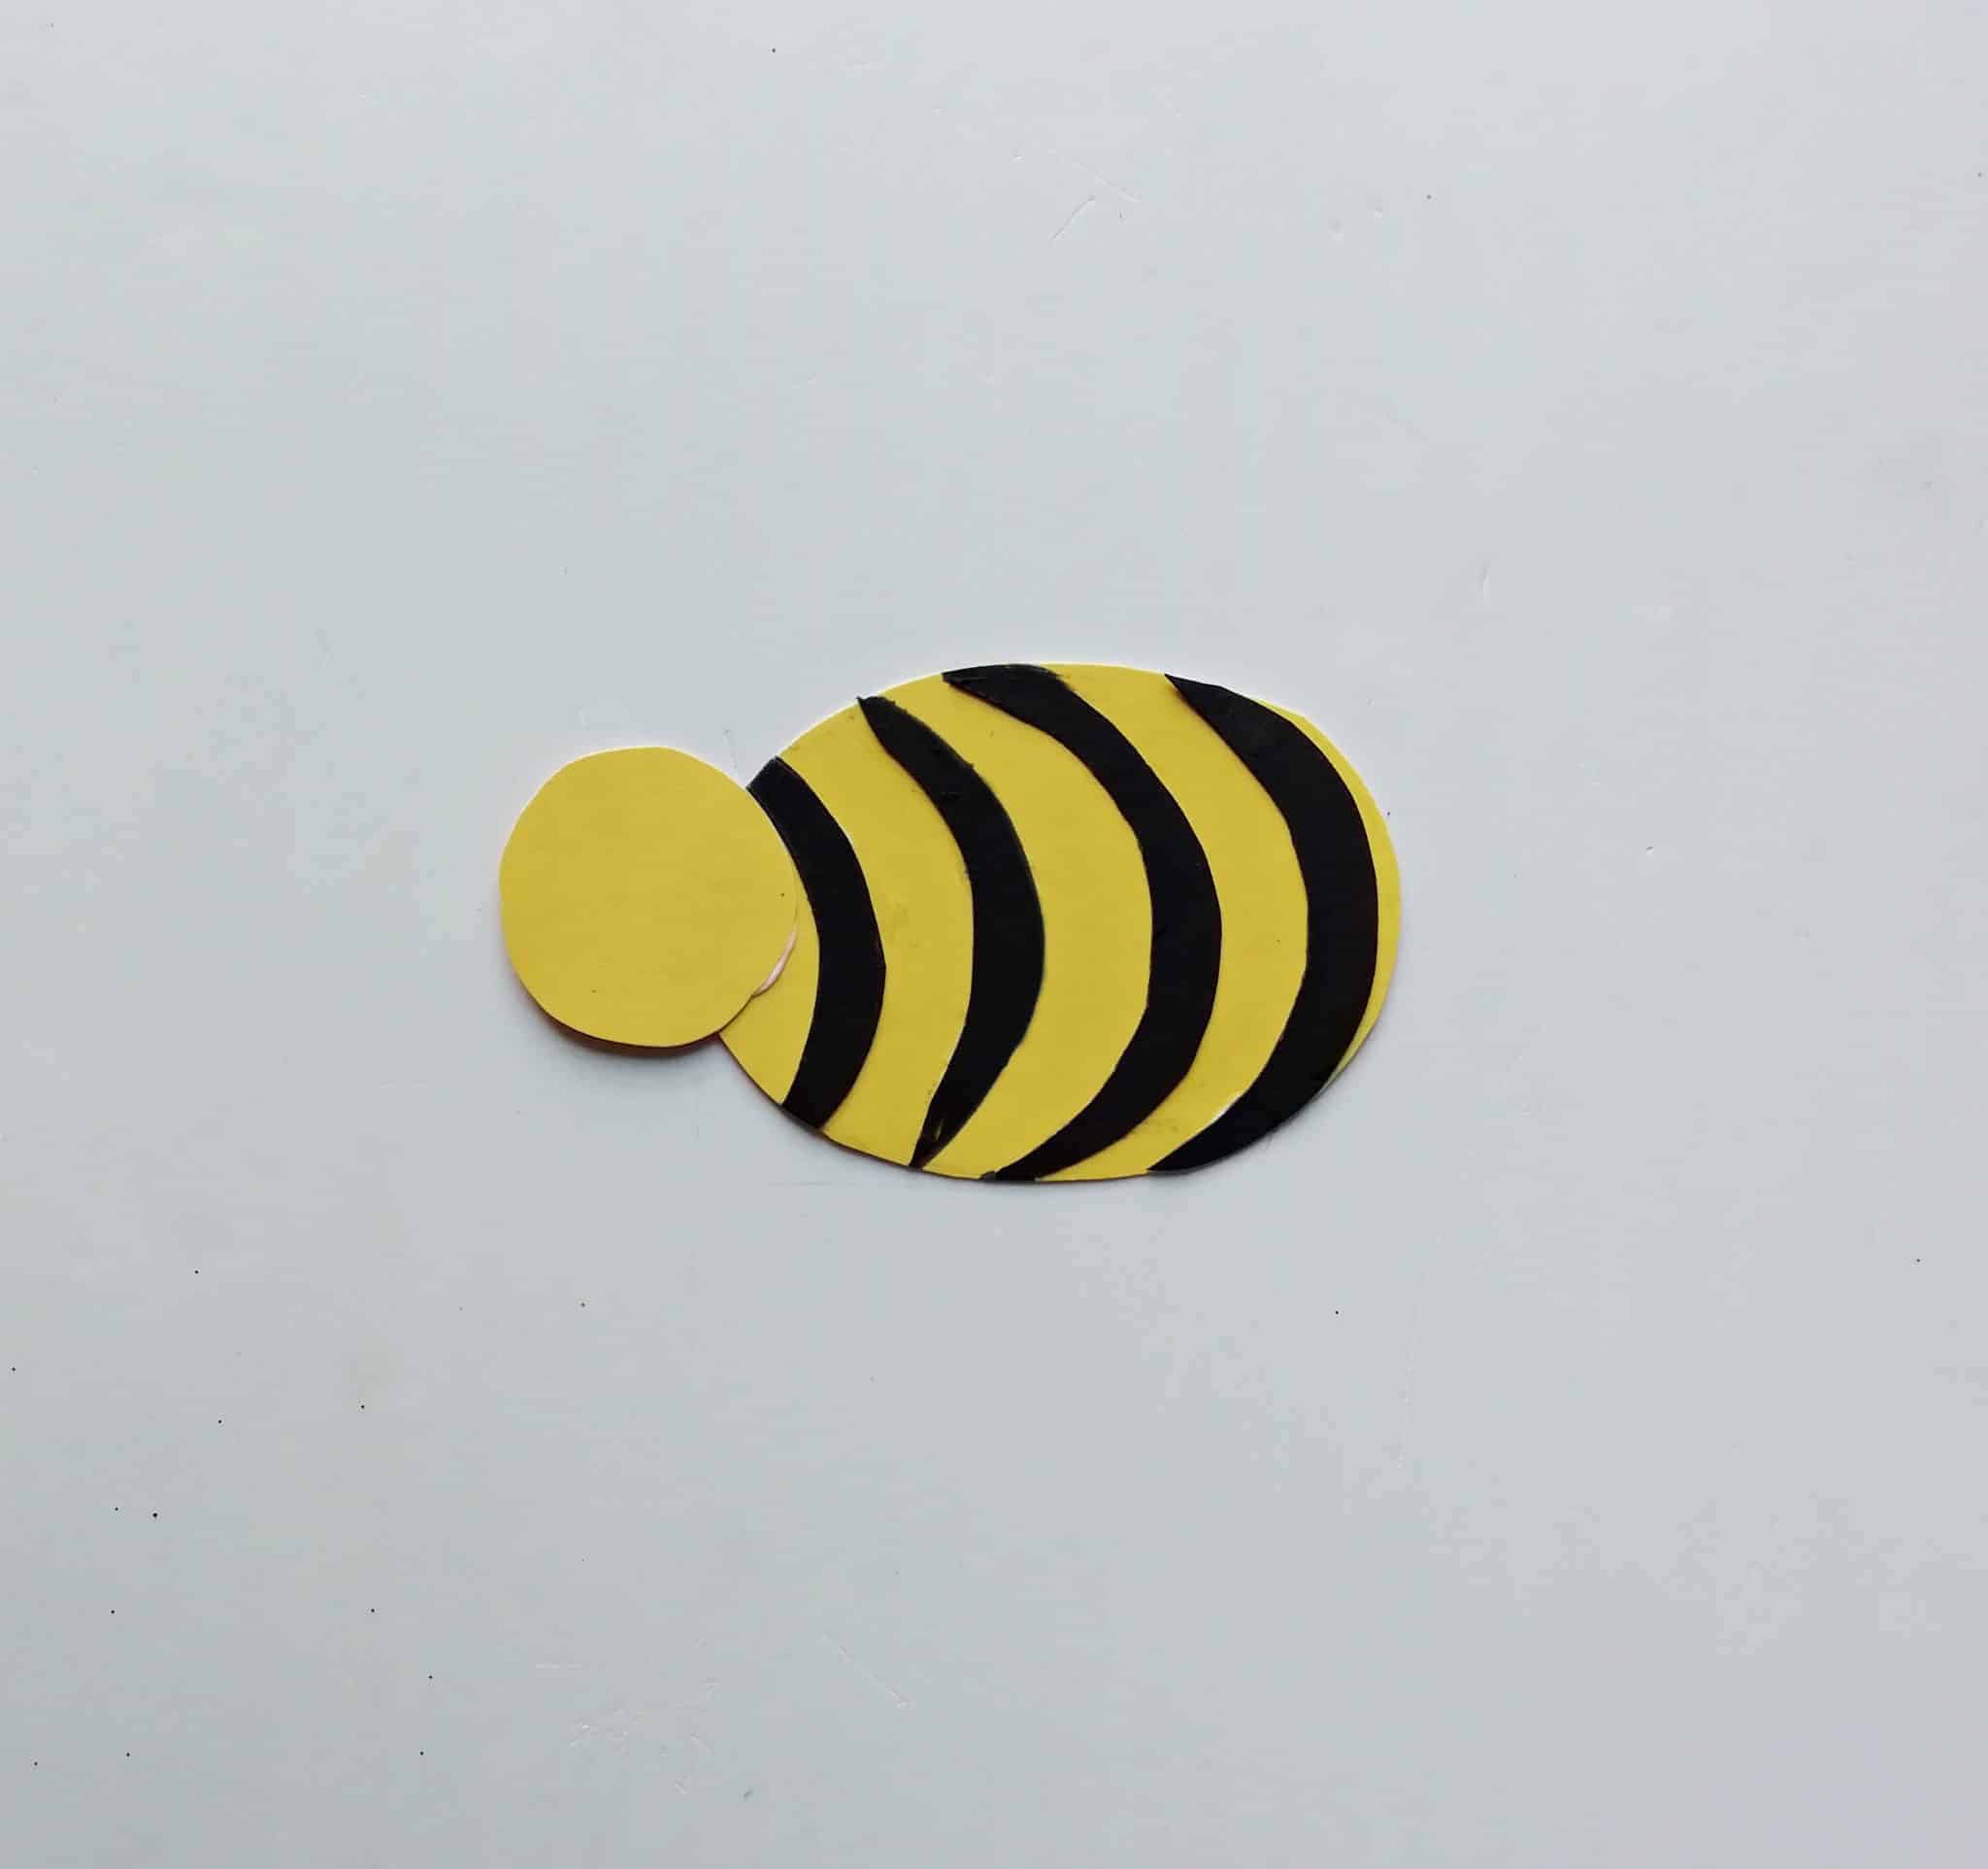
Step 3: Then take the circular piece.
Place it on the top edge of the oval shape.
This piece will be used as the bee’s head.
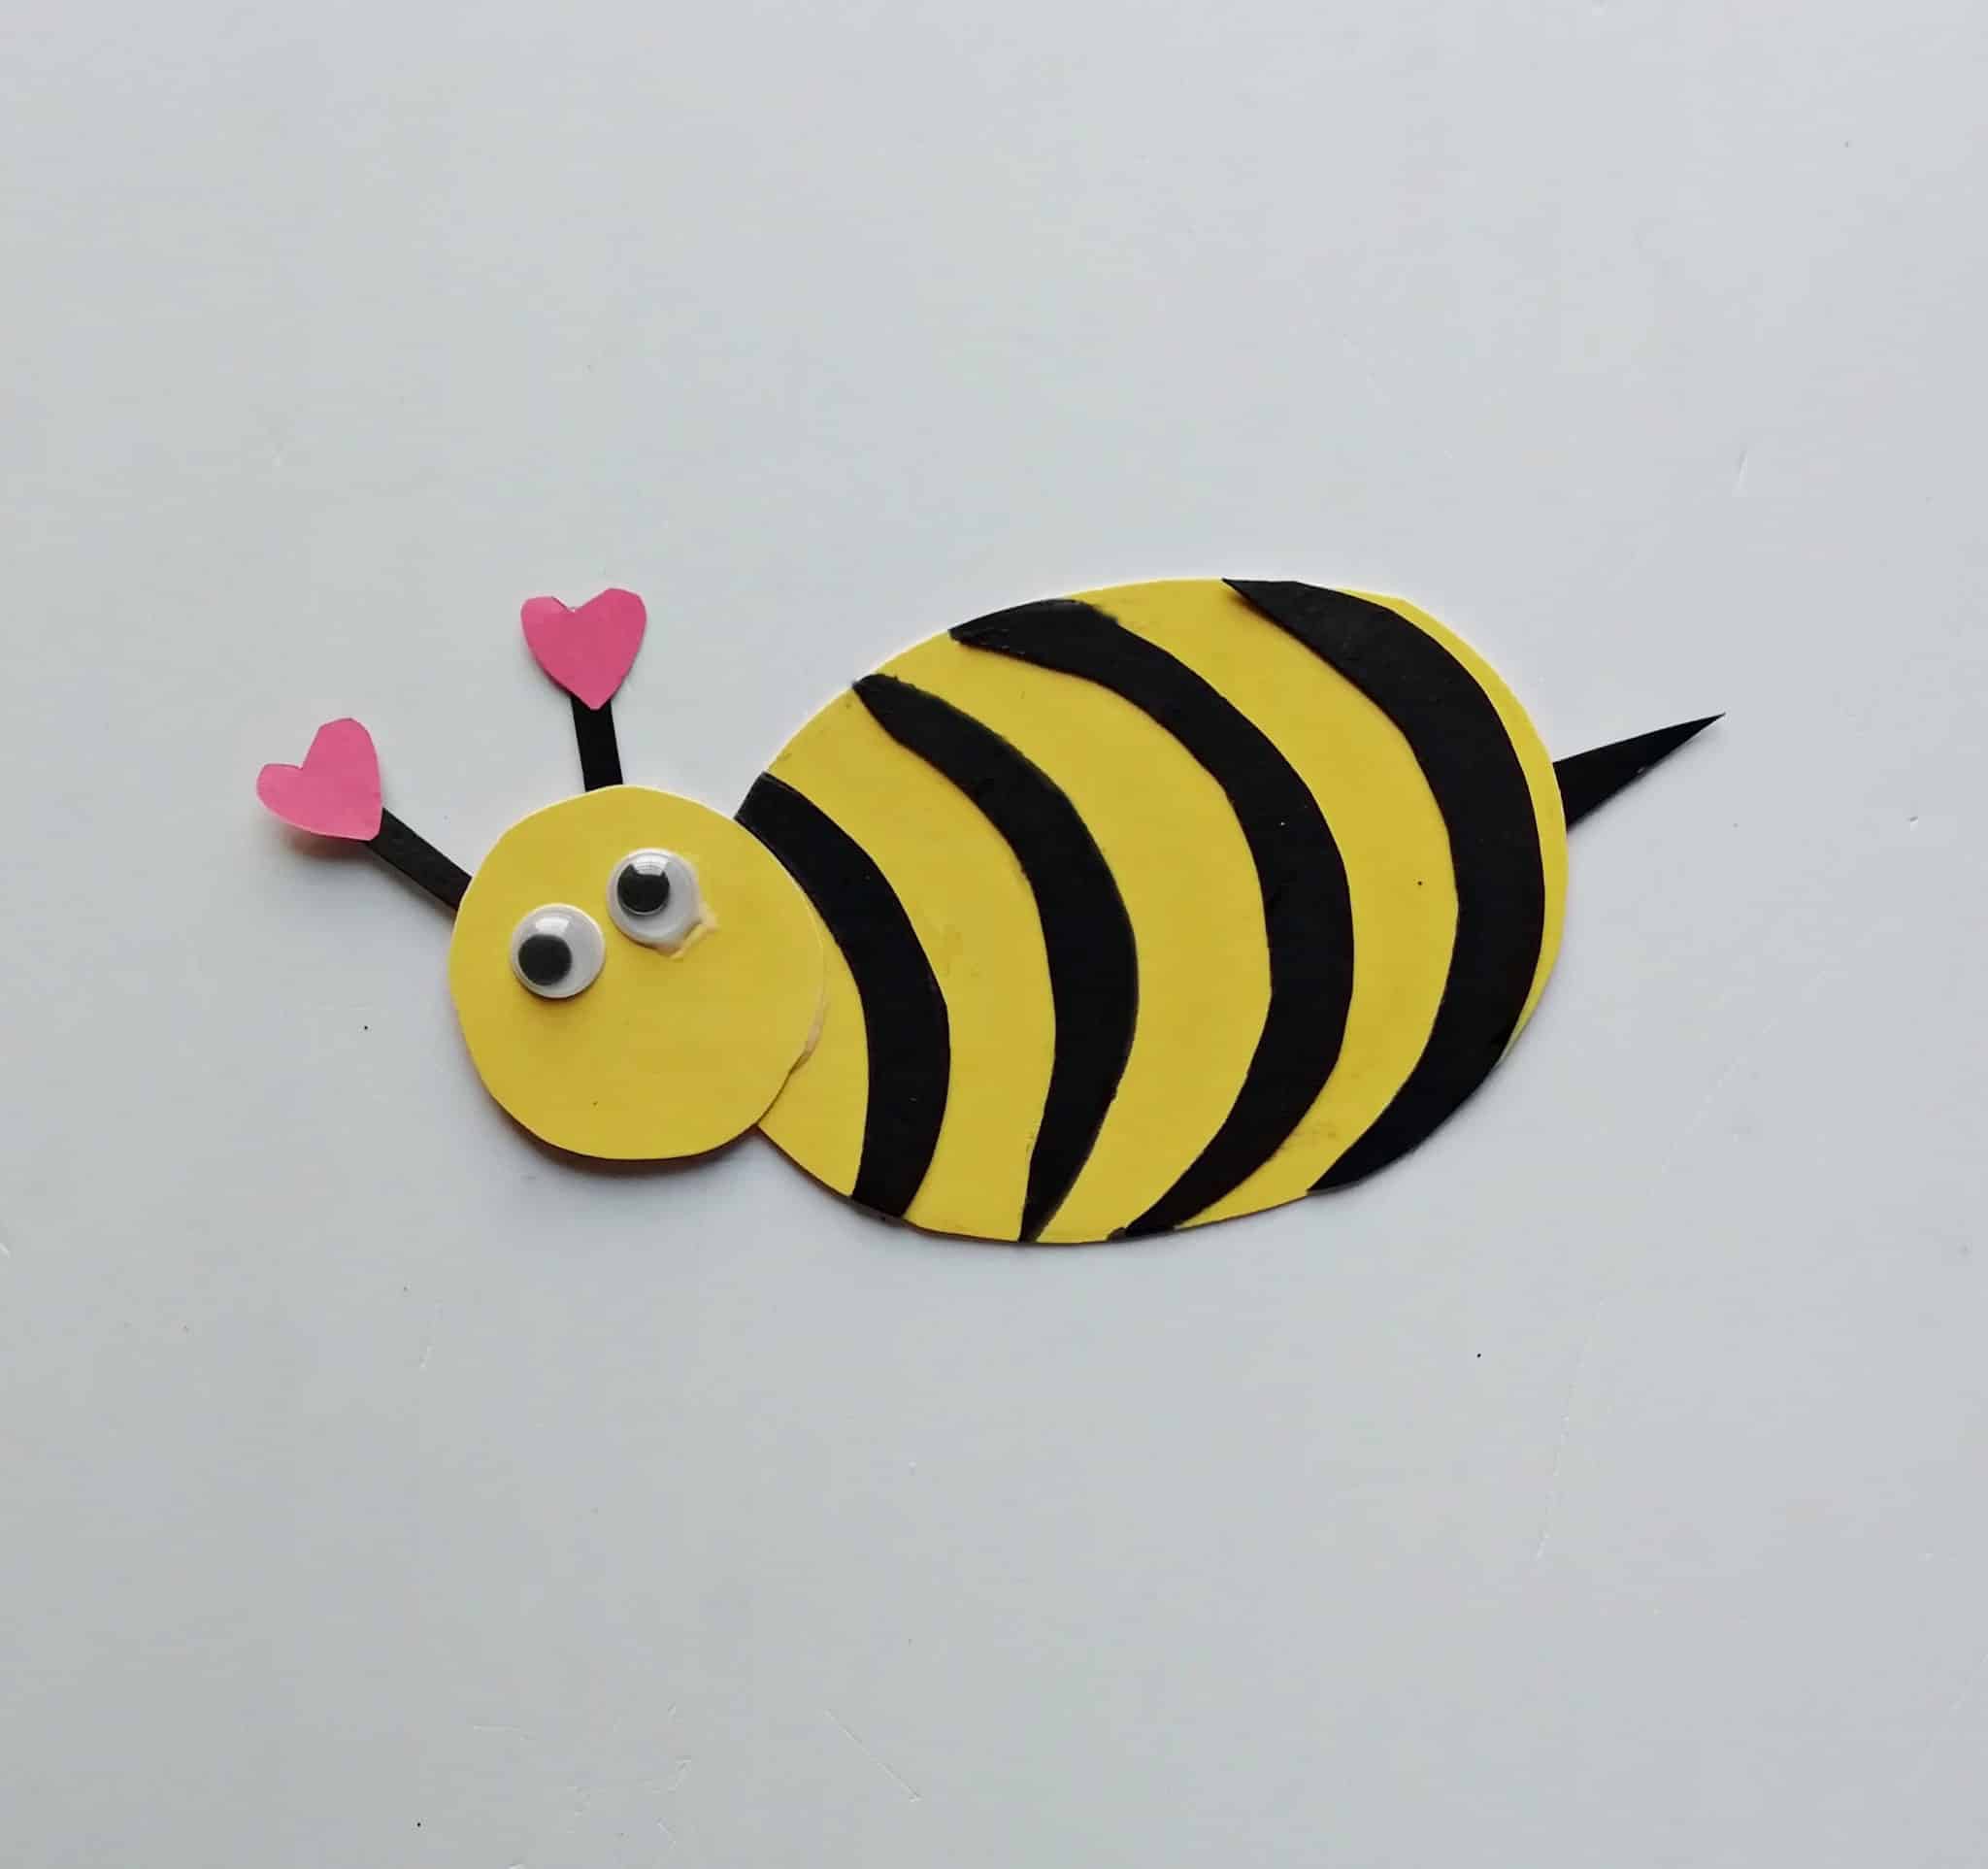
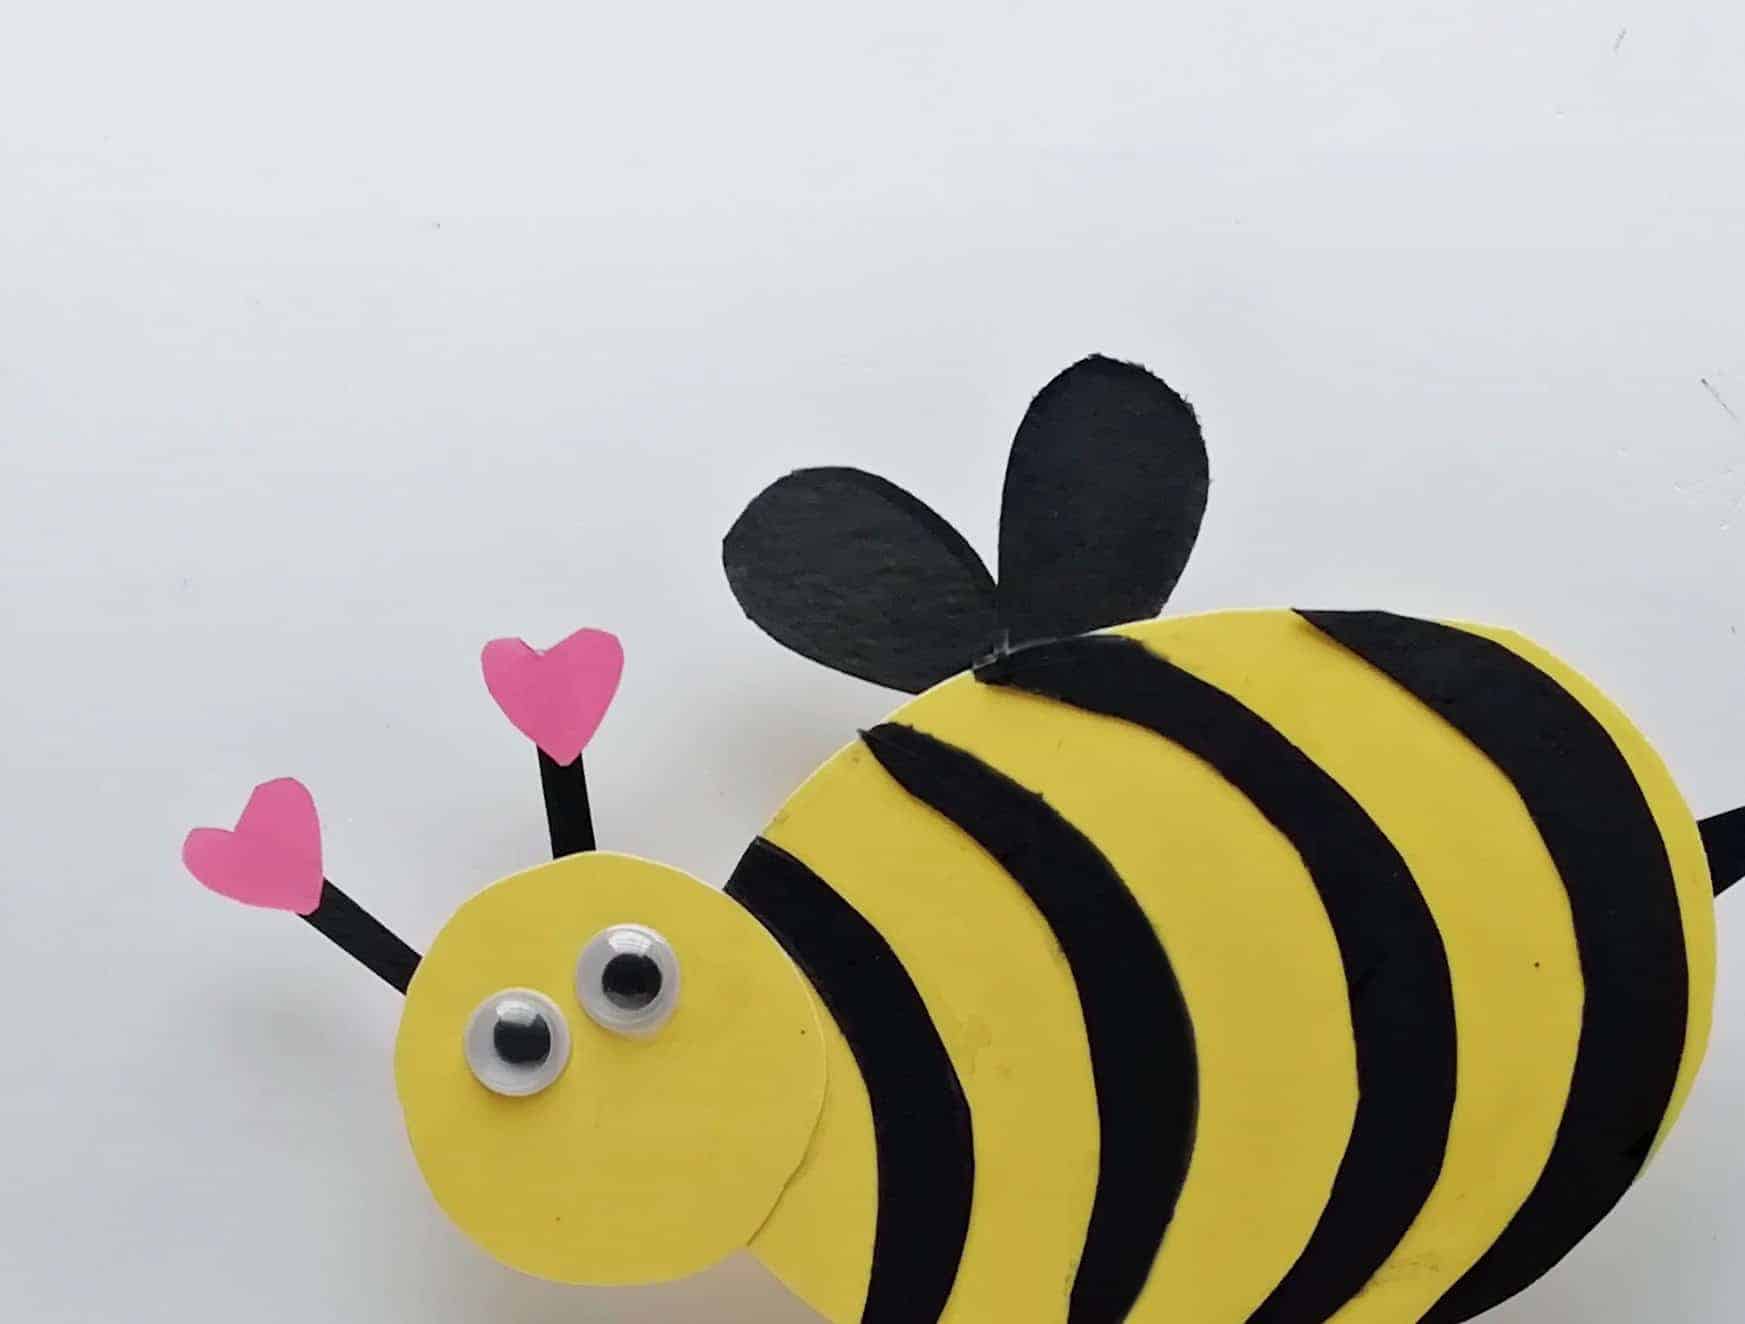
Step 4: Glue the tiny hearts in the tip of 2 thin black paper strips.
Next glue the both sticks behind the top edge of the bee’s head.

Step 5: Then glue the eyes on the top of the head.
And then glue the stinger on the back edge of the body.
Step 6: Cut out the wings using the templates as well.

Step 7: Glue the both wings on the back of the oval shaped top middle.
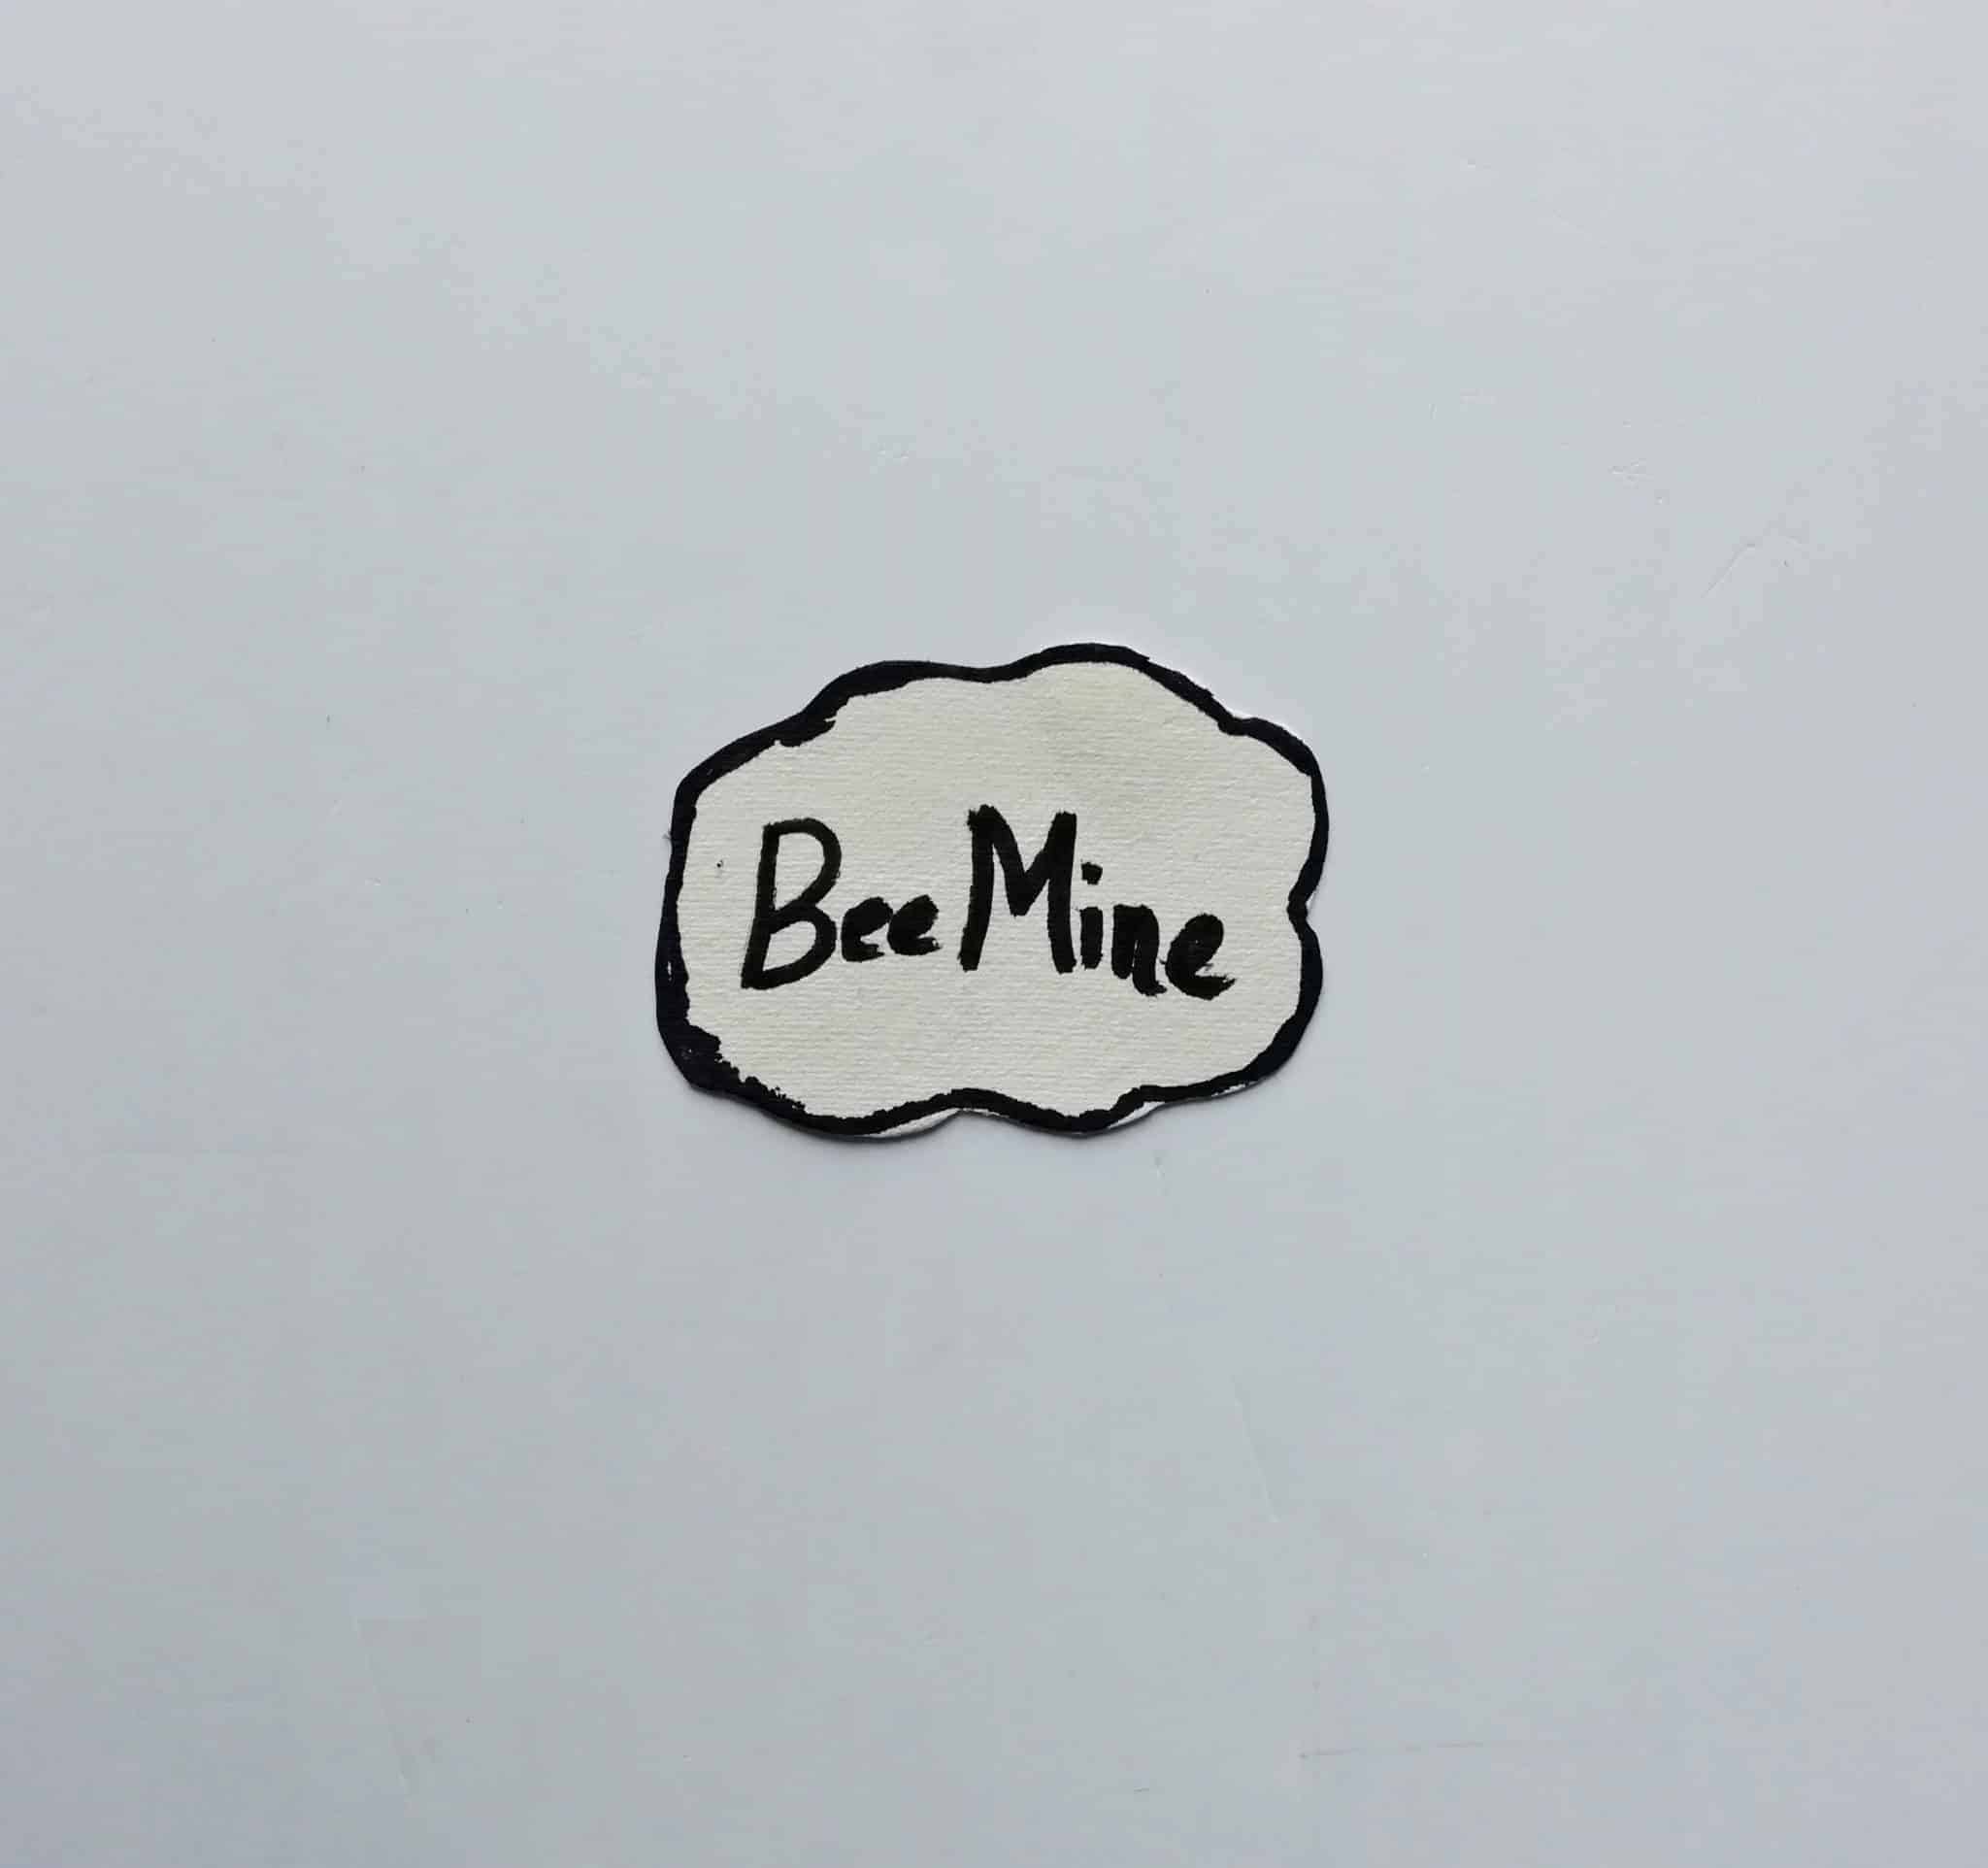
Step 8: Now cut out one of the text bubbles from the template, or your can print them as
well.
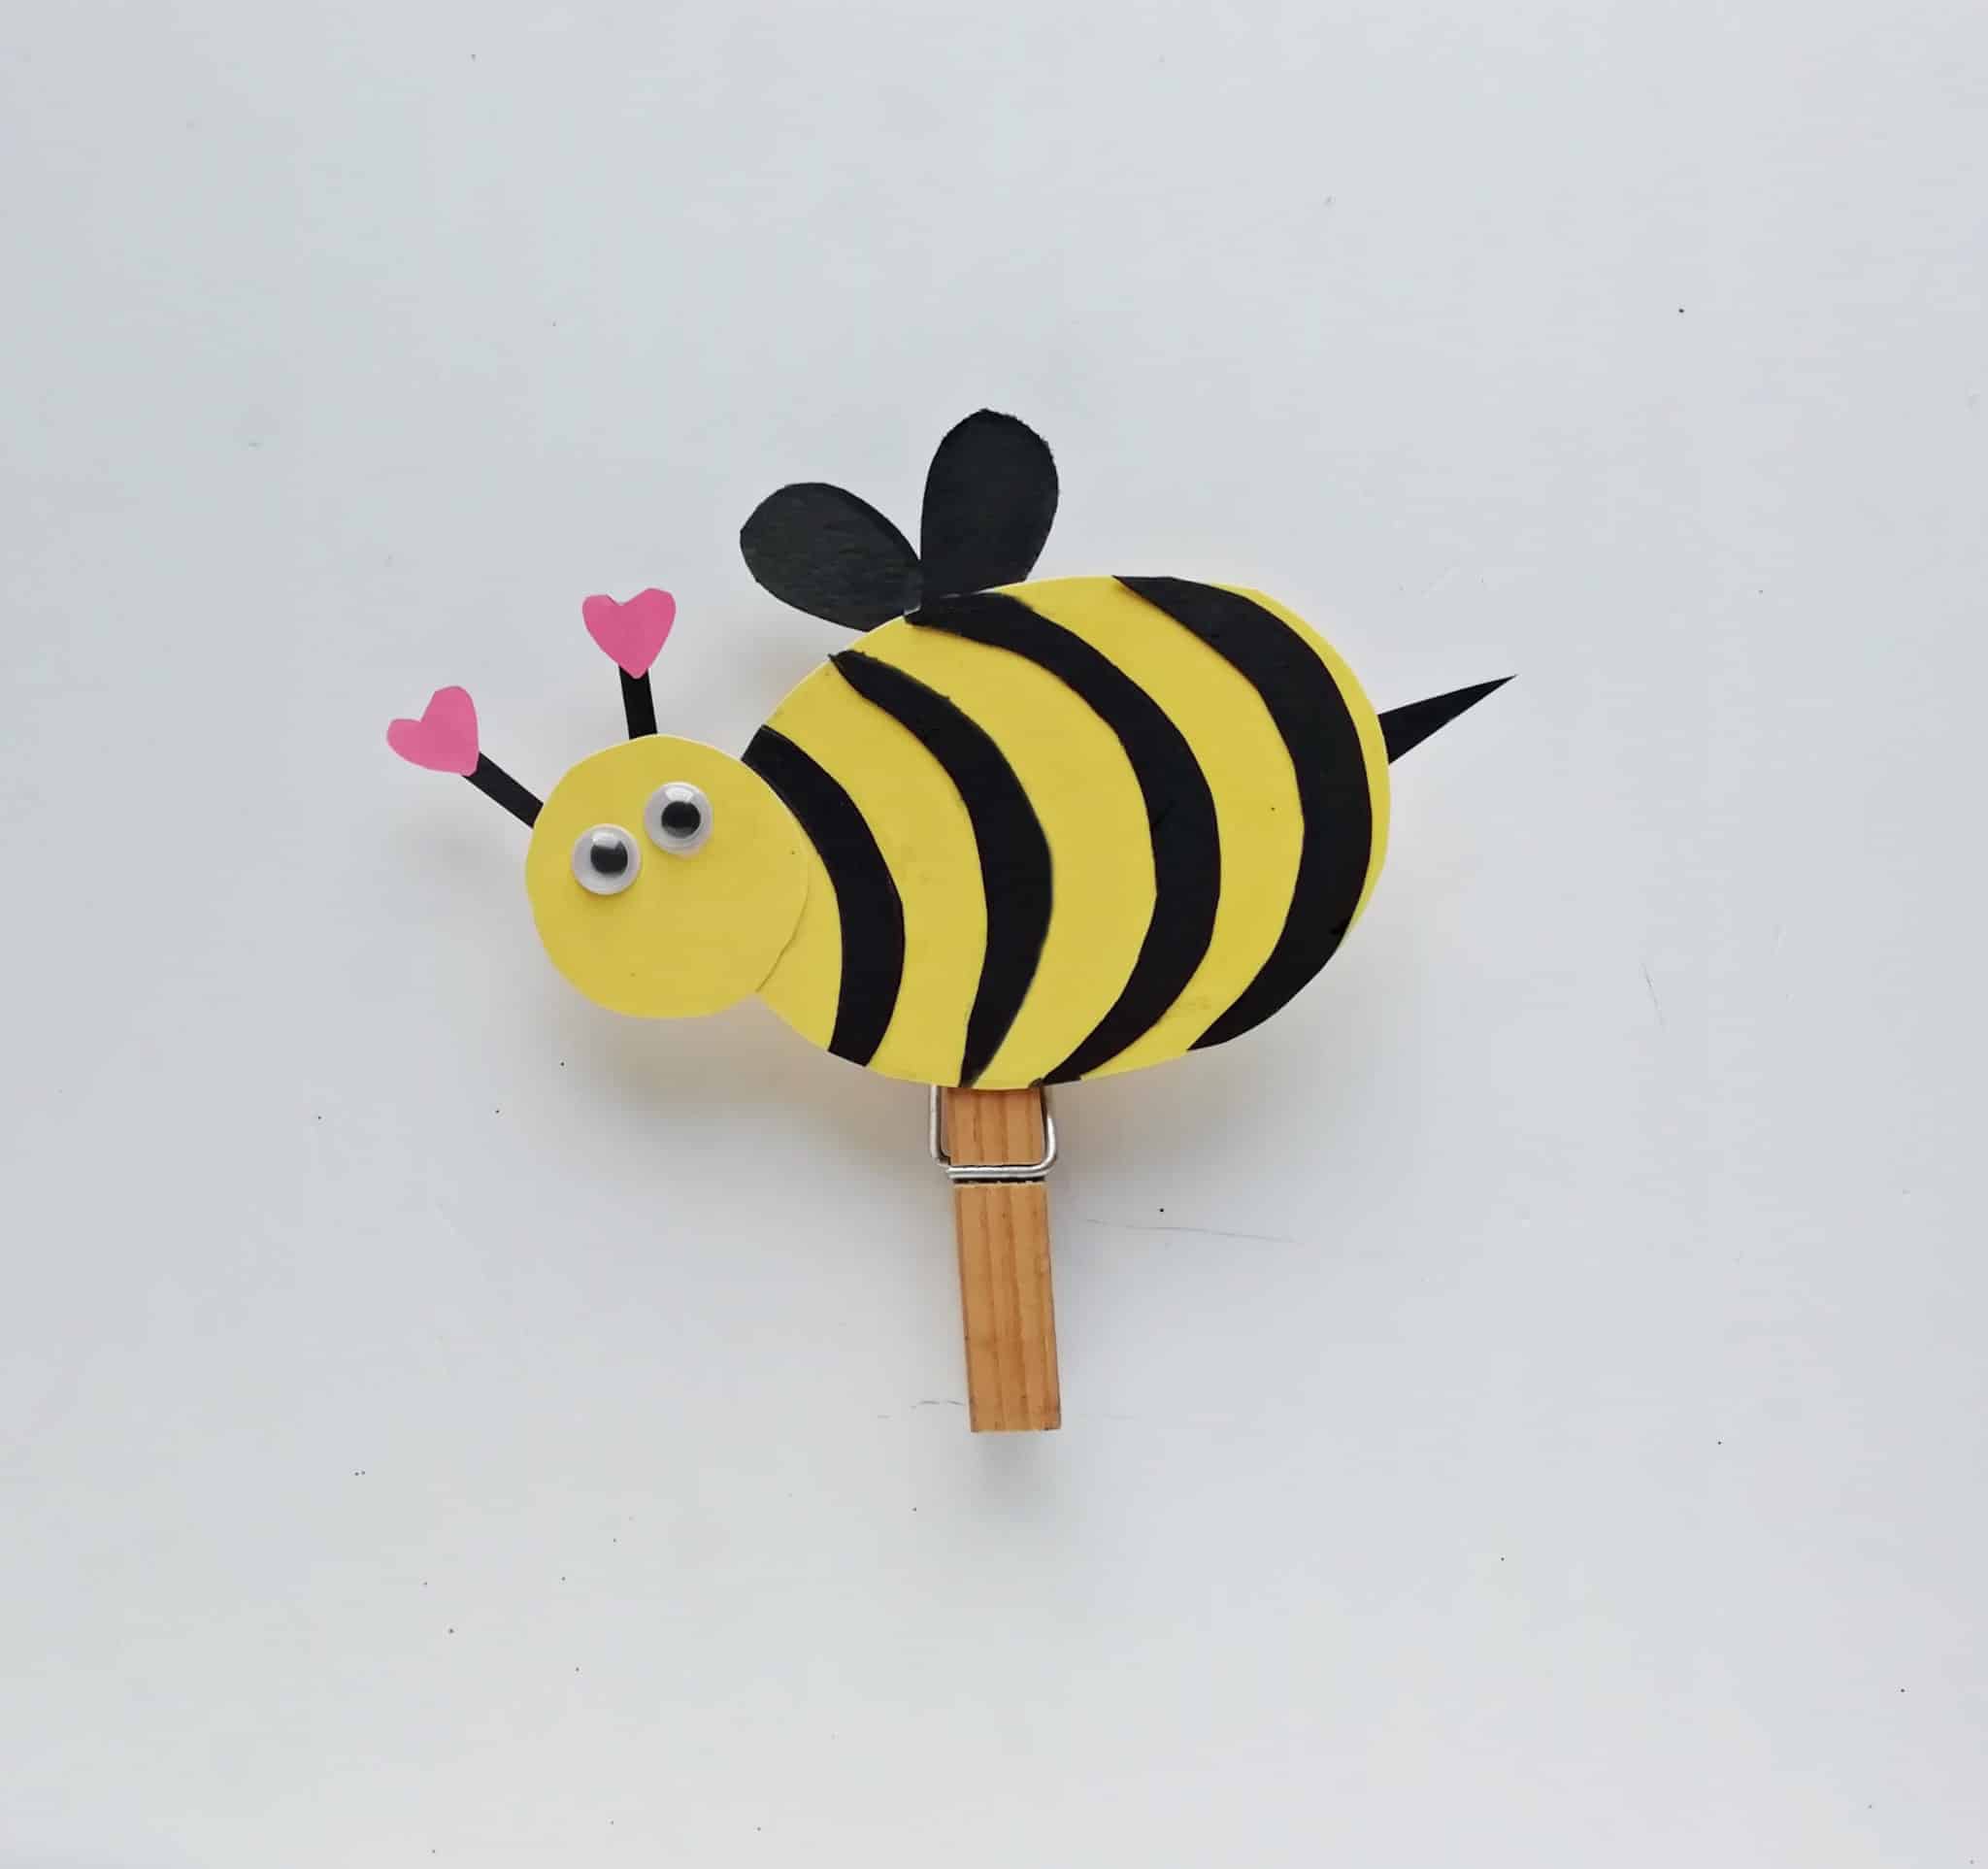
Step 9: Now take a clothes pin and glue the bee on the bottom of the pin.
Step 10: Then glue the text cloud on the bottom of the bee. And there you go it’s ready.
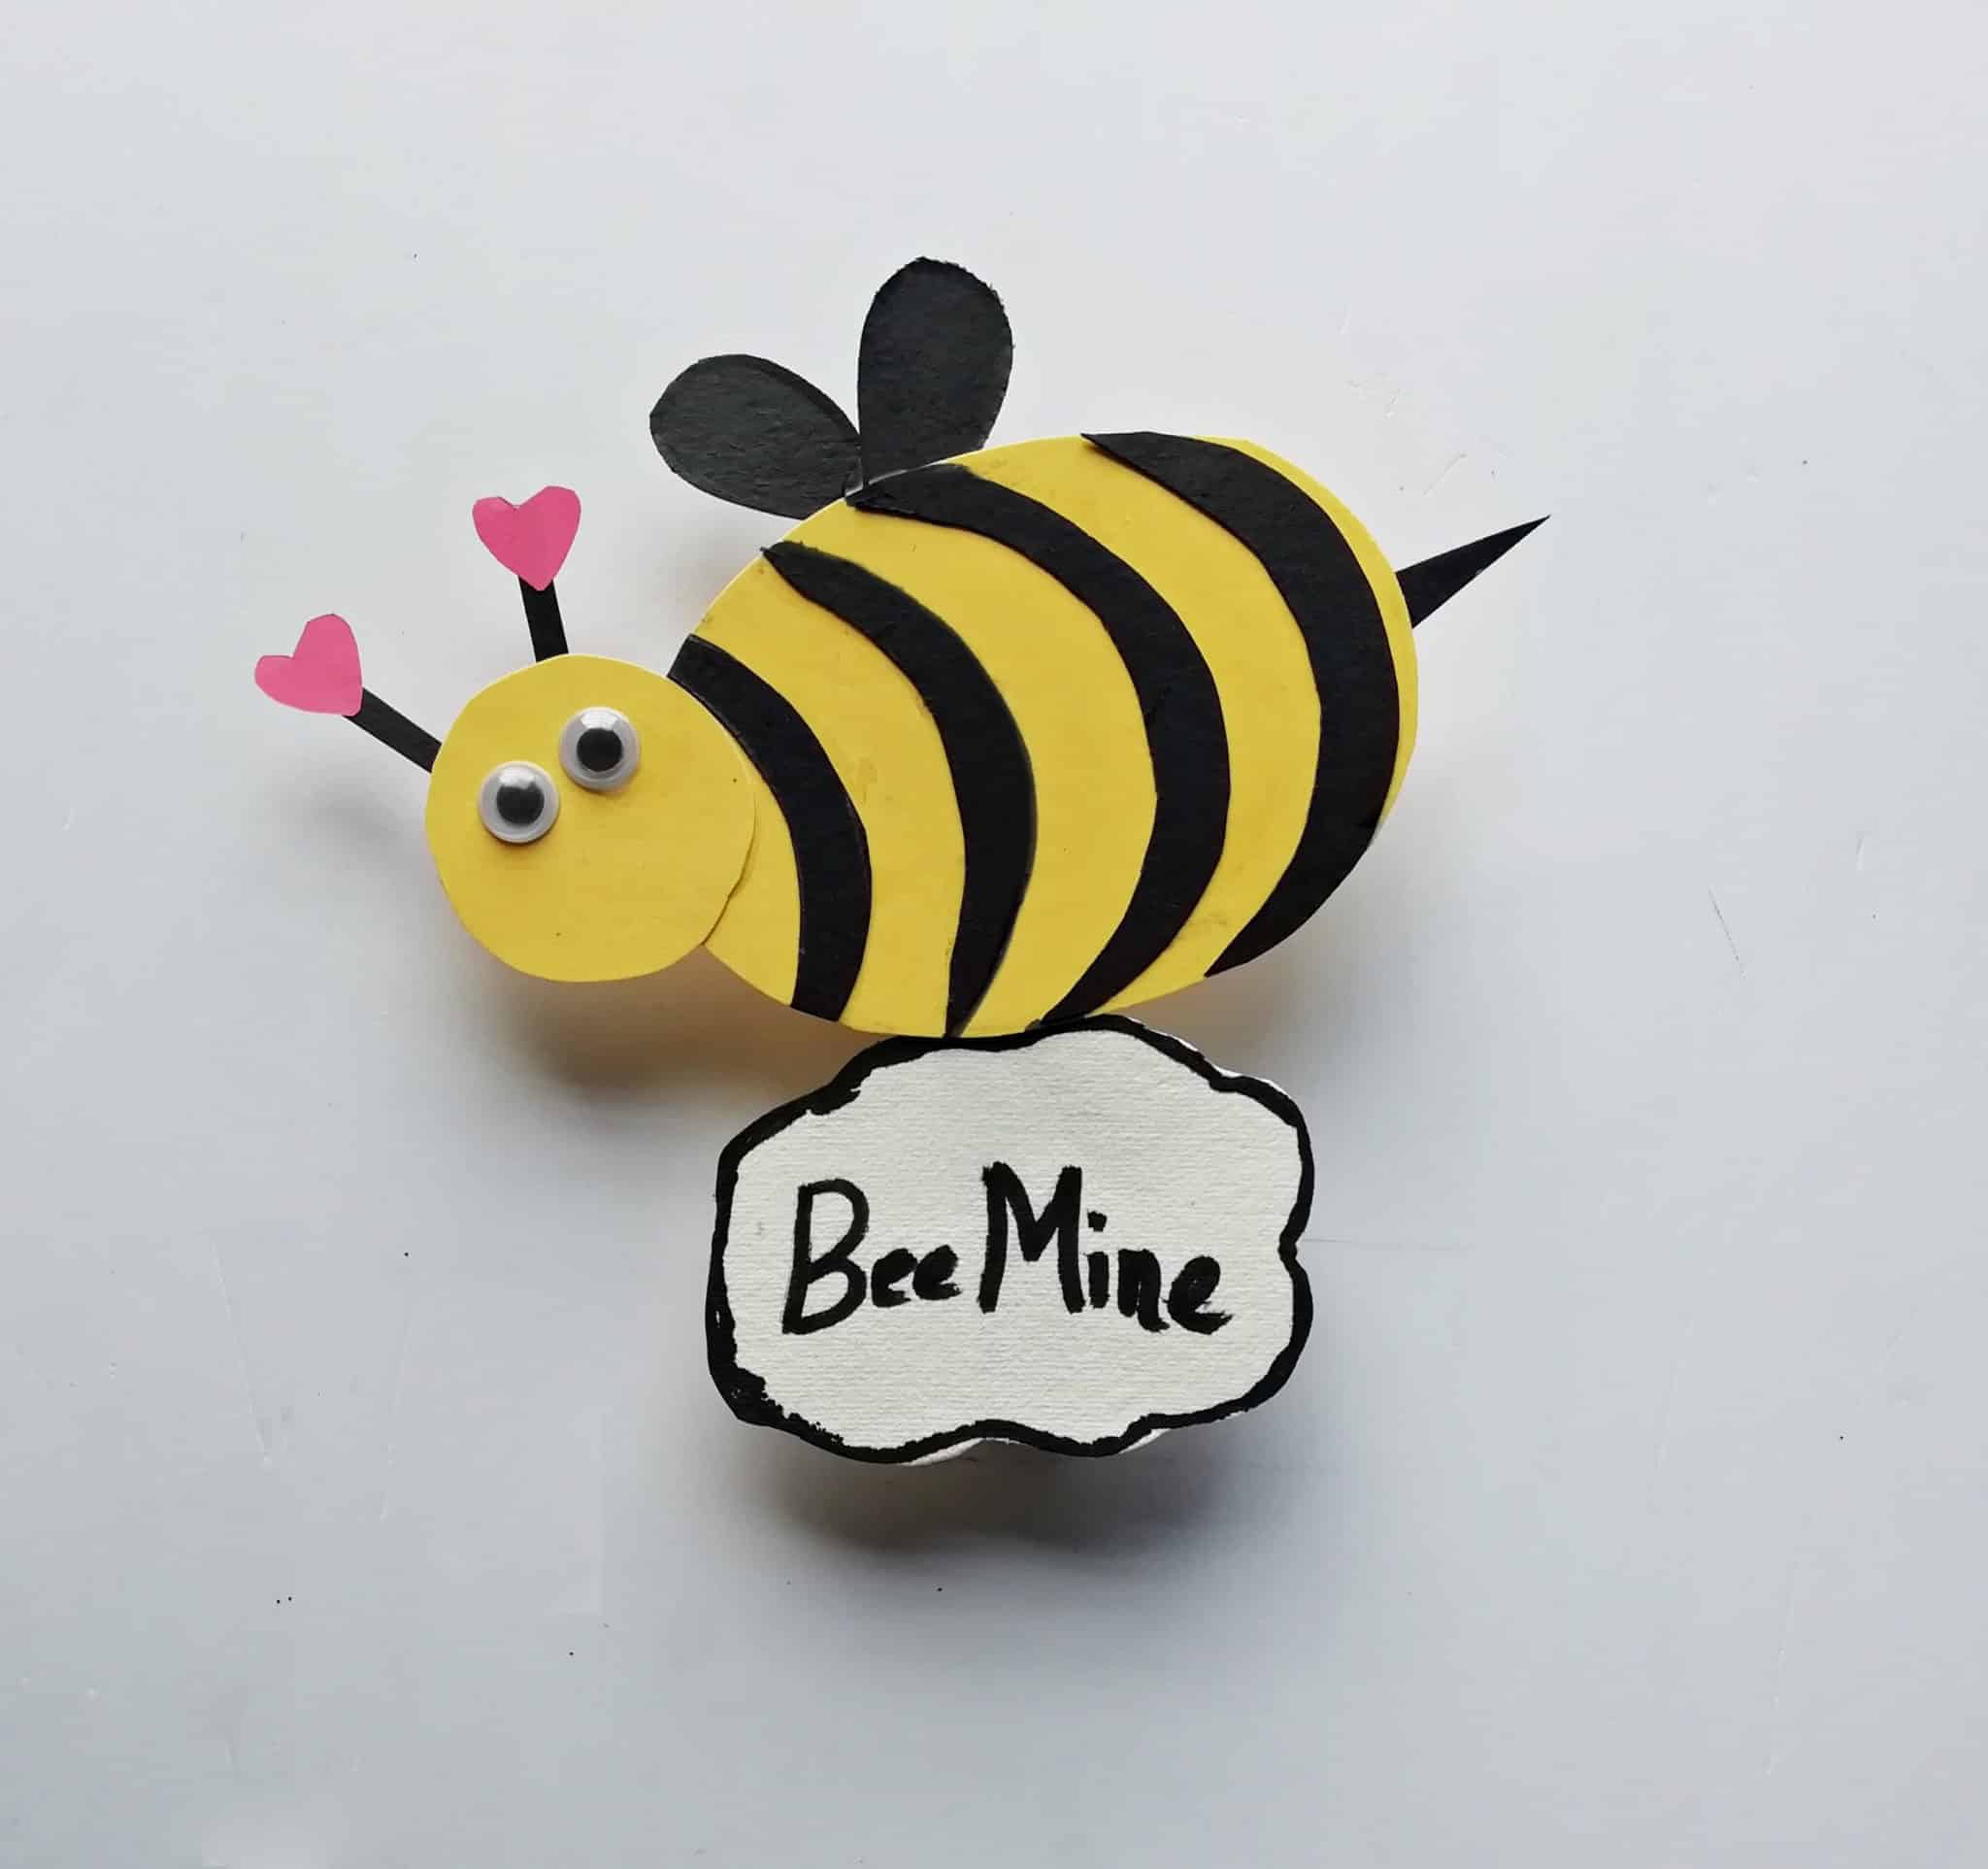
Your Honey Bee Craft is now complete! Enjoy.
Download Your Free Honey Bee Template Here.

DIY Honey Bee Craft Idea For Valentines

This bee craft is a super easy Valentine papercraft for all ages. It's a great decor or a surprise gift idea you can make at home.
Materials
- Colorful Cardstock Paper
- Pencil
- Markers
- Paper Glue
- Googly Eyes
- Highlighter Pens
- Clothes Pin
- Scissors
Instructions
1. Cut out all the pieces of the bee using the templates.
2. Place the black curved stripes over the large oval shape. and glue the stripes there. Start with a smaller sized stripe and the largest stripes should be on the middle part of the oval.
3. Take the circular piece and place it on the top edge of the oval shape. This piece will be used as the bee’s head.
4. Glue the tiny hearts in the tip of 2 thin black paper strips. Bond also both sticks behind the top edge of the bee’s head.
5. Then glue the eyes on the top of the head and then glue the stinger on the back edge of the body.
6. Cut out the wings using the templates as well.
7. Glue both wings on the back of the oval-shaped top middle.
8. Cut out one of the text bubbles from the template, or you can print them as well.
9. Take a clothespin and glue the bee on the bottom of the pin.
10. Glue the text cloud on the bottom of the bee. And there you go it’s ready.
Your Honey Bee Craft is now complete! Enjoy!
About Angela Milnes
Angela Milnes is a Qualified Early Years Teacher who has specialised in Preschool and Kindergarten teaching. She has a wealth of experience teaching young children and is passionate about kids crafts and having fun as a family. Angela has also taught cooking skills and loves to share both family recipes and easy instant pot recipes here on The Inspiration Edit. Follow her on Pinterest!


