

If you are looking for a fun Goldfish Craft that can be enjoyed by both younger and older kids, this is just what you need. The quilling adds a little more difficulty to the craft but is also a great way to build those fine motor skills in the younger kiddos. Whether you are teaching G is for goldfish or driving home a comprehension concept, this easy quilled goldfish craft is something everyone will love.

Jump to:
💖 Why You'll Love This Craft
- Simple and Fun: This craft uses easy quilling techniques to create a cute goldfish, making it perfect for beginners and crafters of all ages.
- Enhances Creativity: It encourages kids to think creatively by choosing different colors and shapes for the goldfish, adding a personalized touch.
- Teaches Patience and Precision: The process of quilling helps improve fine motor skills, patience, and focus, while still being a fun and engaging craft.
🎨 Supplies Needed
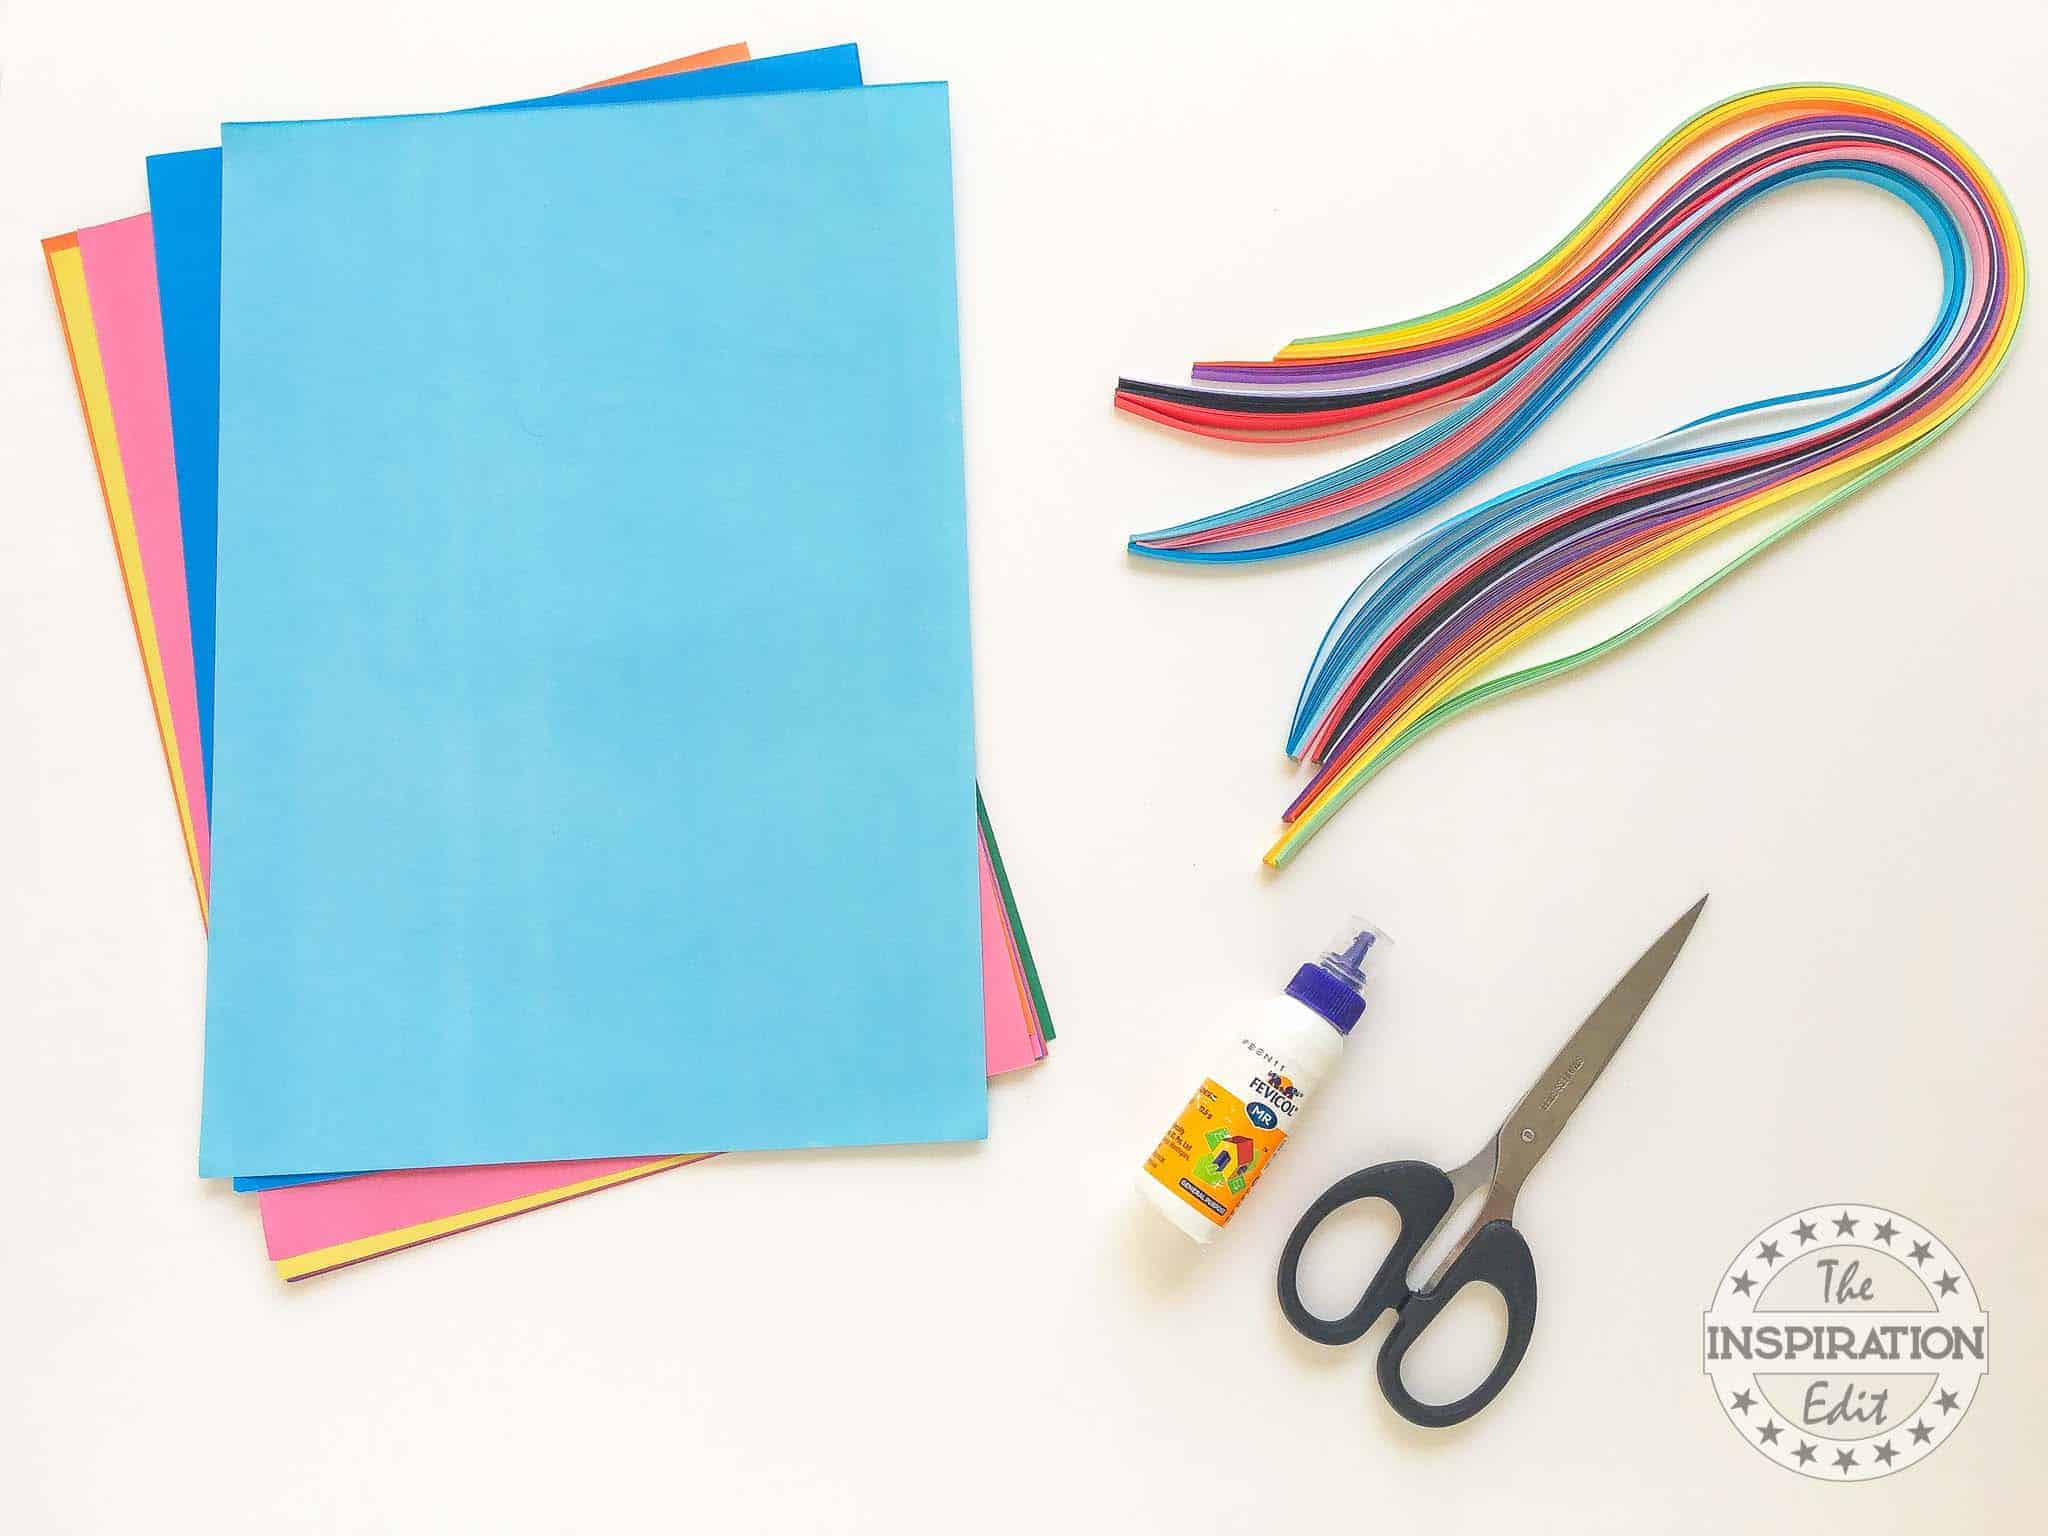
- Quilling Paper: Take 6 inches long orange and yellow quilling papers. 30 to 35 strips.
- Paper Glue
- Scissors
- Quilling Tools
- Colorful craft papers
RELATED POST: QUILLED PUMPKIN HALLOWEEN CRAFT FOR KIDS
🖌️ How To Make This Goldfish Craft

- Step 1: Download Your Goldfish Craft Template below. First, take half an A4-sized piece of light blue craft paper. Then, take a darker blue paper and cut it in a wavy shape on one side.
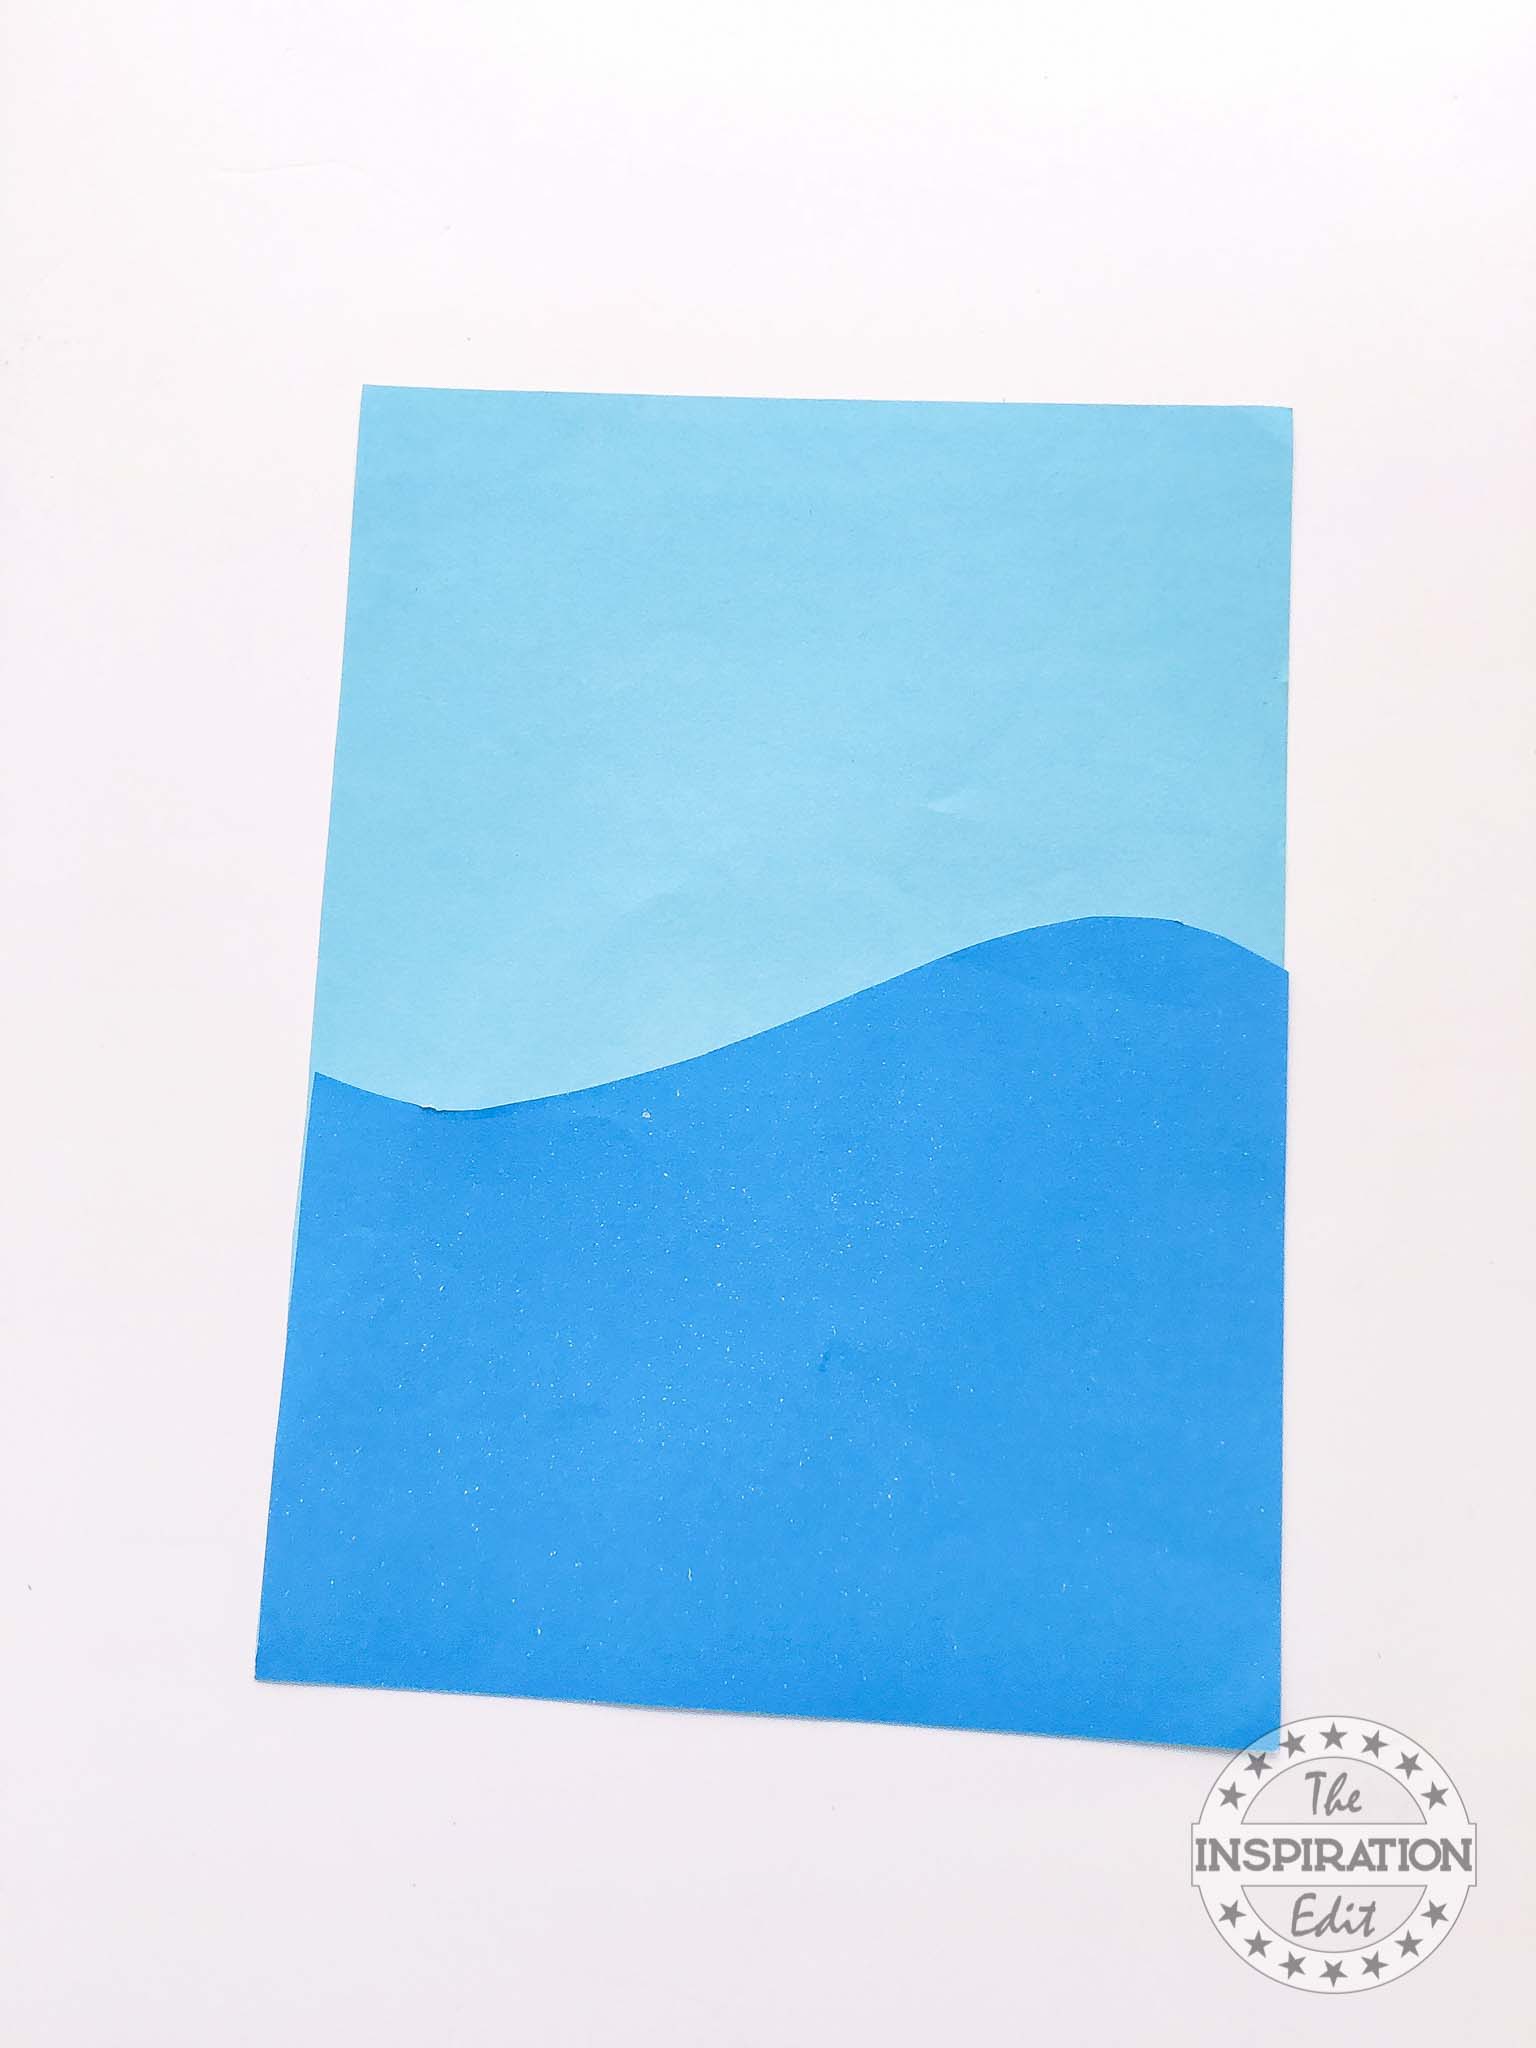
- Step 2: Glue the darker blue paper over the lighter blue one.

- Step 3: Draw the template of the goldfish using a blank pen on the blue paper. Then take an orange quilling paper and glue it along the line of the body for the goldfish. You can print out the pattern for the goldfish using the template on an orange paper, then separately make the goldfish and glue it on the blue paper as well.
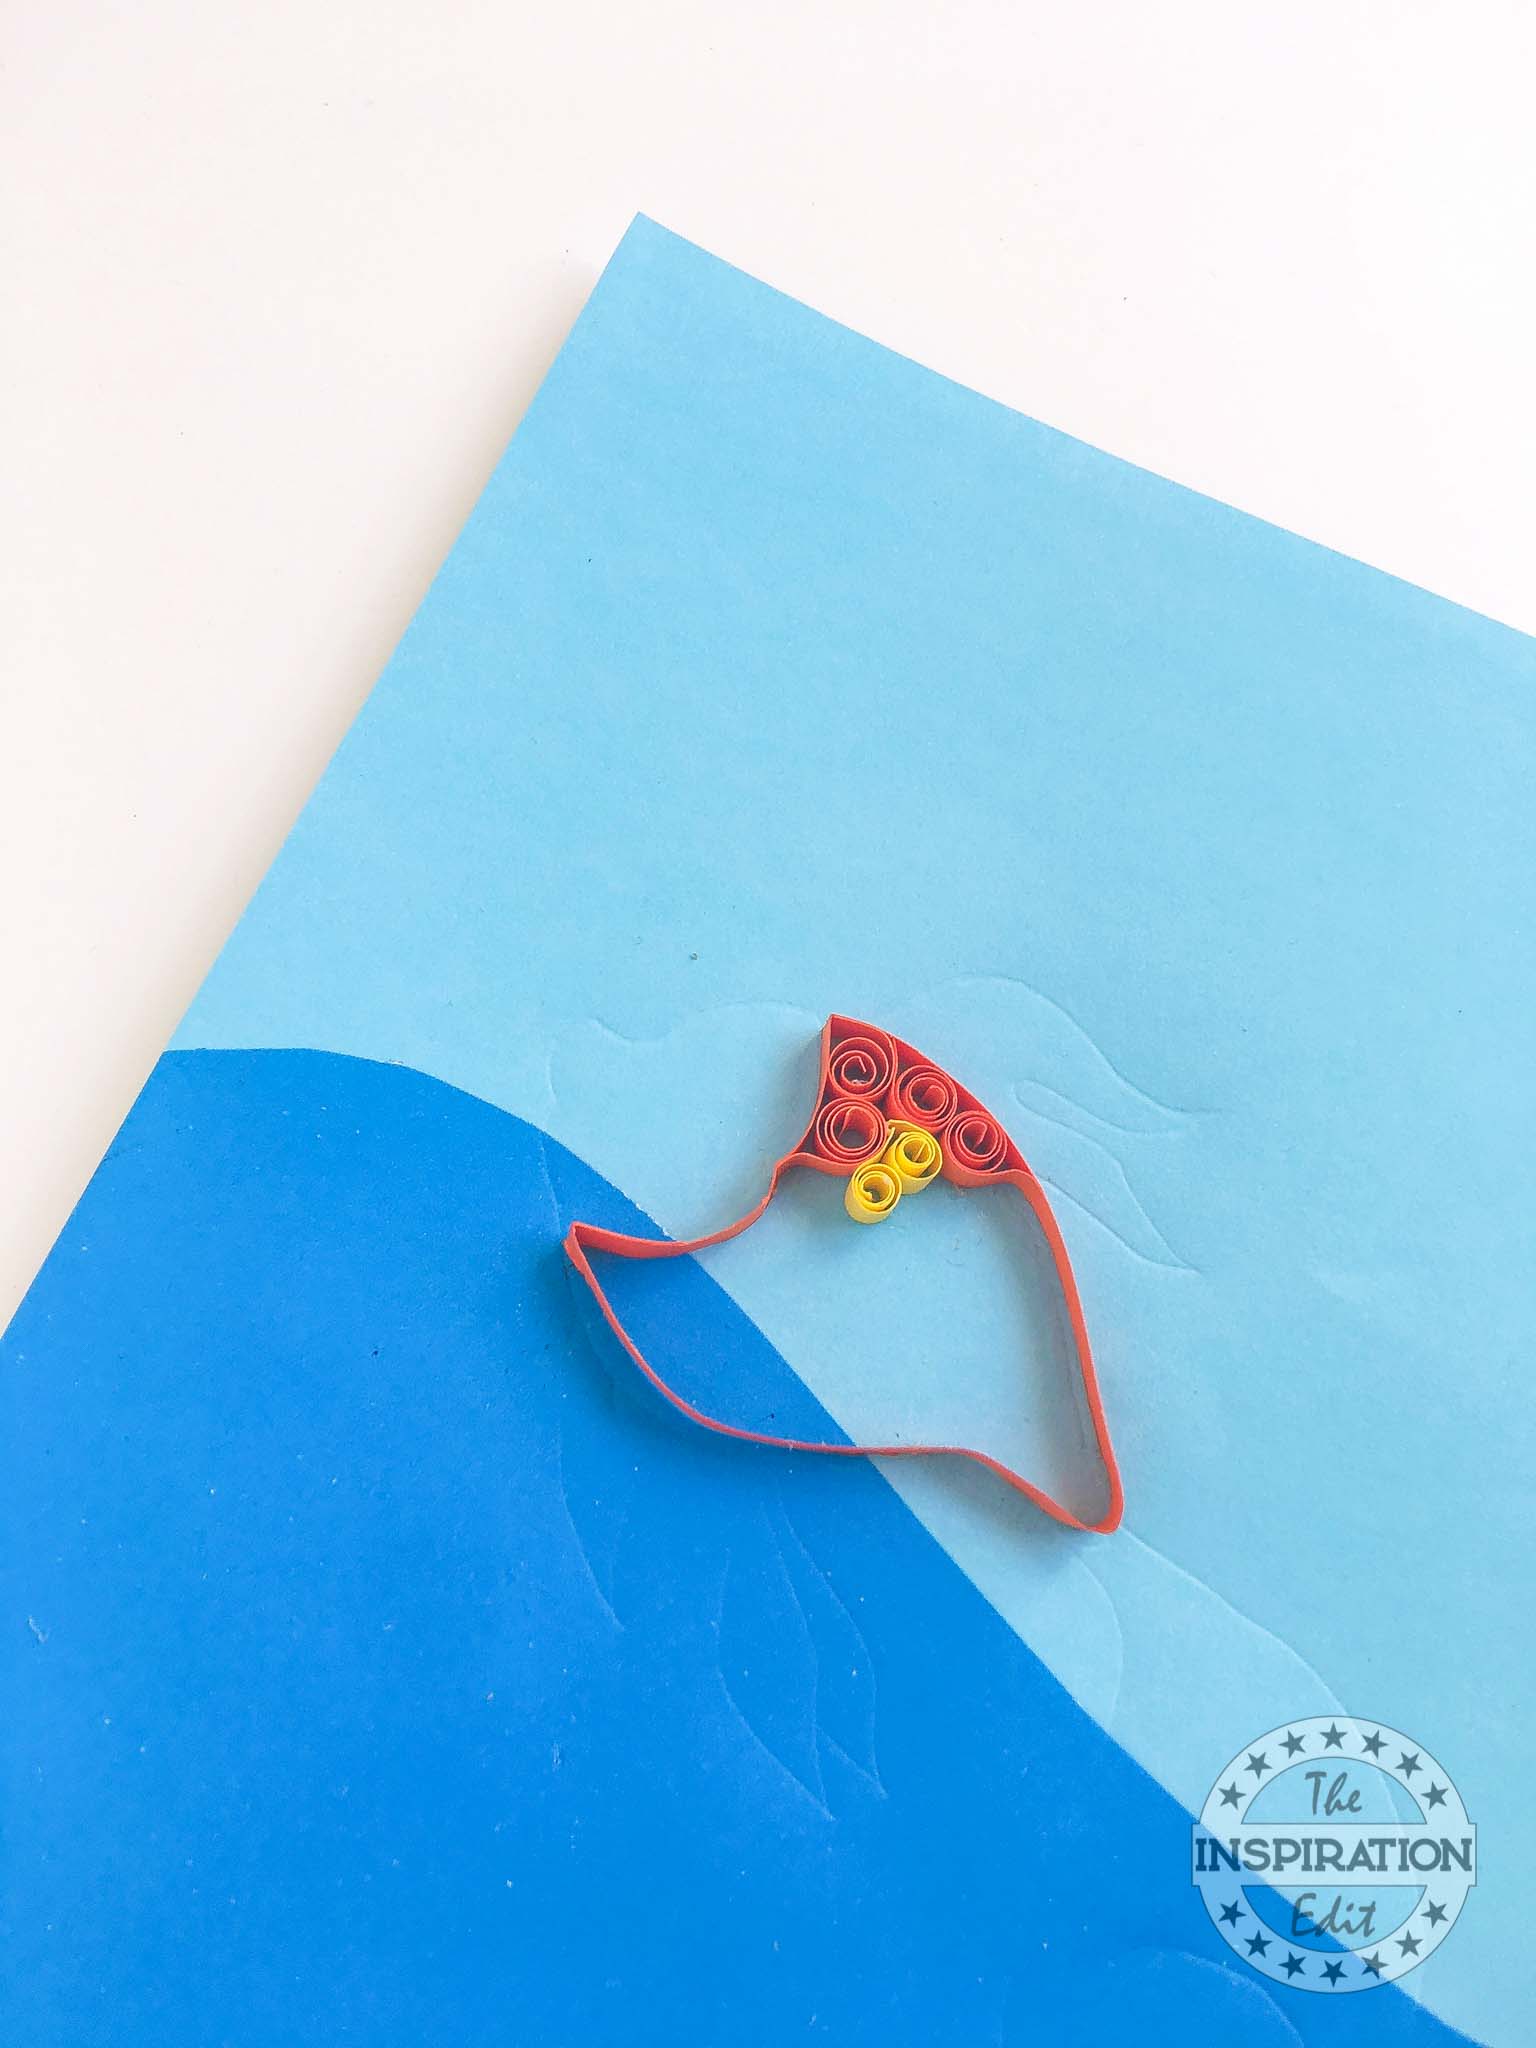
- Step 4: Start filling in the body of the goldfish using slightly tight and small orange coils. Use a few yellow coils randomly or according to your choice with the orange coils. Start from any corner.
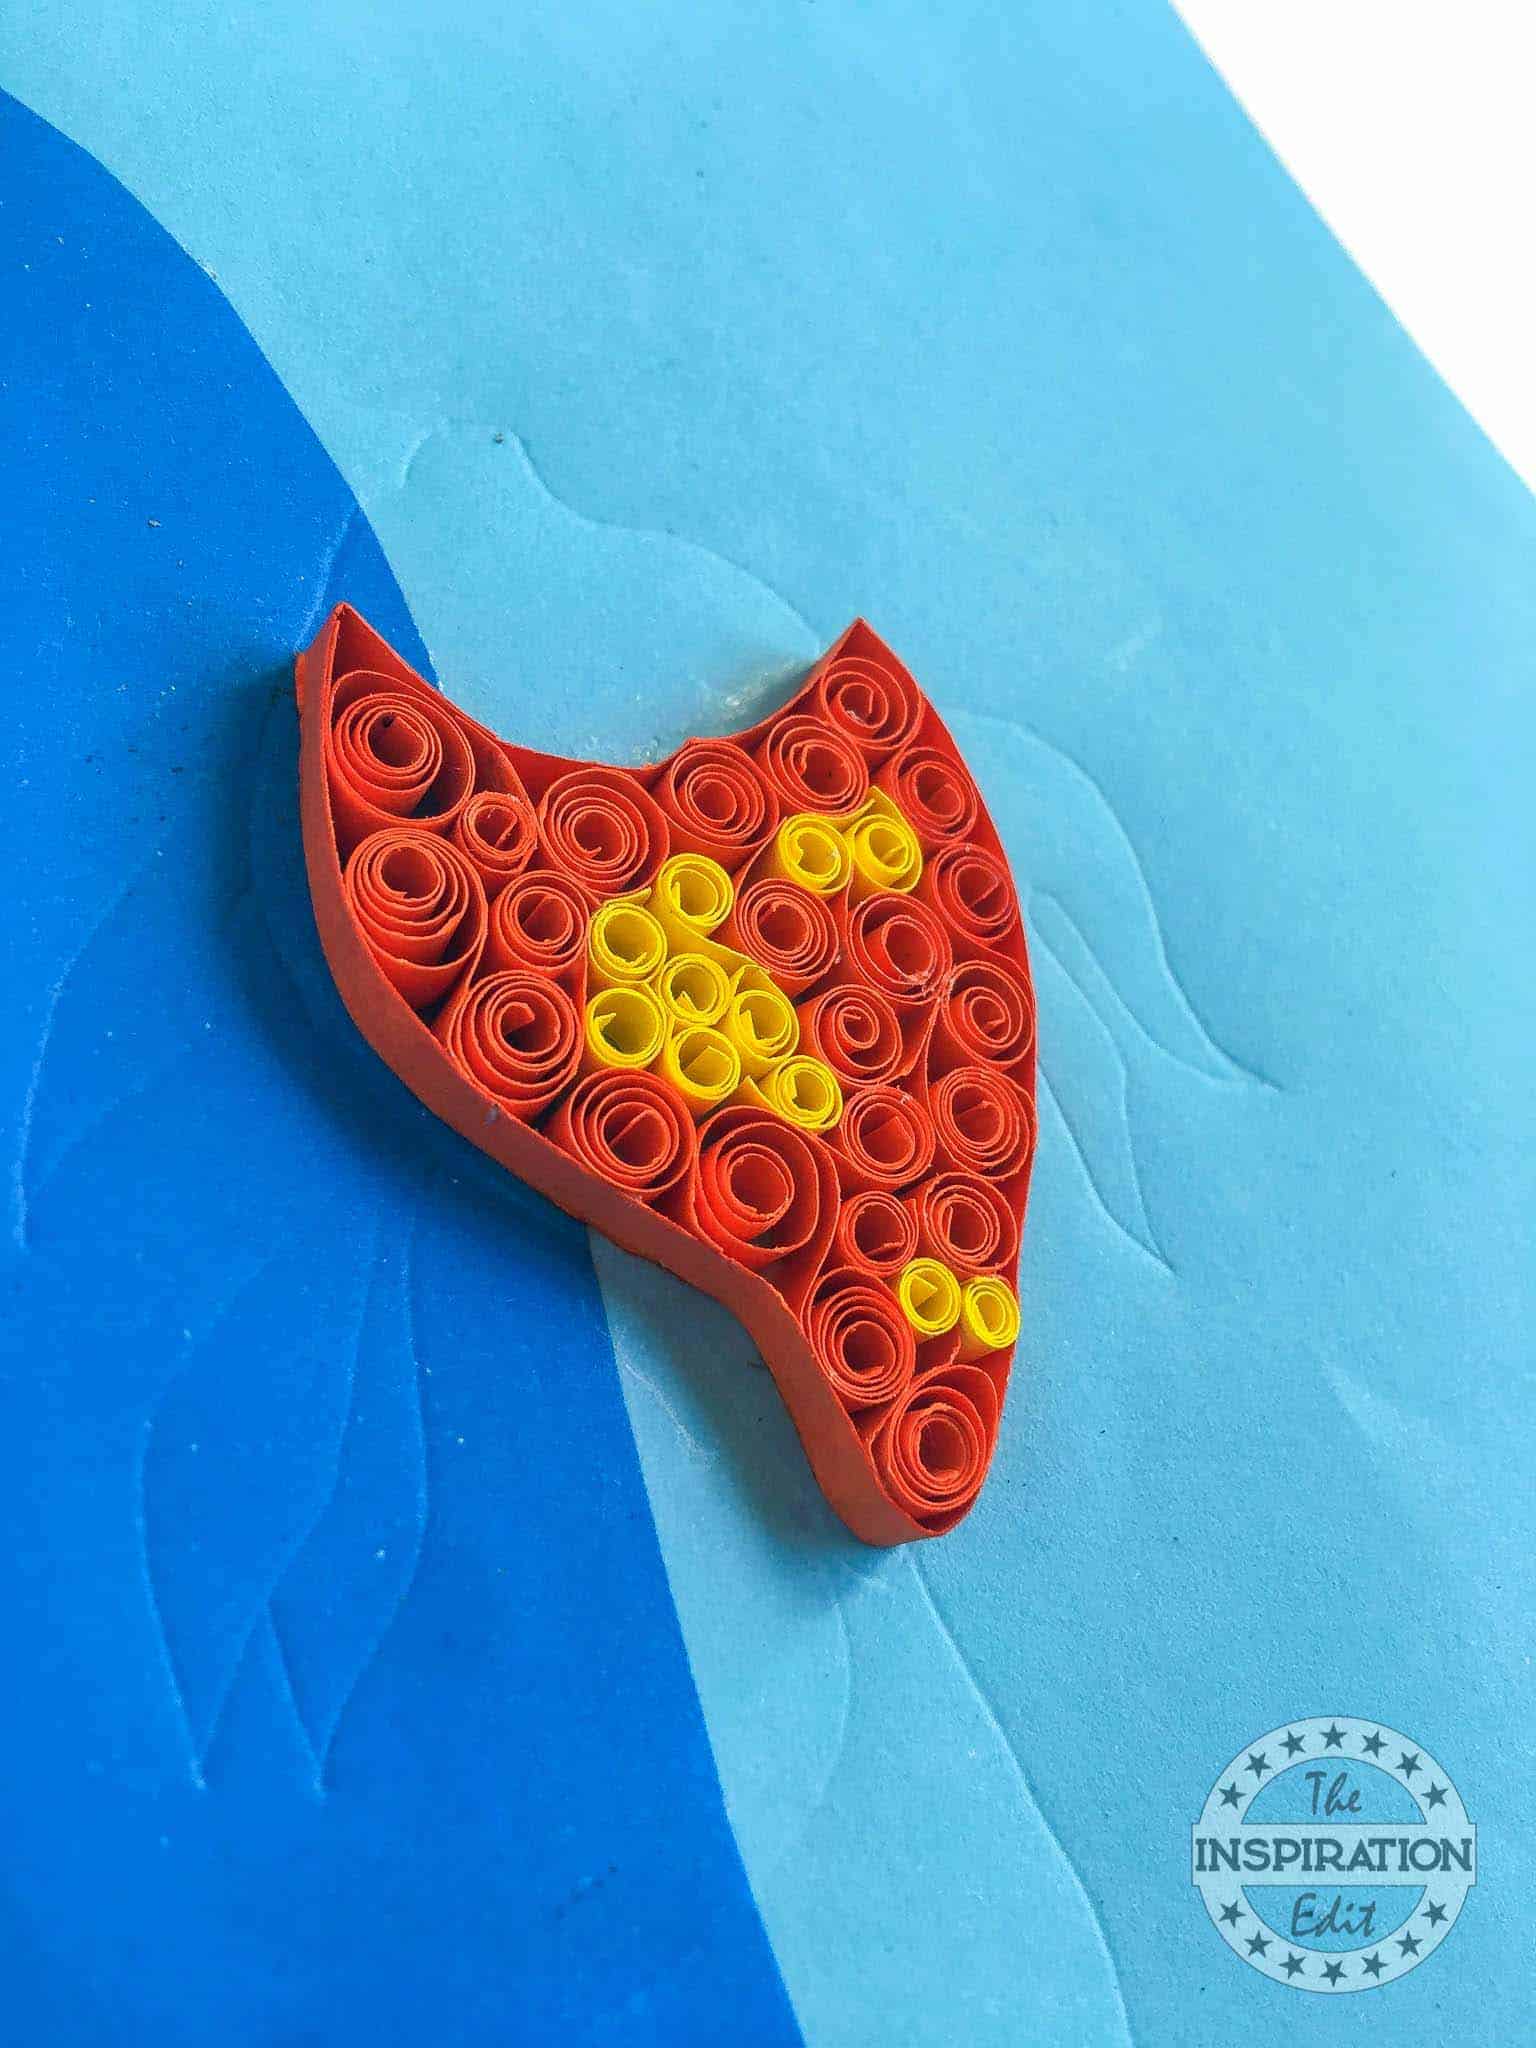
- Step 5: Fill it up using orange and yellow quilled coils. All of the coils don’t need to be in the same size. You can use a combination of loose and tight quilled coils to fill up the body for the goldfish.
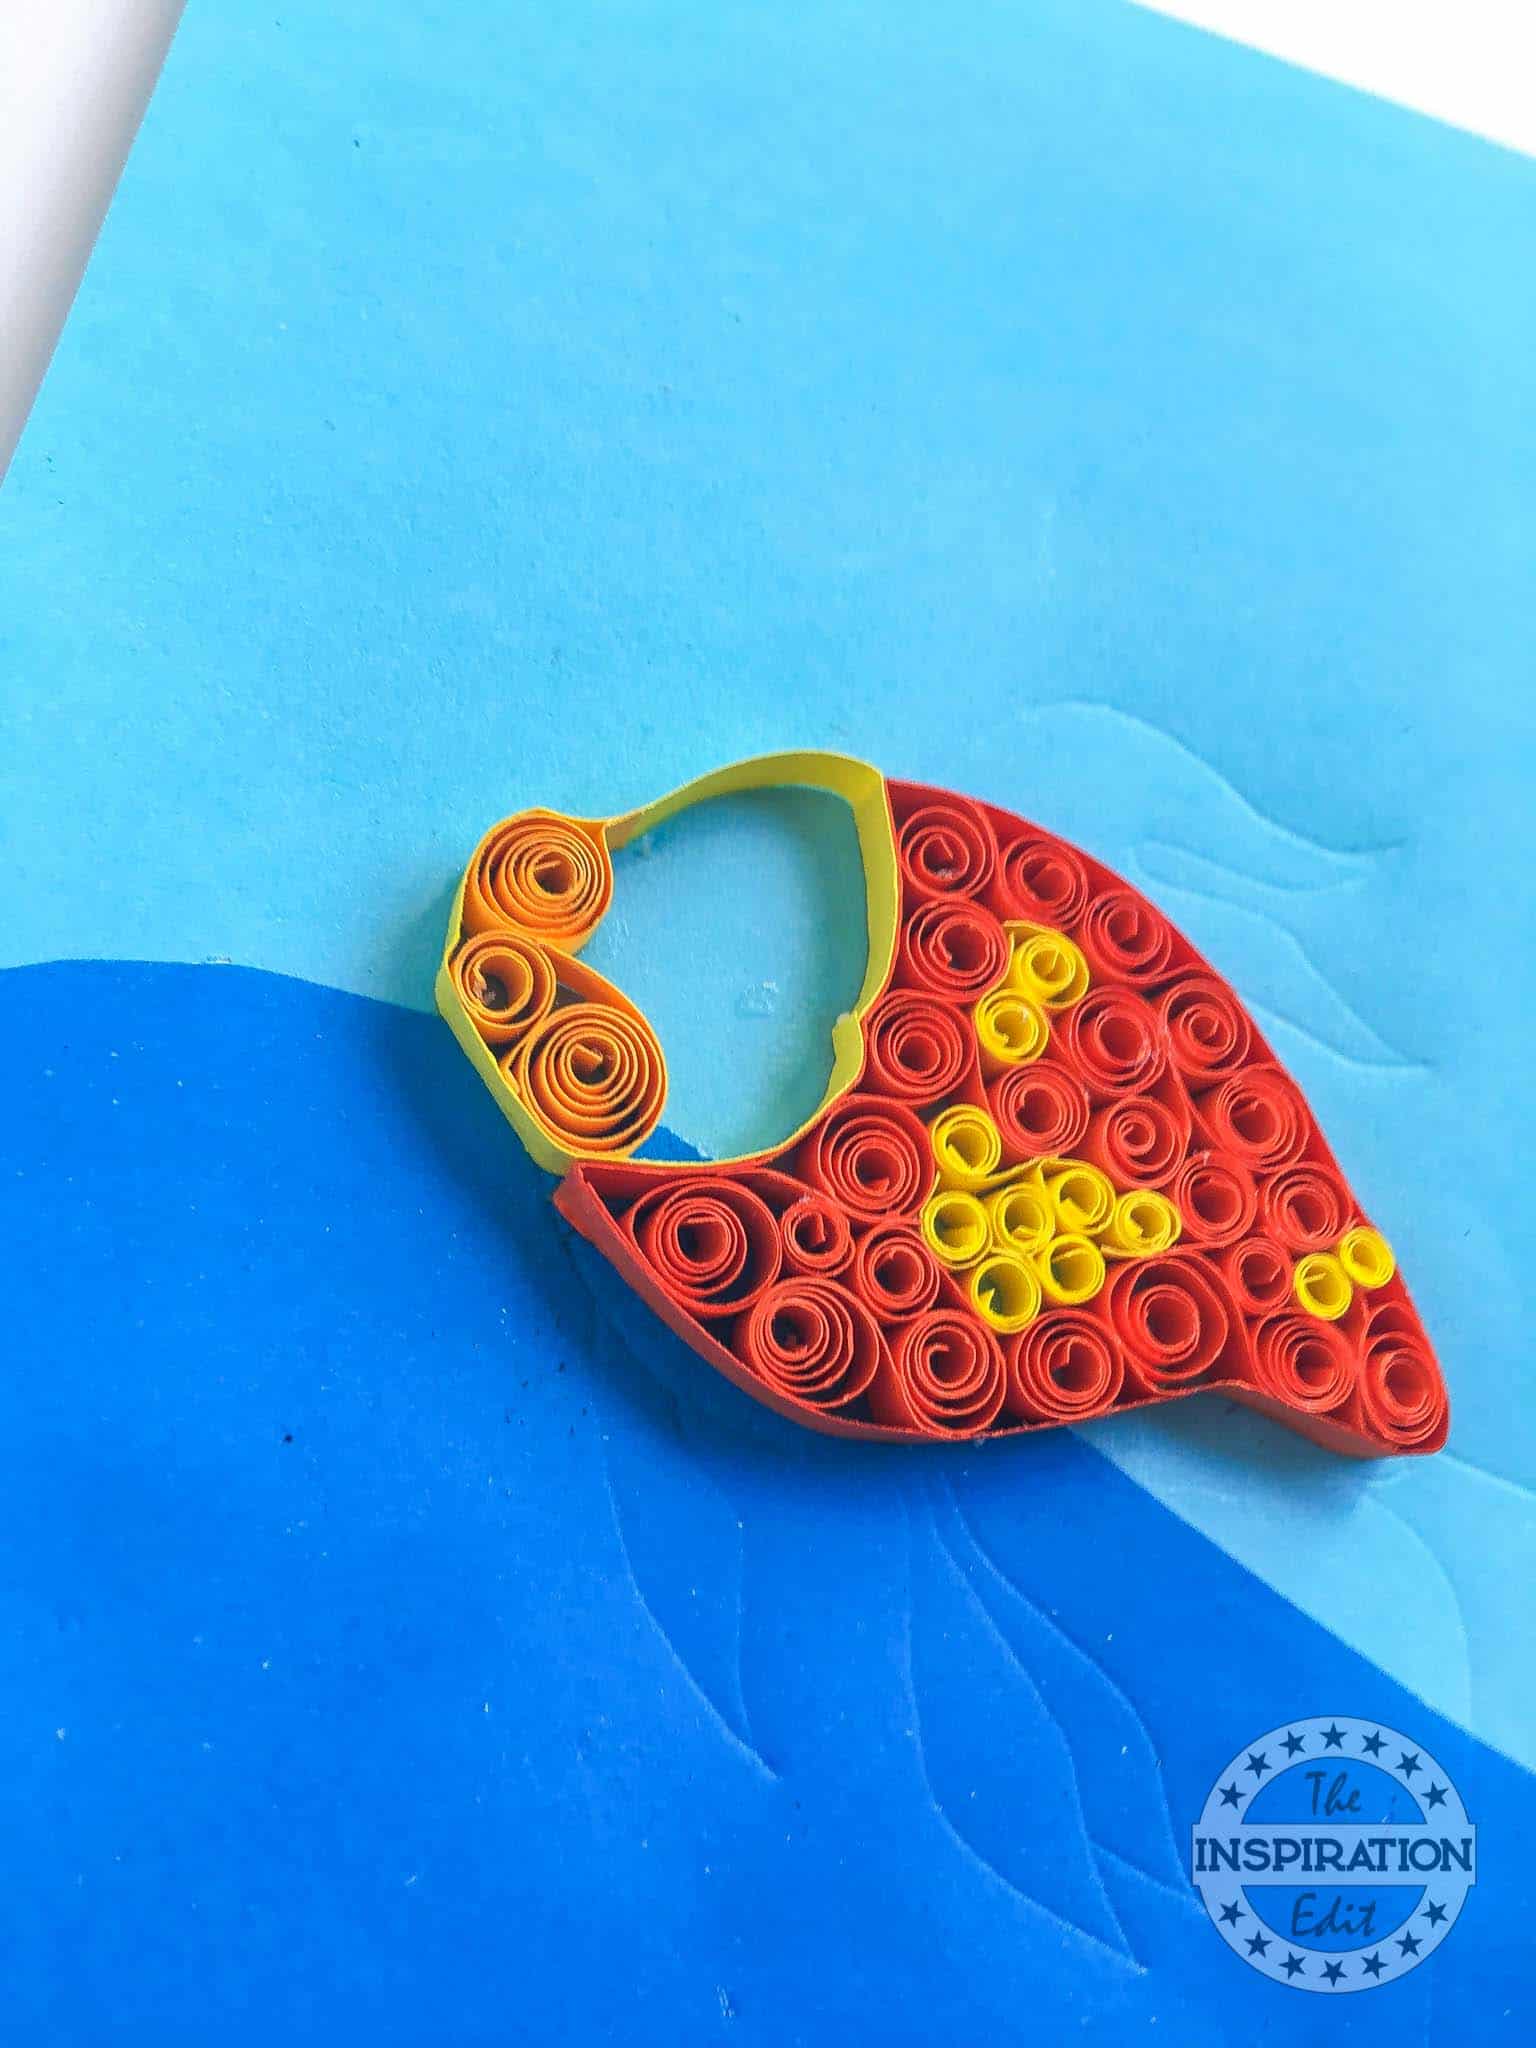
- Step 6: Now take a yellow quilling strip and glue it over the lines of the goldfish’s head. Then, start gluing yellow quilled coils of various sizes from the front side of the head.
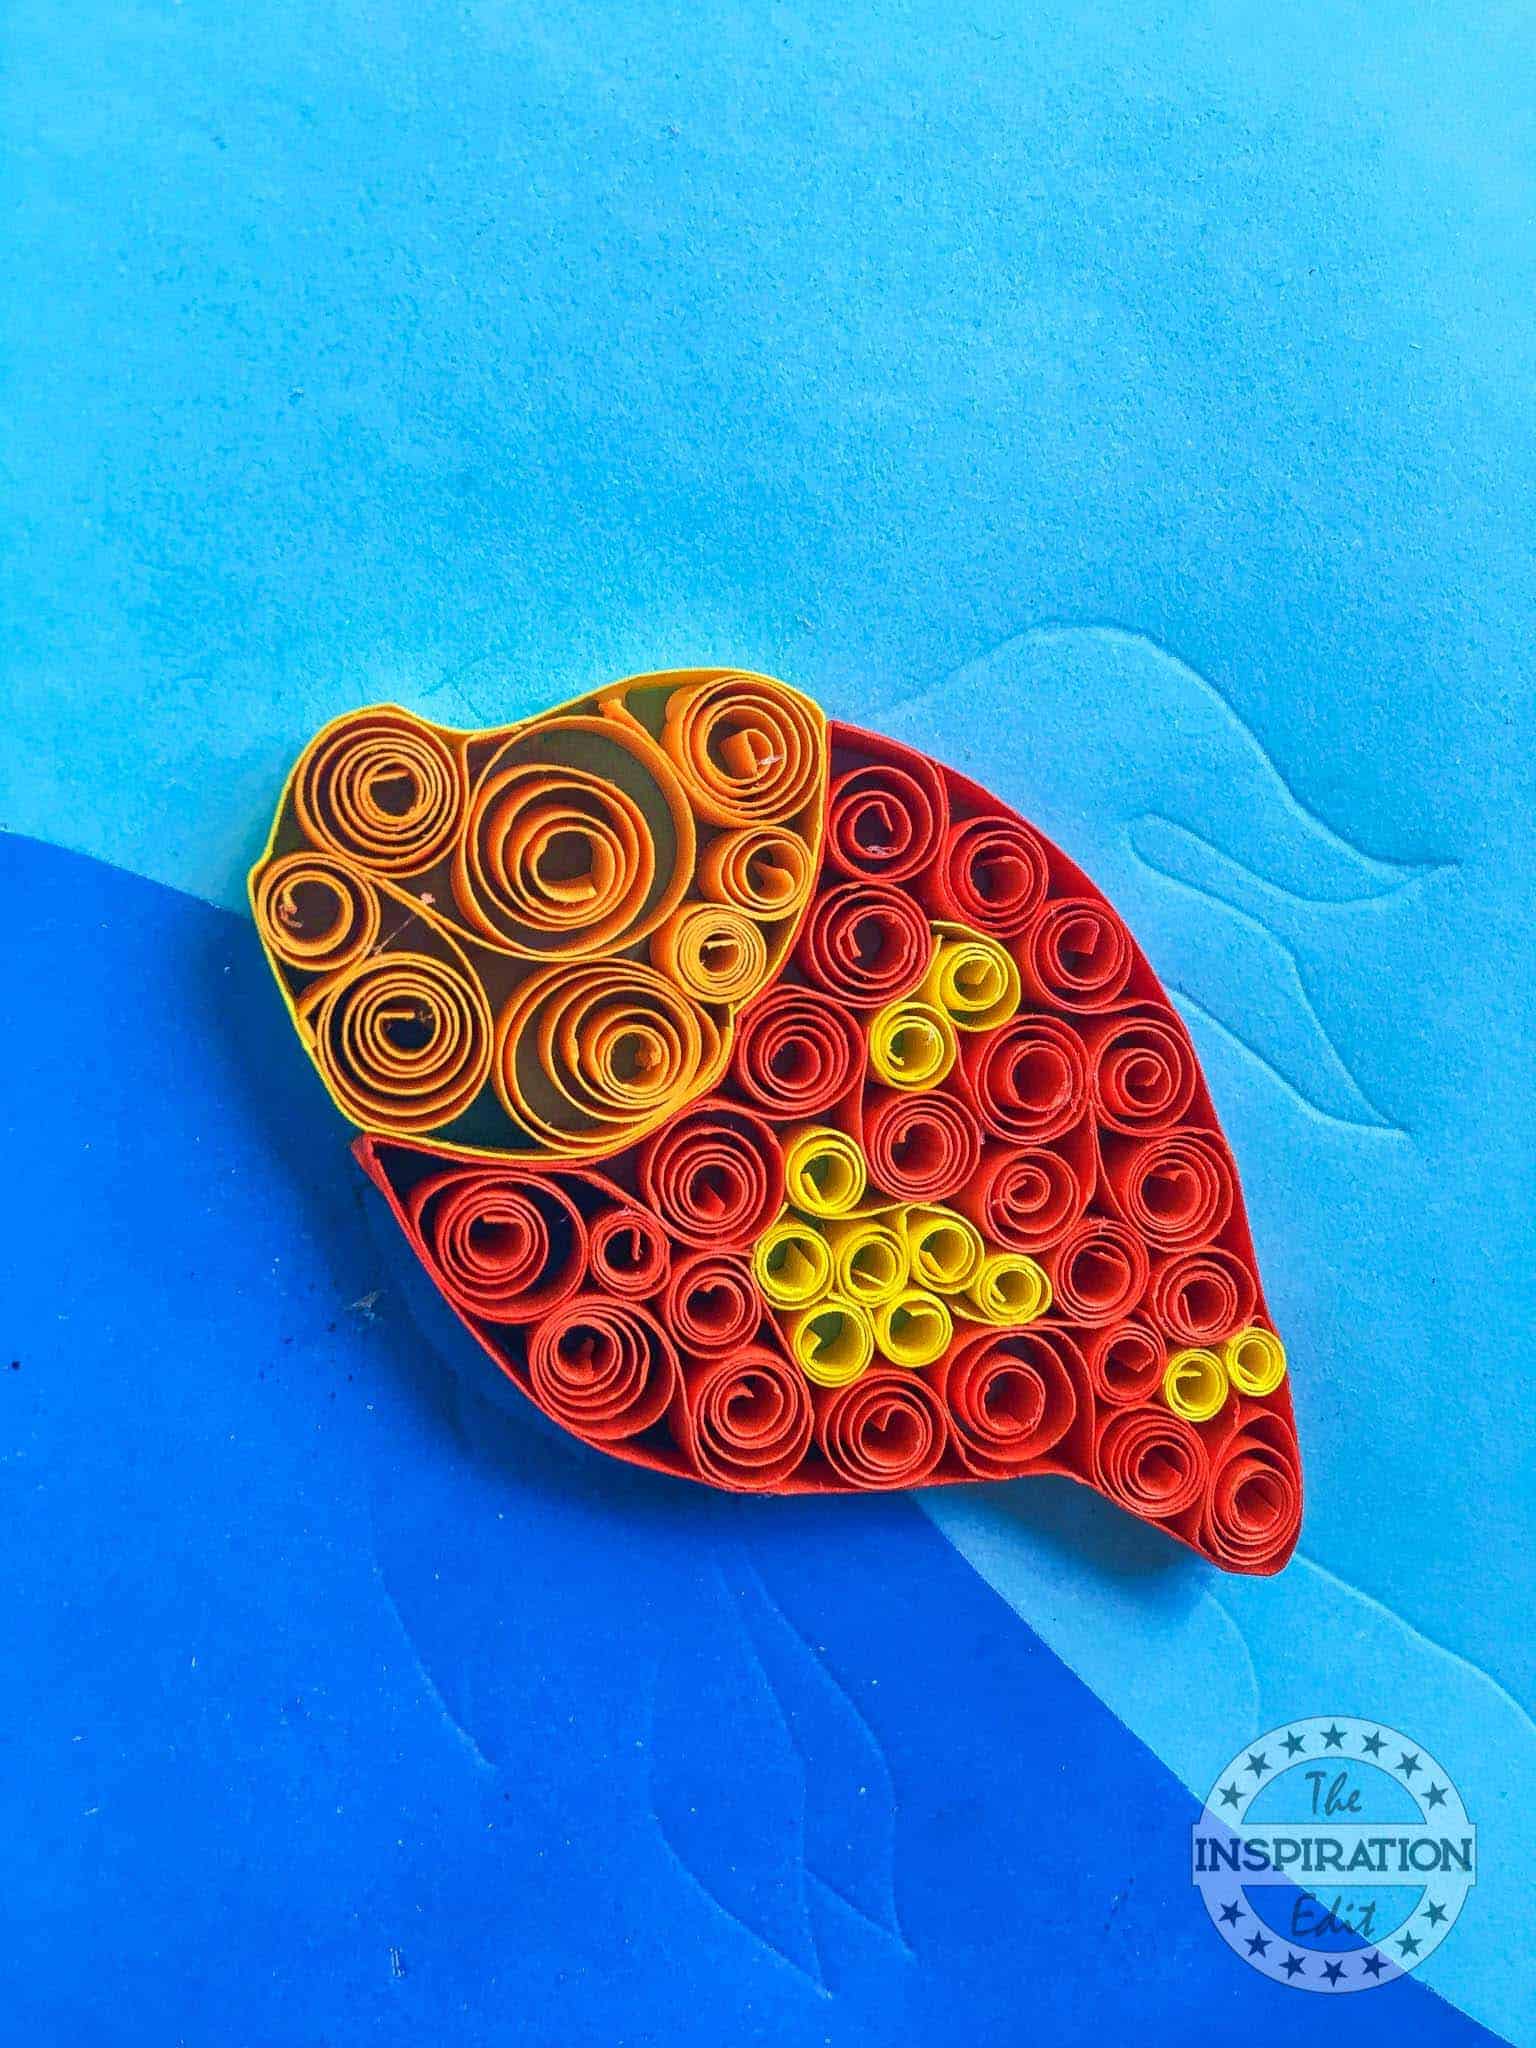
- Step 7: Then, fill up the head using yellow quilled coils.
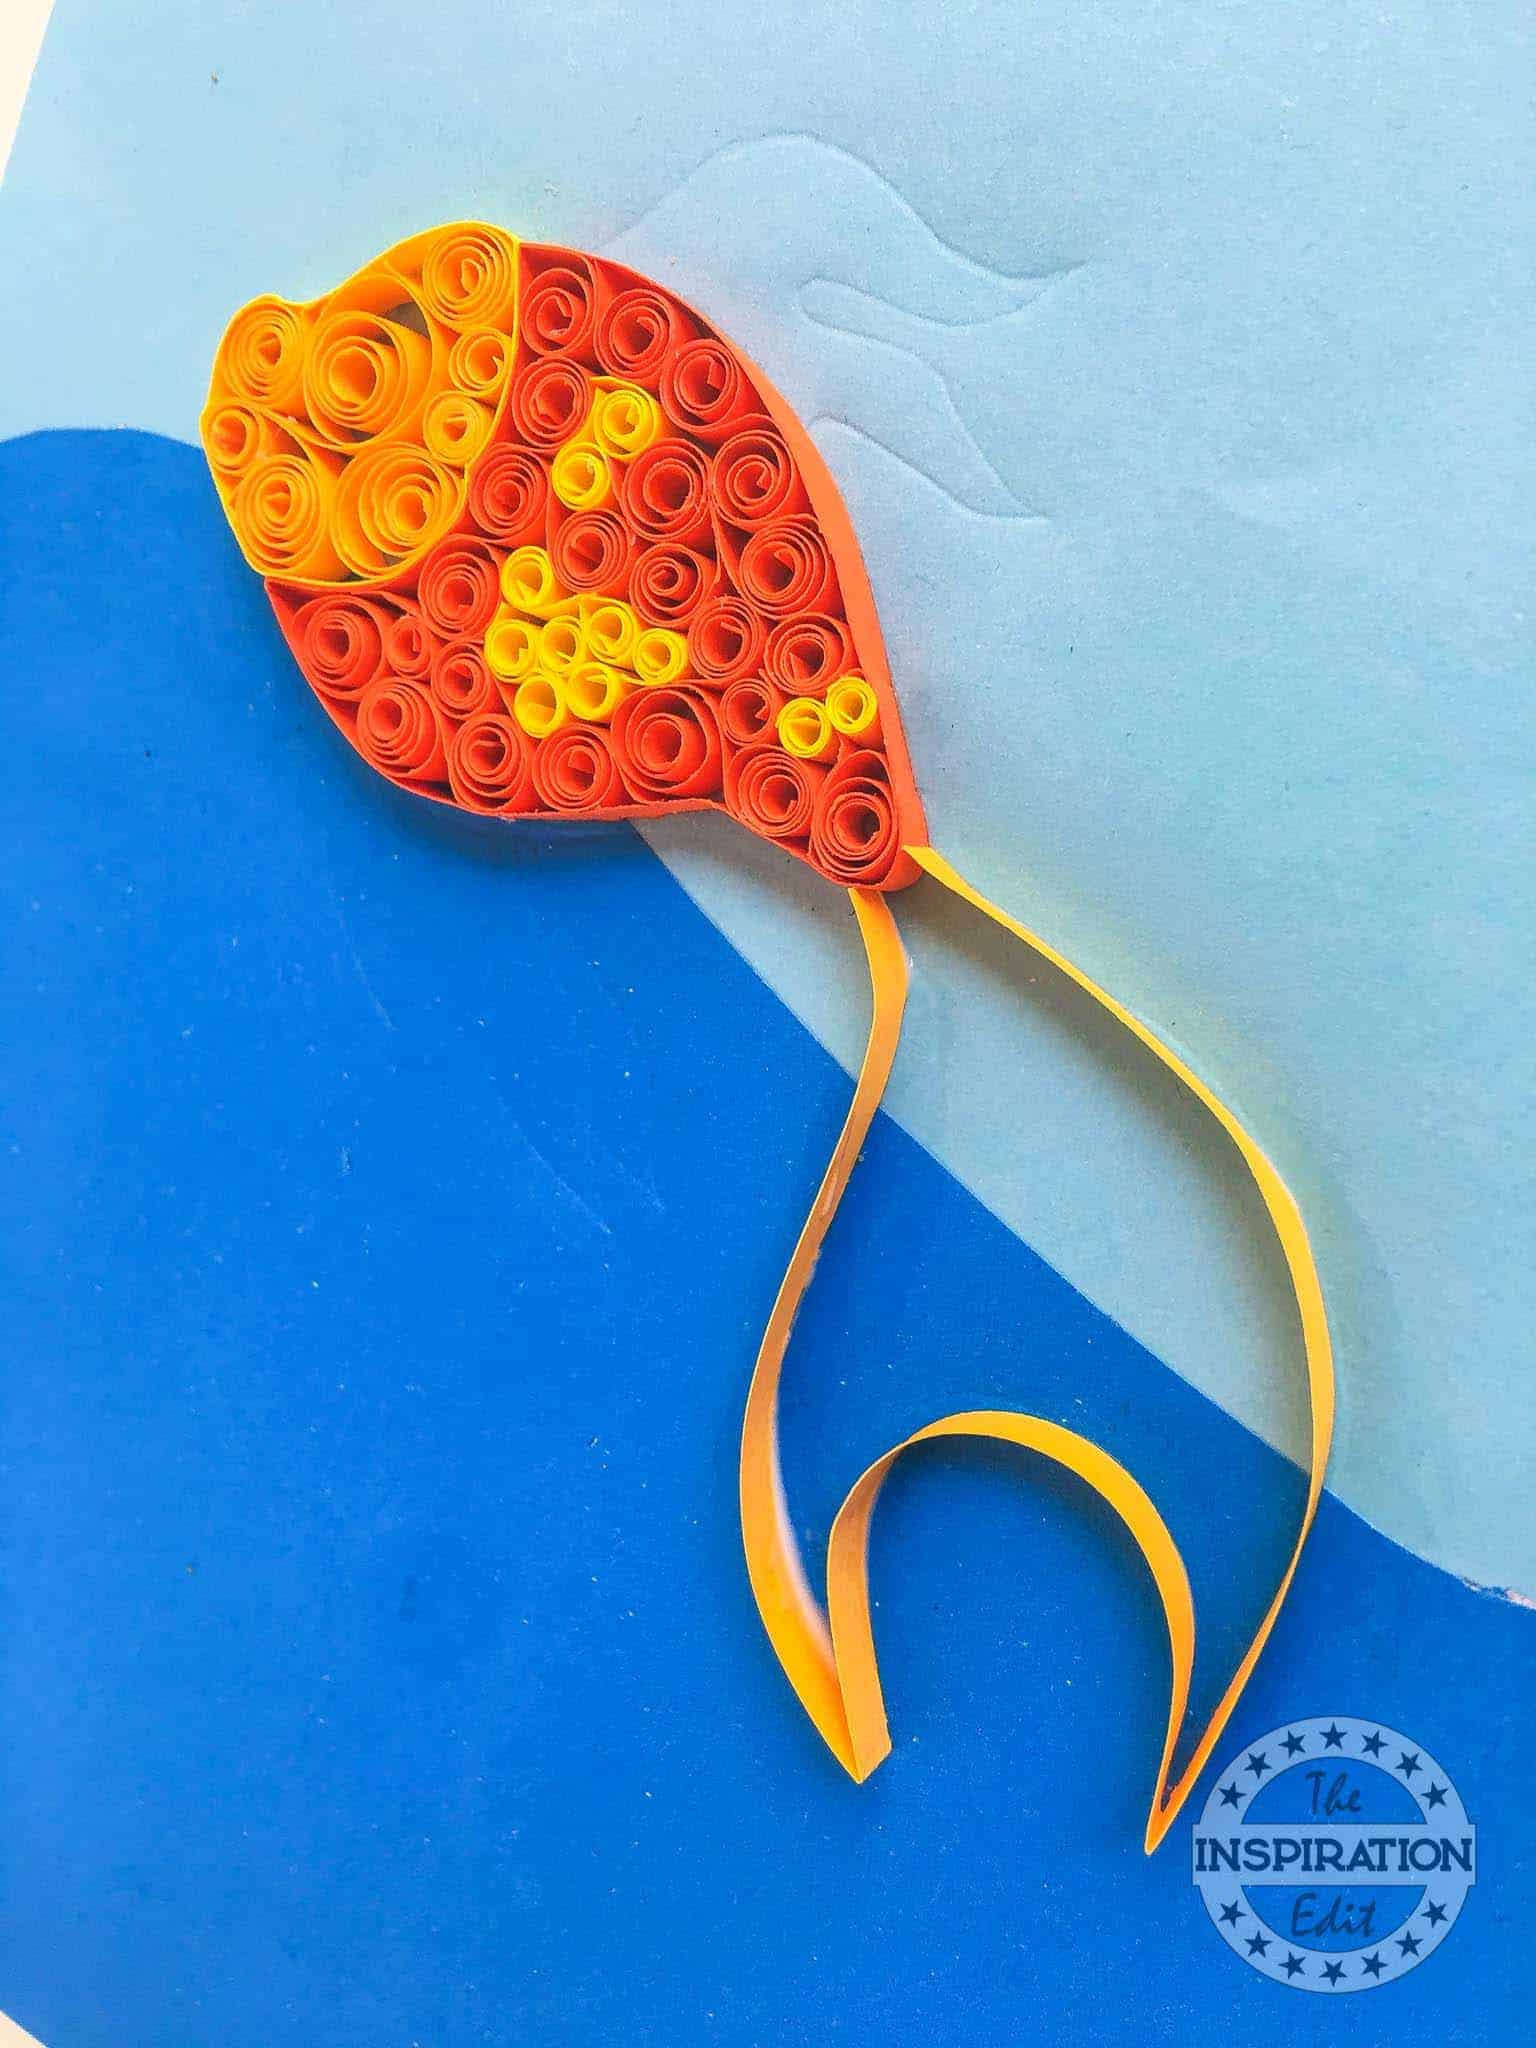
- Step 8: Next, take a longer yellow quilling strip and glue it along the tail of the goldfish.

- Step 9: Now take more yellow quilling strips and glue them along the lines of the fins of the goldfish.

- Step 10: Add a little final touch to the goldfish by gluing small strips inside the tail and fins to add more details to the goldfish.

- Step 11: Then take some darker blue quilling paper and make some circular shapes. Glue them above the goldfish as water bubbles. And there you go! Your goldfish is READY! Why not make this craft and try these rainbow fish printables at the same time! It will be fun!
💡 Pro Tip: Try crafting a small school of different colored goldfish, like pale yellow, coral, and white, to make a lively scene instead of a single fish.
🧑🎨 Expert Tips
- Ripple Tail Effect: Cut the tail fin with subtle wave patterns to create a soft, flowing motion effect that mimics a goldfish swimming.
- Layered Fins: Stack two thin fin cutouts slightly apart to give a three-dimensional, fluttery look without needing bulky materials.
- Water Reflection: Lightly shade one side of the fish with a pale blue or soft silver to imitate the shimmer of light underwater.
- Gentle Eye Placement: Set the eyes lower and wider apart for a sweeter, more playful expression that's appealing for kid-friendly crafts.
- Display Splash: Mount the goldfish on blue tissue paper or cellophane to create an easy "water" background without needing complicated props.
- Swooping Body Line: Slightly curve the goldfish body when assembling to make it appear mid-swim, adding a touch of energy to the project.
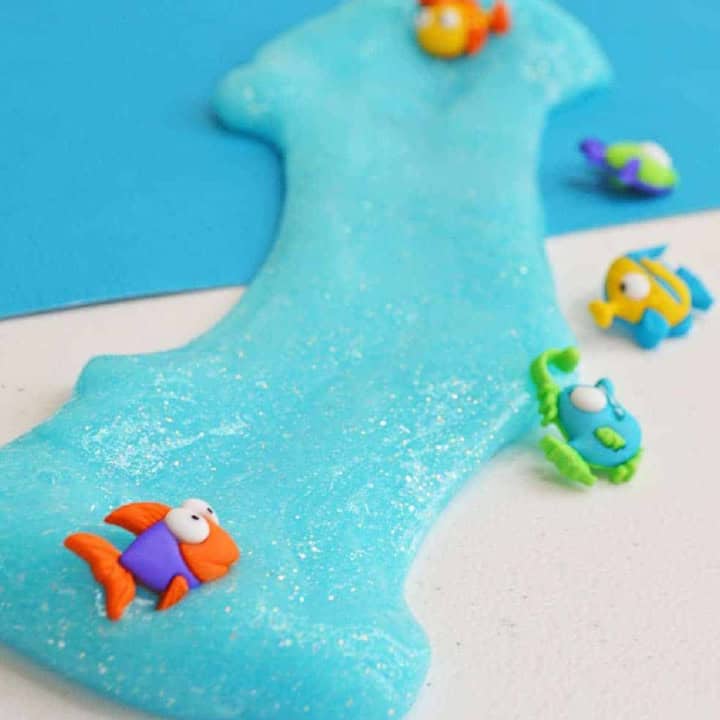
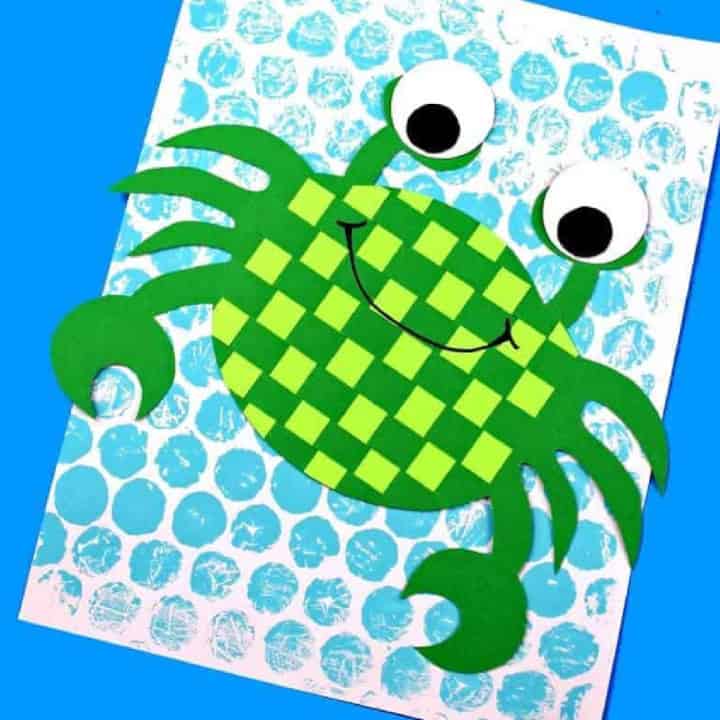
🖌️ More Ocean Themed Crafts

Did you make this craft? Leave a review and comment below! Alternatively, bookmark it in your browser or save to Pinterest.
Download Template
Get your free Printable Quilled Goldfish Craft here!

Easy Quilled Goldfish Craft Anyone Can Do
Materials
- Quilling Paper
- Paper Glue
- Quilling Tools
- Colorful craft papers
- Scissors
Instructions
- Download Your Free Template first.
- Take 6 inches long orange and yellow quilling papers.
- 30 to 35 strips.
- First, take a half of an A4 sized light blue craft paper.
- Then take a darker blue paper and cut it in a wavy shape on one side.
- Glue the darker blue paper over the lighter blue one.
- Draw the template of the goldfish using a blank pen on the blue paper.
- Then take an orange quilling paper and glue it along the line of the body for the goldfish.
- You can print out the pattern for the goldfish using the template on an orange paper, then separately make the goldfish and glue it on the blue paper as well.
- Start filling in the body of the goldfish using slightly tight and small orange coils.
- Use a few yellow coils randomly or according to your choice with the orange coils.
- Start from any corner.
- Fill it up using orange and yellow quilled coils. All of the coils don’t need to be in the same size. You can use a combination of loose and tight quilled coils to fill up the body for the goldfish.
- Now take a yellow quilling strip and glue it over the lines of the goldfish’s head.
- Then, start gluing yellow quilled coils of various sizes from the front side of the head.
- Then, fill up the head using yellow quilled coils.
- Next, take a longer yellow quilling strip and glue it along the tail of the goldfish.
- Now take more yellow quilling strips and glue them along the lines of the fins of the goldfish.
- Add a little final touch to the goldfish by gluing small strips inside the tail and fins to add more details to the goldfish.
- Then take some darker blue quilling paper and make some circular shapes.
- Glue them above the goldfish as water bubbles.
- And there you go! Your goldfish is READY!
More Crafts You Might Like:


I would like to get the template.
Here is the link: https://www.theinspirationedit.com/wp-content/uploads/2020/05/Goldfish.pdf