

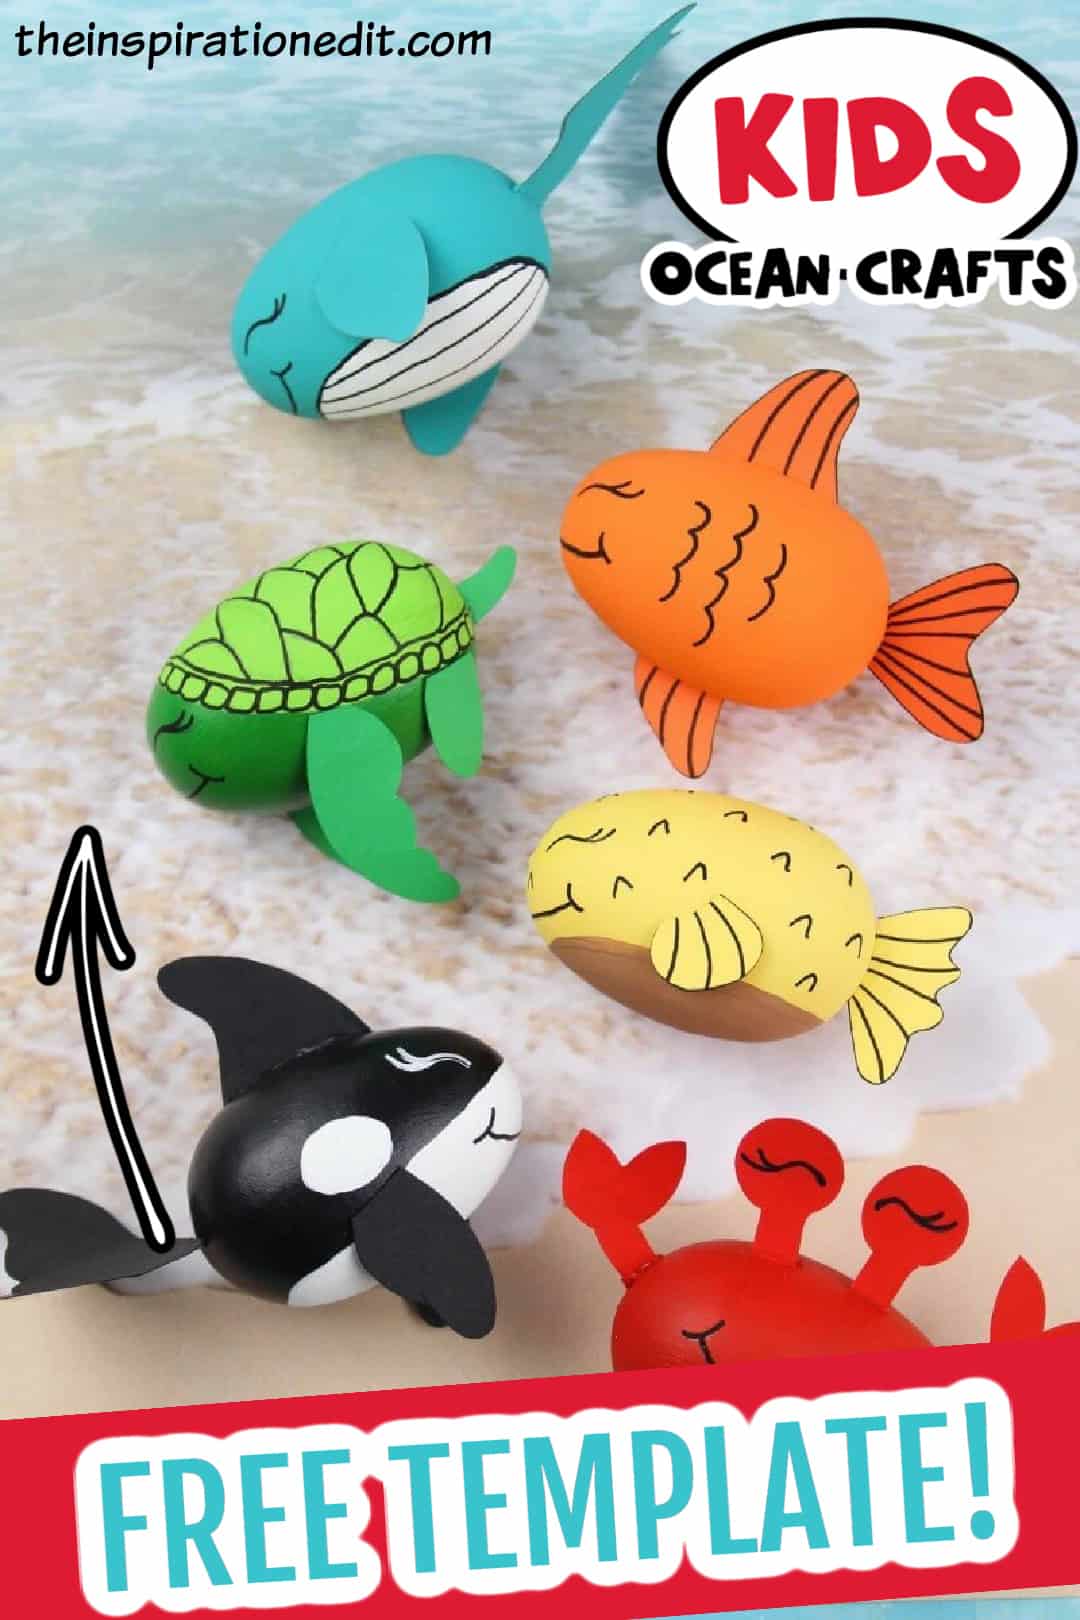
Part one of this DIY Ocean Craft Egg series features three adorable sea creatures: the Sea Turtle, Puffer Fish, and Killer Whale. These ocean-inspired crafts are fun, easy to make, and perfect for kids who love marine life.
Using plastic or paper eggs as the base, each creature comes to life with simple materials like paint, paper, and googly eyes.

Great for ocean-themed activities, classroom projects, or weekend crafting, these sea animal creations are sure to make a splash!
This is a brilliant ocean themed craft and it's a perfect activity for the classroom. Enjoy!
Jump to:
💖 Why You'll Love This Craft
- Ocean-Themed Fun: Kids can dive into crafting with these adorable ocean creatures, making a splash with sea turtles, pufferfish, and killer whales.
- Educational & Creative: This craft offers a fun opportunity to teach kids about marine life while letting them express creativity through art.
- Perfect for a Group Activity: Whether at home or in the classroom, this craft works great for a group project, with each child creating their favorite ocean animal.
🎨 Supplies Needed
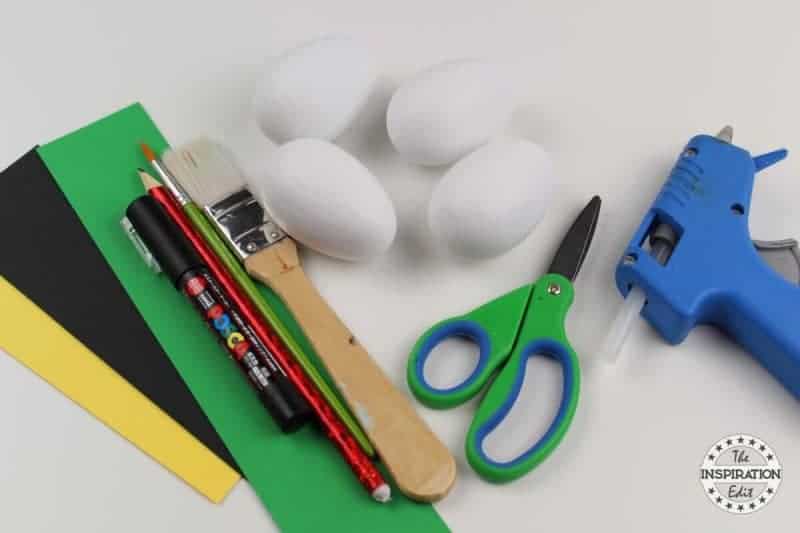
- Wooden or Paper Mache Eggs
- Acrylic Paint
- Paintbrush
- Cardstock
- Hot Glue
- Pencil
- Black Paint Pen or Permanent Marker
- Scissors
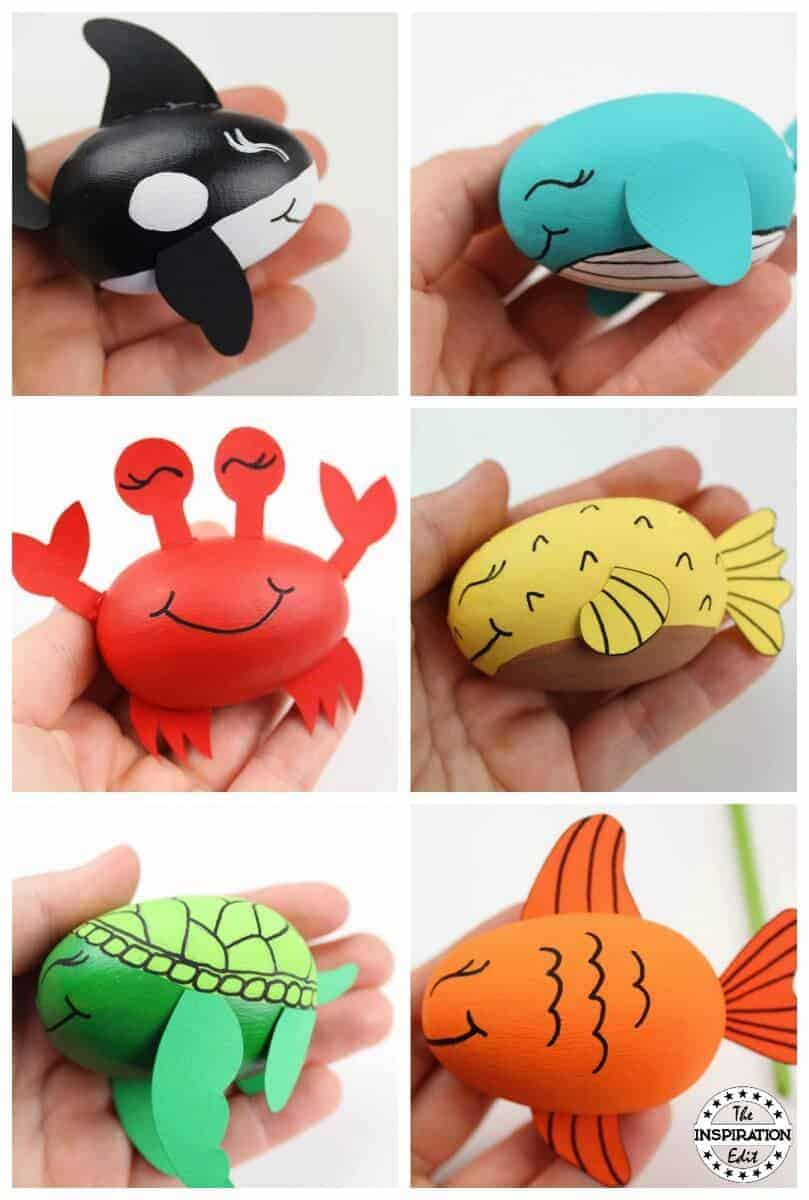
🖌️ How To Make Ocean Crafts
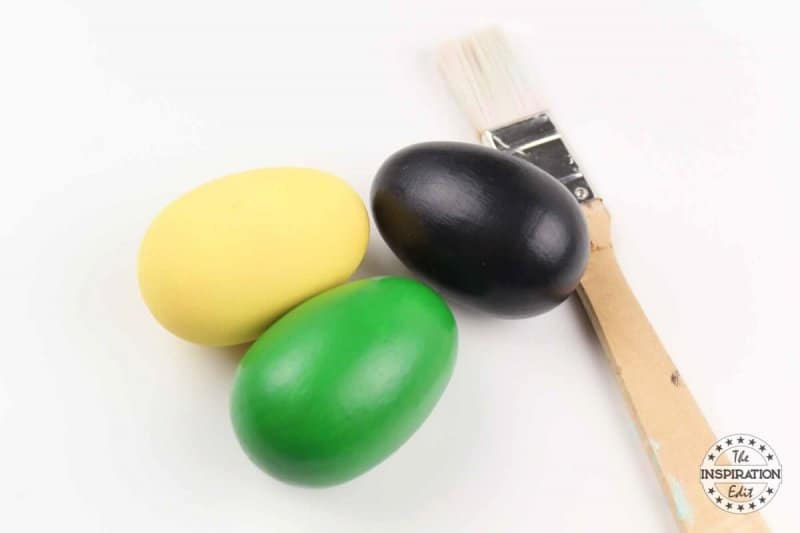
- Step 1: Paint the wooden eggs. You will need to give each egg 2-3 coats of paint. Allow the paint to dry completely.
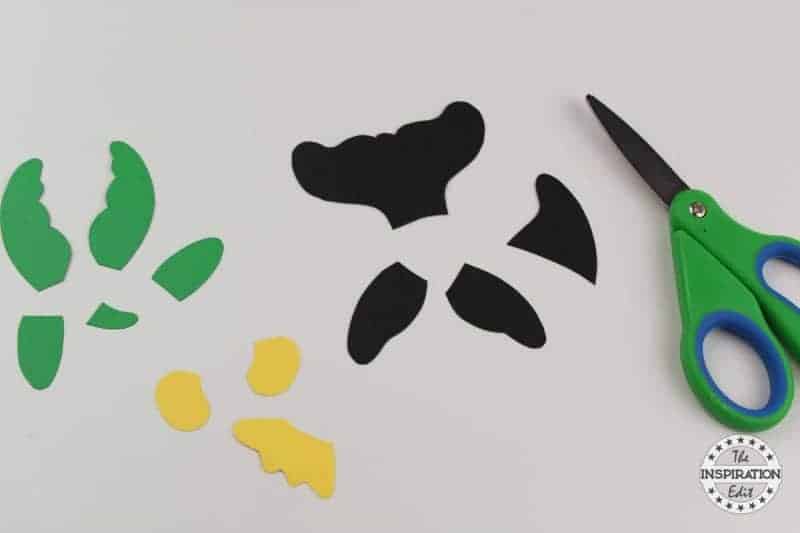
- Step 2: Download the template and print out. Cut the template out and trace onto cardstock. Cut each piece out.
How to Make a Killer Whale Craft
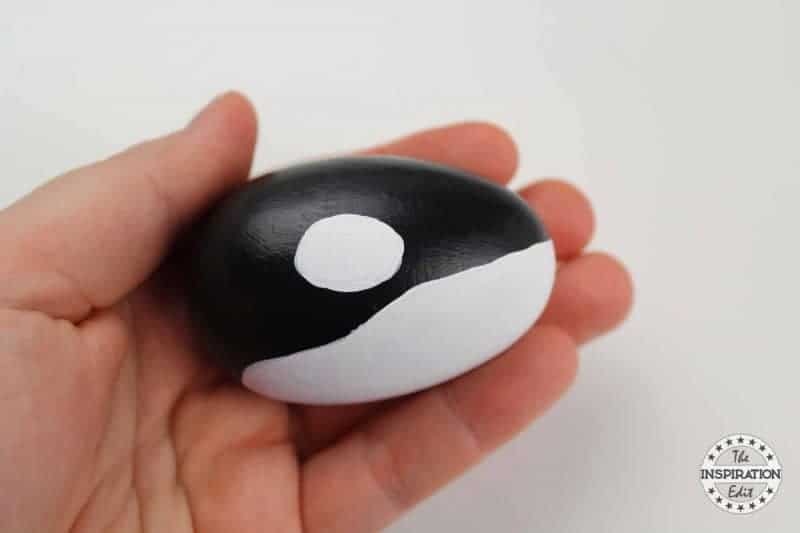
- Step 1: Paint the belly of the killer whale white and paint a white spot on each side of the whale. Allow the paint to dry completely.
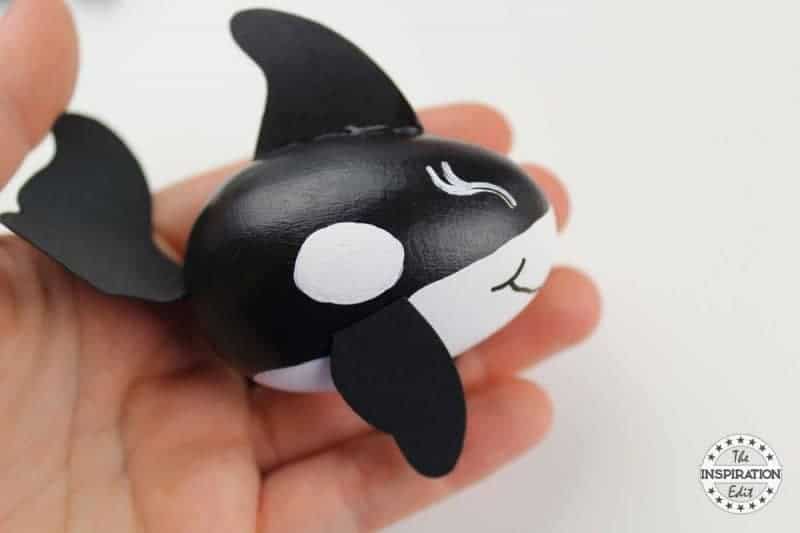
- Step 2: Glue the cardstock fins and tail onto the whale.
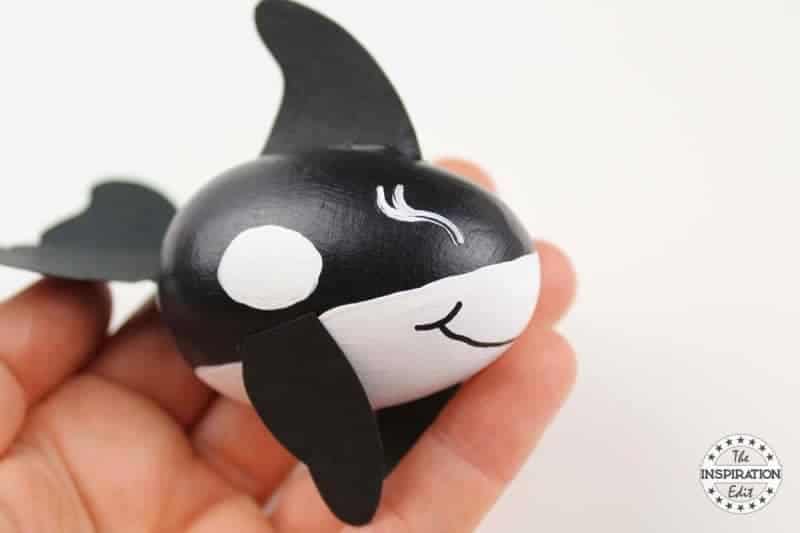
- Step 3: Use a pencil to draw eyes onto the whale. Once you are satisfied with how they look, trace over the pencil with a white paint pen. Draw a smile on the front of the whale with a black marker or a black paint pen. Your Killer whale craft is now complete!
How to Make a Sea Turtle
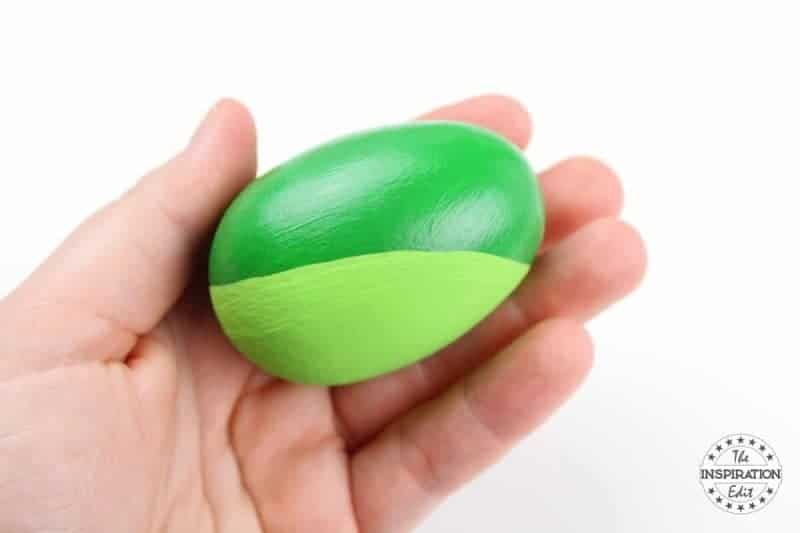
- Step 1: Paint the belly of the turtle a lighter green. Allow the paint to dry completely.
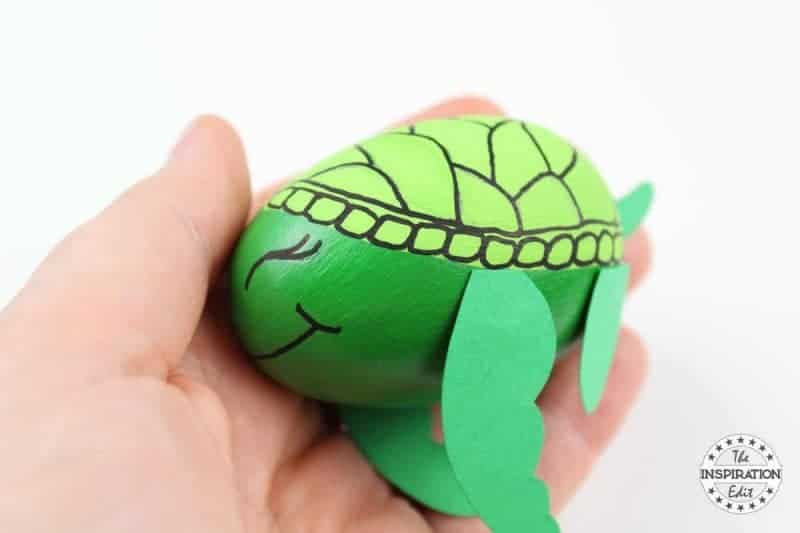
- Step 2: Glue the cardstock flippers and tail onto the sea turtle.
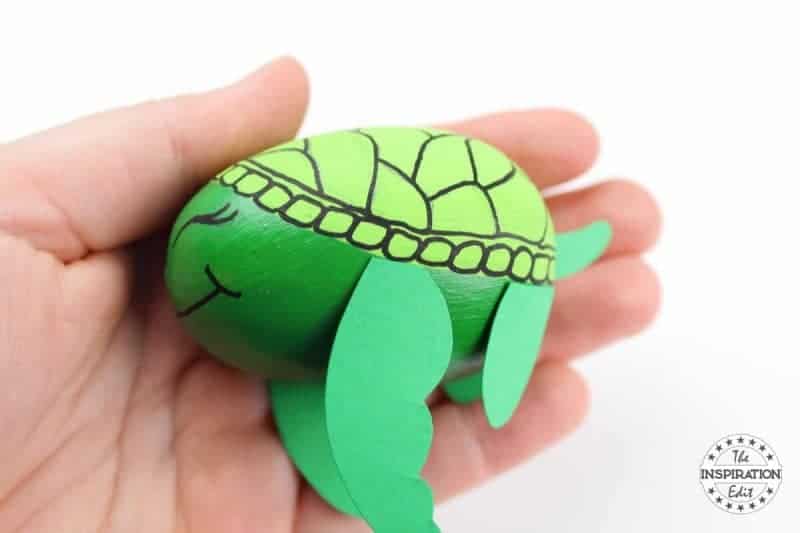
- Step 3: Use a pencil to draw eyes onto the sea turtle. Once you are satisfied with how they look, trace over the pencil with black marker or a black paint pen. Use a black paint pen or marker to add detail to the turtles shell. Draw a smile on the front of the turtle with black marker or a black paint pen.
How to Make a Puffer Fish Craft
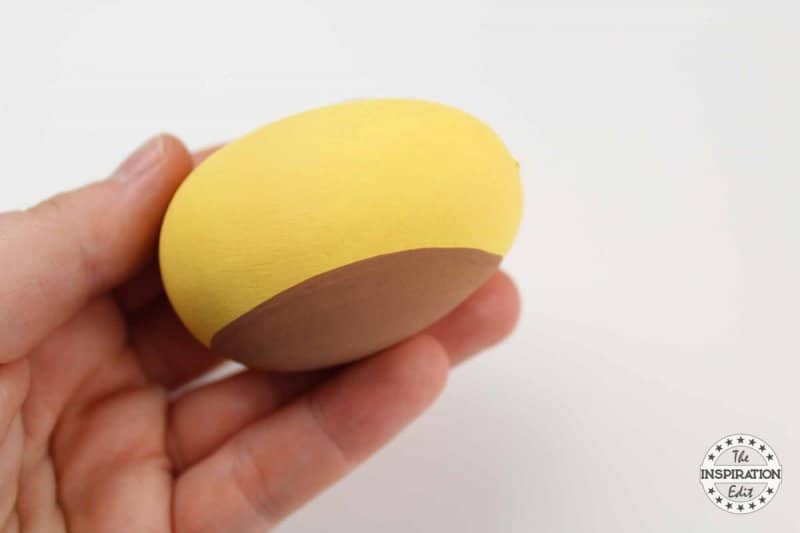
- Step 1: Paint the belly of the puffer fish a light brown. Allow the paint to dry completely. Glue the cardstock fins and tail onto the fish.
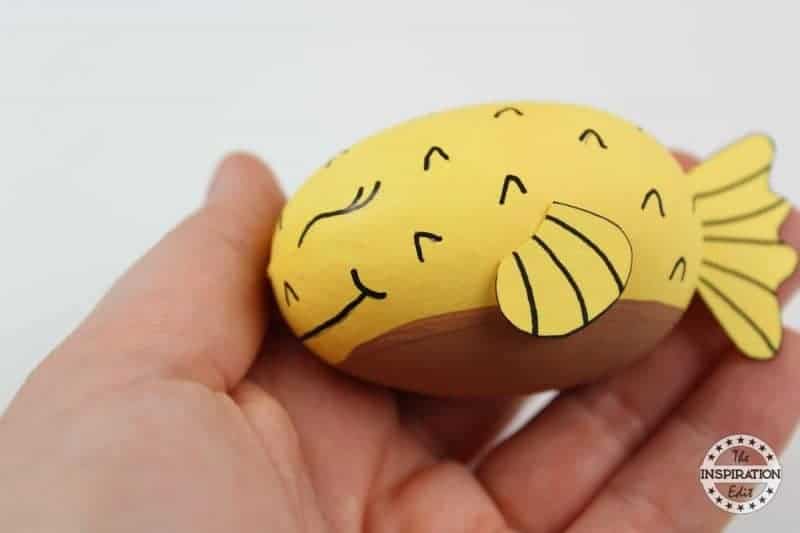
- Step 2: Use a pencil to draw eyes onto the fish. Once you are satisfied with how they look, trace over the pencil with black marker or a black paint pen. Use a black paint pen or marker to add detail to the fins and tail.
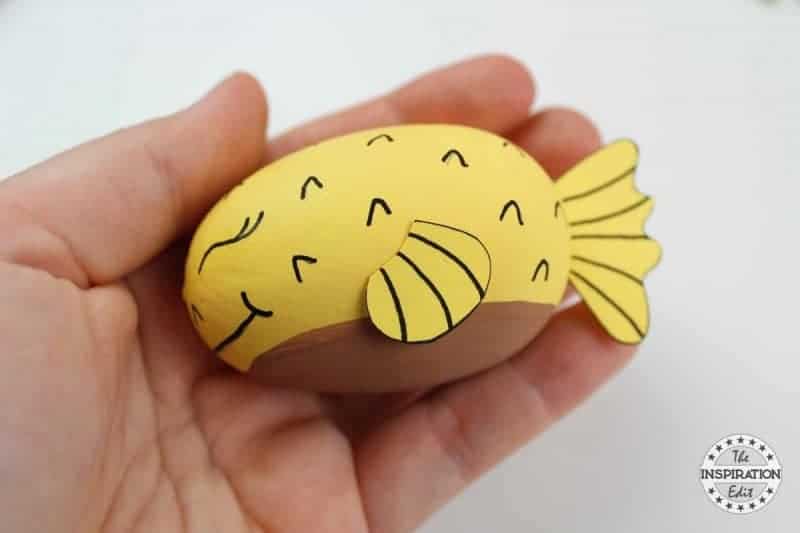
- Step 3: Draw spikes all over the body of the fish with black marker or a black paint pen. Draw a smile on the front of the fish with black marker or a black paint pen.
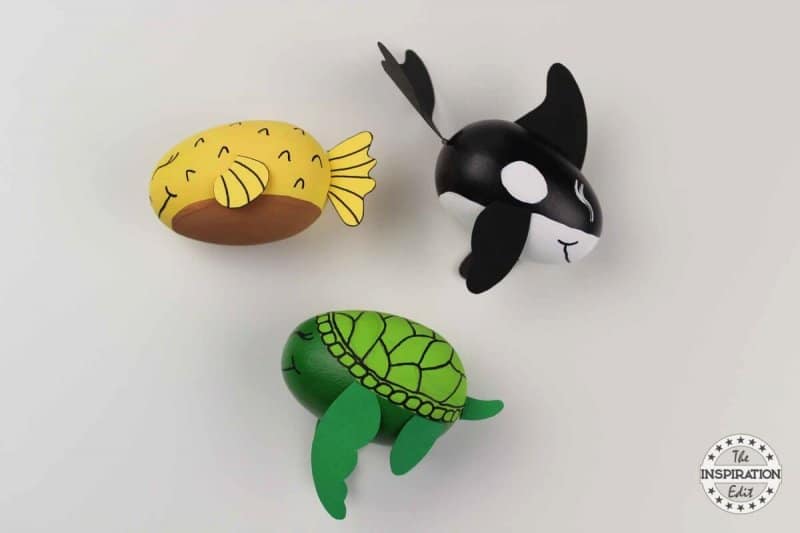
Download Your Ocean Creatures Templates Here!
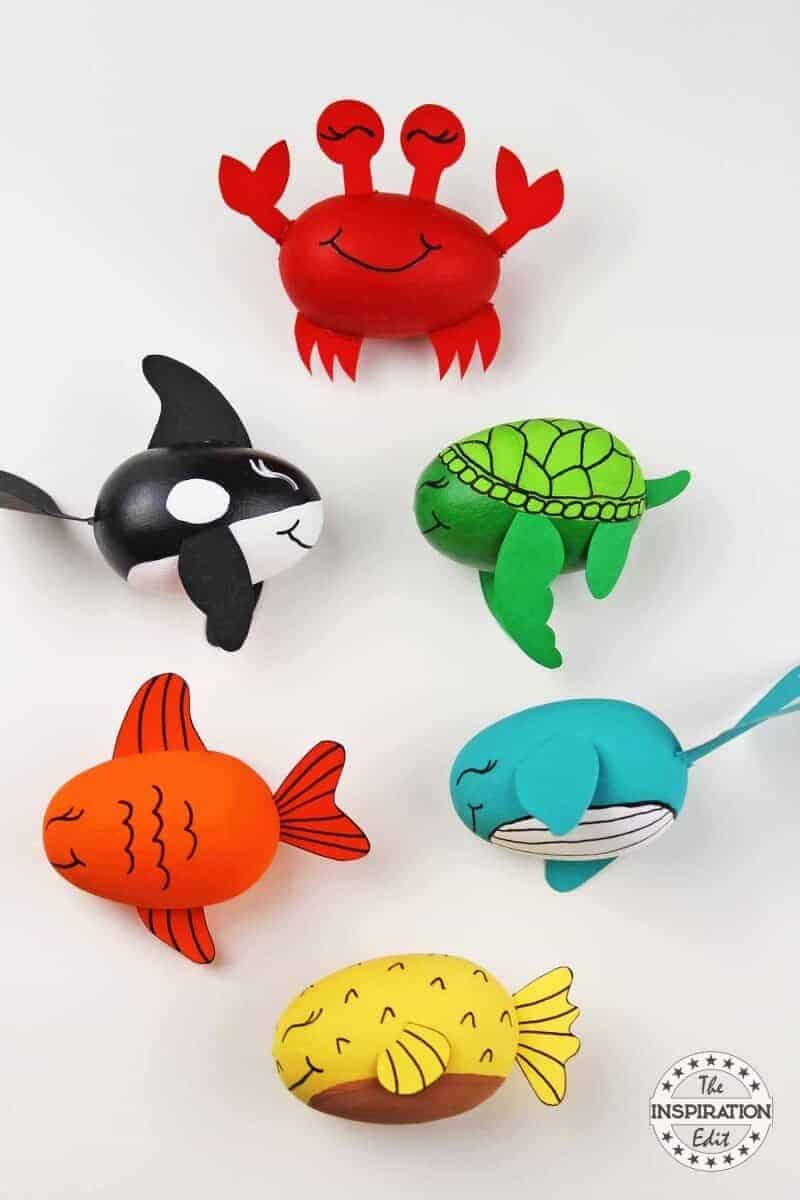
💡 Pro Tip: After assembly, have kids tell a short story using their ocean scene—this builds narrative thinking while checking layout clarity and flow.
🧑🎨 Expert Tips
- Scene Anchoring: Start by placing ocean floor elements like rocks or coral at the bottom edge to ground the layout and give it structure visually.
- Focal Placement: Position the main sea creature near the center or off-center top third to guide the viewer’s eye through the underwater scene naturally.
- Layer Spacing: Leave breathing room between fish, plants, and bubbles—cluttered elements make the ocean setting harder to understand visually.
- Directional Flow: Angle fish or waves in one direction to suggest gentle movement across the page, helping the whole layout feel more alive.
- Depth Suggestion: Place larger elements in front and smaller ones higher up to create a feeling of depth, like looking into an actual ocean.
- Grouped Features: Cluster related details—like a jellyfish and its tentacles or a crab and its rocks—so the story makes sense spatially and visually.
Download Printable
Download your free Ocean Template here!
🖌️ More Ocean Themed Crafts
Love these crafts! Don't forget to pin them on Pinterest or leave a comment and let us know how you got on!


Did you make this craft? Leave a review and comment below! Alternatively, bookmark it in your browser or save to Pinterest.
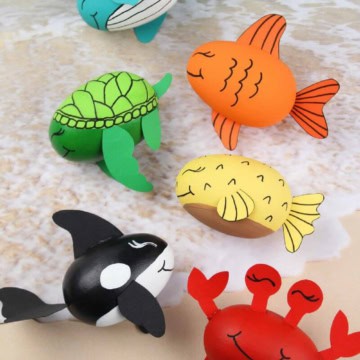
Sea Turtle, Puffer Fish and Killer Whale Craft
Equipment
- Scissors
Materials
- Wooden or Paper Mache Eggs
- Acrylic Paint
- Paintbrush
- Cardstock
- Hot Glue
- Pencil
- Black Paint Pen or Permanent Marker
Instructions
- Paint the wooden eggs. You will need to give each egg 2-3 coats of paint. Allow the paint to dry completely.
- Download the template and print out.
- Cut the template out and trace onto cardstock.
- Cut each piece out.
- HOW TO MAKE A KILLER WHALE CRAFTPaint the belly of the killer whale white and paint a white spot on each side of the whale. Allow the paint to dry completely.
- Glue the cardstock fins and tail onto the whale.
- Use a pencil to draw eyes onto the whale.
- Once you are satisfied with how they look, trace over the pencil with a white paint pen.
- Draw a smile on the front of the whale with black marker or a black paint pen. Your Killer whale craft is now complete!
- HOW TO MAKE A SEA TURTLEPaint the belly of the turtle a lighter green. Allow the paint to dry completely.
- Glue the cardstock flippers and tail onto the sea turtle.
- Use a pencil to draw eyes onto the sea turtle.
- Once you are satisfied with how they look, trace over the pencil with black marker or a black paint pen.
- Use a black paint pen or marker to add detail to the turtles shell.
- Draw a smile on the front of the turtle with black marker or a black paint pen.
- HOW TO MAKE A PUFFER FISH CRAFTPaint the belly of the puffer fish a light brown.
- Allow the paint to dry completely.
- Glue the cardstock fins and tail onto the fish.
- Use a pencil to draw eyes onto the fish.
- Once you are satisfied with how they look, trace over the pencil with black marker or black point pen
- Use a black paint pen or marker to add detail to the fins and tail.
- Draw spikes all over the body of the fish with a black marker or a blackpaint pen.
- Draw a smile on the front of the fish with a black marker or a black paint pen
Notes
MORE CRAFTS YOU MIGHT LIKE:
- DIY UNICORN PLANT POT FOR THE HOME
- MERMAID PRINTABLE WATER PAINTING CRAFT
- 18 BRILLIANT POPSICLE STICK CRAFTS FOR KIDS

These are so adorable. I'm seeing these as something to do at a kids party!
That is a great idea!
Oh my gosh, these are so adorable! Love it.
Thankyou Leigh
This is way to adorable. My daughter loves fishes and would surely get a kick out of making these. I just love how you have used paper eggs to make these various wonders of the waters 🙂
Awesome. I'd love to see them if you guys attempt to make them.
so cute, will share your post with my friends with kids x
Oh my gosh! These are the cutest! I will have to make these with my niece!
oh I'm glad you love these.