

Spring is such a wonderful time of the year. It's lovely to see the flowers blooming, see the green grass and spend time in the fresh air. I also love the lighter evenings.
Spring is a great time to go on a bug hunt, read about animals, bugs, and small creatures, and get crafting. Today on the blog we have a fun tutorial on how to make a clothespin butterfly. I hope you enjoy.
Either way it' s a fun activity and one I'm sure you will enjoy making with the kids. This is a colourful and easy to make craft.
Enjoy!

Jump to:
💖 Why You'll Love This Craft
- Fluttery Fun: Kids will love making their own colorful butterflies.
- Stick It Anywhere: Turns into a cute magnet for fridges or lockers.
- Quick Craft Time: Easy and fast to make in just a few minutes.
🎨 Supplies Needed

🖌️ How to Make a Butterfly Magnet

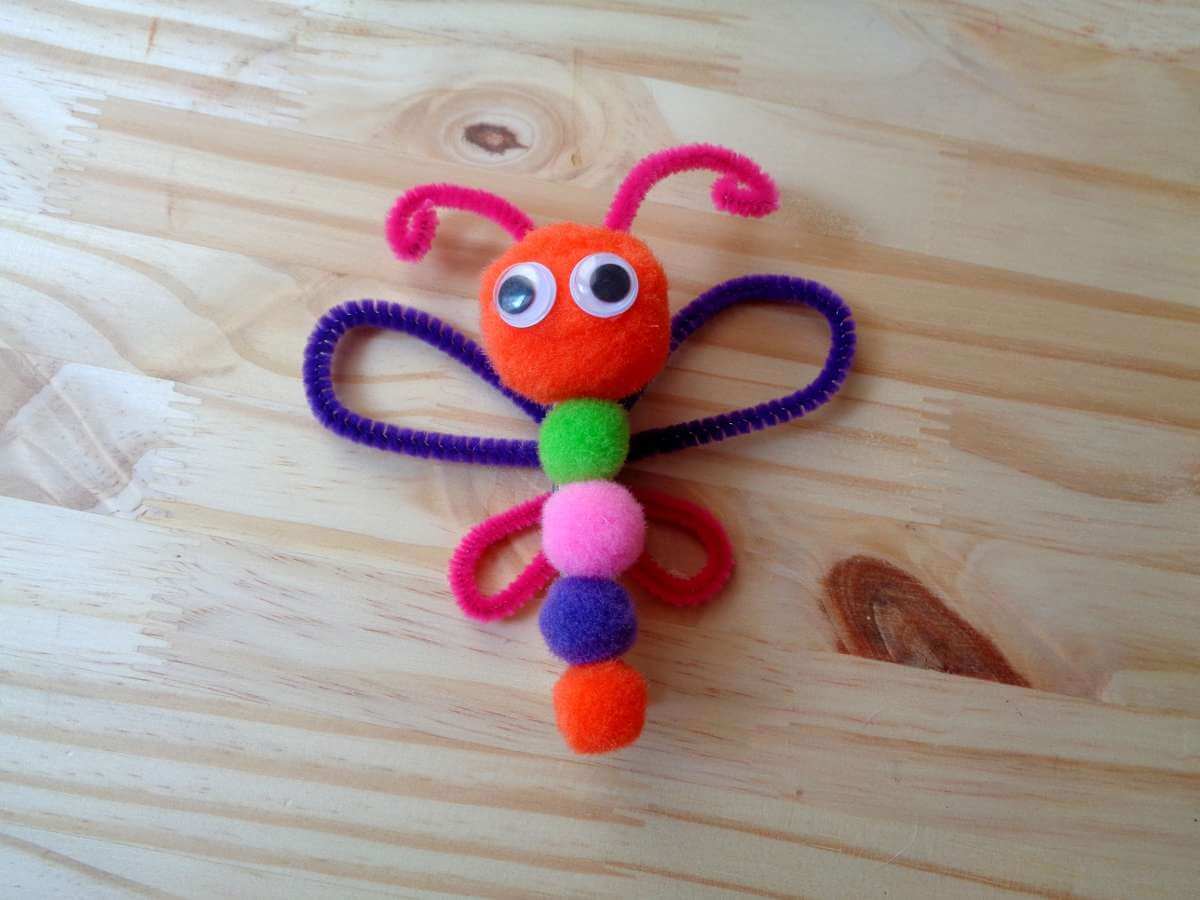
- Step 1: Begin by choosing a colourful selection of 1 inch and 1.5 inch pom poms and pipe cleaners. Lay your clothespin flat with the clip facing up.

- Step 2: Starting from the bottom of your clothespin, glue four 1 inch pom poms in a row and then glue one 1.5 inch pom pom for your butterfly’s head.

- Step 3:You will need two pipe cleaners for this step. Bend your pipe cleaners in half and then cut your pipe cleaners at the bend.

- Step 4: Use two pipe cleaner halves to create the butterfly’s top wings. Loop the wings and hot glue them into their shape. Cut the other pipe cleaner halves into four even sections. Use two of the pipe cleaner sections to create the bottom wings.


- Step 6: Glue a strong magnet on the back of your clothespin at the top.

Have Fun!

Watch the YouTube Video
💡 Pro Tip: Encourage kids to experiment with various colors and patterns for the pom-poms and pipe cleaners to make each butterfly unique.
🧑🎨 Expert Tips
- Prepare the Clothespin: Lay the clothespin flat with the clip facing up to ensure proper magnet attachment and stability while decorating. This step ensures that the butterfly holds its shape when finished.
- Attach the Body: Glue four small pom-poms together in a row, using a larger one for the butterfly’s head at the top. Make sure the pom-poms are securely attached to avoid any loose pieces.
- Create the Wings: Form butterfly wings by bending pipe cleaners into loops, gluing them securely to the back of the clothespin. The pipe cleaners should be evenly spaced for a balanced look.
- Add Antennae: Shape two small pieces of pipe cleaner into antennae and glue them onto the pom-pom head. The antennae add a delicate, final touch to the butterfly.
- Apply Magnets: Glue a small magnet to the back of the clothespin. This will turn the butterfly into a functional fridge magnet, perfect for displaying artwork.
- Decorate: Use googly eyes for the butterfly's head to give it a playful, animated appearance. Experiment with adding other embellishments like glitter or stickers to make it even more vibrant.
🖌️ More Butterfly Craft Ideas


Did you make this craft? Leave a review and comment below! Alternatively, bookmark it in your browser or save to Pinterest.

Clothes Pin Butterfly Magnet Craft For Kids
Materials
- Clothespins
- Pipe Cleaners
- Google Eyes
- Pom Poms
- Magnets
- Hot Glue
- Scissors
Instructions
- Begin by choosing a colorful selection of 1 inch and 1.5 inch pom poms and pipe cleaners.
- Lay your clothespin flat with the clip facing up.
- Starting from the bottom of your clothespin, glue four 1 inch pom poms in a row and then glue one 1.5 inch pom pom for your butterfly’s head.
- You will need two pipe cleaners for this step.
- Bend your pipe cleaners in half and then cut your pipe cleaners at the bend.
- Use two pipe cleaner halves to create the butterfly’s top wings.
- Loop the wings and hot glue them into their shape. Cut the other pipe cleaner halves into four even sections.
- Use two of the pipe cleaner sections to create the bottom wings.
- Glue your top and bottom butterfly wings onto the back of the clothespin. I used the metal portion of the clothespin as a guideline.
- I glued the top wings right above it and the bottom wings right below it.
- Glue a strong magnet on the back of your clothespin at the top.
- Turn your clothespin butterfly over and glue on googly eyes.Take the last two sections of your pipe cleaners and make a loop at the top of them to create an antennae shape.
- Glue them on top of the butterfly’s pom pom head.
- Your butterfly is ready to take a flight to a fridge near you!
- Have Fun!
MORE CRAFTS YOU MIGHT LIKE:


Oh this is so simple yet so clever. Def a craft idea I'll do with Timmy. He would really love this. I need to invest in a glue gun 🙂
thanks. Glad you like it! Glue guns are really useful.
these looks amazing! Very effective idea x
Thanks. I'm glad you like it.
These are very cute. I have to try them with Caspian when he is a little older 🙂
ThANKS. iT'S A FUN ACTIVITY!
Such a lovely idea! 🙂 Love that something so ordinary can be made so beautiful and completely personalised when designing it
I'm glad you like it. It is a fun and good craft to make.
Such a cute idea, and it's so easy, I'd love to do this with my kids on a wet afternoon. Thanks for the fab idea!
Your most welcome. 🙂
I love my glue gun and I love the simplicity in this idea! Thanks for sharing.x
thanks. it is simple but very effective.
Oh wow so cute and simple to make! Great idea
These are great and would make a great decoration for a girls bedroom to hold pictures of friends etc. You make the tutorial very straightforward and easy to follow x
thanks Claire. Glad you like it!
This looks so cute. Finally I have something to do with all the pegs we have that keep rusting etc. My daughter will love doing this. X
i bet she would love it!