Chunky Rainbow Butterfly Craft for Kids
Chunky Rainbow Butterfly Craft For Kids
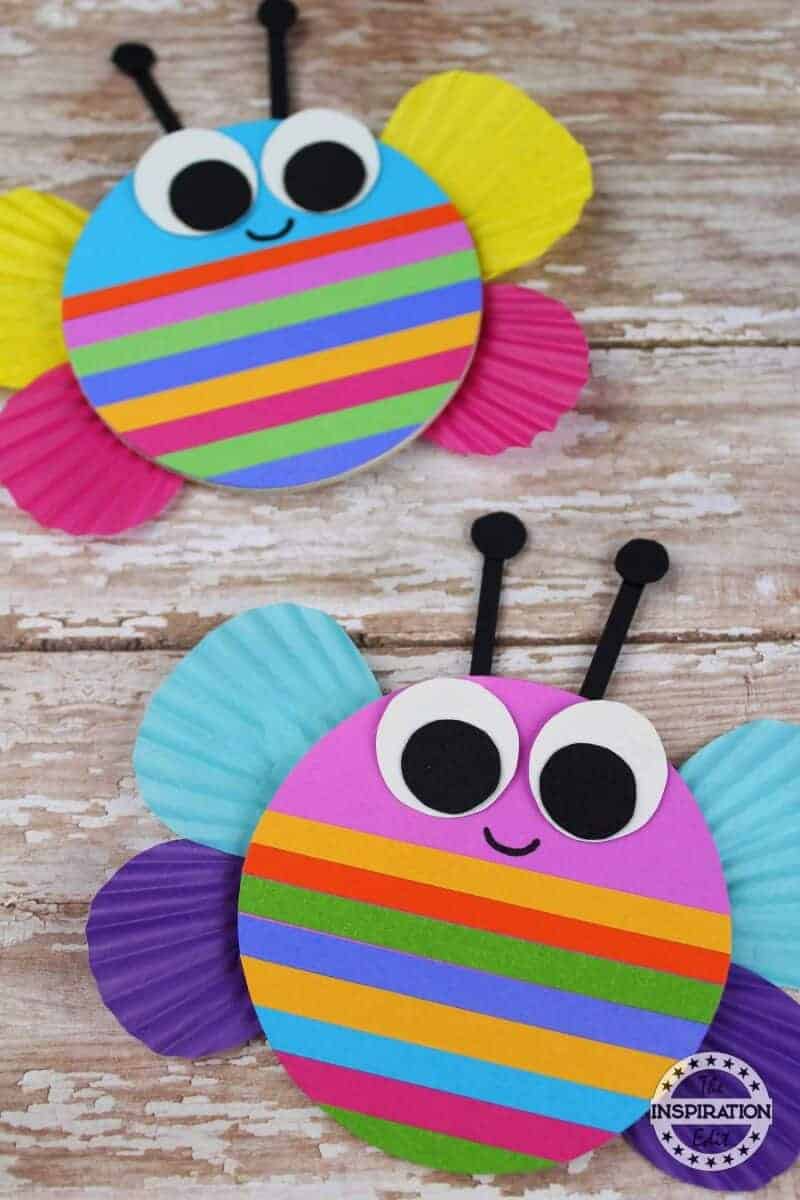
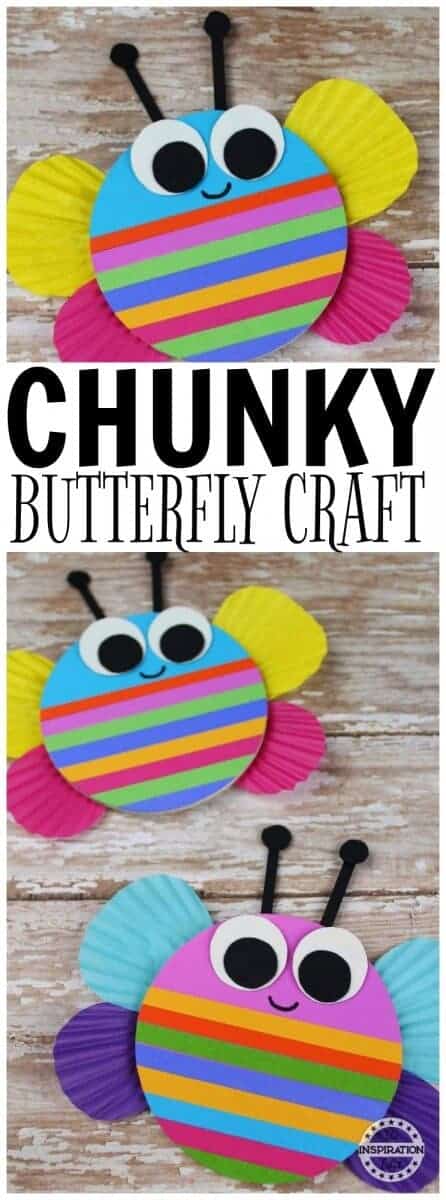
Today we have a fantastic cute and fun chunky rainbow butterfly craft which is perfect to make at home with the little ones or in the preschool setting with kids.

I love rainbows and I love butterflies so this is the perfect bright and colourful craft to try out. You can use paper eyes or googly eyes the choice is yours. Enjoy.

What You Will Need for These Butterfly Crafts
Contents
RELATED POST: RAINBOW CRAFTS FOR TODDLERS
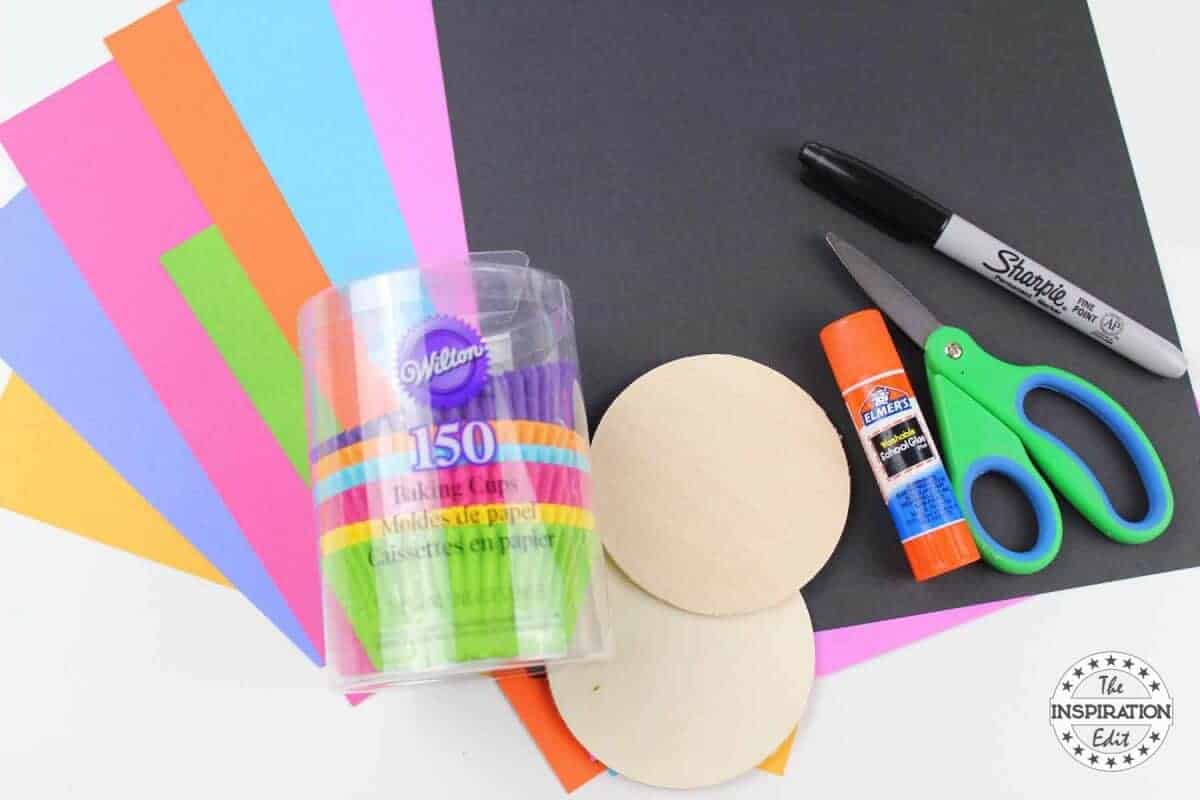
Astrobrights Colored Cardstock, 8.5” x 11”, 65 lb/176 gsm, Elmer’s Glue Stick (E588)Scotch Multi-Purpose Scissor, 8 Inch, 2 Pack (1428-2)


How to Make These Butterflies
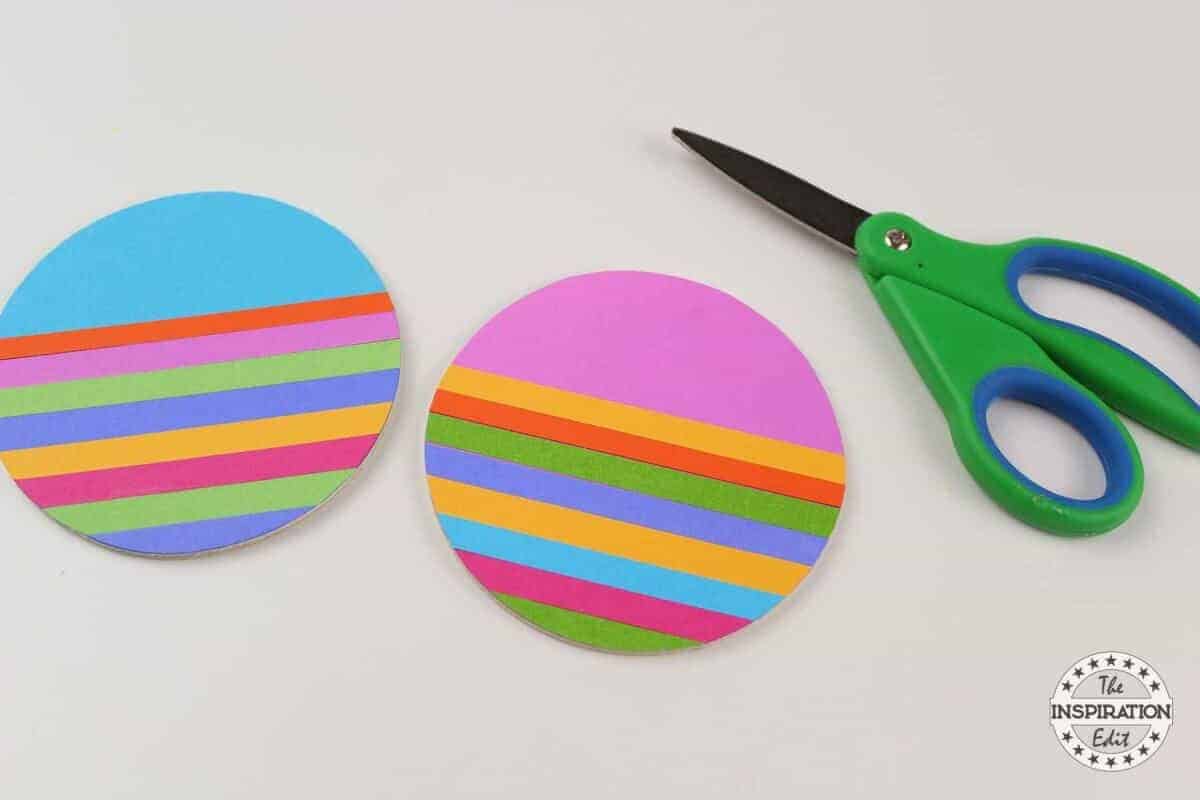
Glue the wooden circles onto coloured cardstock. Cut the excess paper off.


Cut thin strips of coloured cardstock.

Glue the strips of coloured cardstock onto the wood circles.
Leave at least an inch of space at the top of the circle. Cut excess paper off.
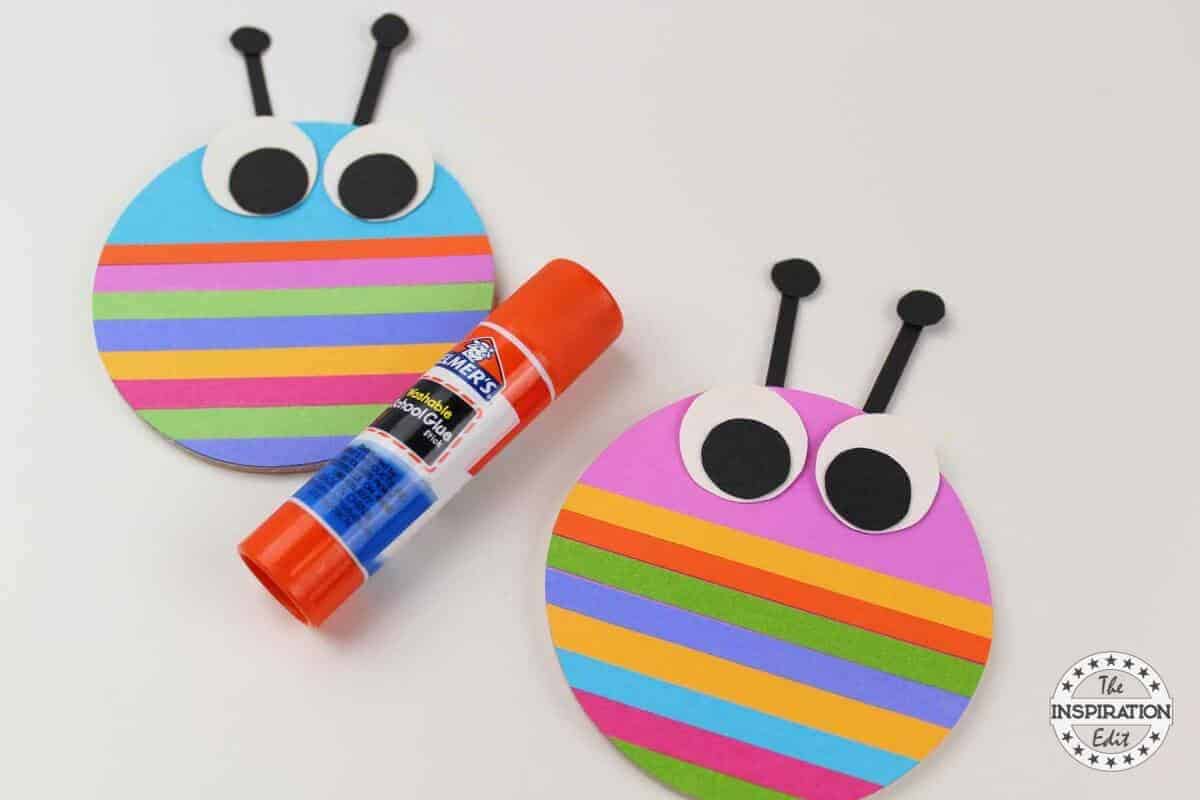
Cut 2 white circles from cardstock and 2 smaller black circles.
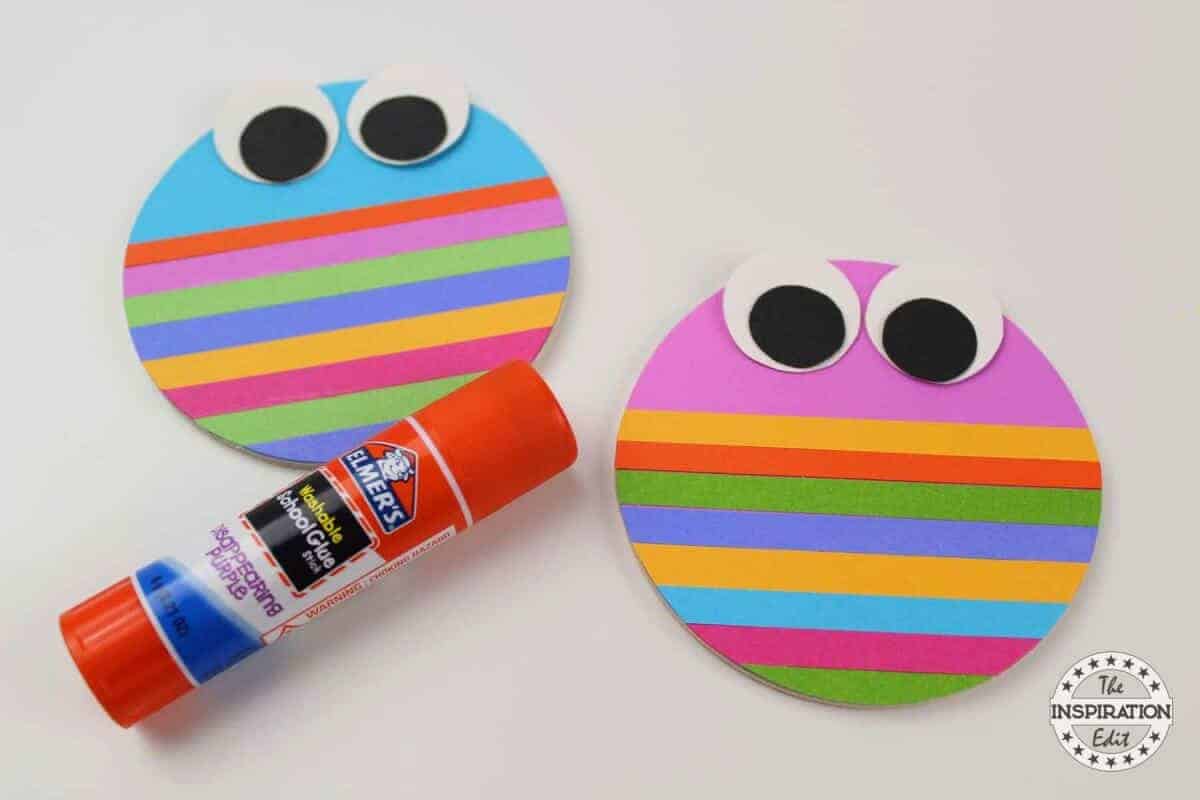
Glue the eyes together and then glue the eyes onto the top of the wood circles. Glue small strips of scrapbook paper onto the top of the butterflies.
Use a hole punch to make 2 small black circles and glue those at the top of the strips.
Fold a cupcake liner in half and cut out a large wing.
Repeat this step and cut out a smaller wing.
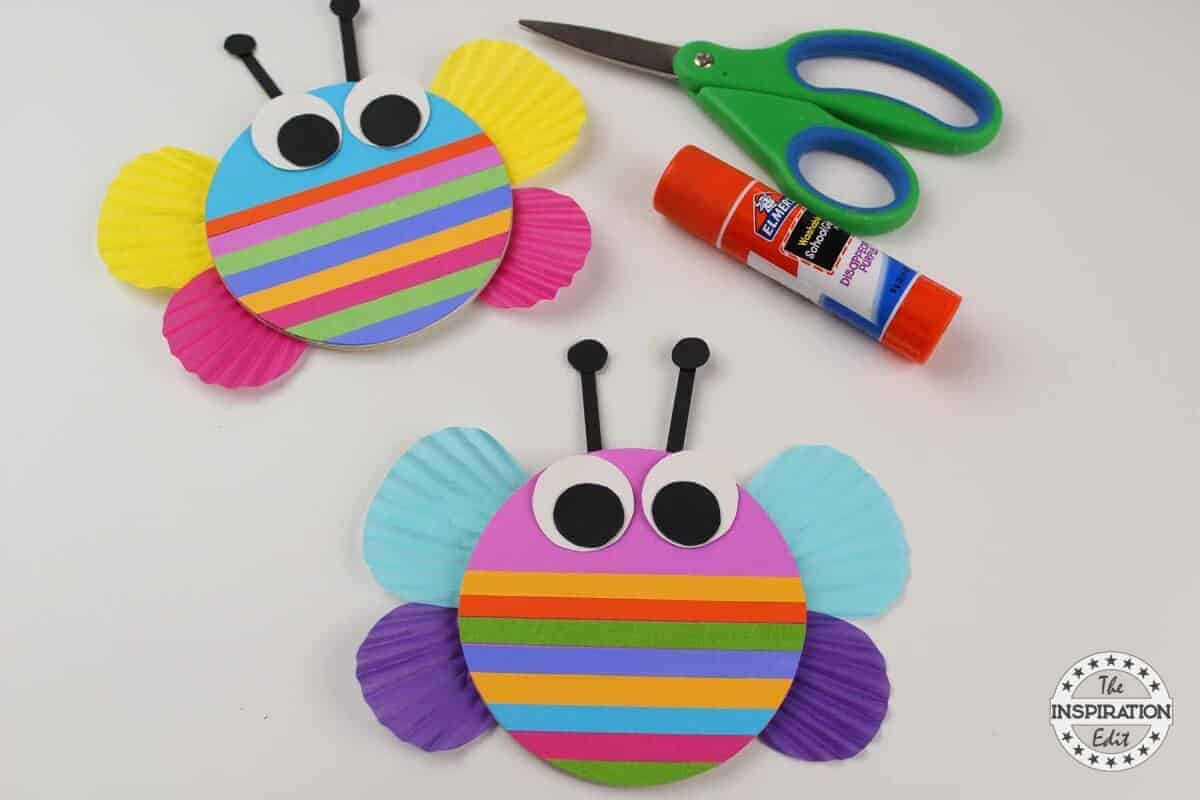
Glue the wings onto the back of the wood circles.
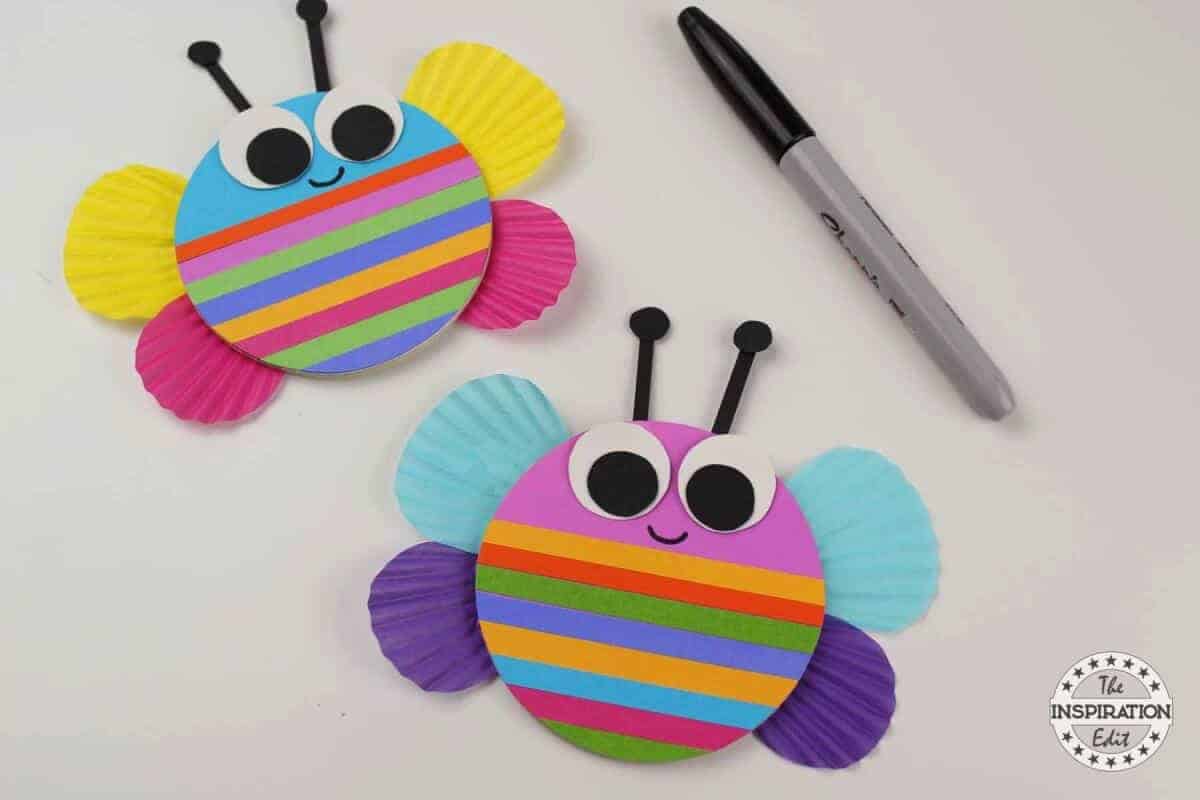
Use a black marker to add a smile to your butterflies.


Your butterflies are finished!


Enjoy!
Related Products
Sharpie Permanent Marker, Fine Point, Black, Pack of 5Natural Unfinished Round Wood Circle Cutout 3 Inch – Bag of 25Wilton 300-Count Rainbow Bright Standard Baking Cups, 415-2179


Chunky Rainbow Butterfly Craft For Kids

This is a tutorial on how to make a rainbow butterfly craft.
Materials
- Cardstock
- Glue stick
- Black Marker
- Wooden Circles
- Cupcake Liners
- Paper Cutter
Tools
- Scissors
Instructions
Glue the wooden circles onto coloured cardstock. Cut the excess paper off.
Cut thin strips of coloured cardstock.
Glue the strips of coloured cardstock onto the wood circles.
Leave at least an inch of space at the top of the circle. Cut excess paper off.
Cut 2 white circles from cardstock and 2 smaller black circles.
Glue the eyes together and then glue the eyes onto the top of the wood circles. Glue small strips of scrapbook paper onto the top of the butterflies.
Use a hole punch to make 2 small black circles and glue those at the top of the strips.
Fold a cupcake liner in half and cut out a large wing.
Repeat this step and cut out a smaller wing.
Glue the wings onto the back of the wood circles.
Use a black marker to add a smile to your butterflies.
Your butterflies are finished!
MORE CRAFTS YOU MIGHT LIKE:
GNOMEO AND JULIETTE KIDS CRAFT
GORGEOUS KNITTED HEN AND CHICKS CRAFT
HEDGEHOG KNITTING CRAFT YOU WILL LOVE
Angela Milnes is a Qualified Early Years Teacher who has specialised in Preschool and Kindergarten teaching. She has a wealth of experience teaching young children and is passionate about kids crafts and having fun as a family. Angela has also taught cooking skills and loves to share both family recipes and easy crafts here on The Inspiration Edit. Follow her on Pinterest!


