

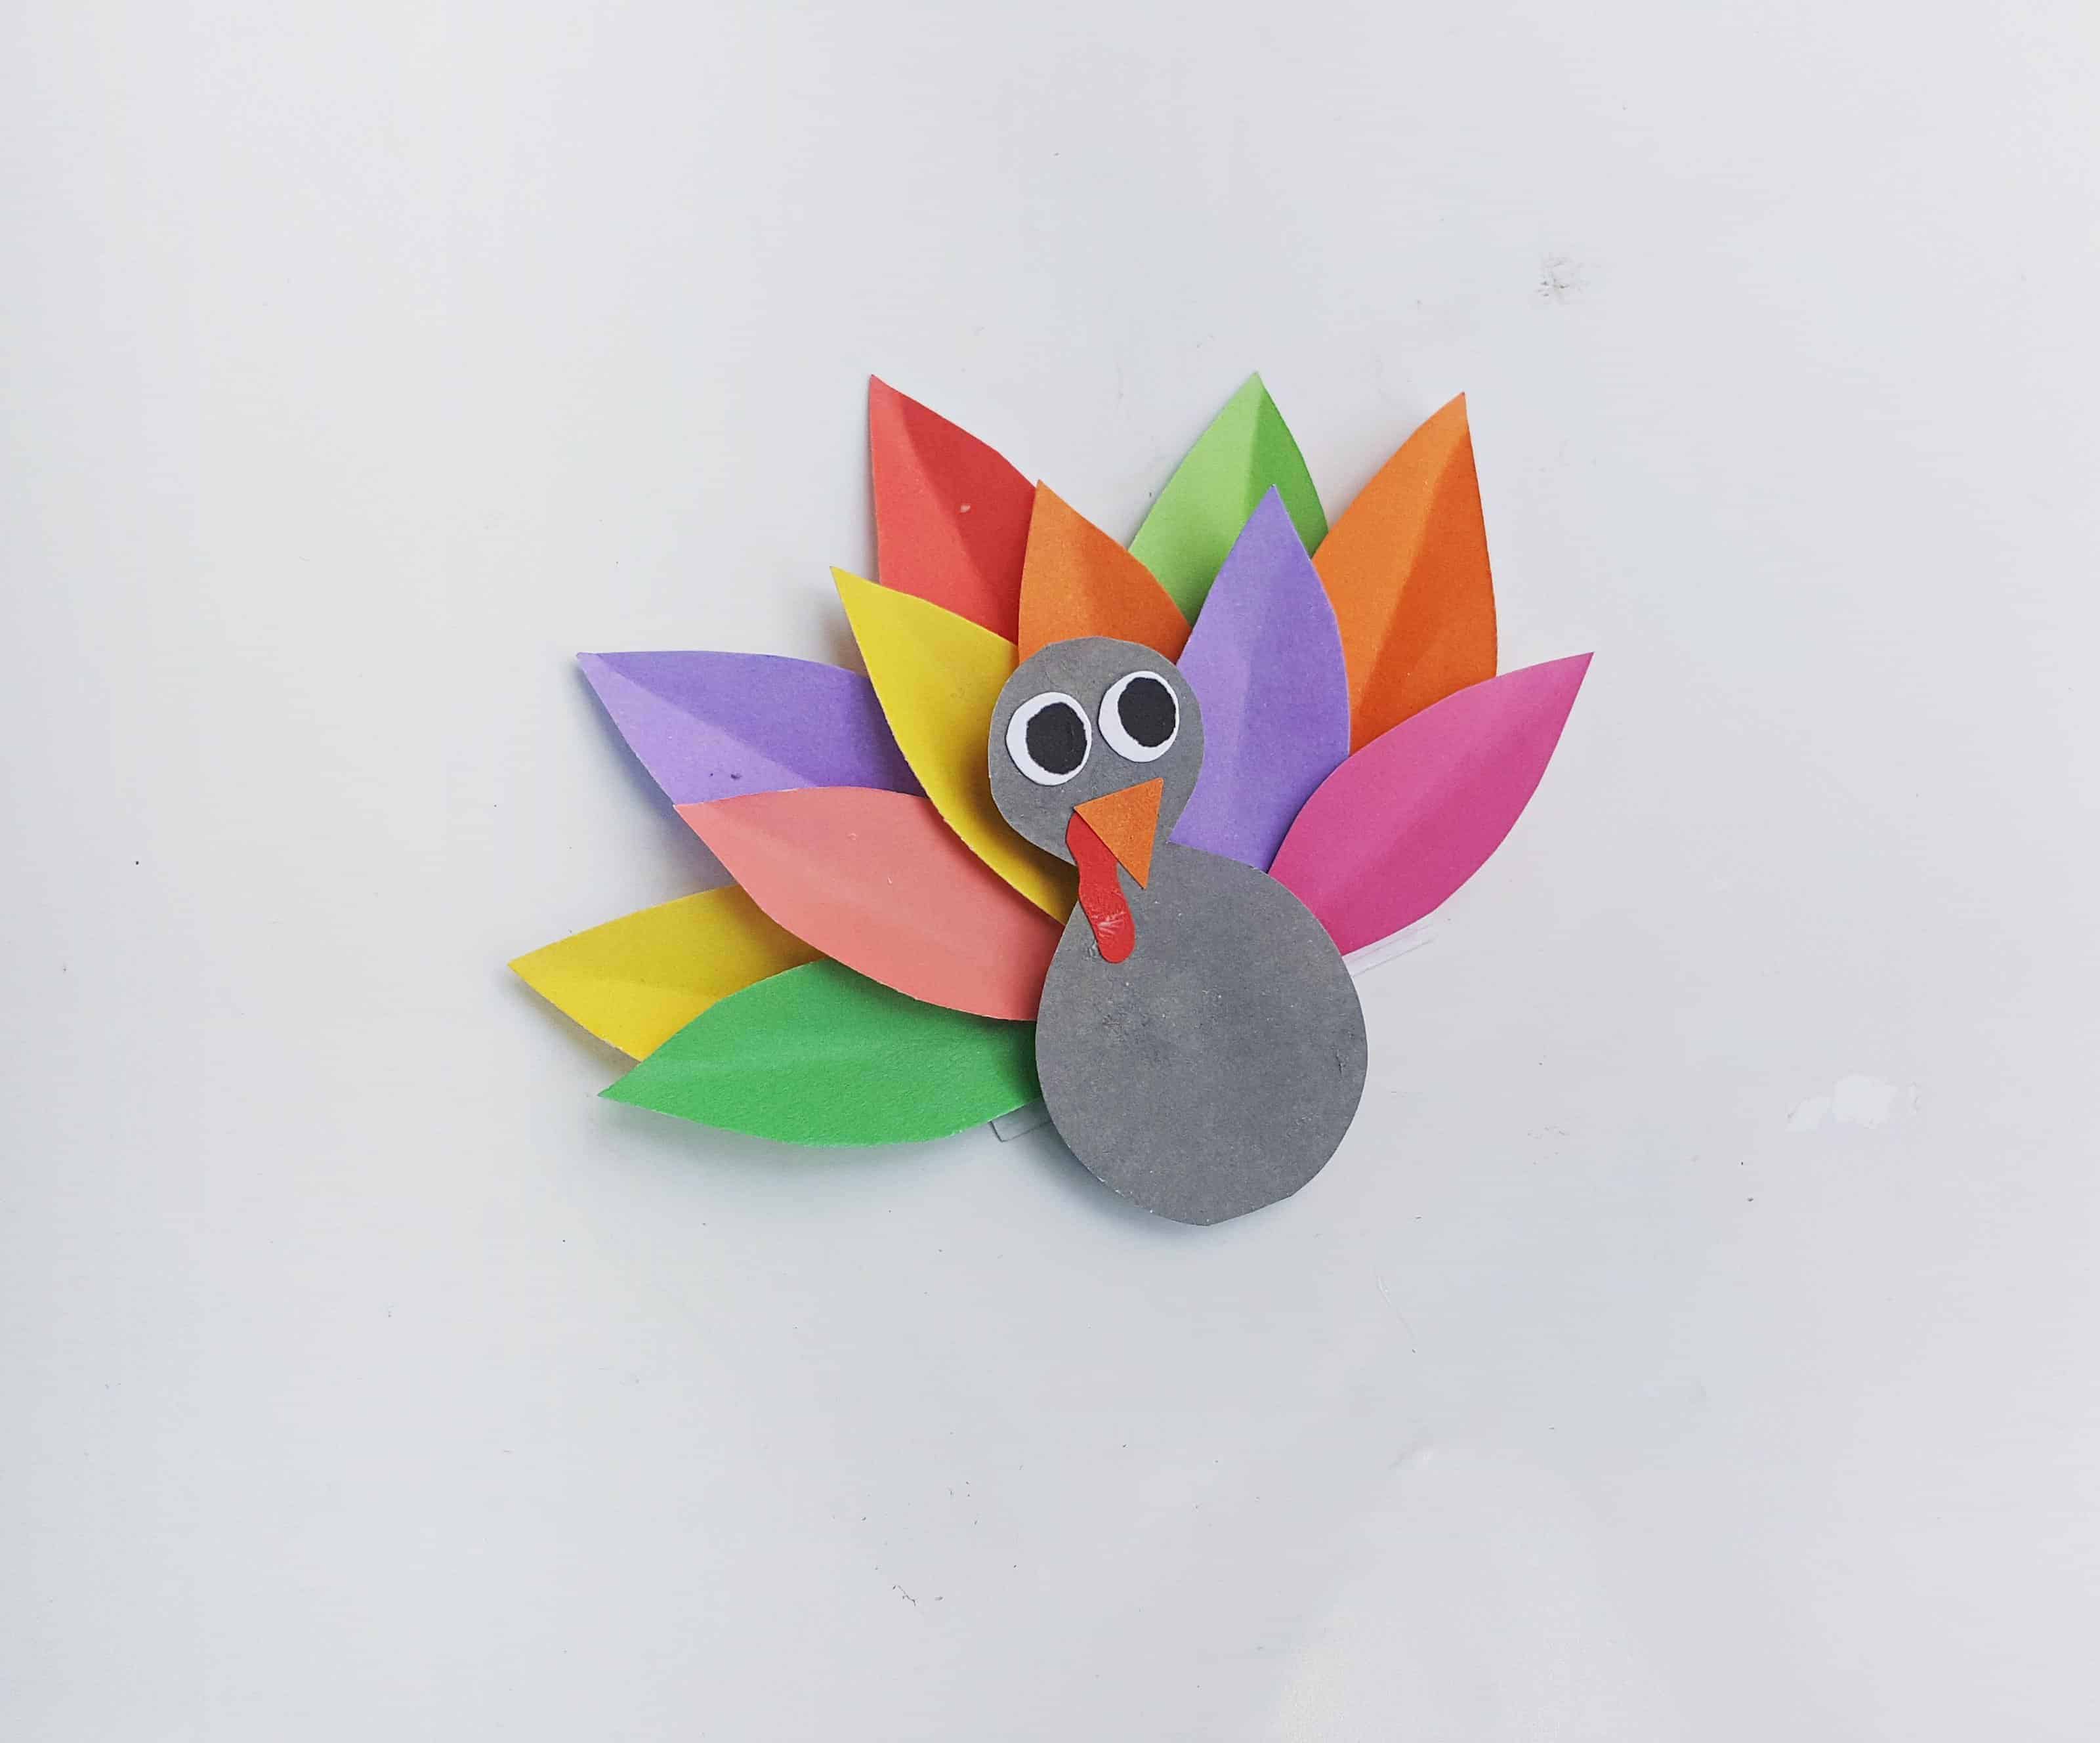
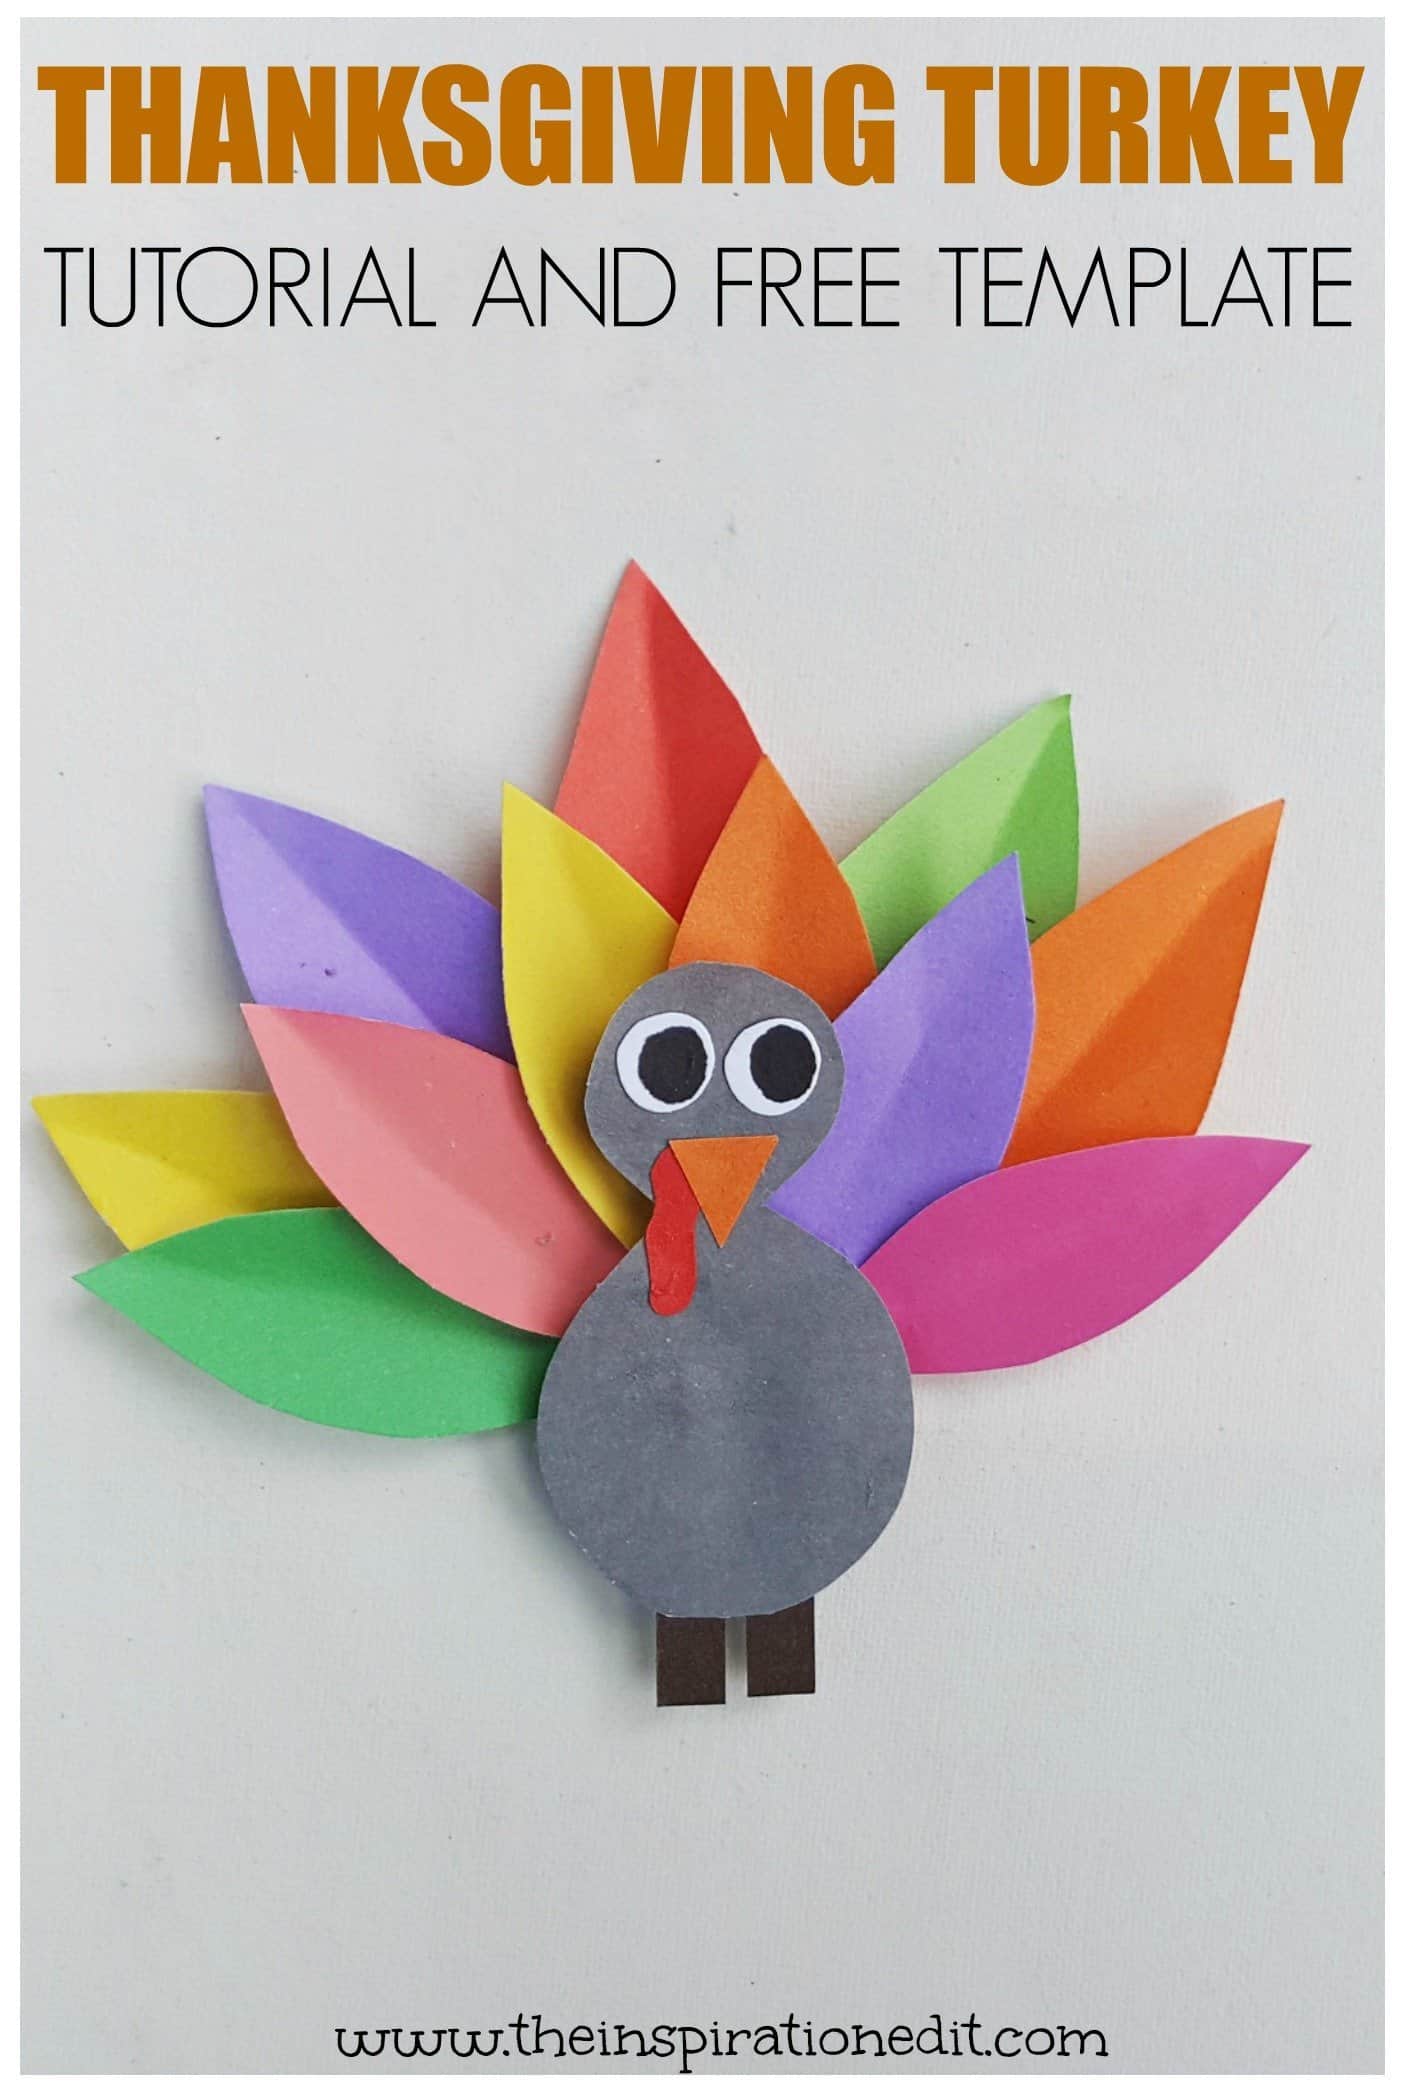
This Rainbow Thanksgiving Turkey Craft is a fantastic and fun craft idea for kids to make. In fact, thanksgiving is a great time to get crafty and practice basic drawing, cutting, tracing and gluing skills.
Crafting with kids is a fantastic way to practice and develop fine motor skills and with the addition of fun coloured paper, this Thanksgiving turkey craft idea is a great way to learn and have fun! Crafts can really be fun - even simple paper crafts!

Jump to:
💖 Why You'll Love This Craft
- Great for Teaching About Gratitude: As kids create their turkey, you can talk about the things they’re thankful for. It’s a wonderful opportunity to combine crafting with meaningful conversations about gratitude.
- Perfect Thanksgiving Craft for the Classroom: If you're planning Thanksgiving activities for a classroom or family gathering, this turkey craft is a great option.
- Customizable and Fun: Each turkey can be different! Kids can choose their own colors for the feathers. It’s a fun way for them to express their creativity.
🎨 Supplies Needed

- Cardstock paper
- Pencil
- Black sharpie
- Craft glue
- Scissors
- Coloured craft paper
🖌️ How To Make A Thanksgiving Turkey
Here is a step by step guide for making this super cute and easy thanksgiving turkey. It's a fun idea for kids and you can choose any colours you like.

- Step 1: Prepare the template by printing and cutting them out. Select coloured craft papers and trace the template patterns on them. Use scissors to cut out the traced patterns.

- Step 2: Take the lens shaped cut outs and create a crease along their middle line, lengthwise. This crease will give the turkey pattern a popped up look.

- Step 3: Use a black sharpie to draw the eyes on the 2 round cut outs. Complete the turkey body pattern by sticking the items on their appropriate places.

- Step 4: Take the arch shaped base and start sticking the big lens shaped cut outs around the base.

- Step 5: Once you are done sticking the big lens shaped cut outs, take the small ones and stick them below the previous layer.

- Step 6: Prepare 3 or 4 small pieces from cardstock paper, glue and stack them together. Place the stacked cardstock pieces on the bottom side of the arch shaped base, right where the second layer of lens shaped cut outs end.
- Step 7: Apply a small amount of glue on the cardstock stack and place the turkey body on it neatly.

- Step 8: Though this is optional, but you can also add 2 square cut outs on the bottom side of the turkey body for the legs. Allow the glue to dry. Meanwhile gather more coloured craft papers and make more!
Happy crafting!
💡 Pro Tip: Create a 'sensory turkey' by combining various textured materials on one craft, turning the activity into a tactile learning tool for children to explore and discuss.
🧑🎨 Expert Tips
- Feather Order: Guide kids to arrange feathers in a sequence from warm to cool colors or vice versa, helping them create a visually pleasing flow.
- Even Spread: Encourage placing each feather at an equal angle from the center point so the fan shape stays balanced from side to side.
- Contrast Placement: Suggest spacing out similar colors so the bright tones don’t blend—this helps each feather stand out more clearly.
- Top Anchor: Place the central or boldest feather at the top center to give the overall layout a strong focal starting point for the eye.
- Layer Control: Let kids experiment with layering shorter feathers in front of longer ones to create depth and a fuller appearance in the tail.
- Spacing Consistency: Use fingertip-width gaps as a visual guide between feathers to keep the arrangement evenly spread and proportionate.

Did you make this craft? Leave a review and comment below! Alternatively, bookmark it in your browser or save to Pinterest.
Download Template
Download your free Printable Rainbow Turkey Craft Template here!

Rainbow Thanksgiving Turkey Craft For Kids
Materials
- Coloured craft papers
- Cardstock paper
- Pencil
- Black sharpie
- Craft glue
- Scissors
Instructions
- Prepare the template by printing and cutting them out. Select coloured craft papers and trace the template patterns on them. Use scissors to cut out the traced patterns.
- Take the lens shaped cut outs and create a crease along their middle line, lengthwise. This crease will give the turkey pattern a popped up look.
- Use a black sharpie to draw the eyes on the 2 round cut outs.
Complete the turkey body pattern by sticking the items on their appropriate places. - Take the arch shaped base and start sticking the big lens shaped cut outs around the base.
- Once you are done sticking the big lens shaped cut outs, take the small ones and stick them below the previous layer.
- Prepare 3 or 4 small pieces from cardstock paper, glue and stack them together.
Place the stacked cardstock pieces on the bottom side of the arch shaped base, right where the second layer of lens shaped cut outs end. - Apply a small amount of glue on the cardstock stack and place the turkey body on it neatly.
- Though this is optional, but you can also add 2 square cut outs on the bottom side of the turkey body for the legs. Allow the glue to dry. Meanwhile gather more coloured craft papers and make more!


I cant seem to find the template. Am I just not seeing it?
it's near the bottom of the post.
Oh my gosh I saw it right away that time. Sorry!