

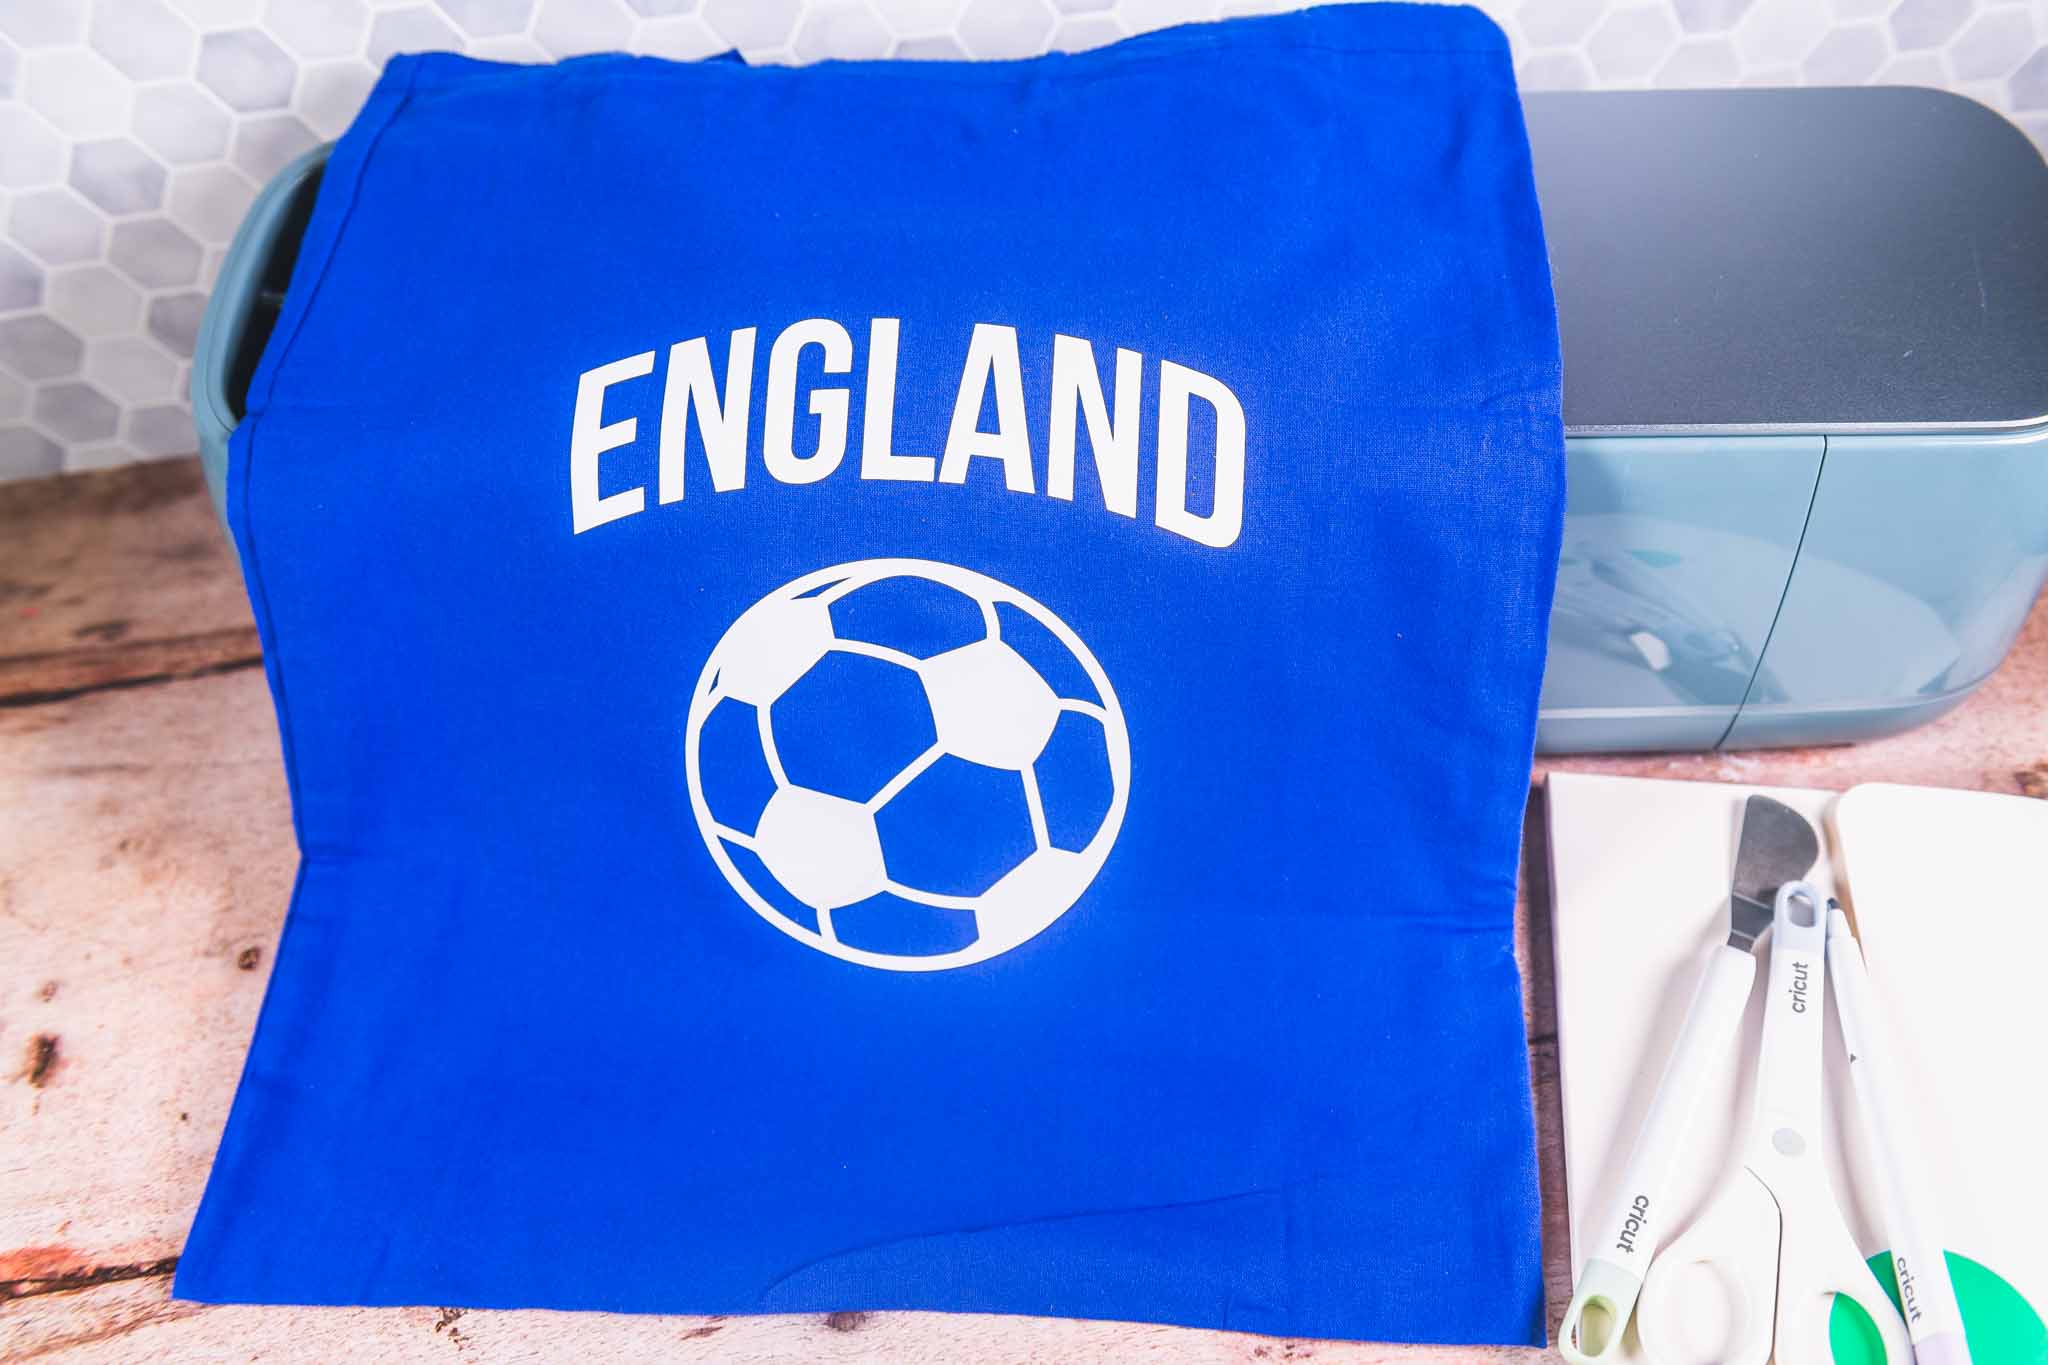
There’s something so joyful about creating with your hands, especially when you're making something for someone you love. So when I got my hands on the brand new Cricut Maker 4, I knew exactly what my first project would be: a personalised soccer tote bag for my amazing brother James.
James has special needs and is absolutely football mad. He plays in the Special Olympics and lives and breathes soccer. I wanted to surprise him with a custom bag he could use to carry his soccer boots—and this project turned out better than I’d hoped.
Jump to:
Why You'll Love The Cricut Maker 4
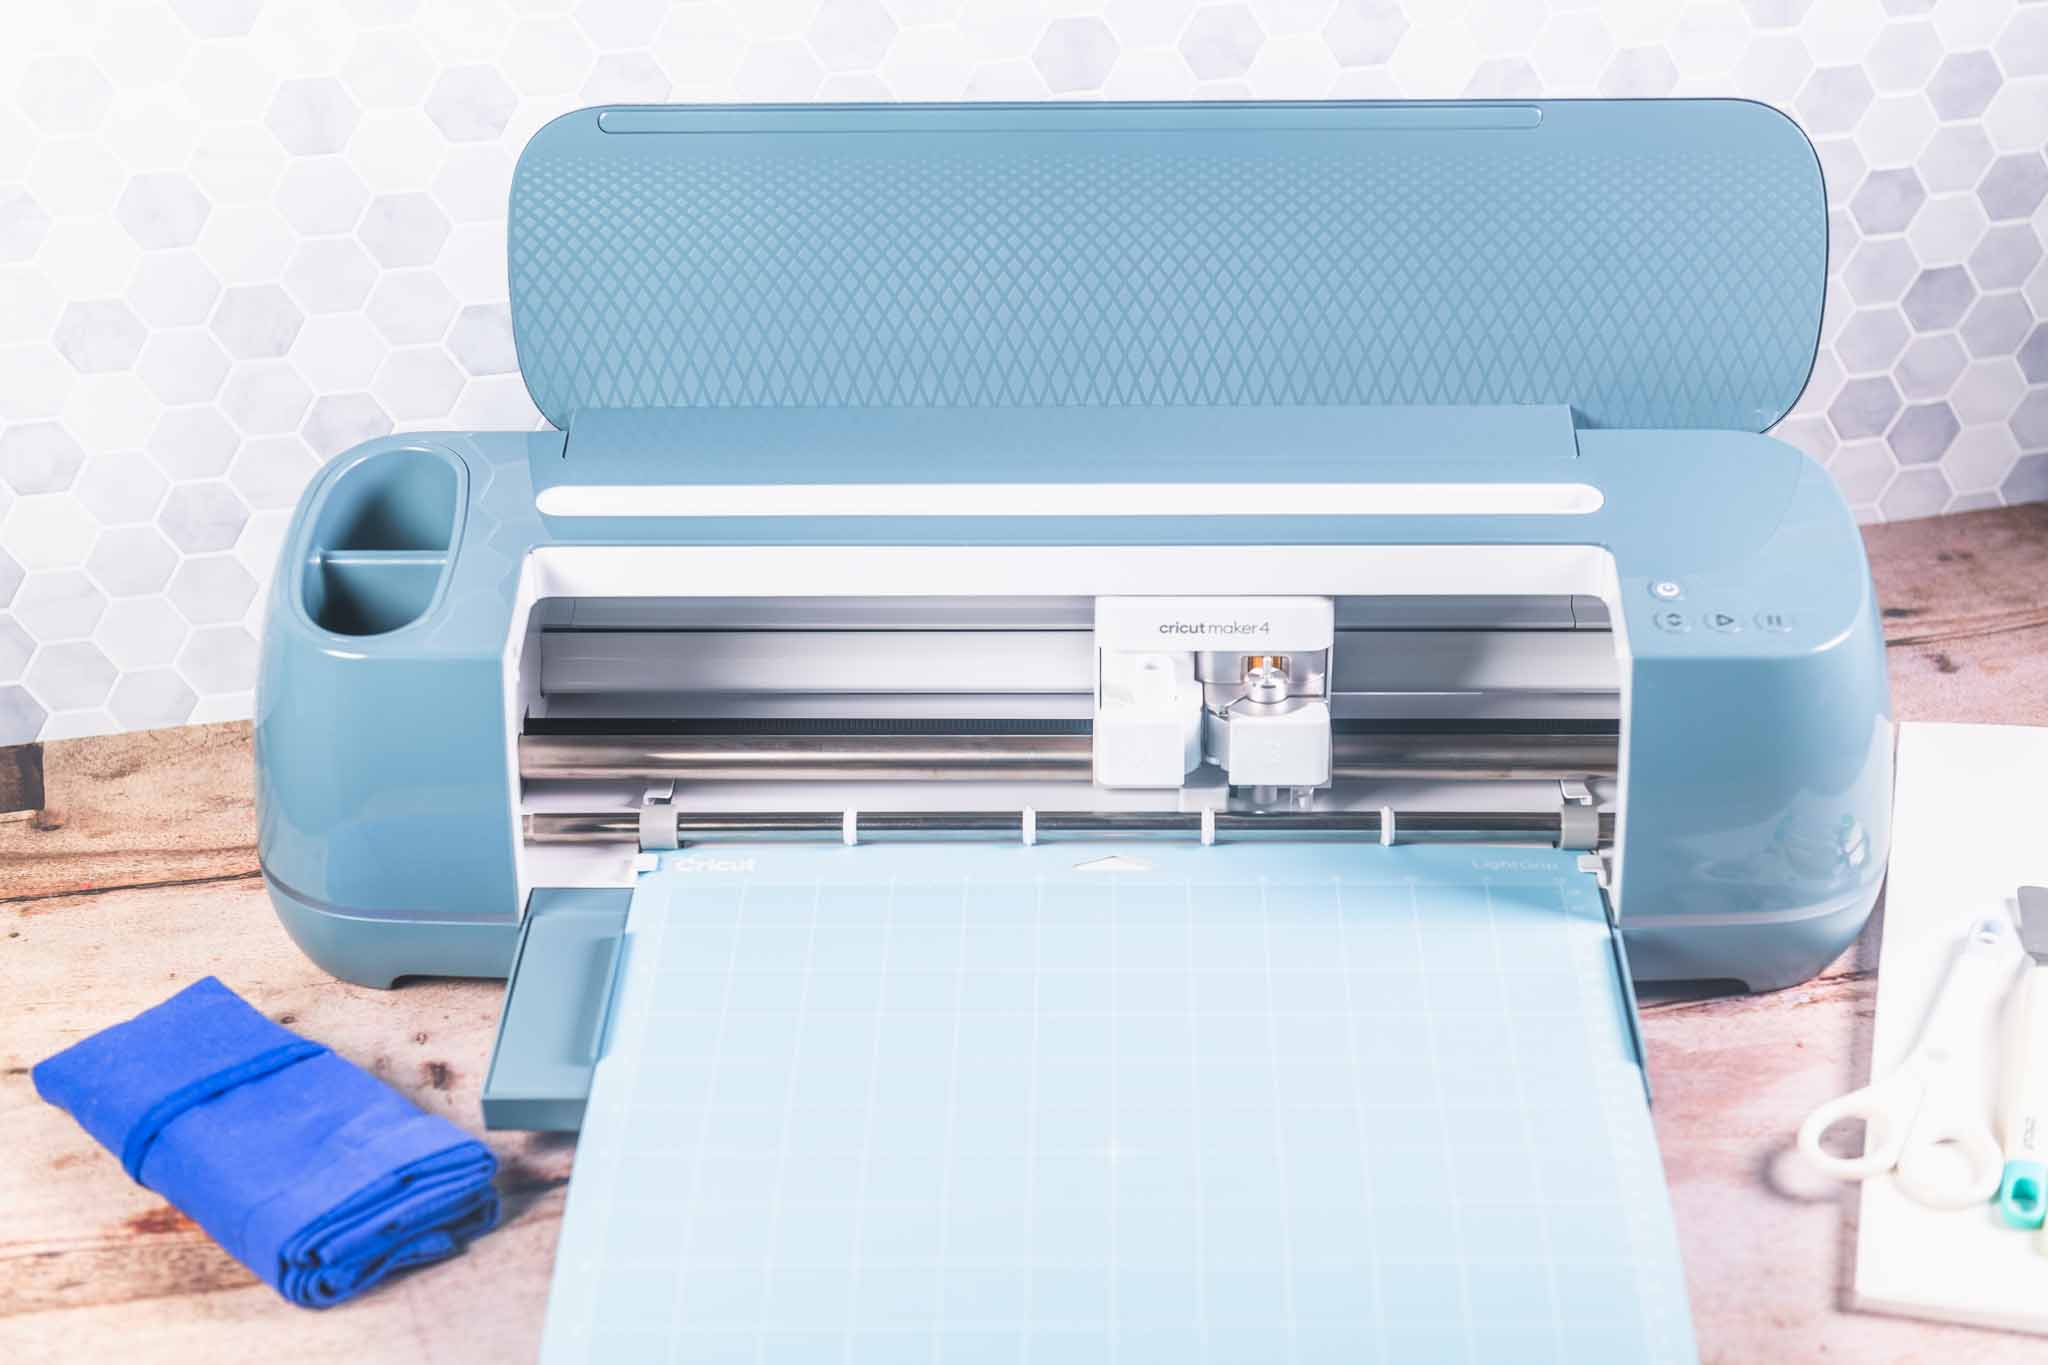
If you’ve followed my crafting journey over the years, you’ll know I’ve used a few Cricut machines in my time. The Cricut Maker 4 is the newest addition to the Cricut family and it’s designed to make bigger, bolder projects easier with Smart Materials—no mat required!
Here’s what stood out to me straight away:
- Matless cutting with Smart Iron-On was a breeze.
- Smooth operation with crisp, precise cuts (even small lettering).
- Great for larger projects, especially when making gifts or batch crafting.
The Project: Custom Iron-On Soccer Tote
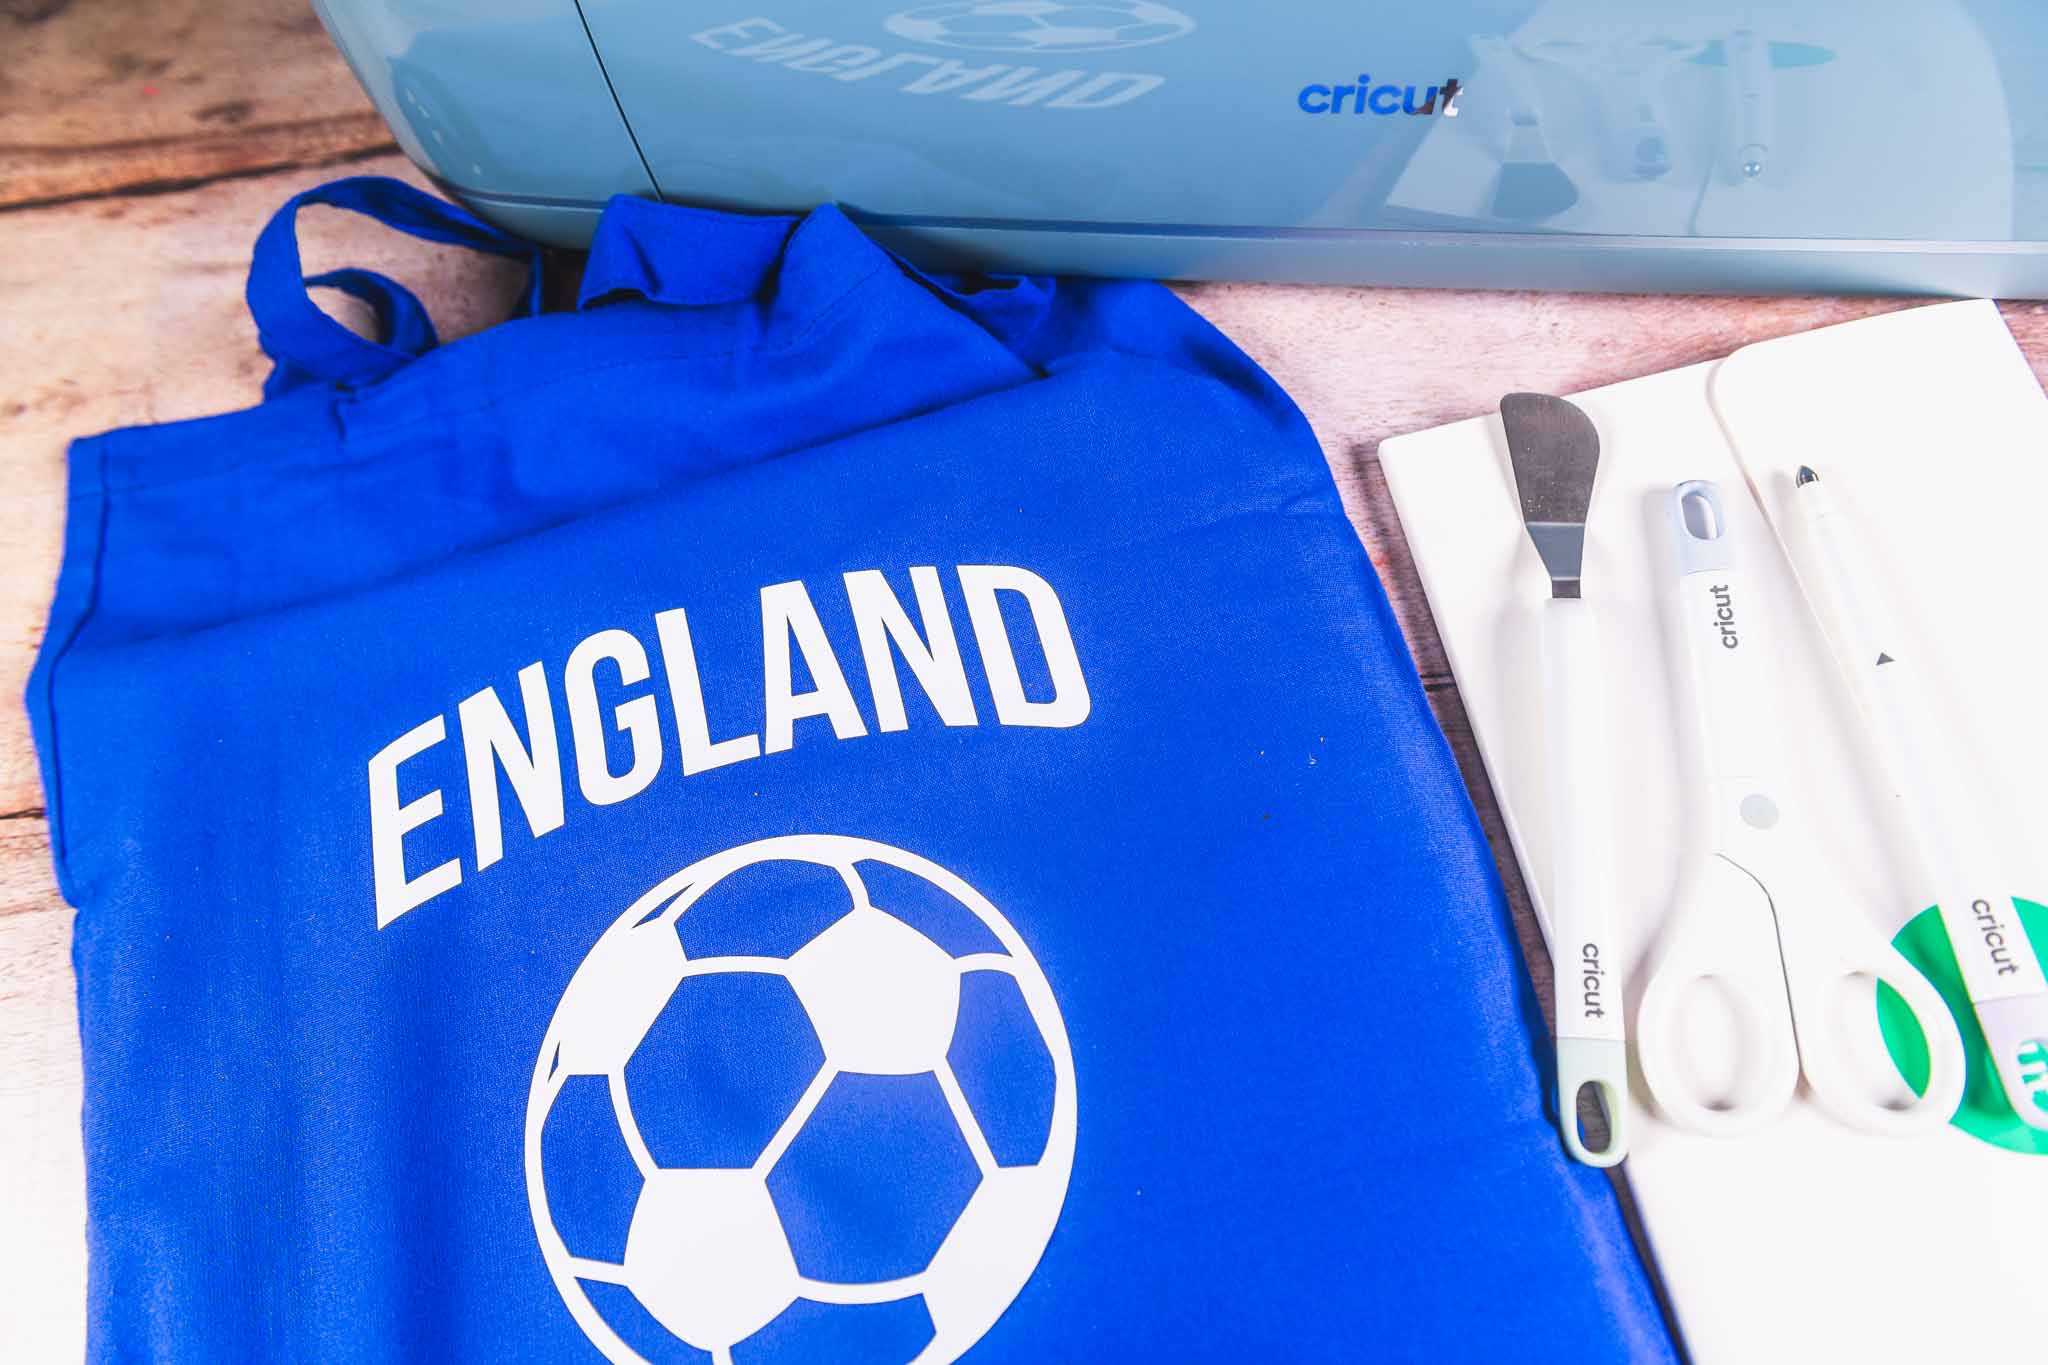
For this beginner-friendly Cricut project, I cut the word England and a football icon from white iron-on vinyl, then applied it to a bold blue cotton tote bag—just the right size for James to sling over his shoulder and carry his gear to training.
🎨 Supplies Needed
- Standard weeding tool
- White Smart Iron-On Vinyl
- Reusable cotton tote bag (navy blue)
- Cricut Maker 4 + Fine-Point Blade
- Cricut EasyPress 2 (set to 155 °C / 310 °F, 15 sec, light pressure)
🖌️ How To Make An Iron-On Tote Bag
- Step 1: Design in Design Space.
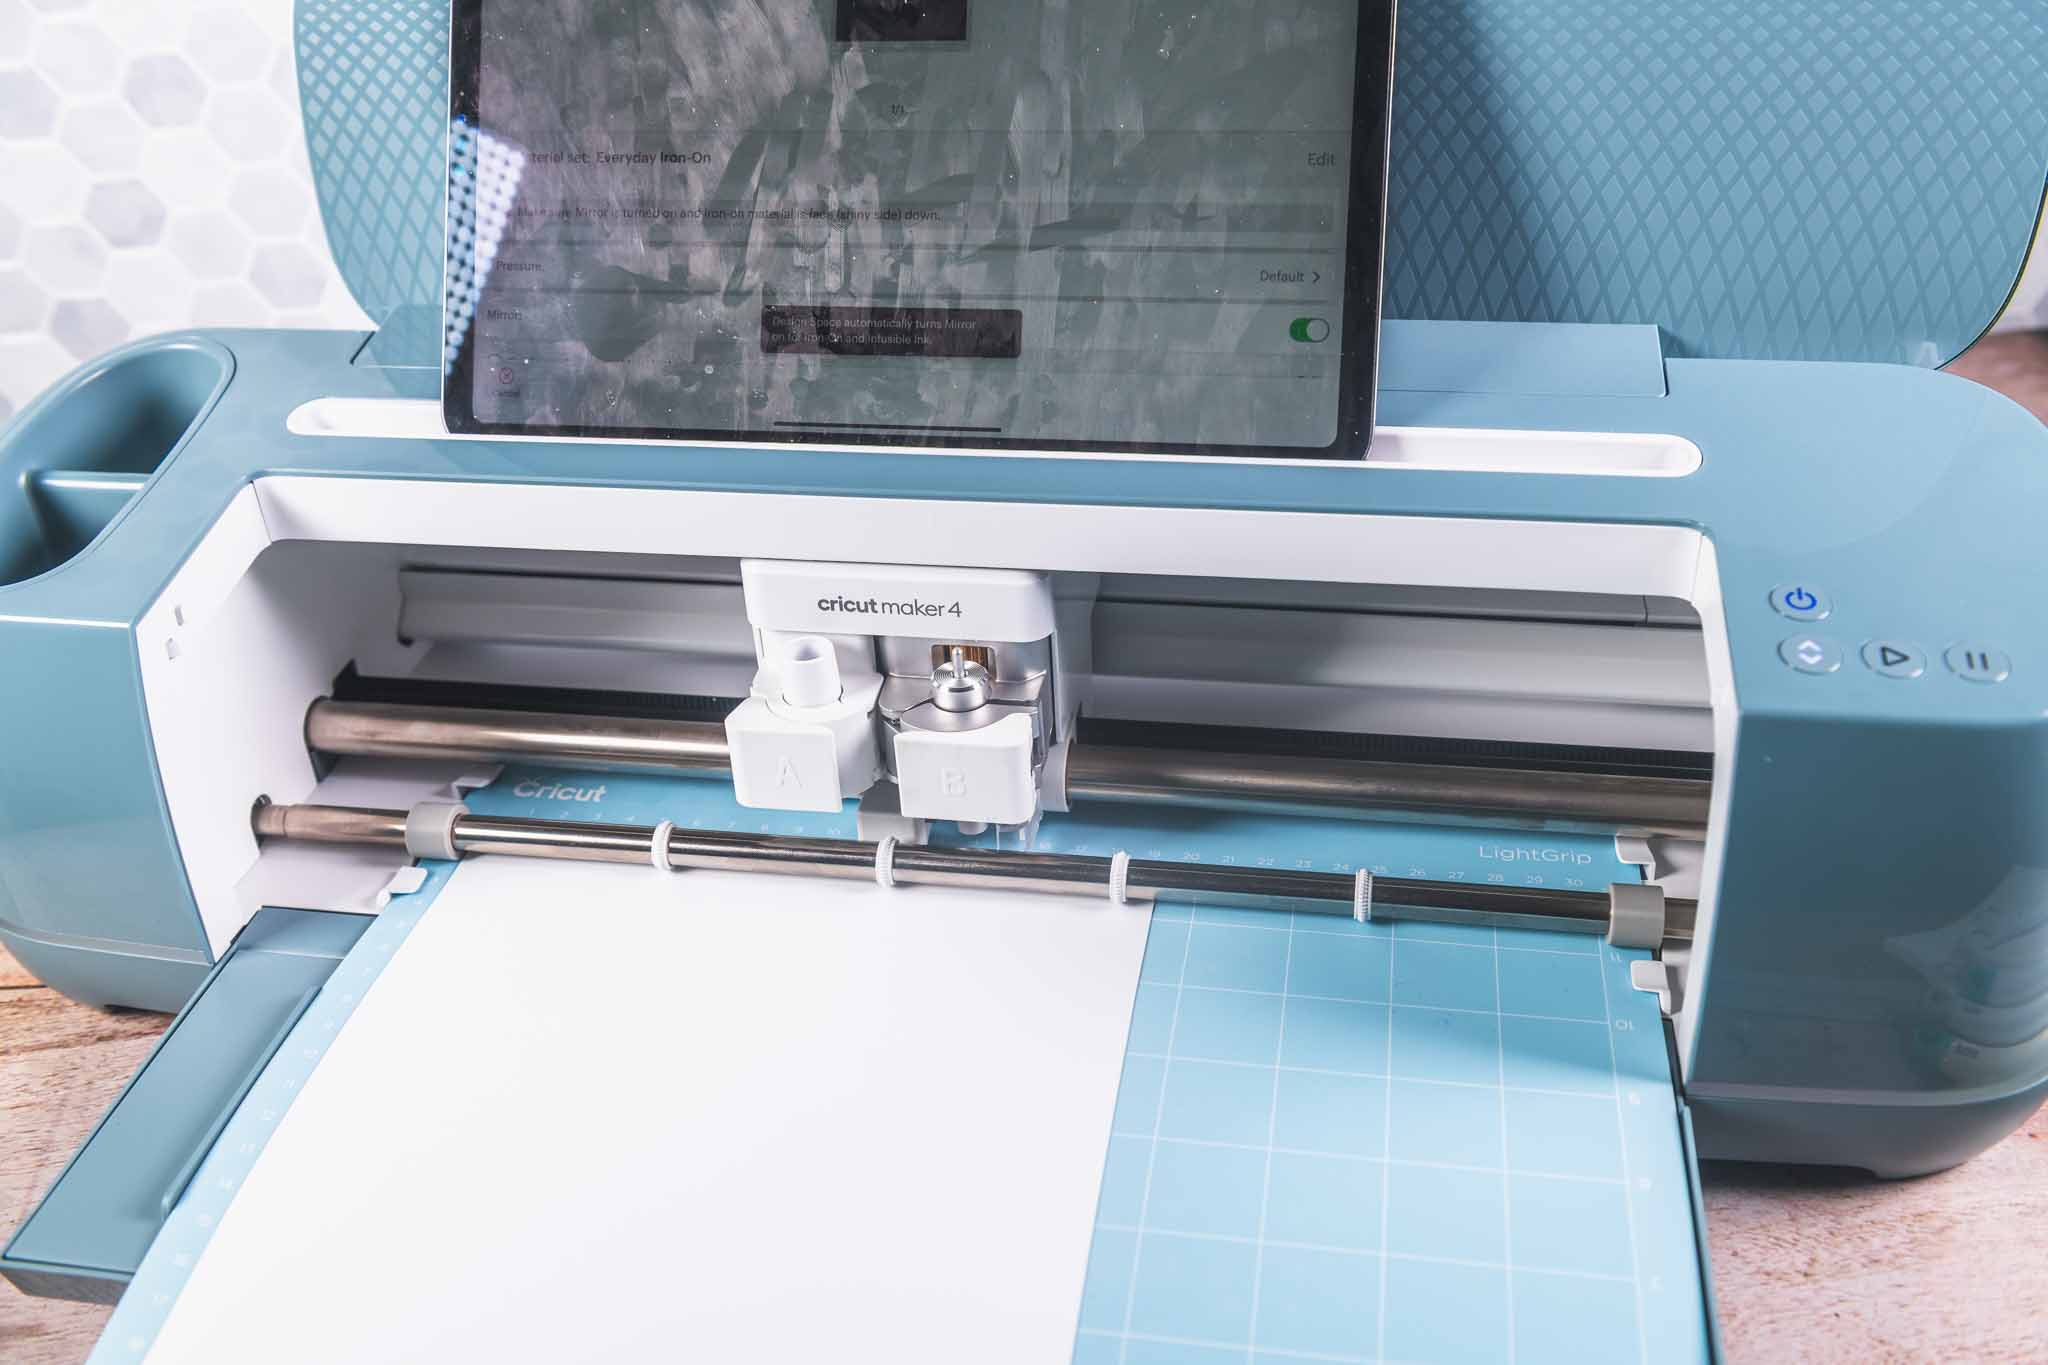
I typed “England” in a bold, sporty font and paired it with a simple football icon. Remember to mirror iron-on designs before cutting!
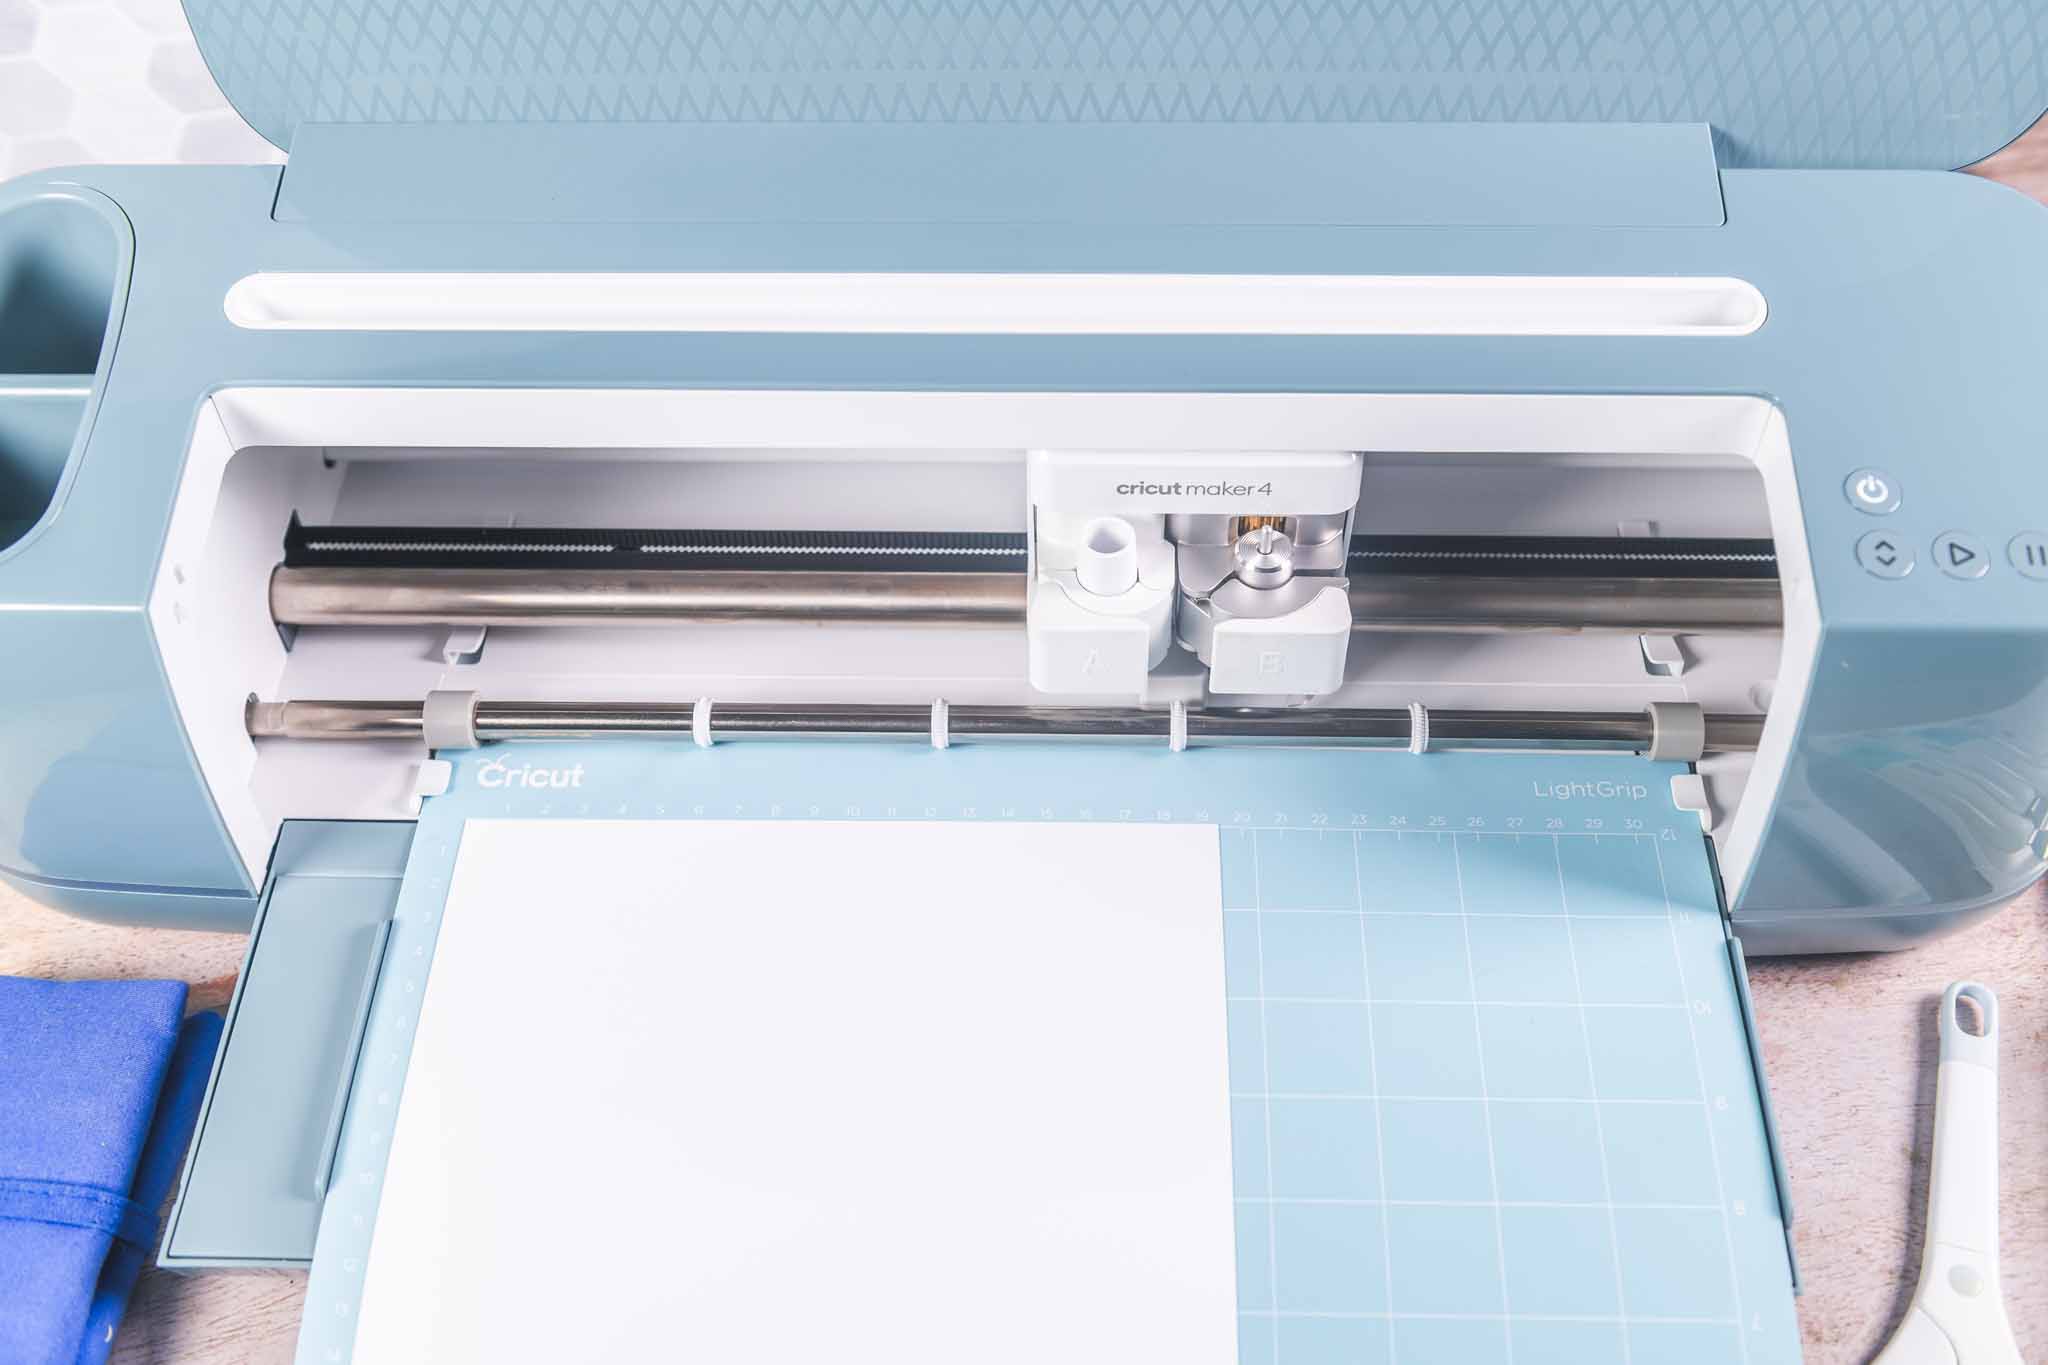
- Step 2: Cut with the Maker 4.
I used a mat rather than feeding the Smart Iron-On straight into the machine and the Maker 4 sliced through it like butter.
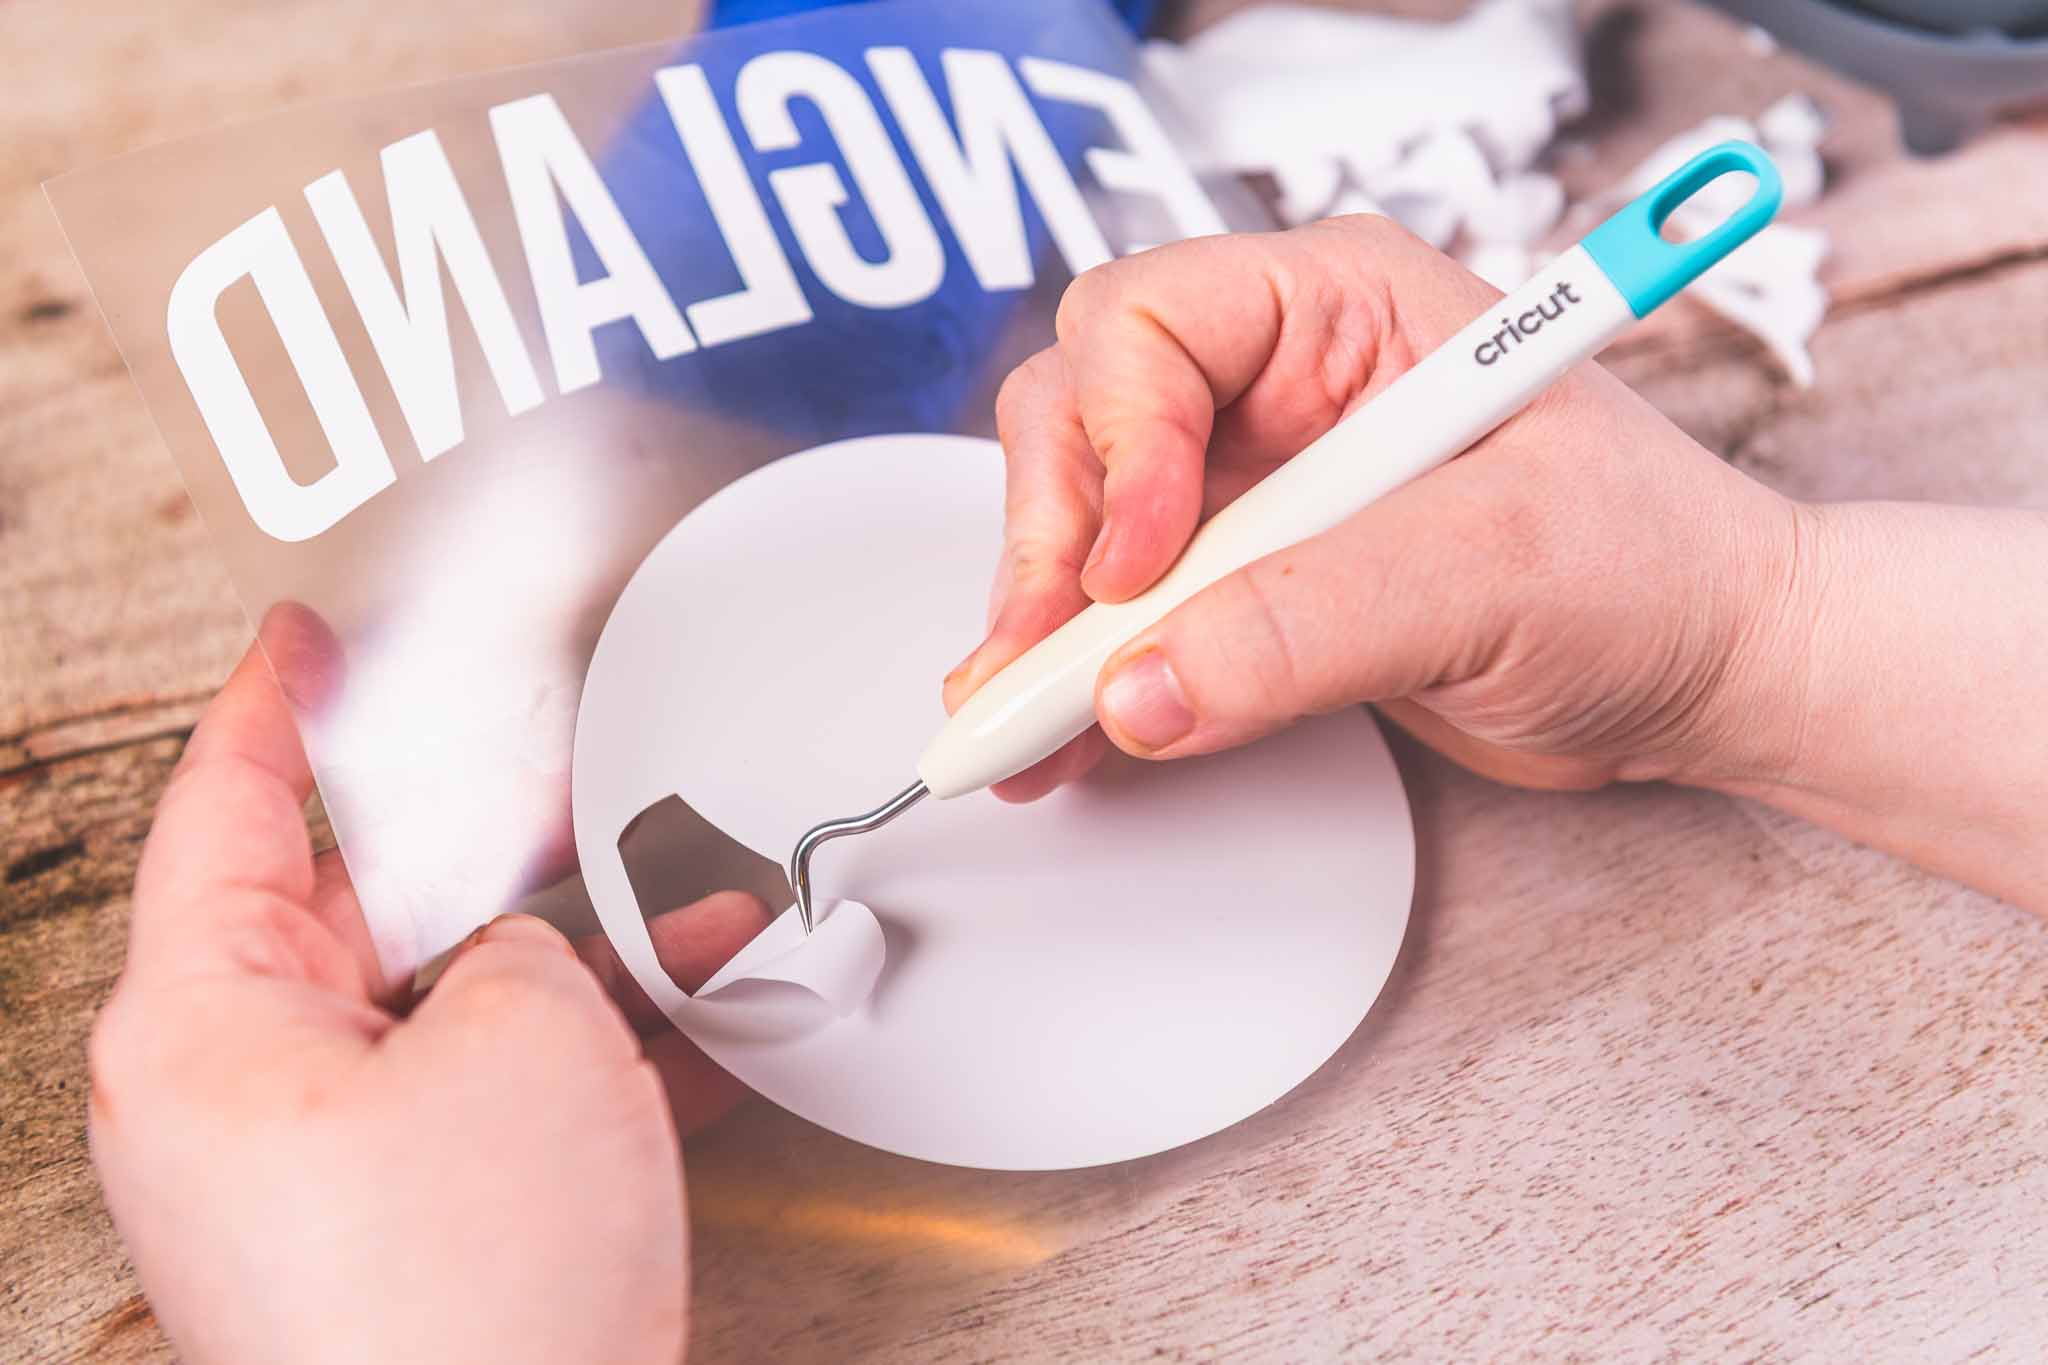
- Step 3: Weed the vinyl.
There’s something oddly calming about peeling away the negatives and watching your design pop. The clean cut lines meant minimal fuss.
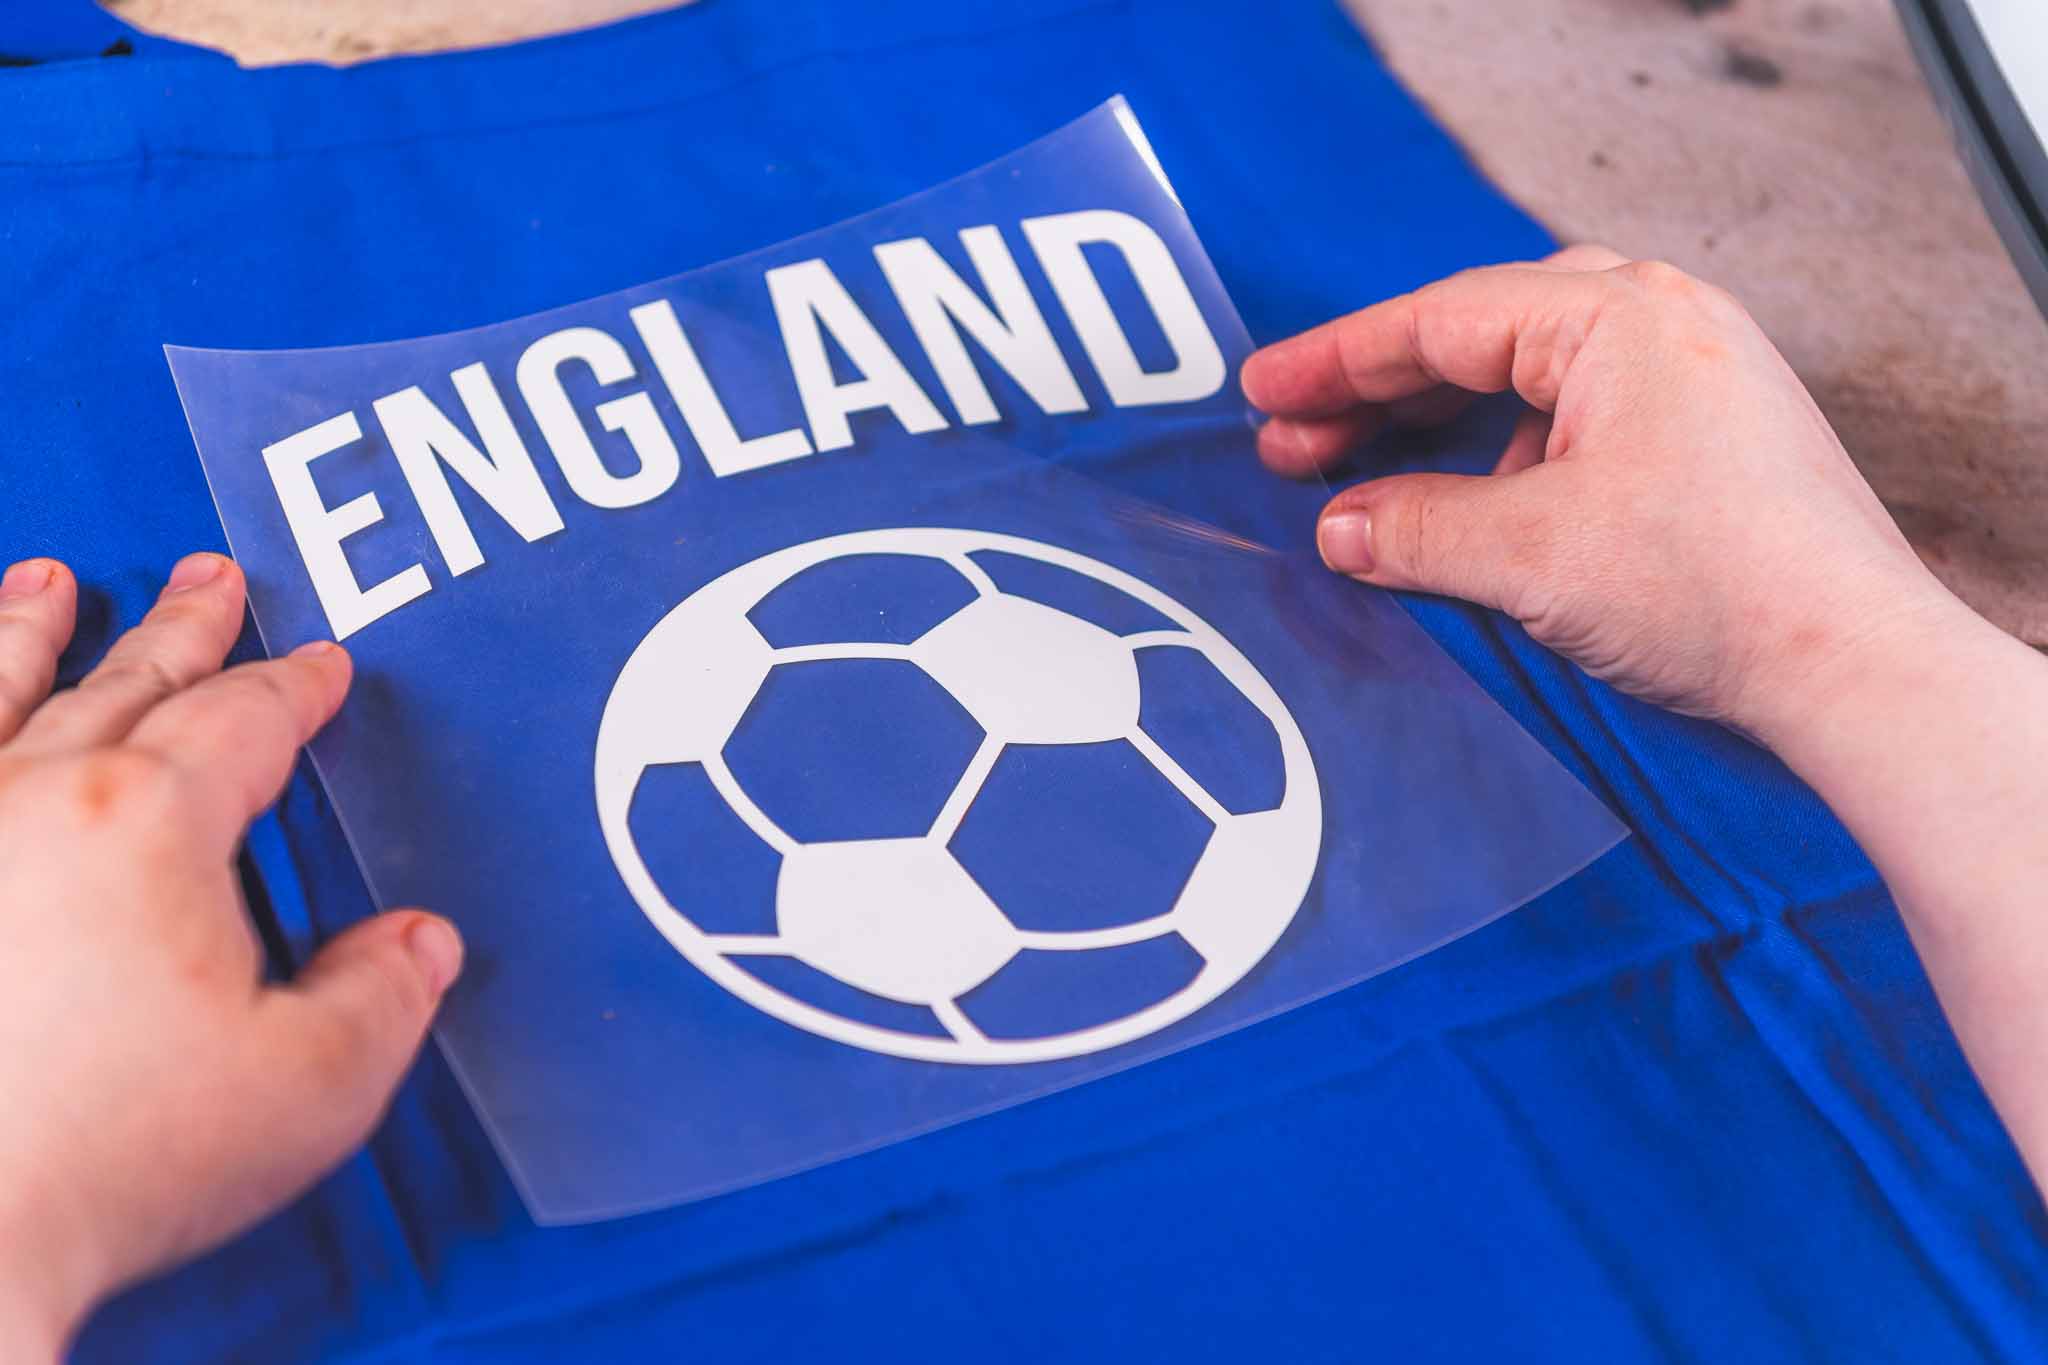
- Step 4: Add the vinyl to tote bag. I pre-pressed the tote to smooth wrinkles and centred the mirrored image.
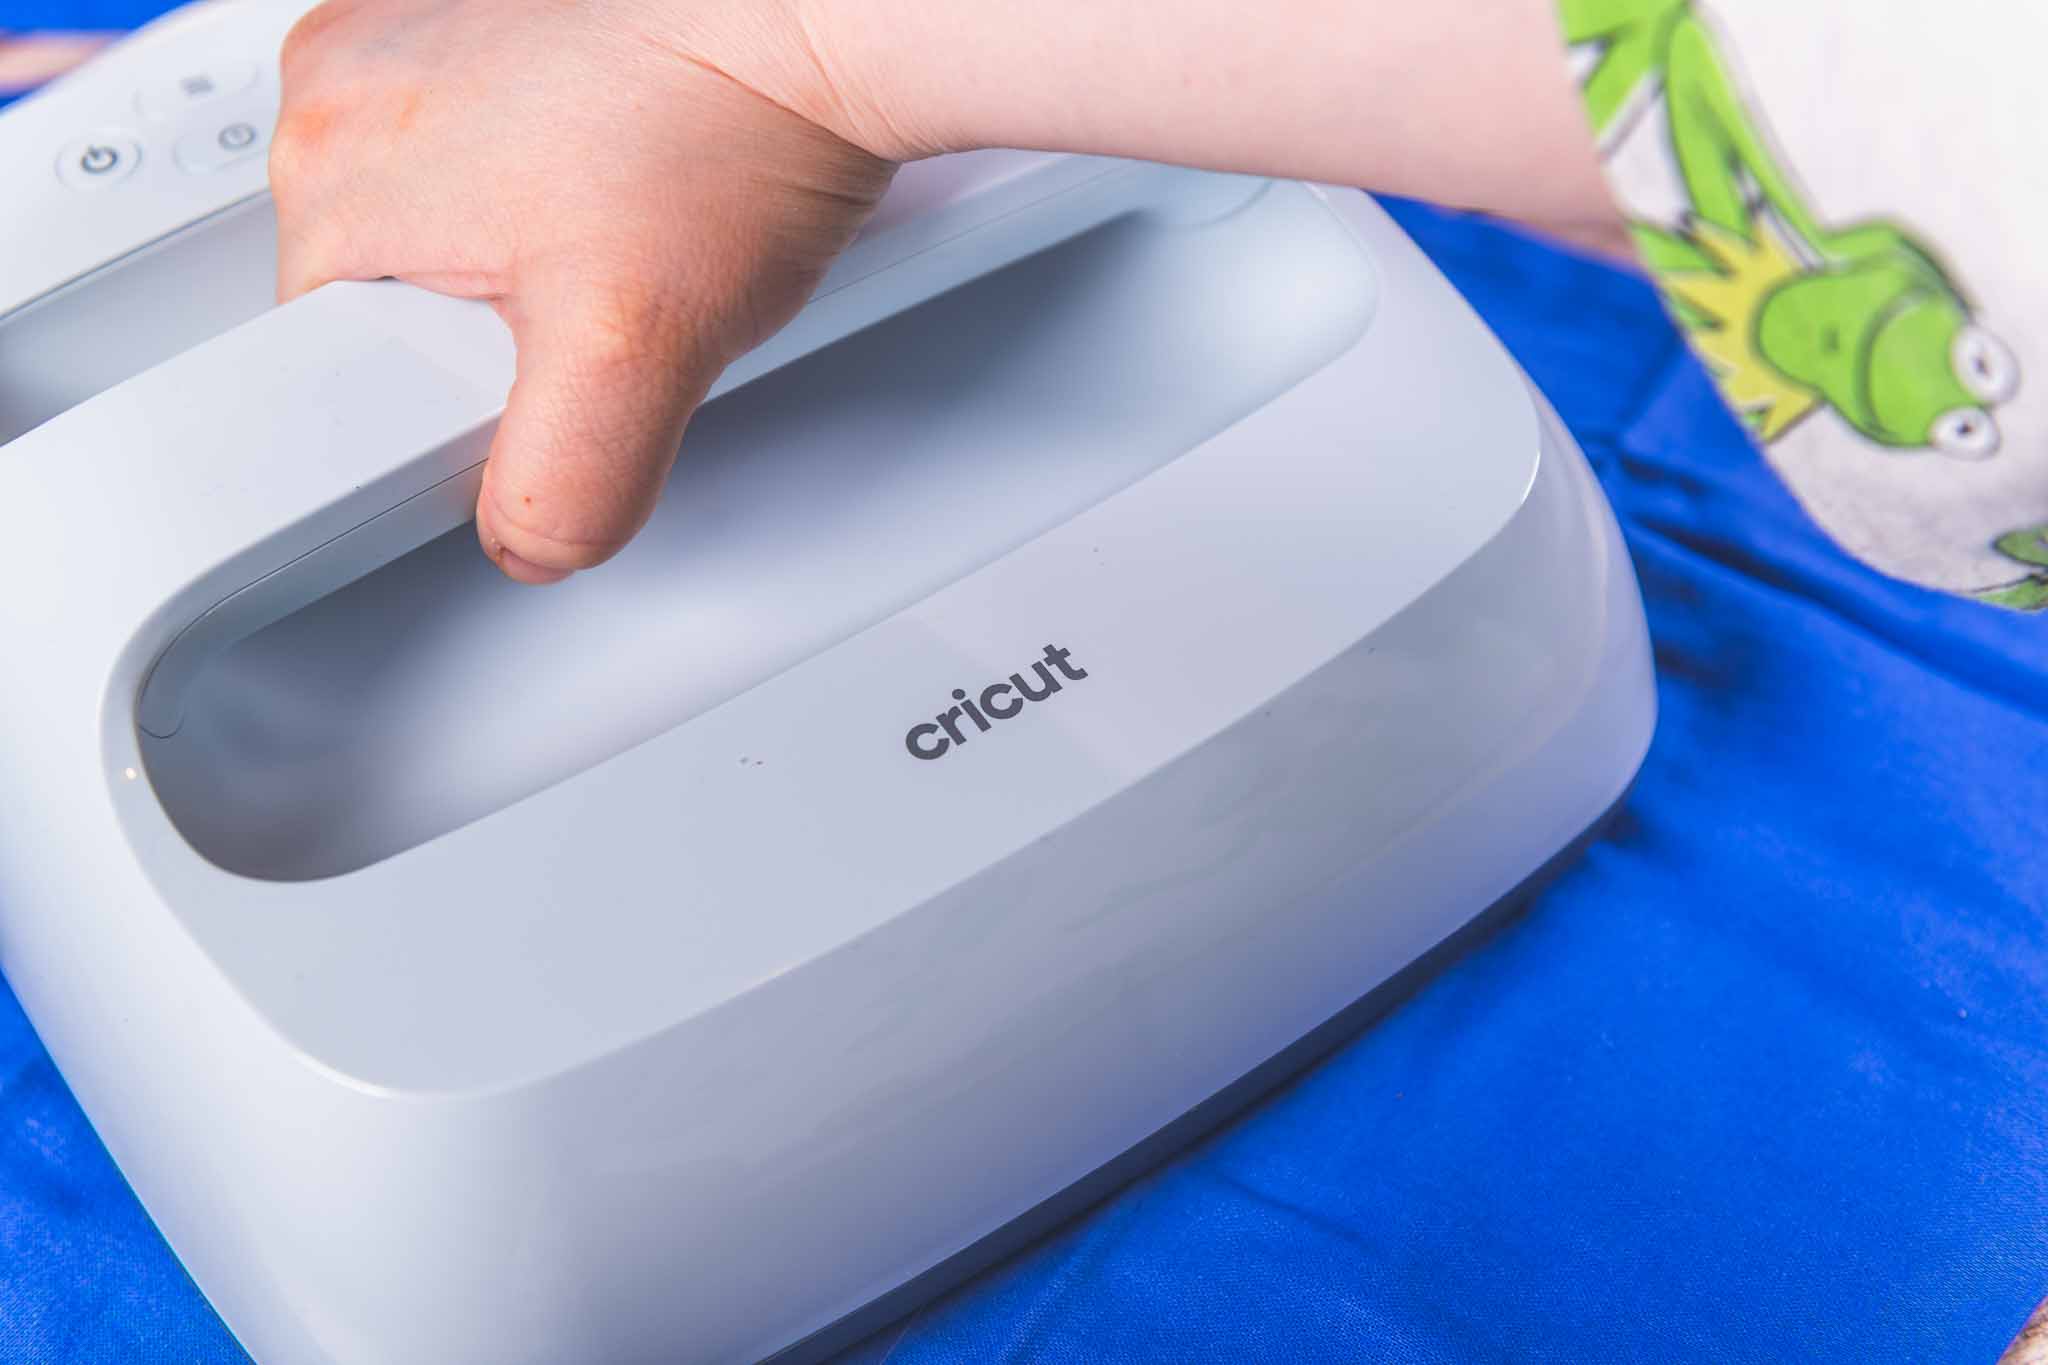
- Step 5: Peel The Sheet: Next I applied heat with my EasyPress: 155 °C (310 °F) for 15 seconds, light pressure.
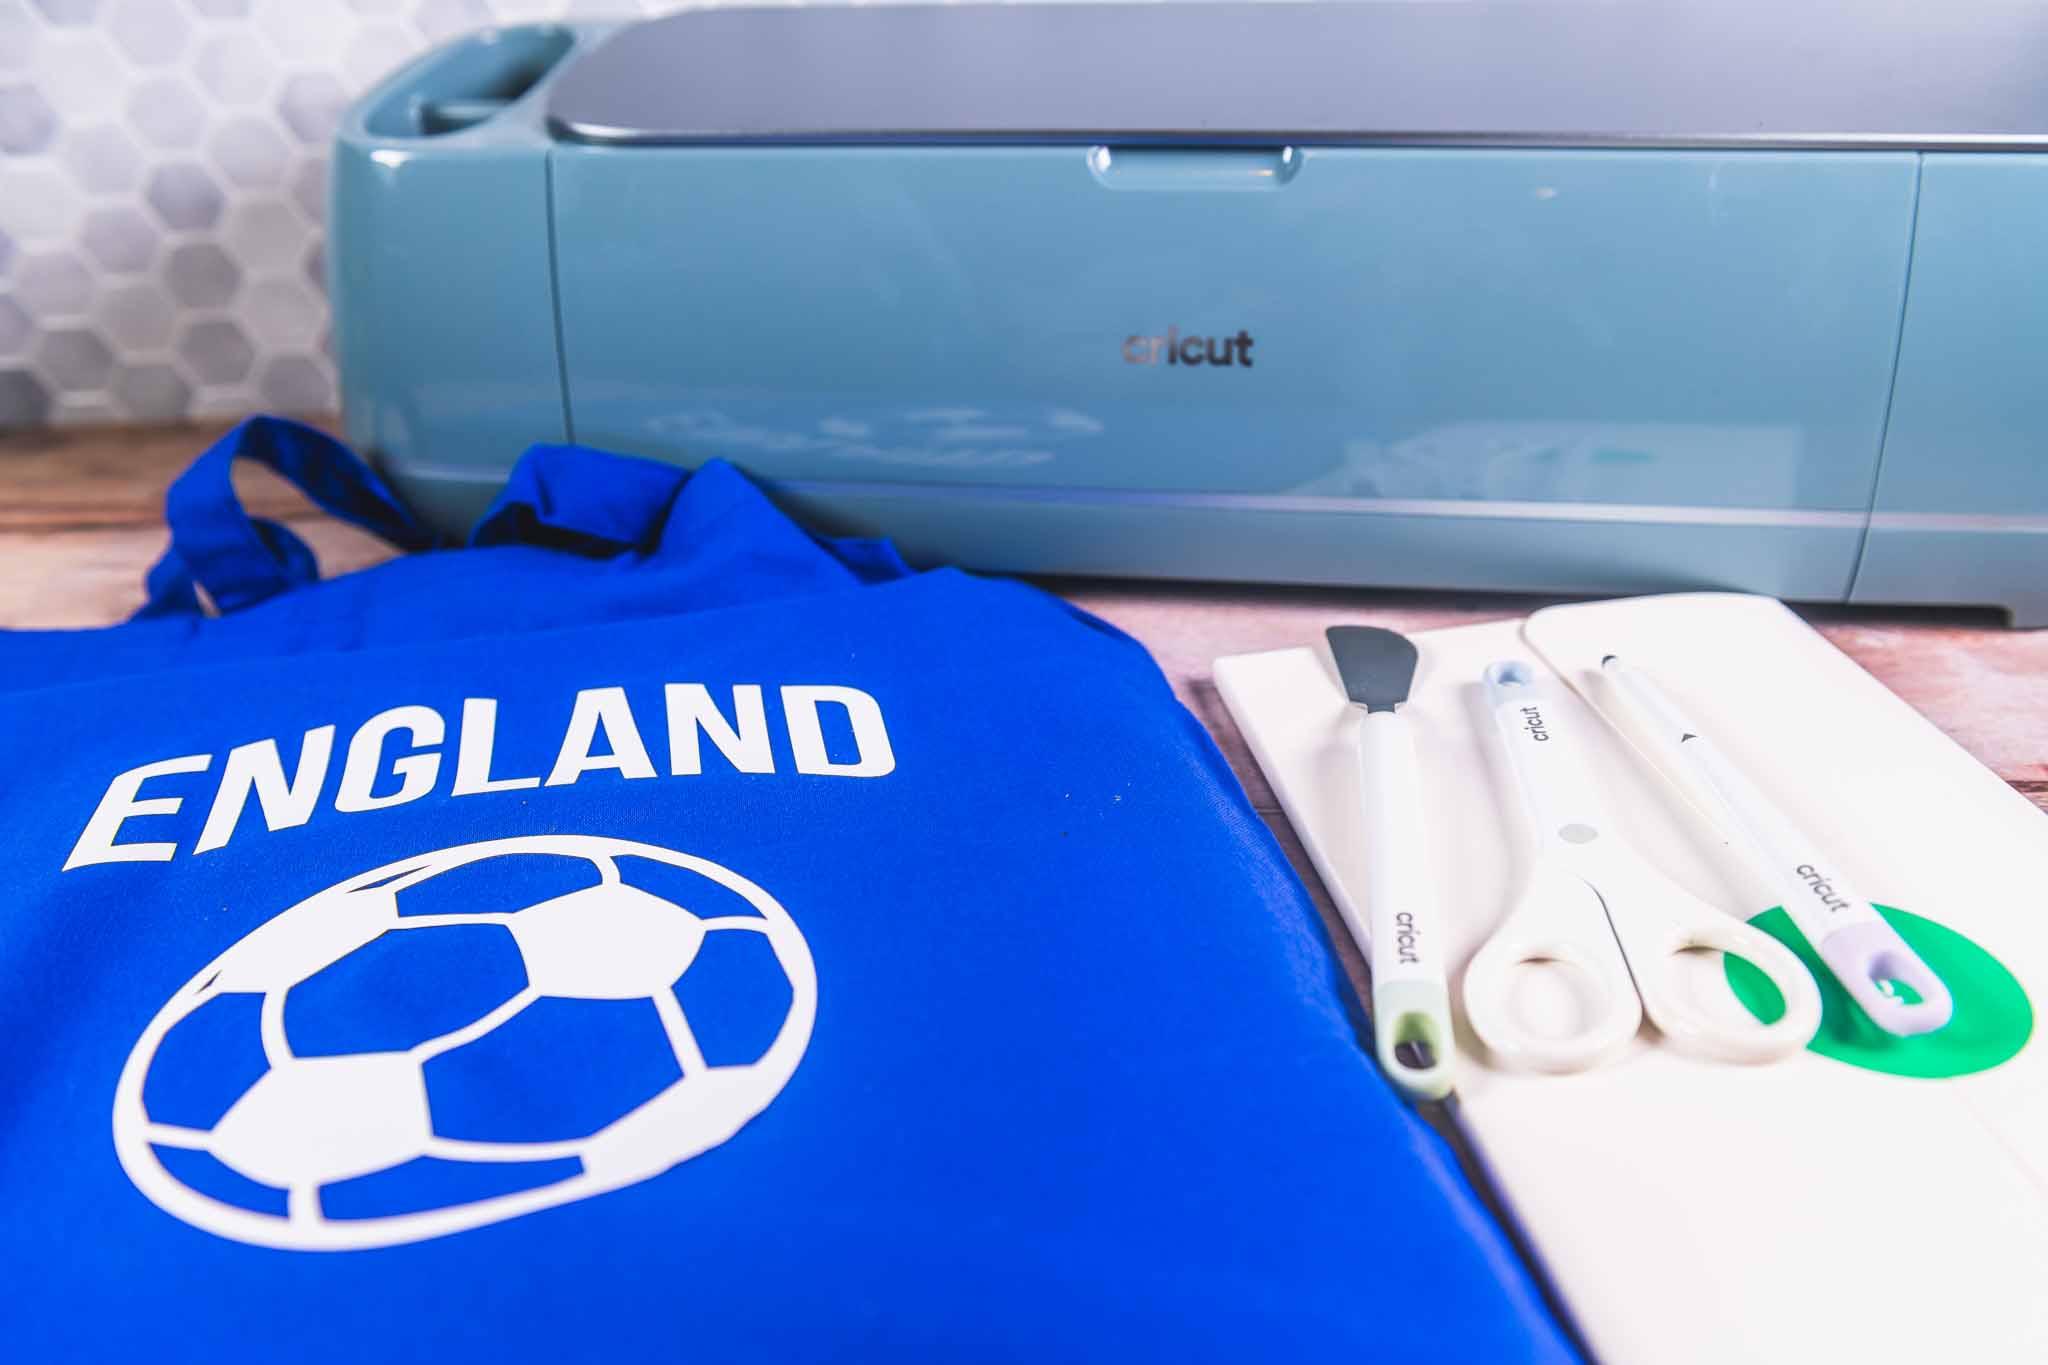
- Step 6: Peel The Sheet: Once it cooled for a moment, I peeled the carrier sheet—perfection!
🤖 Looking For An Answer?
Ask AI to summarise this post to see if the article answers your questions:
A Gift That Scores Big: Iron On Tote Bag
When I handed the tote to James, his grin could’ve powered the stadium floodlights. Now he slings it over his shoulder, stuffs his boots inside, and heads off to training feeling like a pro. Moments like that are why I craft: handmade love you can carry around.
🧑🎨 Tips For Working With Iron-On Vinyl on Cotton
If you’re new to iron-on projects, here are a few tips I learned along the way:
- Let it cool for a few seconds before peeling the backing gently.
- Always mirror your design before cutting!
- Preheat your cotton surface for a few seconds before applying the vinyl.
- Use firm, even pressure with your EasyPress (I used the cotton setting at 315°F/155°C for 30 seconds).
For club gifts or team kits that need to outlast DIY vinyl, embroidery gives tote bags and caps a clean, hard-wearing finish that holds up to daily use.
Final Thoughts On The Cricut Maker 4
The Cricut Maker 4 really impressed me with how seamlessly it handled this project. It’s ideal for crafters who want to make more meaningful, useful items—without fuss. From the clean cuts to matless material handling, it’s a reliable workhorse for all kinds of DIYs.
I’ve got loads more Cricut ideas brewing, but this one will always be special. It was made with love, for someone who inspires me every day.




Leave a Reply