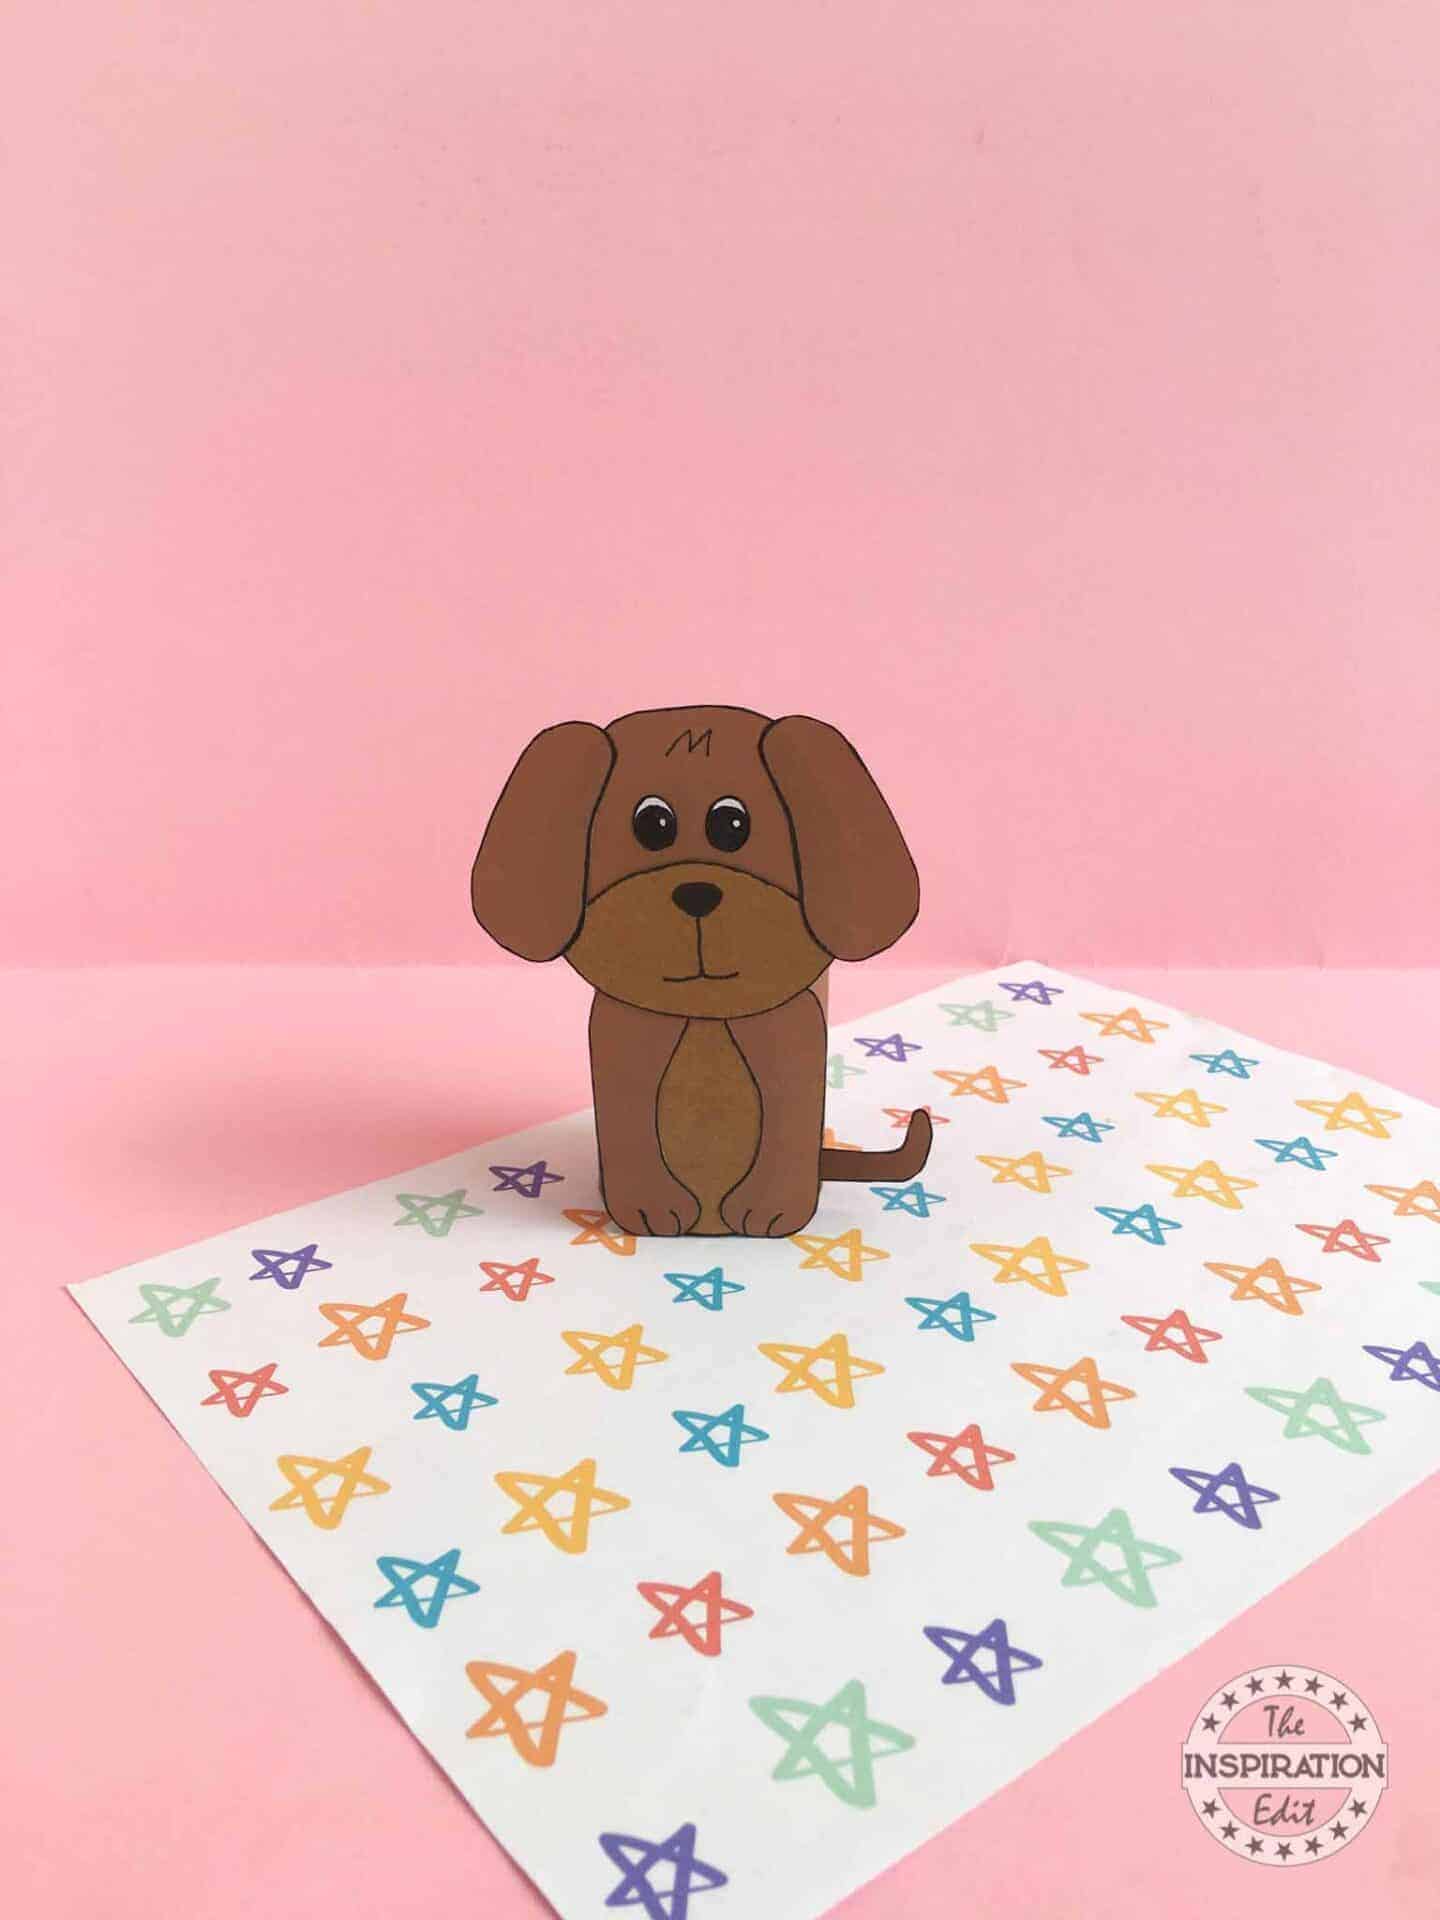
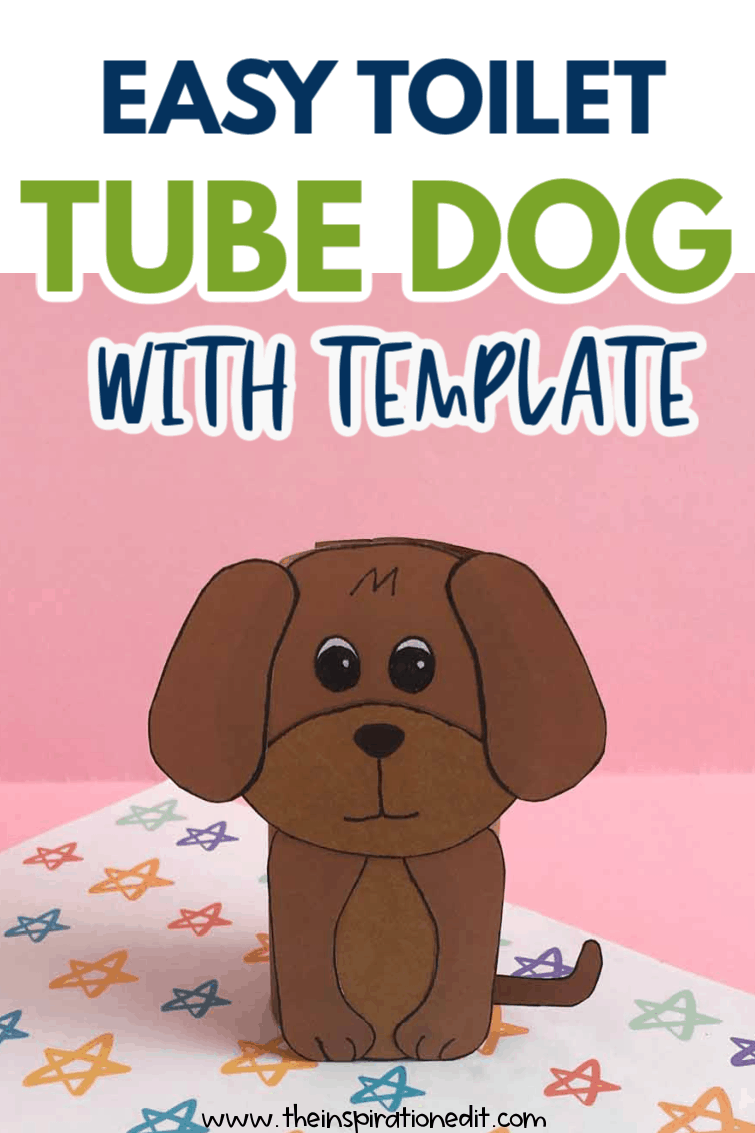
Dog Craft Preschool Kids Will Love
Today we have a super cute dog craft preschool kids and older children will love. Toilet tube animal crafts are fun and as a family who loves dogs, we are excited to share this dog themed craft idea here on The Inspiration Edit. Of course, if you don’t have time for crafts – there are some gorgeous dog-themed plush toys available to buy too.

*I use affiliate links in this post. If you buy anything from my links I will earn a small commission*
Tips for Making Toilet Tube Animals
Contents
You might want to print out you template before starting and find a glue stick that is less messy if you prefer this to pva glue.
Choose the colors you wish for your dog and hey if you’re in the mood and have plenty of time why not make a whole family of dogs?
This is one dog craft preschool kids will love.
Supplies Needed for This Preschool Dog Craft
- Colourful cardstock craft paper
- Tissue Paper Roll
- Colourful craft paper
- Colourful marker pens
- Pencil
- Glue
- Ruler
RELATED POST: PAPER BAG DOG CRAFT FOR KIDS

How to Make This Tube Paper Dog Craft
Step 1:
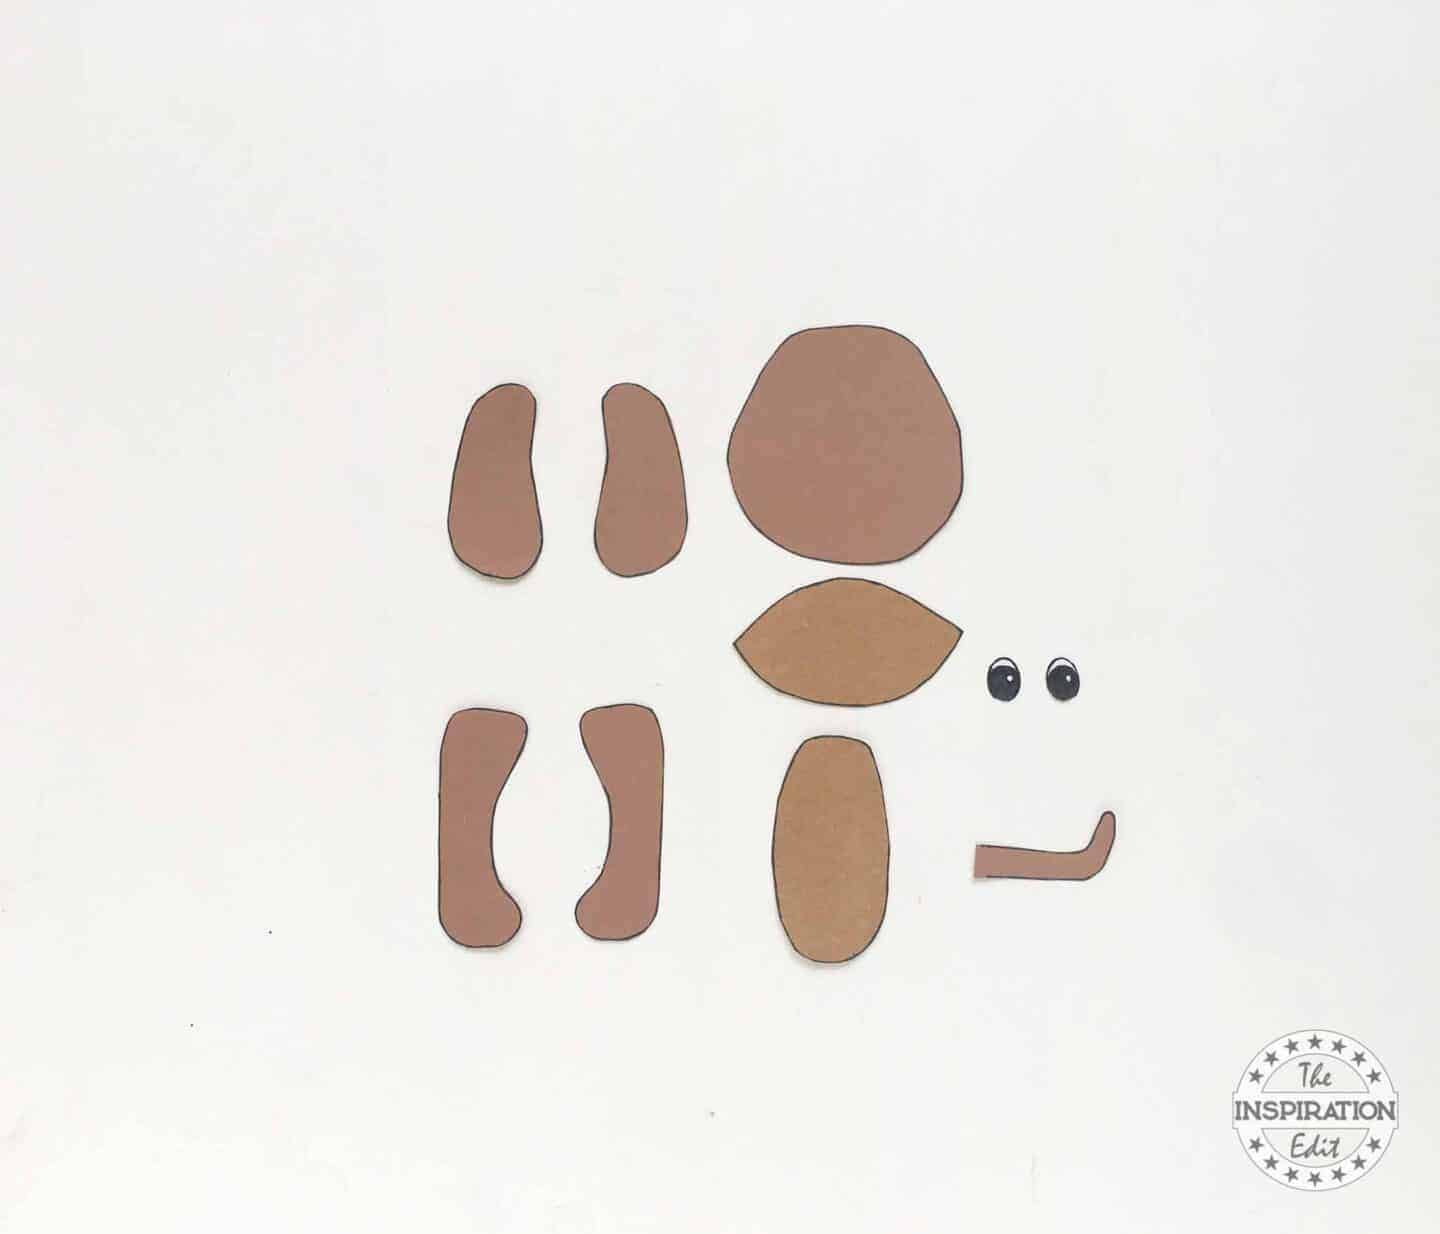
After you have printed the PDF template, choose what colour you want your puppy to be. Let’s use a few shades of brown to make the puppy. Use the templates to cut out the pieces for the puppy.
Outline the pieces using marker pens.
Step 2:
To make this easy, let’s use the numbers on the template to join the pieces together.
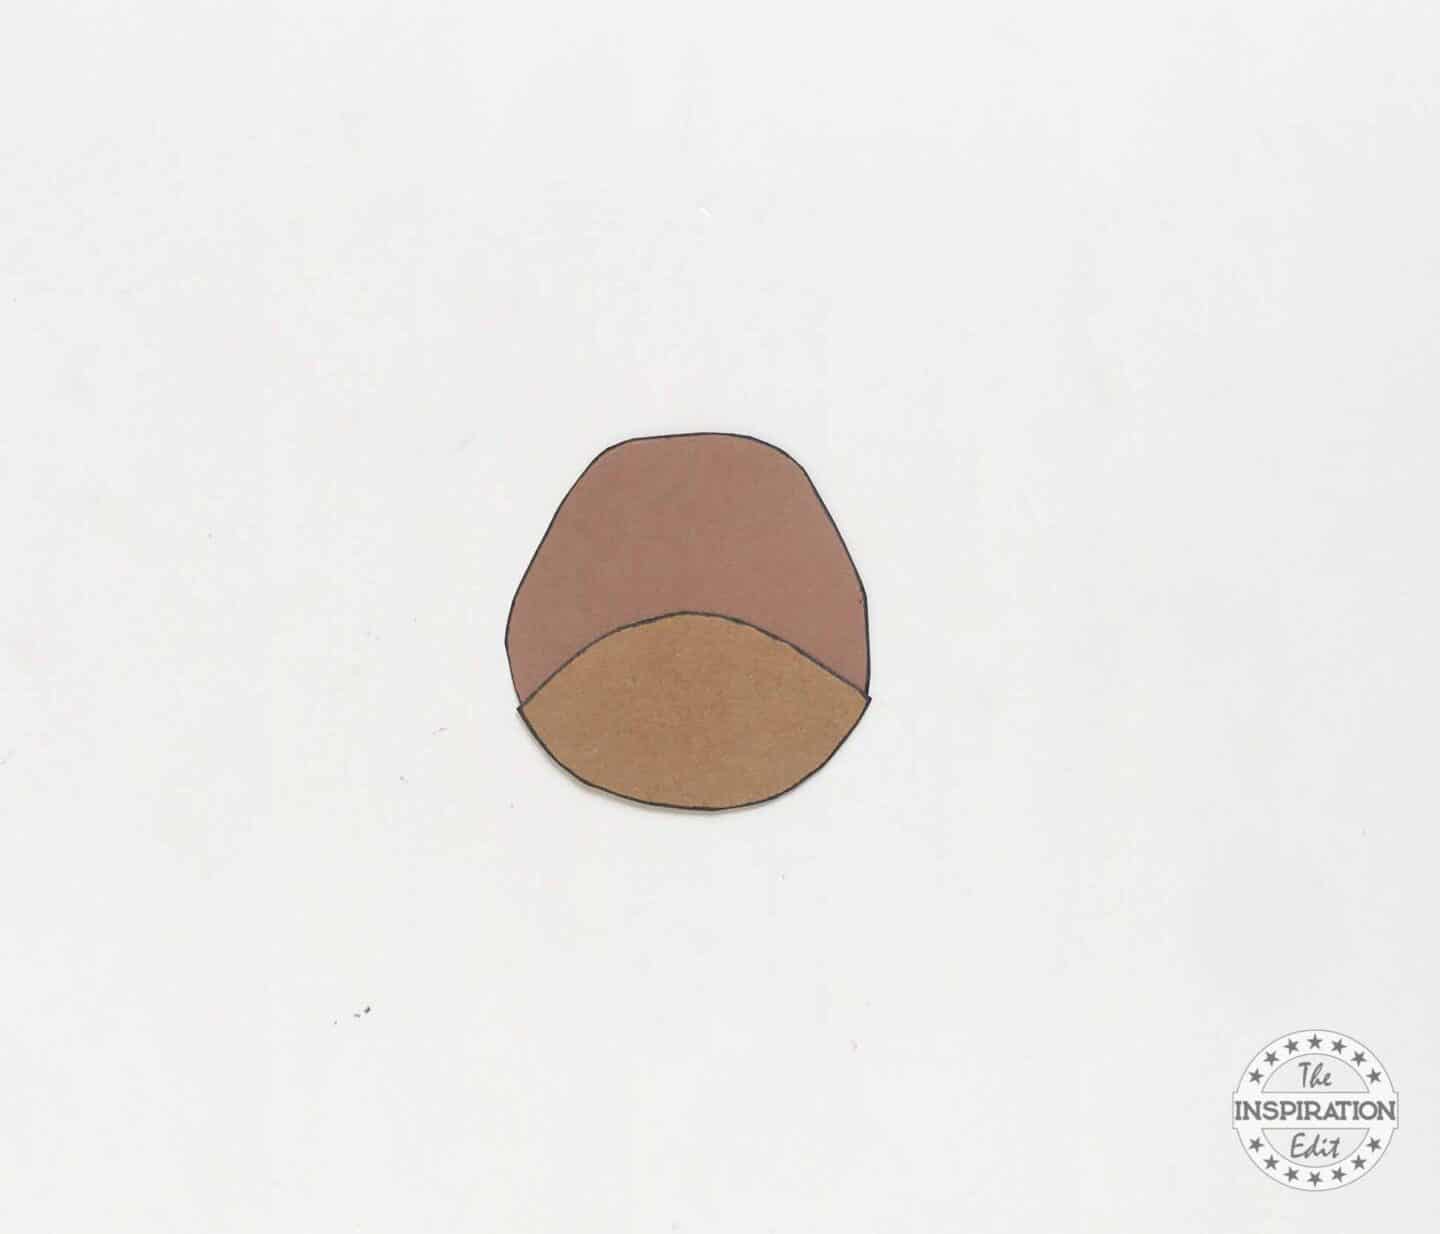
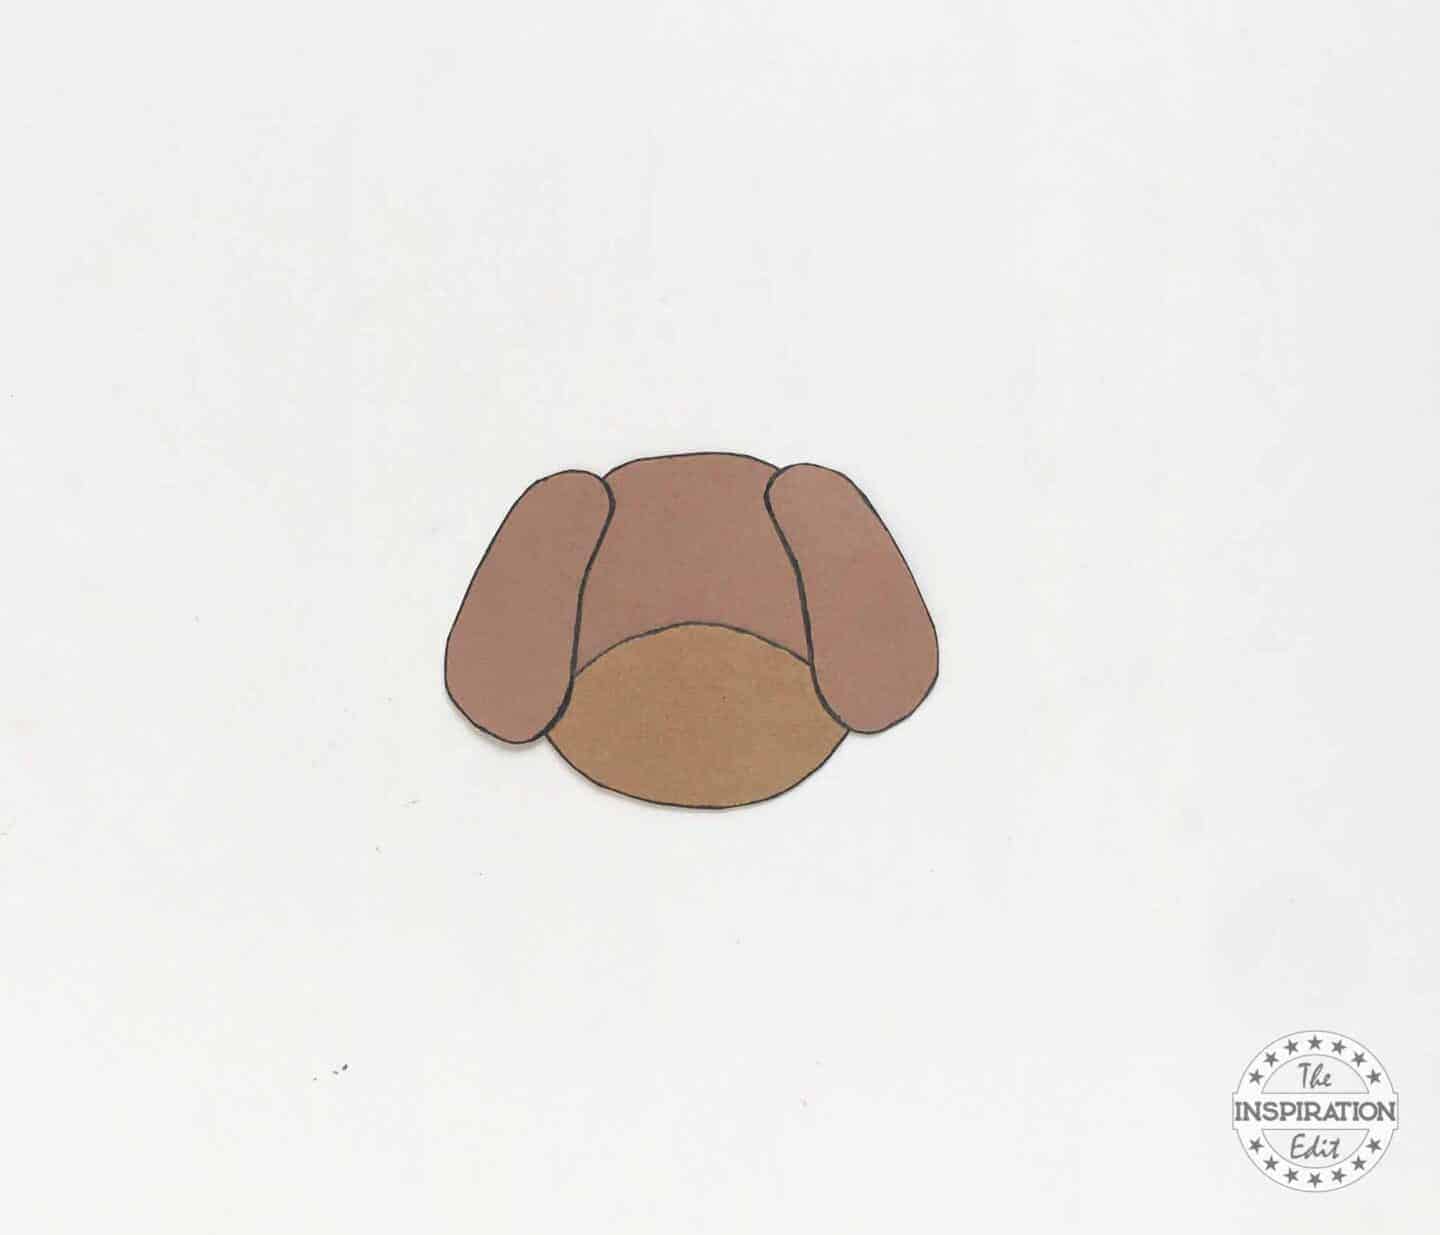
Piece Number: 1 is the puppy’s head and Piece Number: 2 is the mouth.
Glue Number 2 on the bottom side of the number 1.
Allow the glue to dry.
Step 3:
Piece Number :3 and 4 are the ears for the puppy. Glue Number 3 on the left side of the puppy’s head and glue Number 4 on the right side of the puppy’s head.
Step 4:
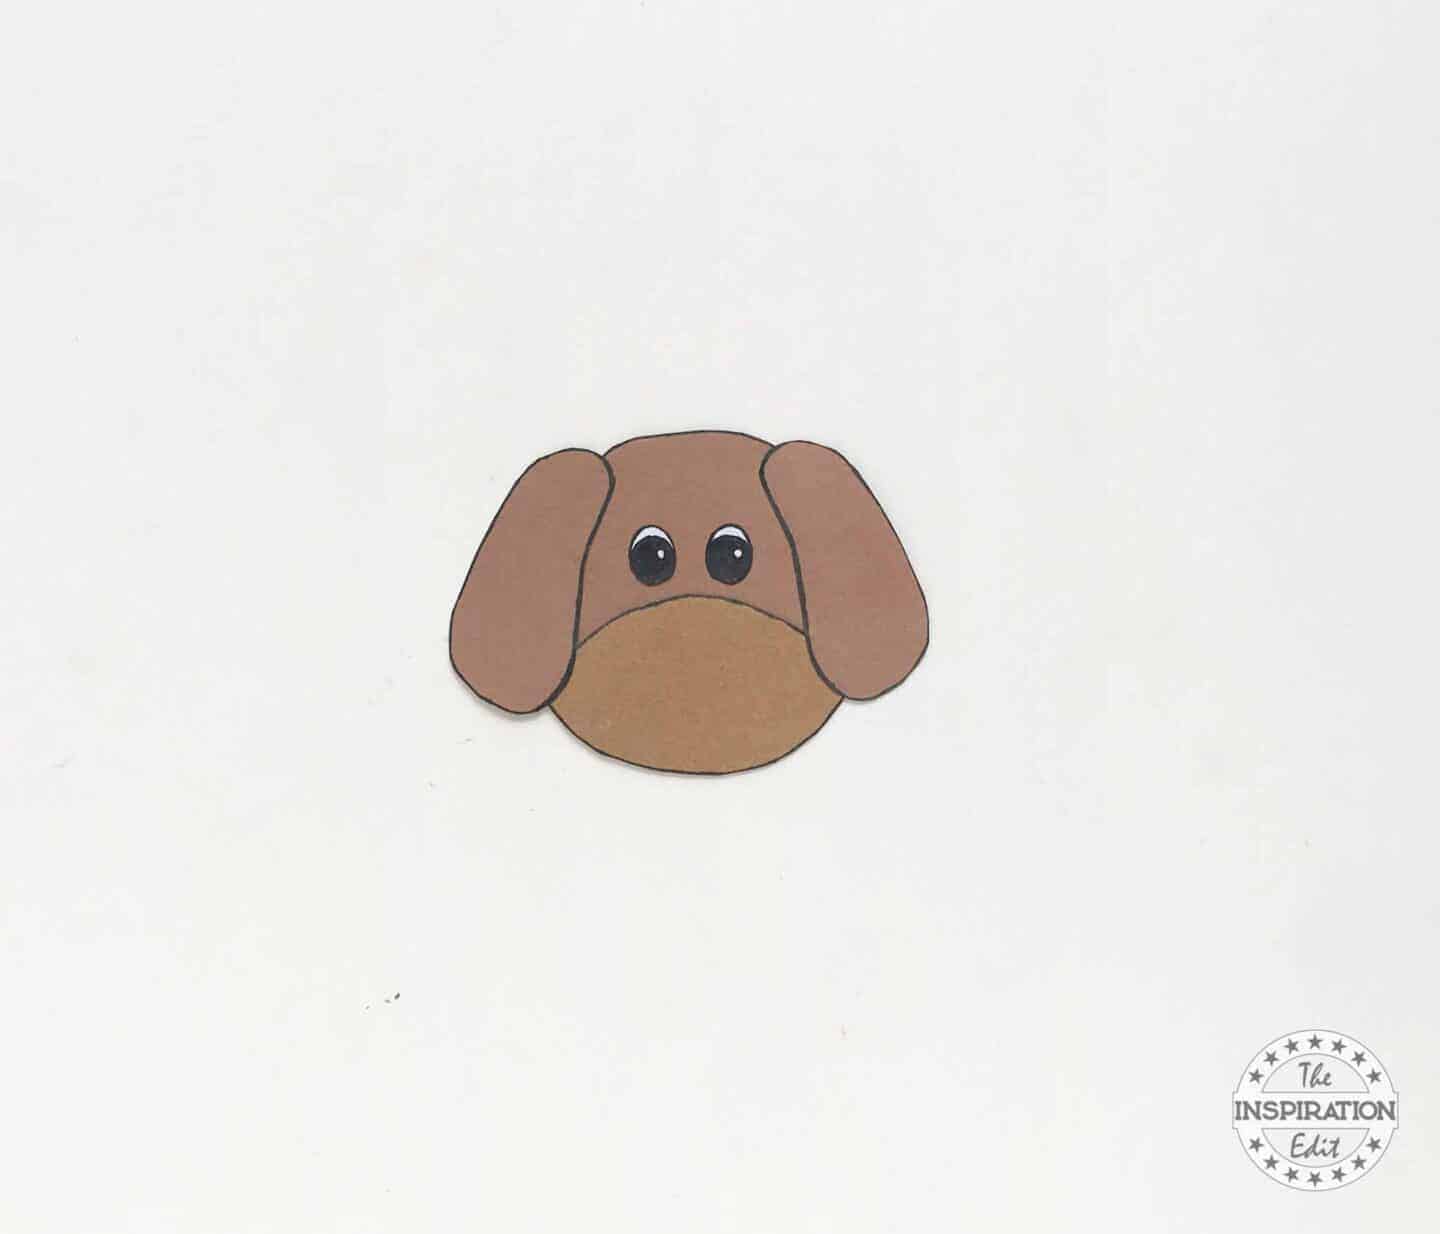
Take Number: 5 and 6 and glue them on the top side of the puppy’s head these are the eyes for the puppy.
Step 5:
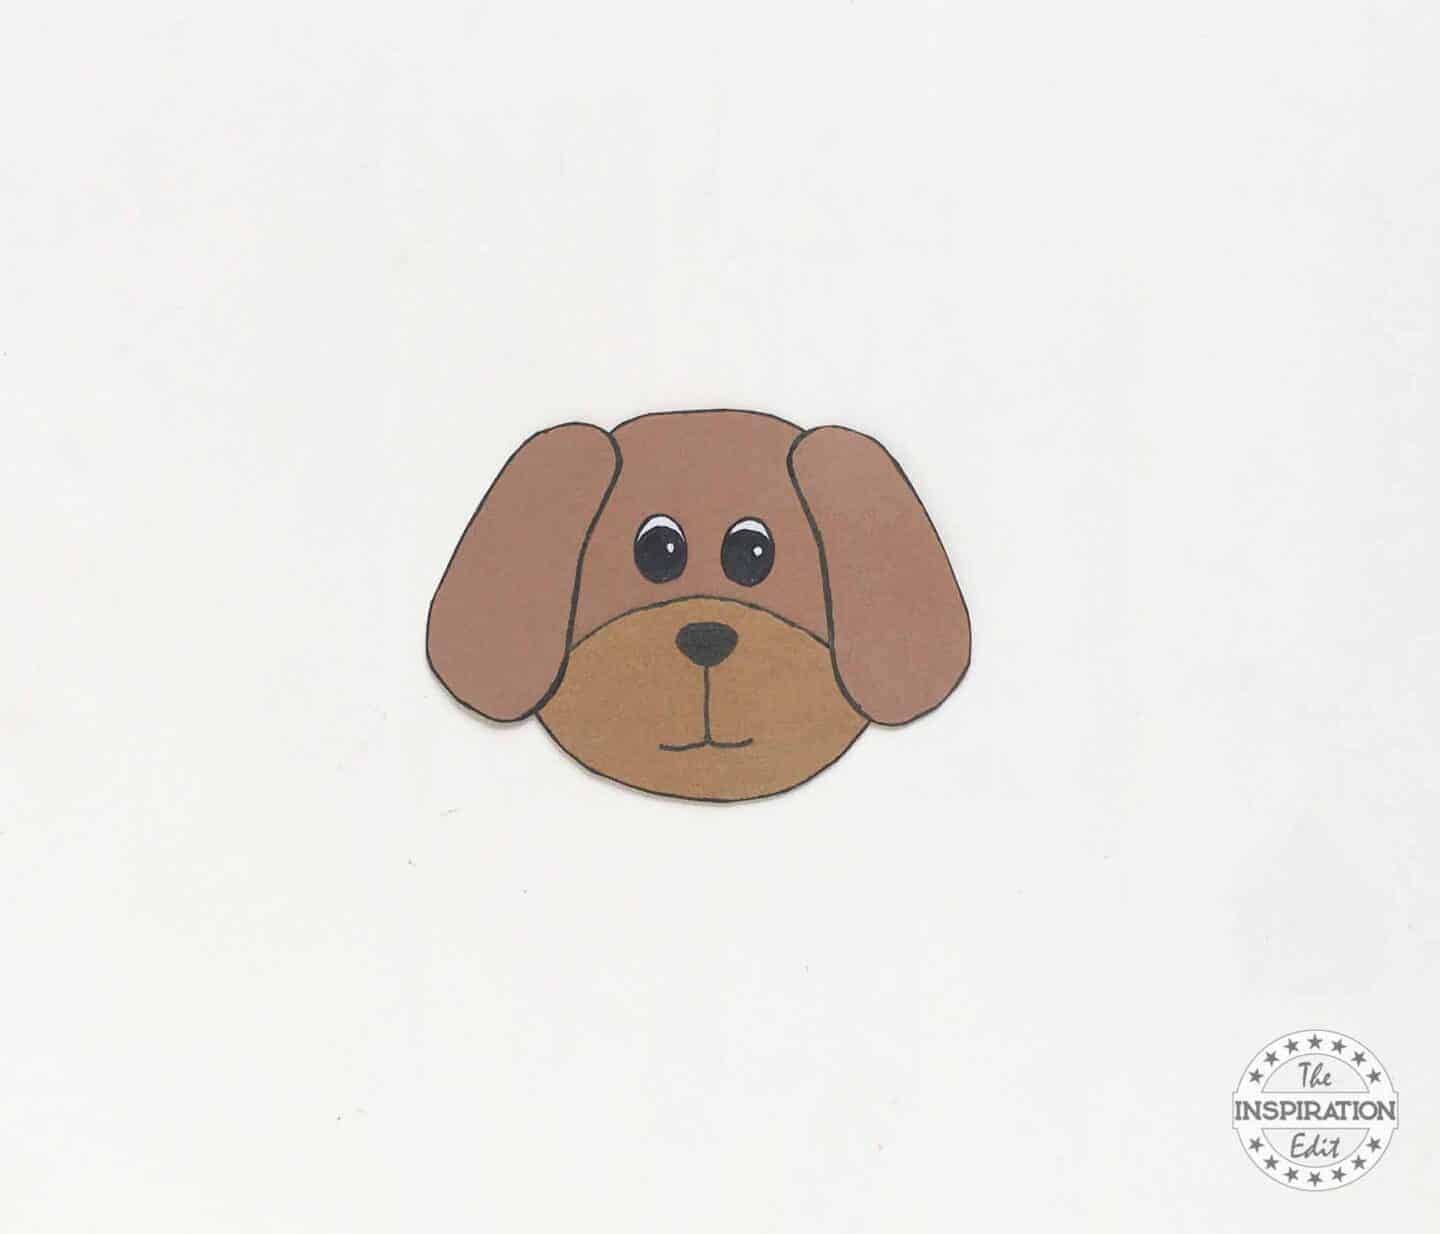
Then use the marker pens to draw the puppy’s nose and mouth.
Step 6:
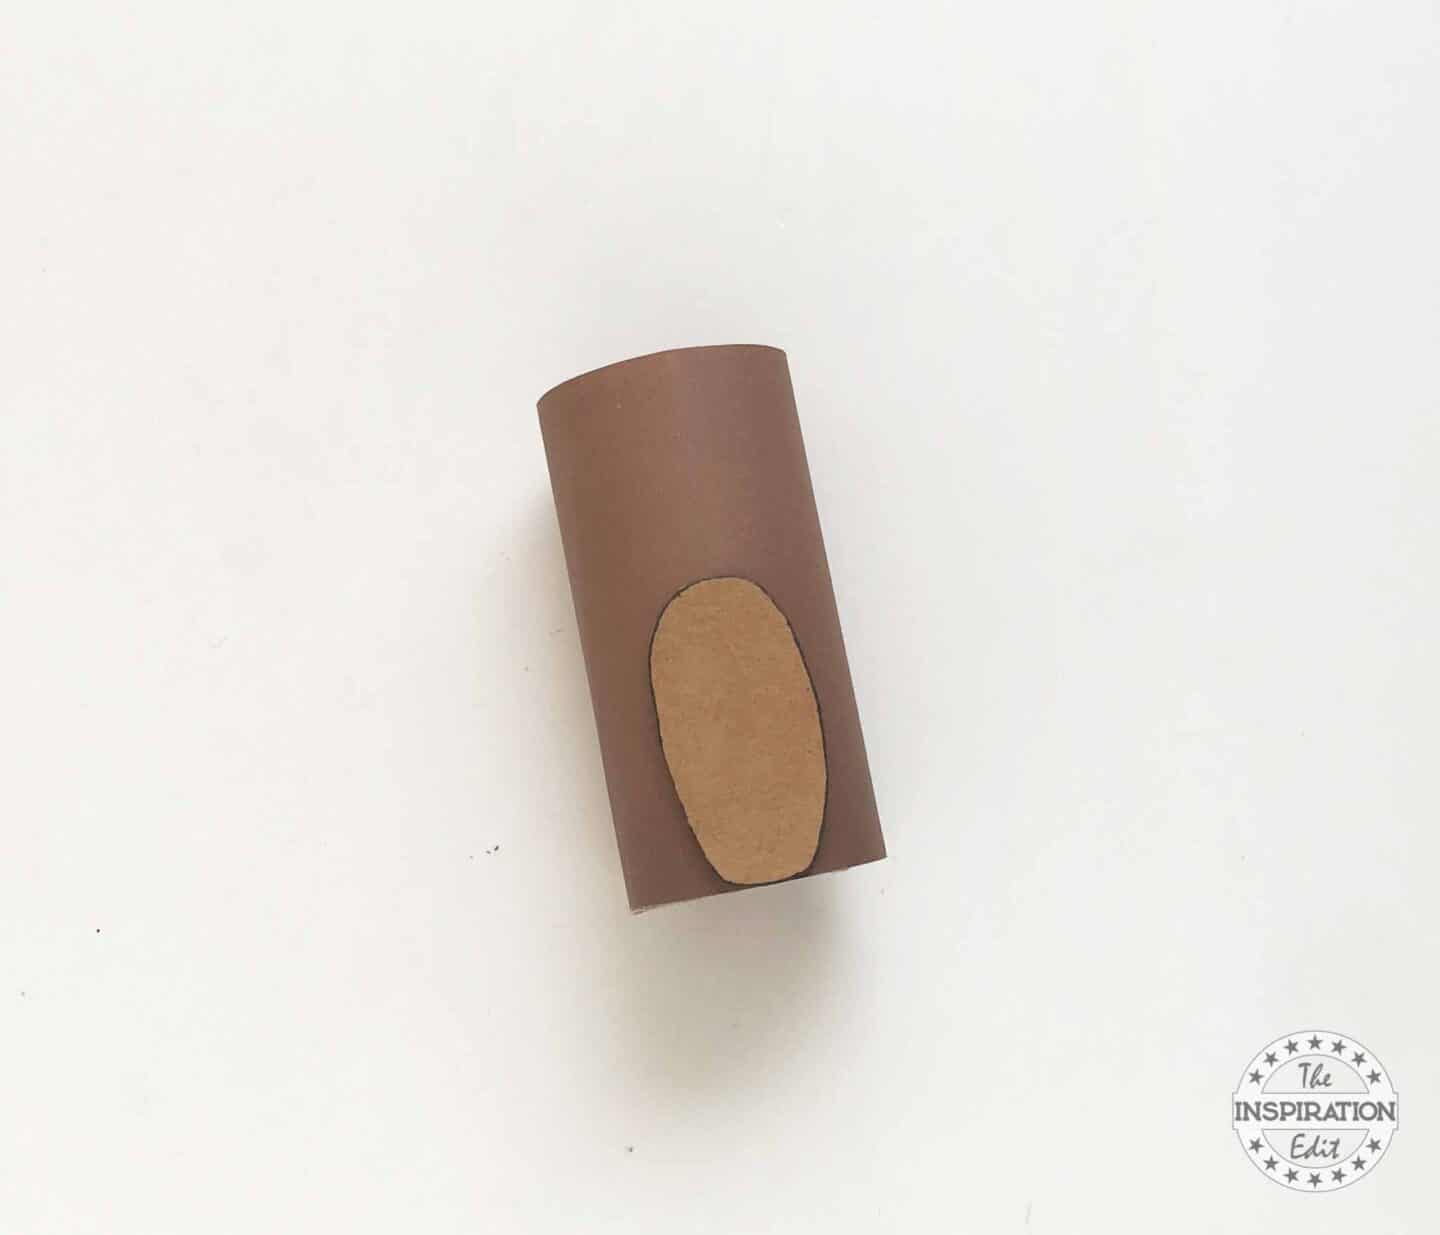
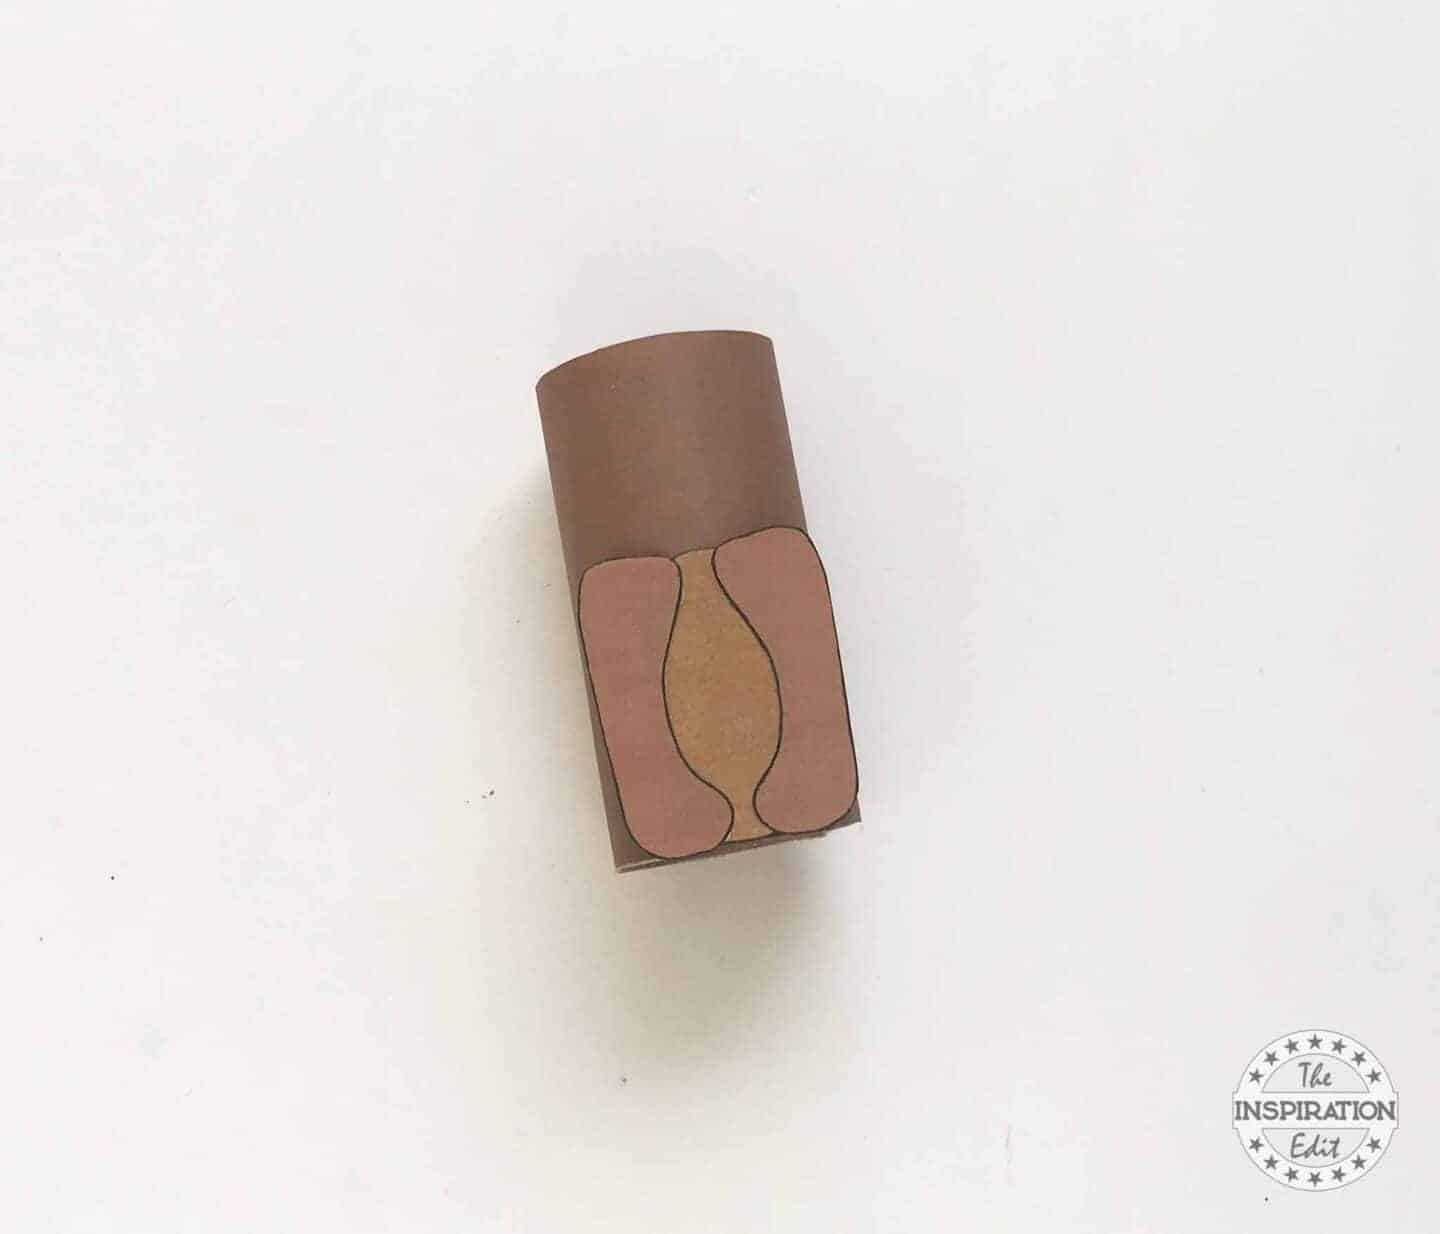
Now, take the tissue paper roll, and wrap it with brown craft paper.
Make sure the paper is the same height and circumference as the tissue paper roll.

Step 7:
Take piece number 7 and glue it on the bottom part of the tissue paper roll.
Step 8:
Then, take piece number 8 and 9, these are the feet of the puppy.
Glue piece number 8 on the left side and piece number 9 on the right.
Step 9:
Almost finished, now take the puppy’s head and glue it on the top of the tissue paper roll.
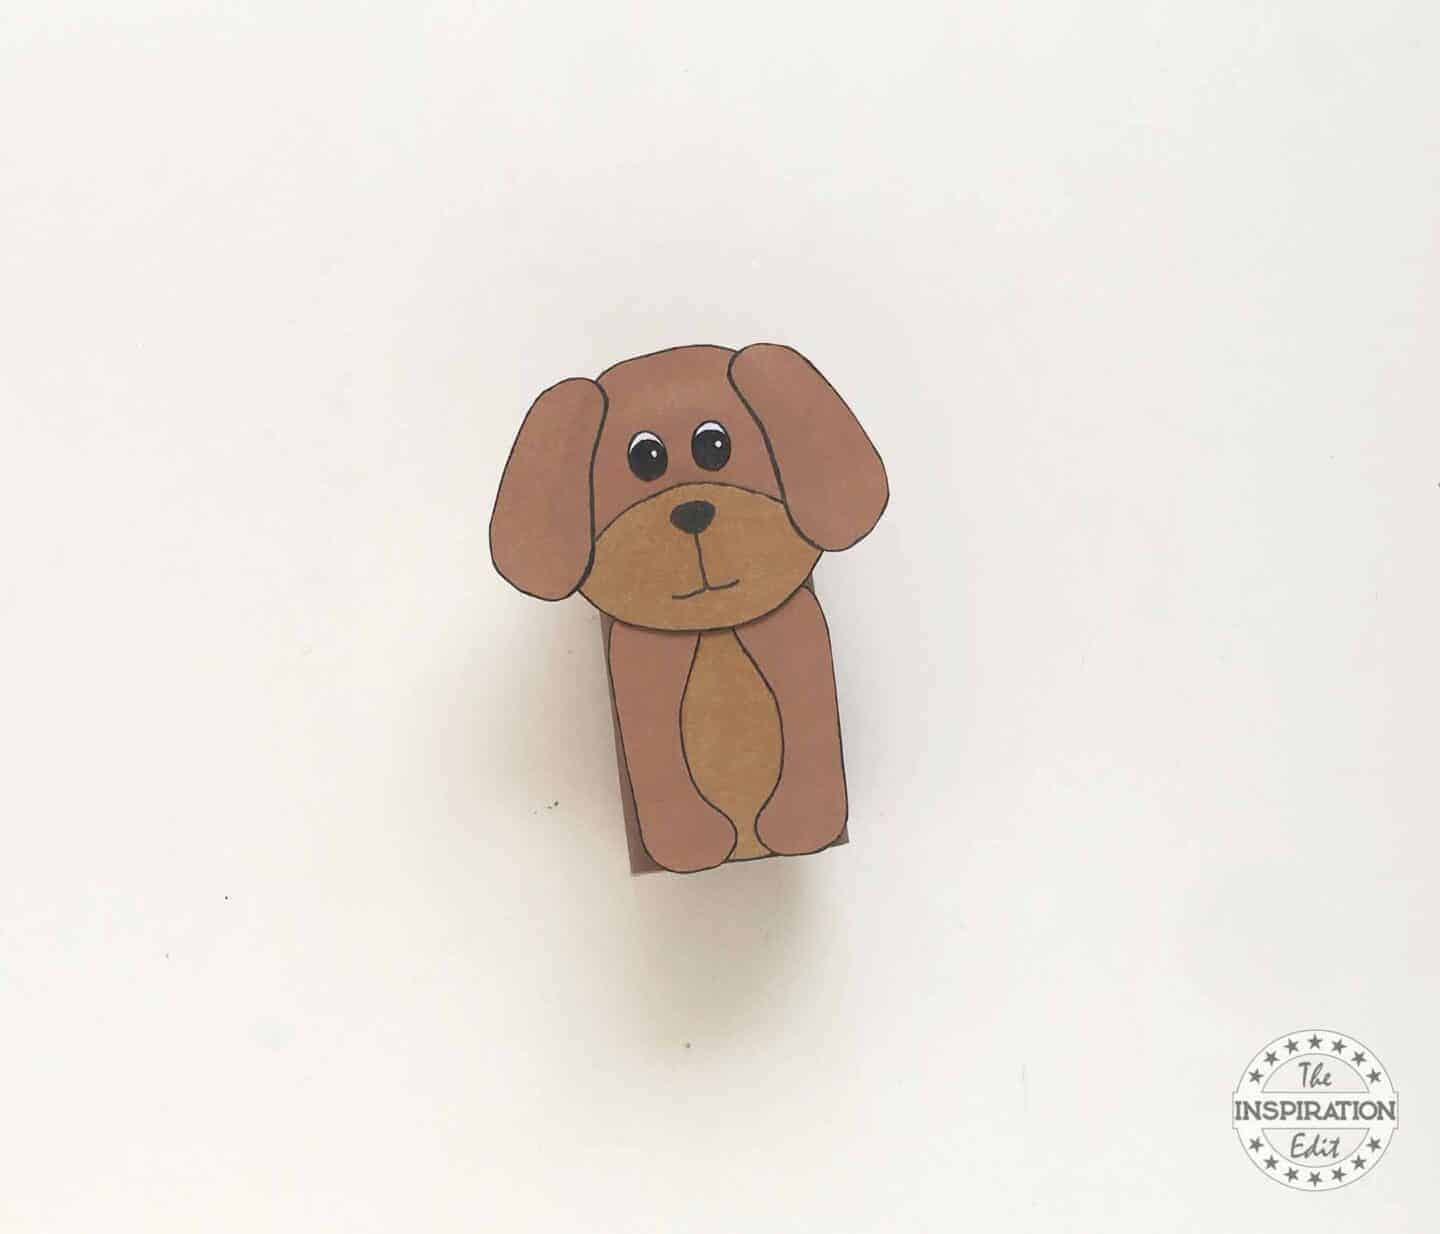
Step 10:
Now finish it by glueing the tail on the side of the tissue paper roll. (piece number 10)

Dog Craft Preschool Kids Will Love

This is a tutorial on how to make a dog craft.
Materials
- Colourful cardstock craft paper
- Tissue Paper Roll
- Colourful craft paper
- Colourful marker pens
- Pencil
- Glue
Tools
- Ruler
Instructions
After you have printed the PDF template, choose what colour you want your puppy to be. Let’s use a few shades of brown to make the puppy. Use the templates to cut out the pieces for the puppy.
Outline the pieces using marker pens.
To make this easy, let’s use the numbers on the template to join the pieces together.
Piece Number: 1 is the puppy’s head and Piece Number: 2 is the mouth.
Glue Number 2 on the bottom side of the number 1.
Allow the glue to dry.
Piece Number :3 and 4 are the ears for the puppy. Glue Number 3 on the left side of the puppy’s head and glue Number 4 on the right side of the puppy’s head.
Take Number: 5 and 6 and glue them on the top side of the puppy’s head these are the eyes for the puppy.
Then use the marker pens to draw the puppy’s nose and mouth.
Now, take the tissue paper roll, and wrap it with brown craft paper.
Make sure the paper is the same height and circumference as the tissue paper roll.
Take piece number 7 and glue it on the bottom part of the tissue paper roll.
Then, take piece number 8 and 9, these are the feet of the puppy.
Glue piece number 8 on the left side and piece number 9 on the right.
Almost finished, now take the puppy’s head and glue it on the top of the tissue paper roll.
Now finish it by gluing the tail on the side of the tissue paper roll. (piece number 10)
You may also enjoy the following posts:
Angela Milnes is a Qualified Early Years Teacher who has specialised in Preschool and Kindergarten teaching. She has a wealth of experience teaching young children and is passionate about kids crafts and having fun as a family. Angela has also taught cooking skills and loves to share both family recipes and easy crafts here on The Inspiration Edit. Follow her on Pinterest!


