Baby Narwhal Plush Pattern for Kids to Sew
Here is a super cute baby narwhal plush pattern which is easy for anyone to sew.
Today I’m sharing this super cute Narwhal plush pattern so you can make your very own super cute narwhal craft. This Narwhal sewing project is easy and simple and a fun first sewing activity for kids to enjoy!

The Narwhal Song
Contents
Seriously, have you heard of the Narwhal song? I came across it the other day and think it’s pretty crazy! I thought I’d share it and ask your thoughts? Enjoy!
Ideas for This Cute Narwhal Sewing Project
You may want to make a large narwhal plush or a small narwhal plush using this free sewing pattern for kids. Likewise you could make a small plush which can be made into a little soft toy or narwhal plush keychain.
This Narwhal plush toy would make a fantastic and cute gift if you’re on a budget and is one of my favourite sewing ideas for kids. Enjoy!
You could even sew a whole lot of Narwhals and use them for a super cute Narwhal game. Maybe even play Narwhal tic tac, toe! How fun would that be!
Have you seen our Kawaii Narwhal Rock Painting? you will love it!
Supplies Needed for This Cute Narwhal Craft
- Felt fabric
- Pencil
- Scissors
- Needle
- Thread
- Narwhal Plush Pattern Template
RELATED POST: CUTE EASY SEW UNICORN FELT CRAFT

How to Make a Baby Narwhal From a Sewing Pattern
Step 1:
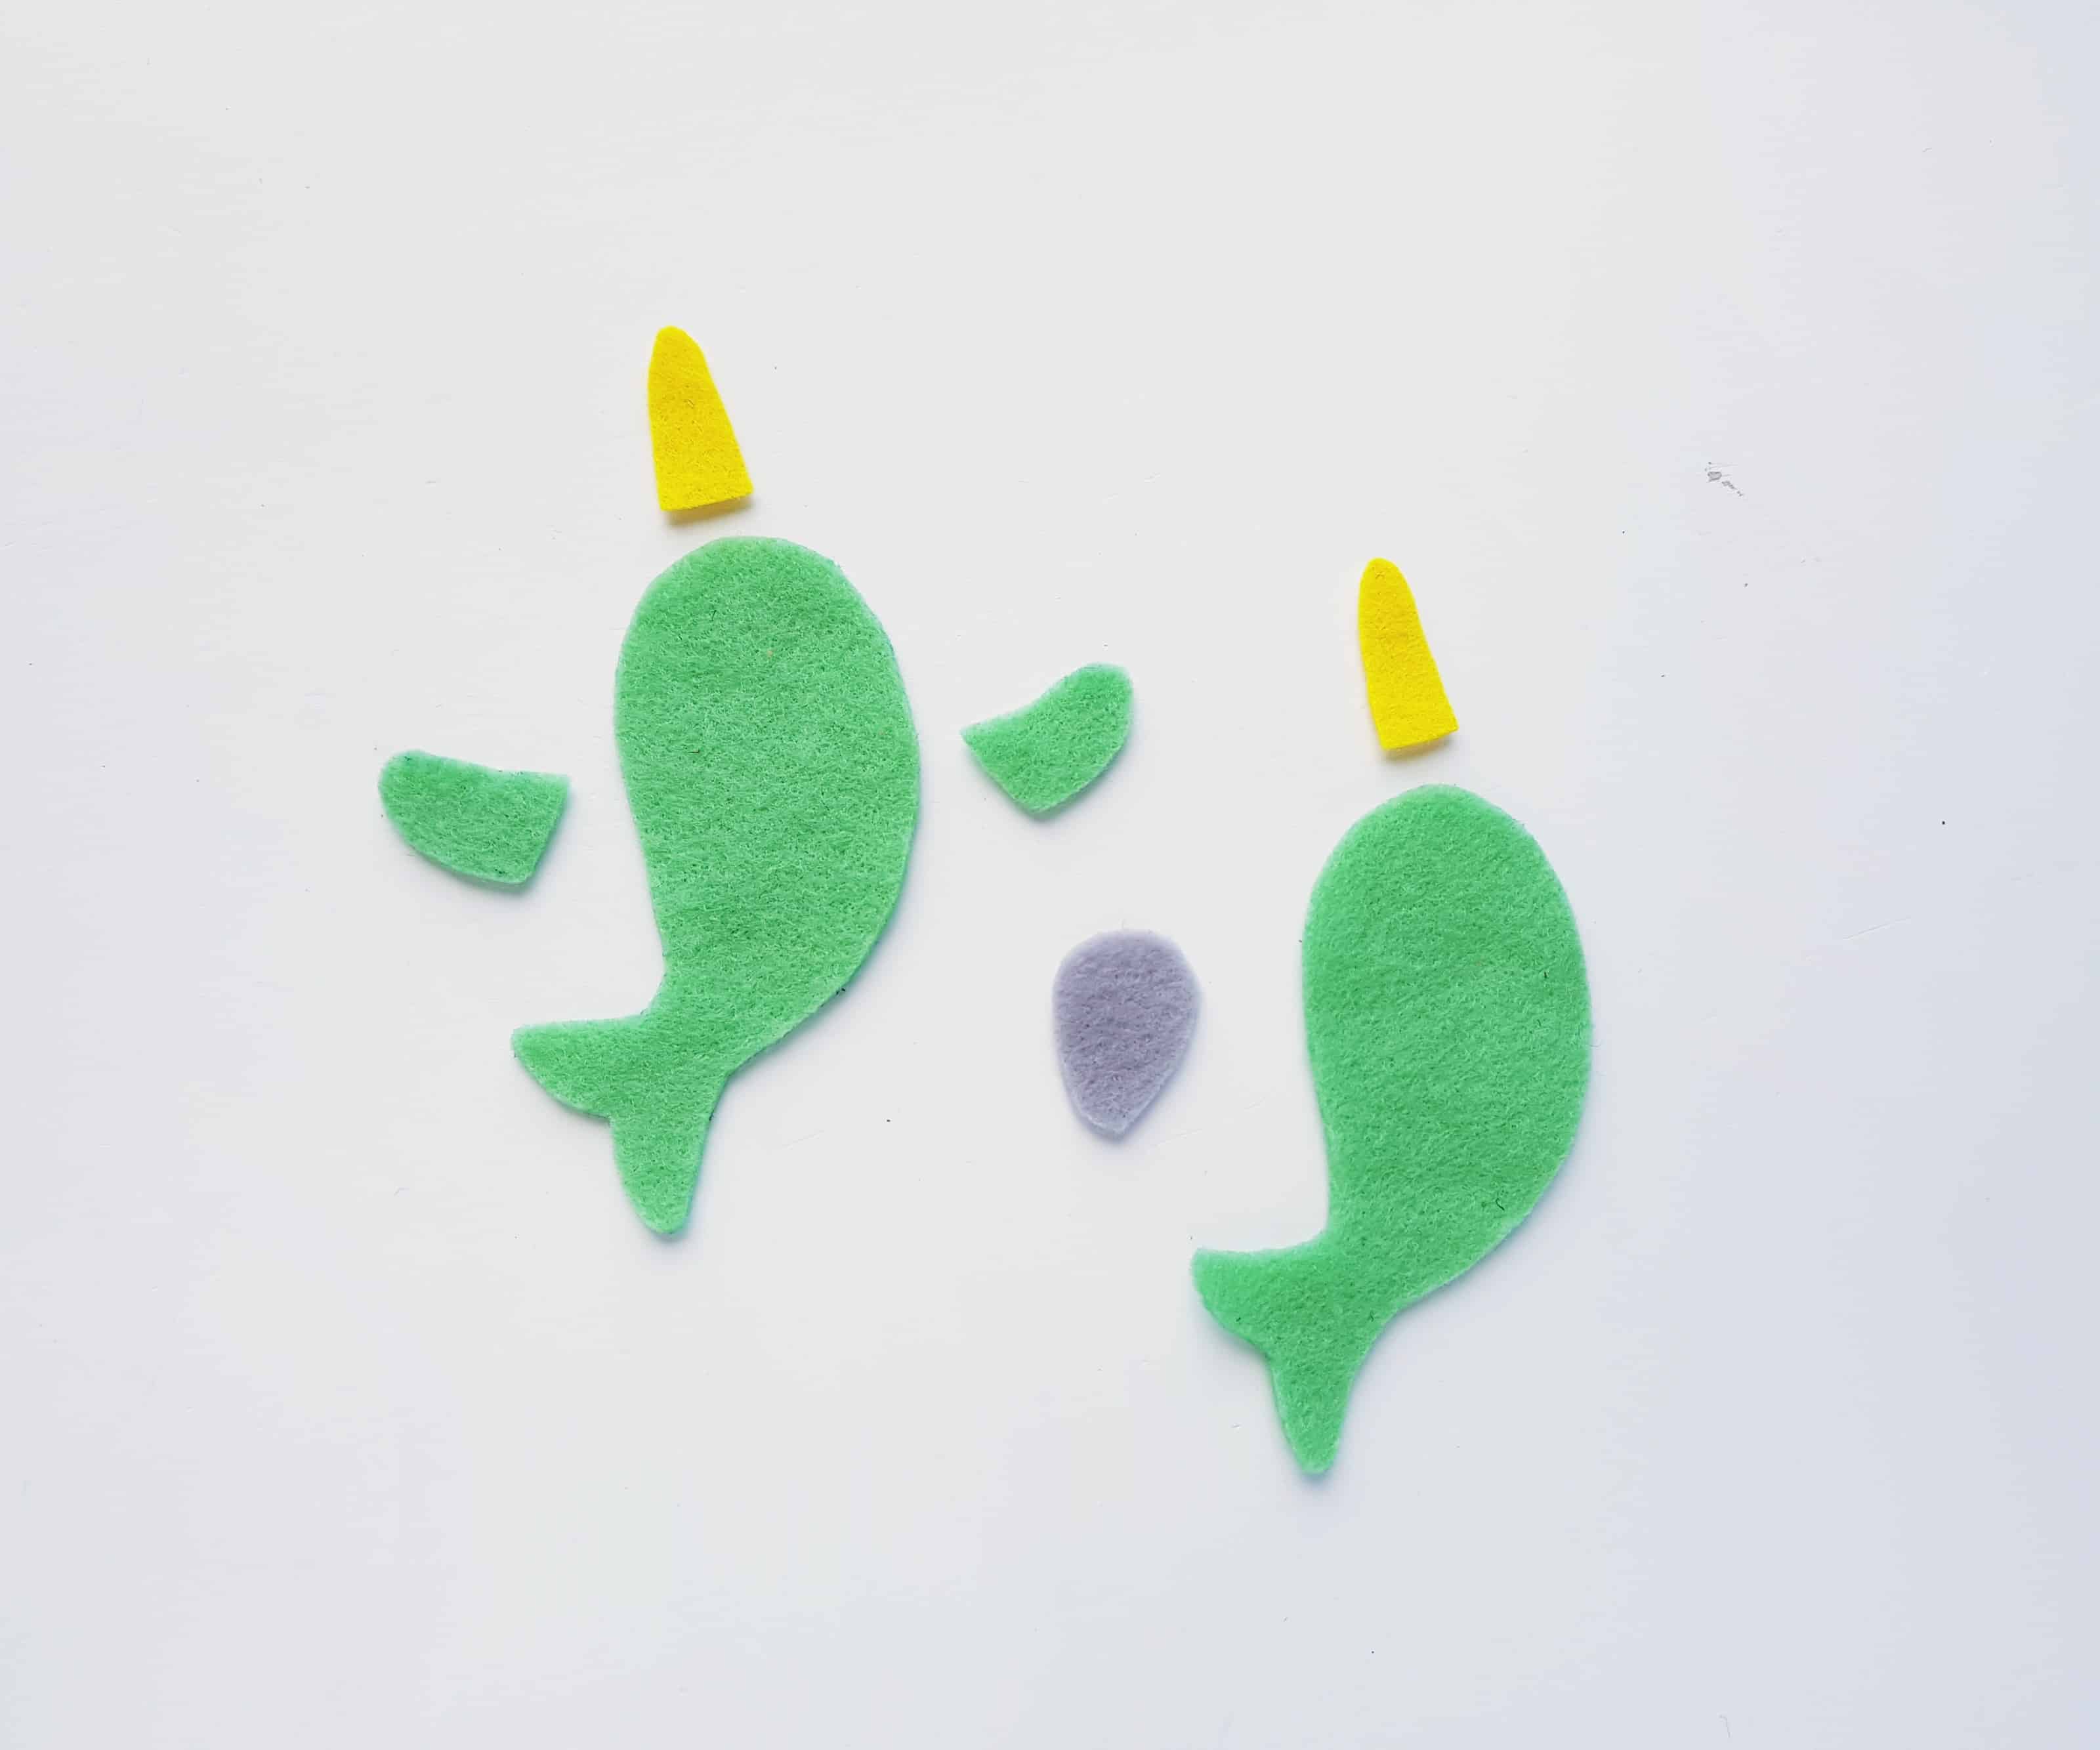
Print off your Narwhal Plush pattern. Select felt fabrics for your narwhal plushie and trace the narwhal template patterns on them. The template includes 2 body parts, 2 flaps, 2 horns and 1 belly part.
Step 2:
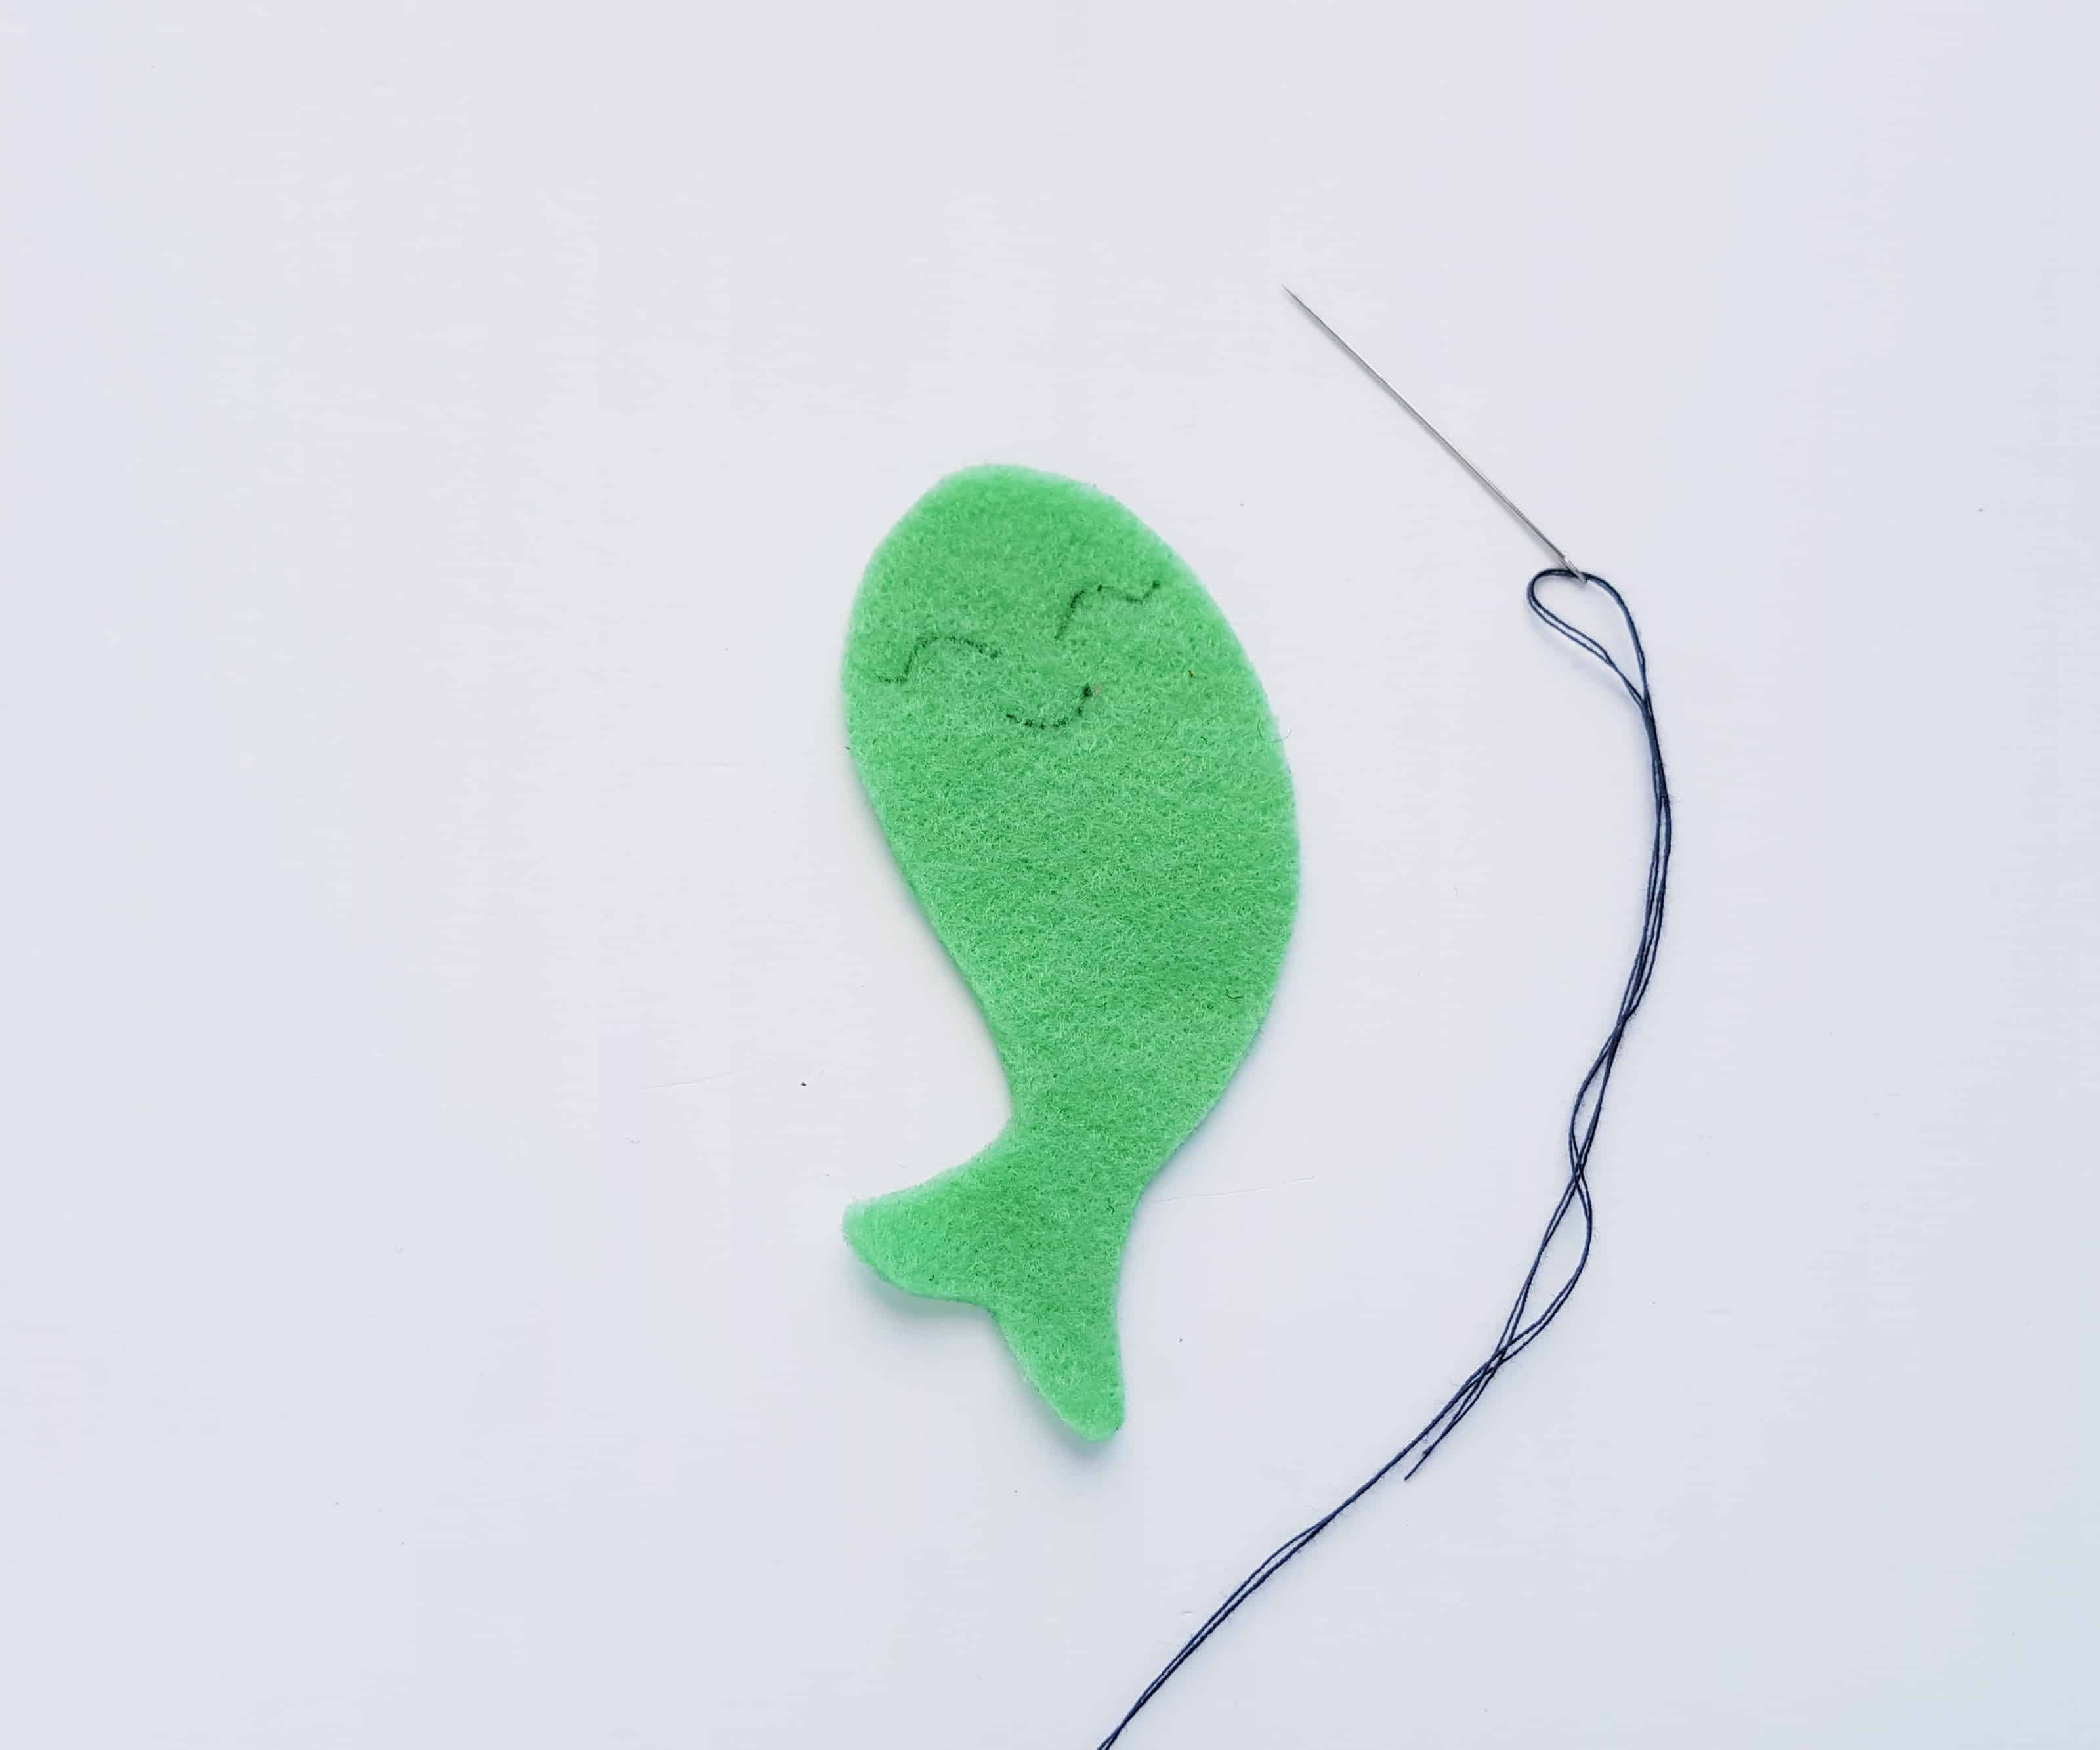
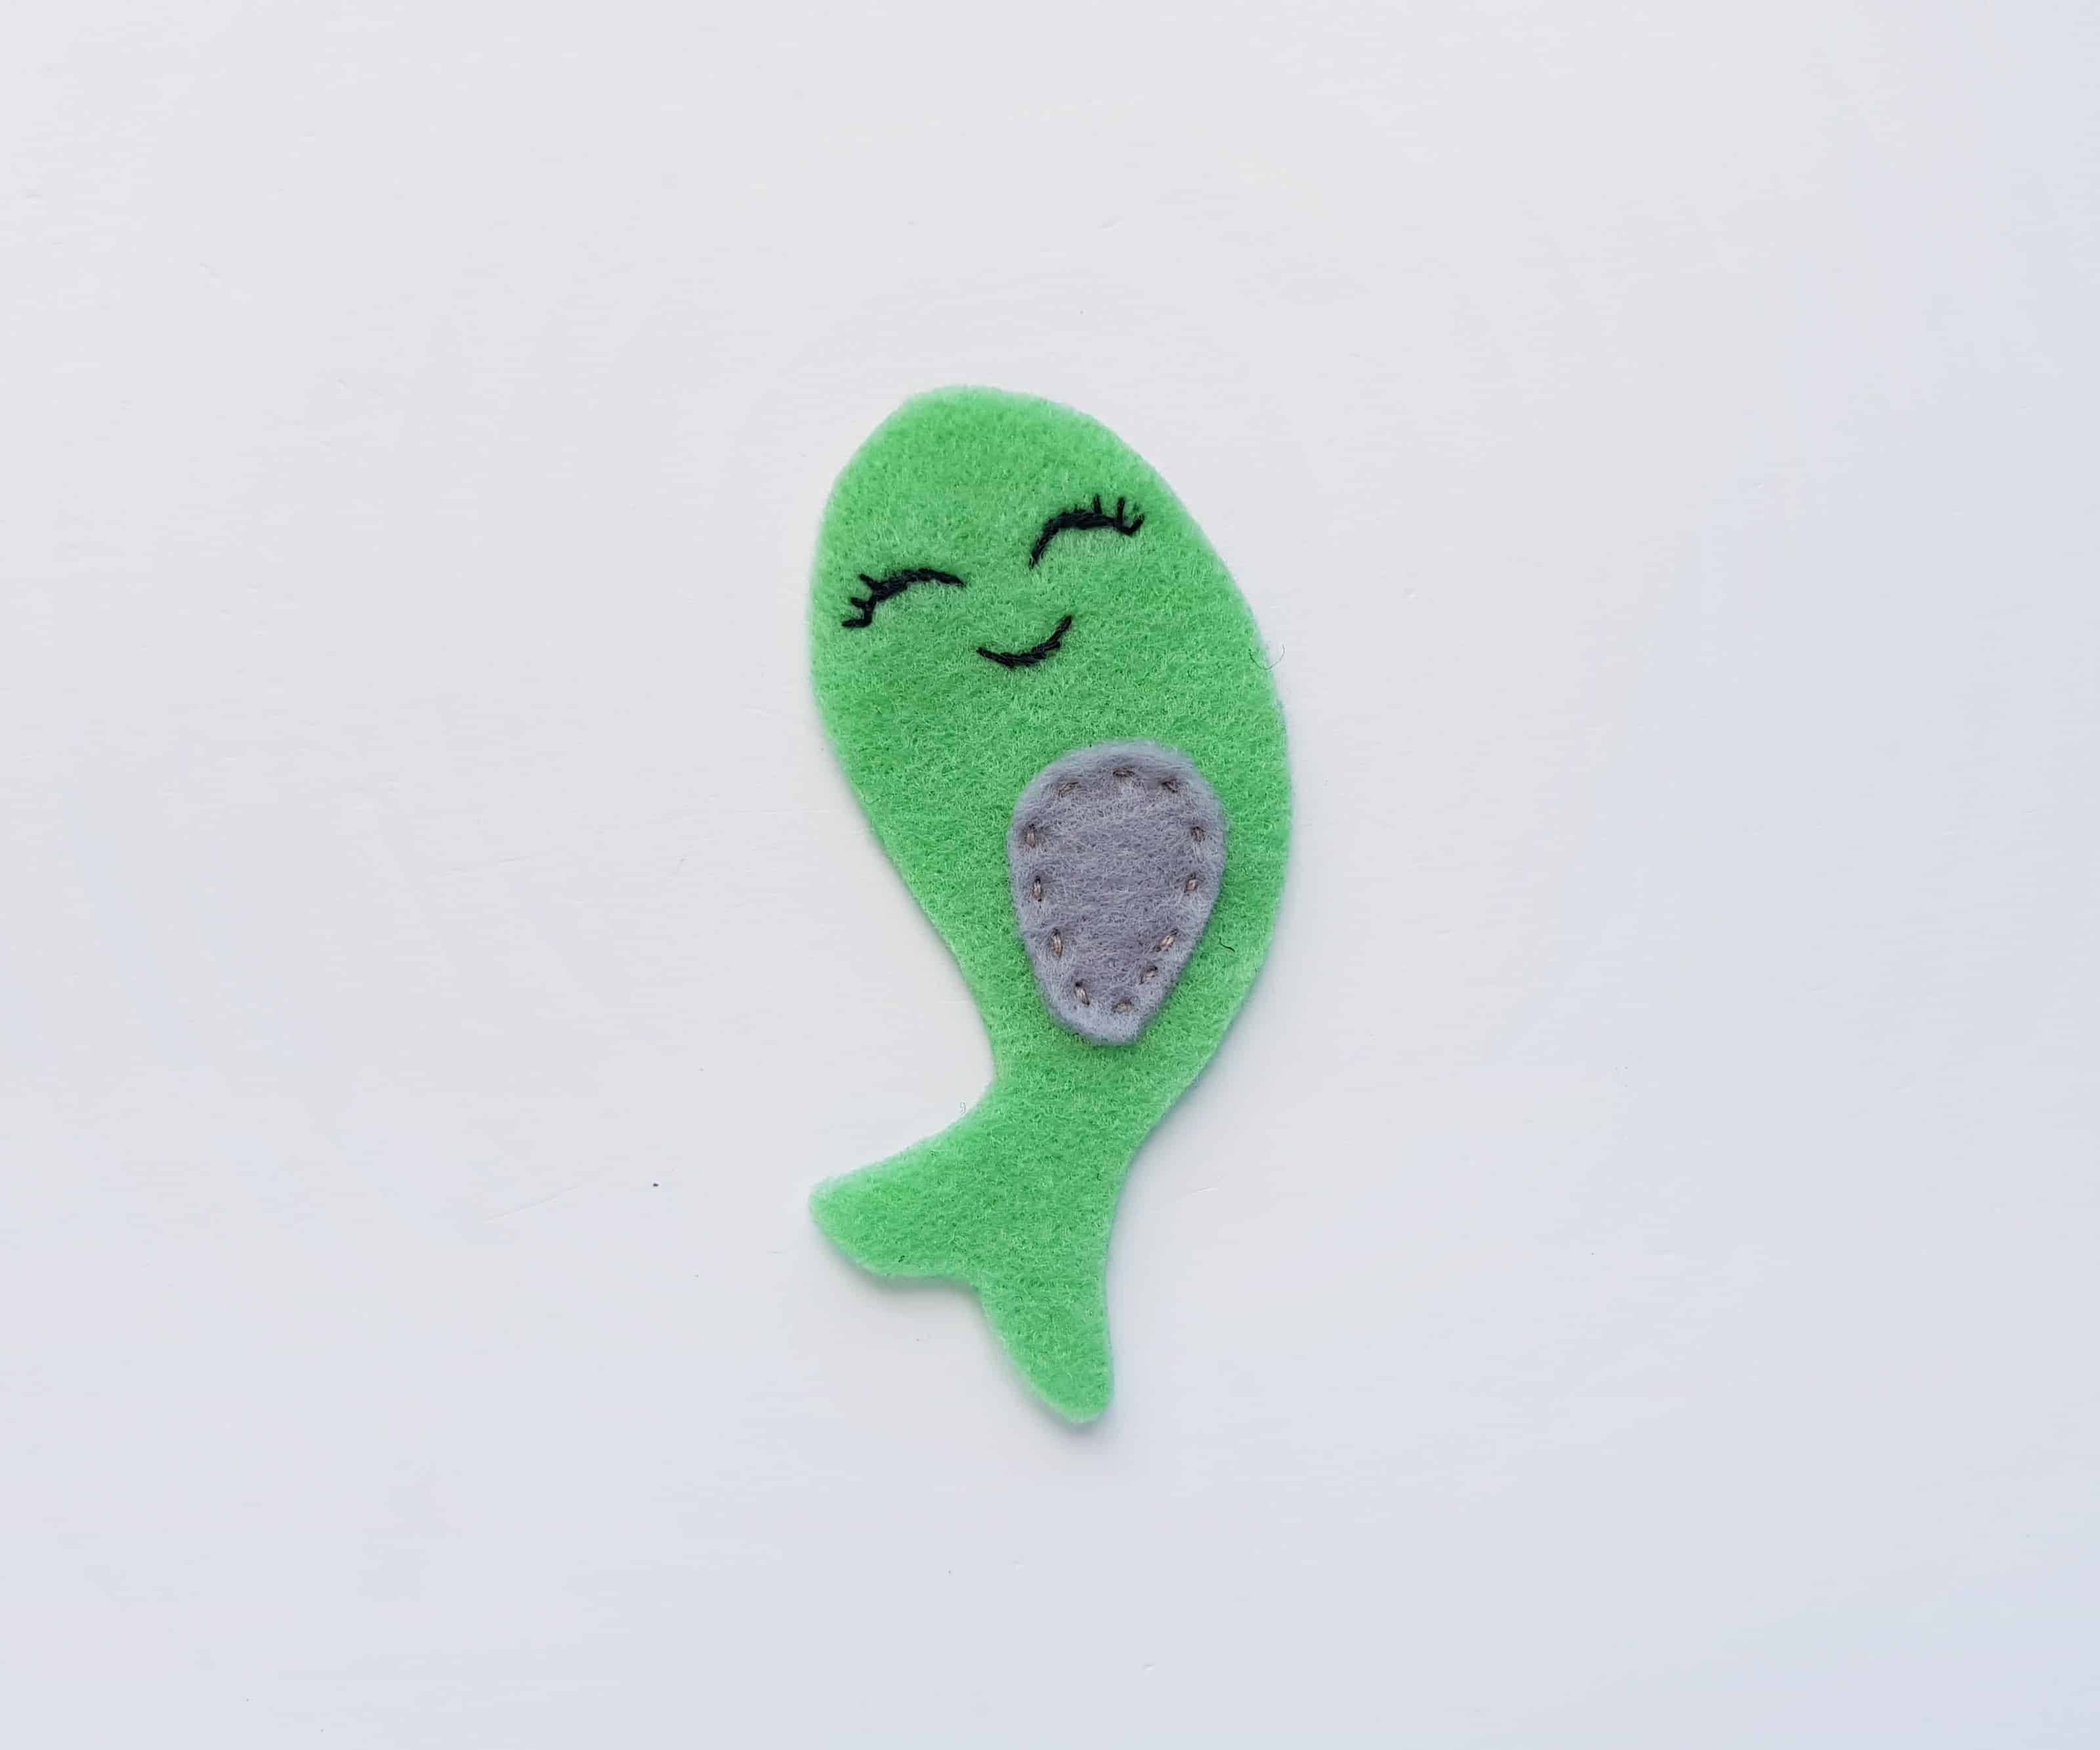
Take any one of the body cutouts and draw a smiley face on it. Prepare needle with black thread to trace the smiley face.
Step 3:
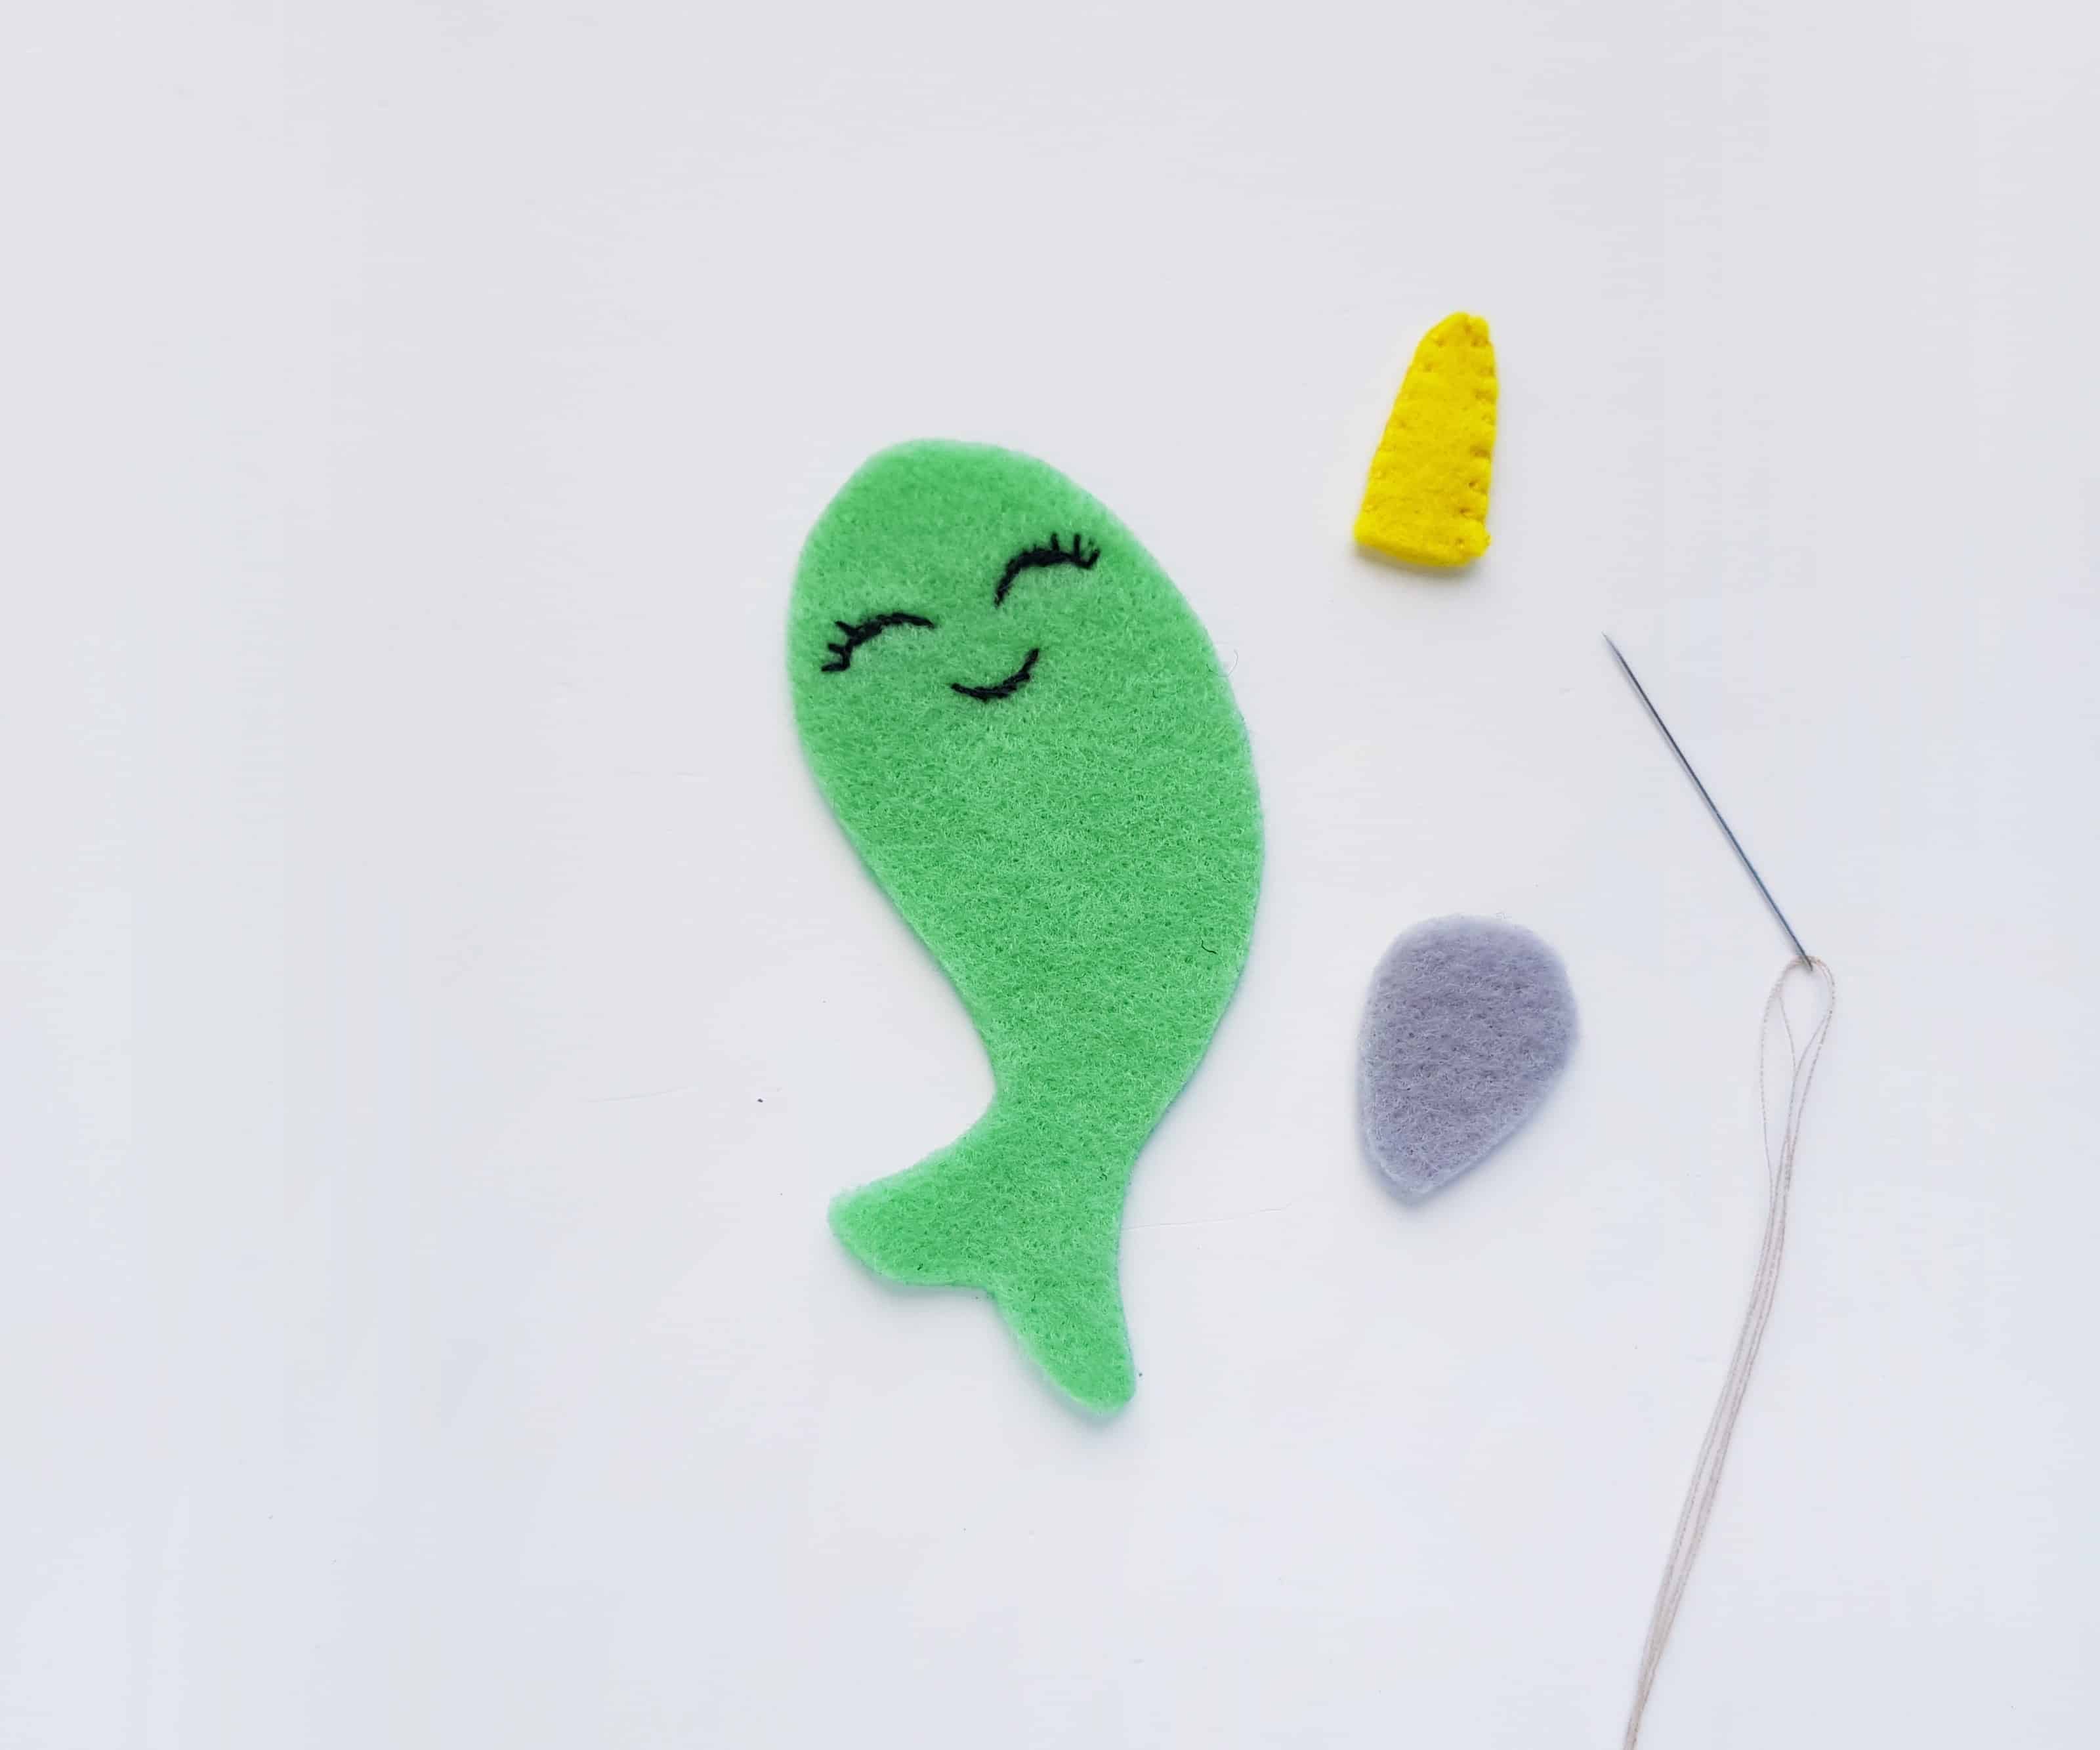
I did back stitch to stitch the traced smiley face of the narwhal plush. Stitch the 2 horn cutouts together as well.
Step 4:
Take the belly part and stitch it on the middle of the stitched body part.
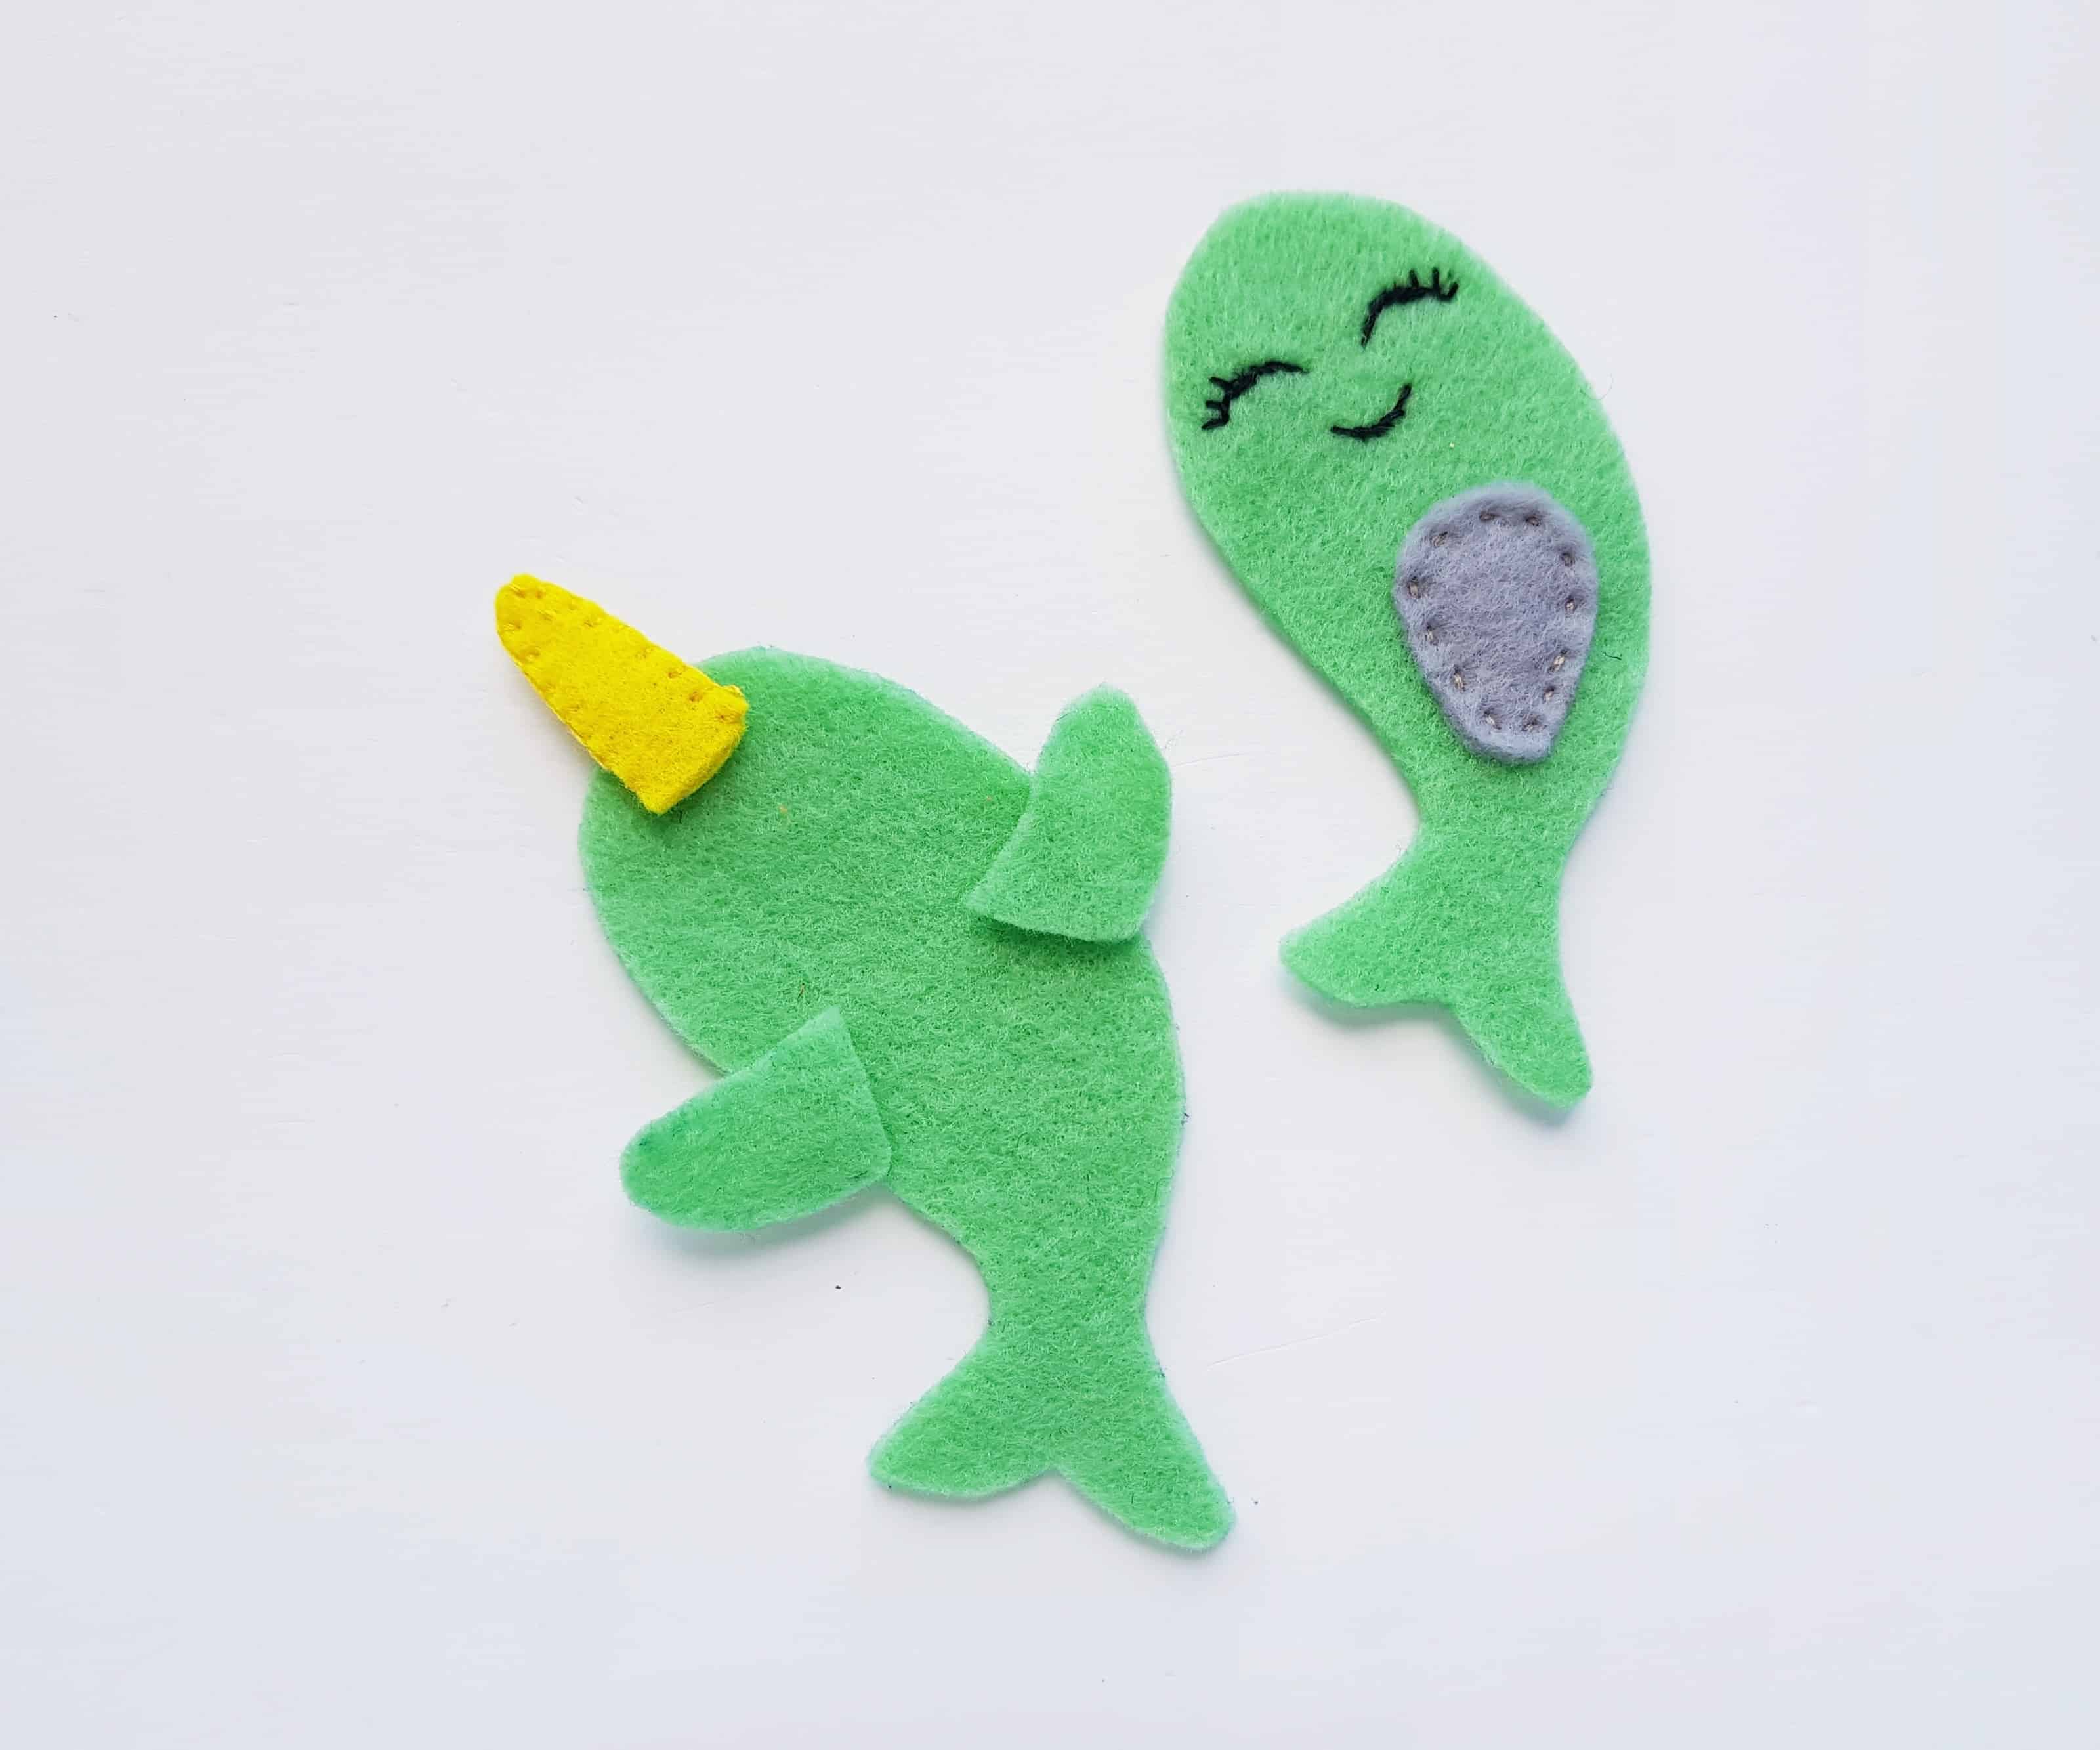
Step 5:
Place the other plain body cutout on a flat surface. Place the 2 flaps on both sides of the body cutout by slightly overlapping all pieces. Place the horn on the top end, also overlapping it with the body cutout.
Step 6:
Place the stitched body cutout on the top of the plain one, with the other items (horn and flaps) between them.
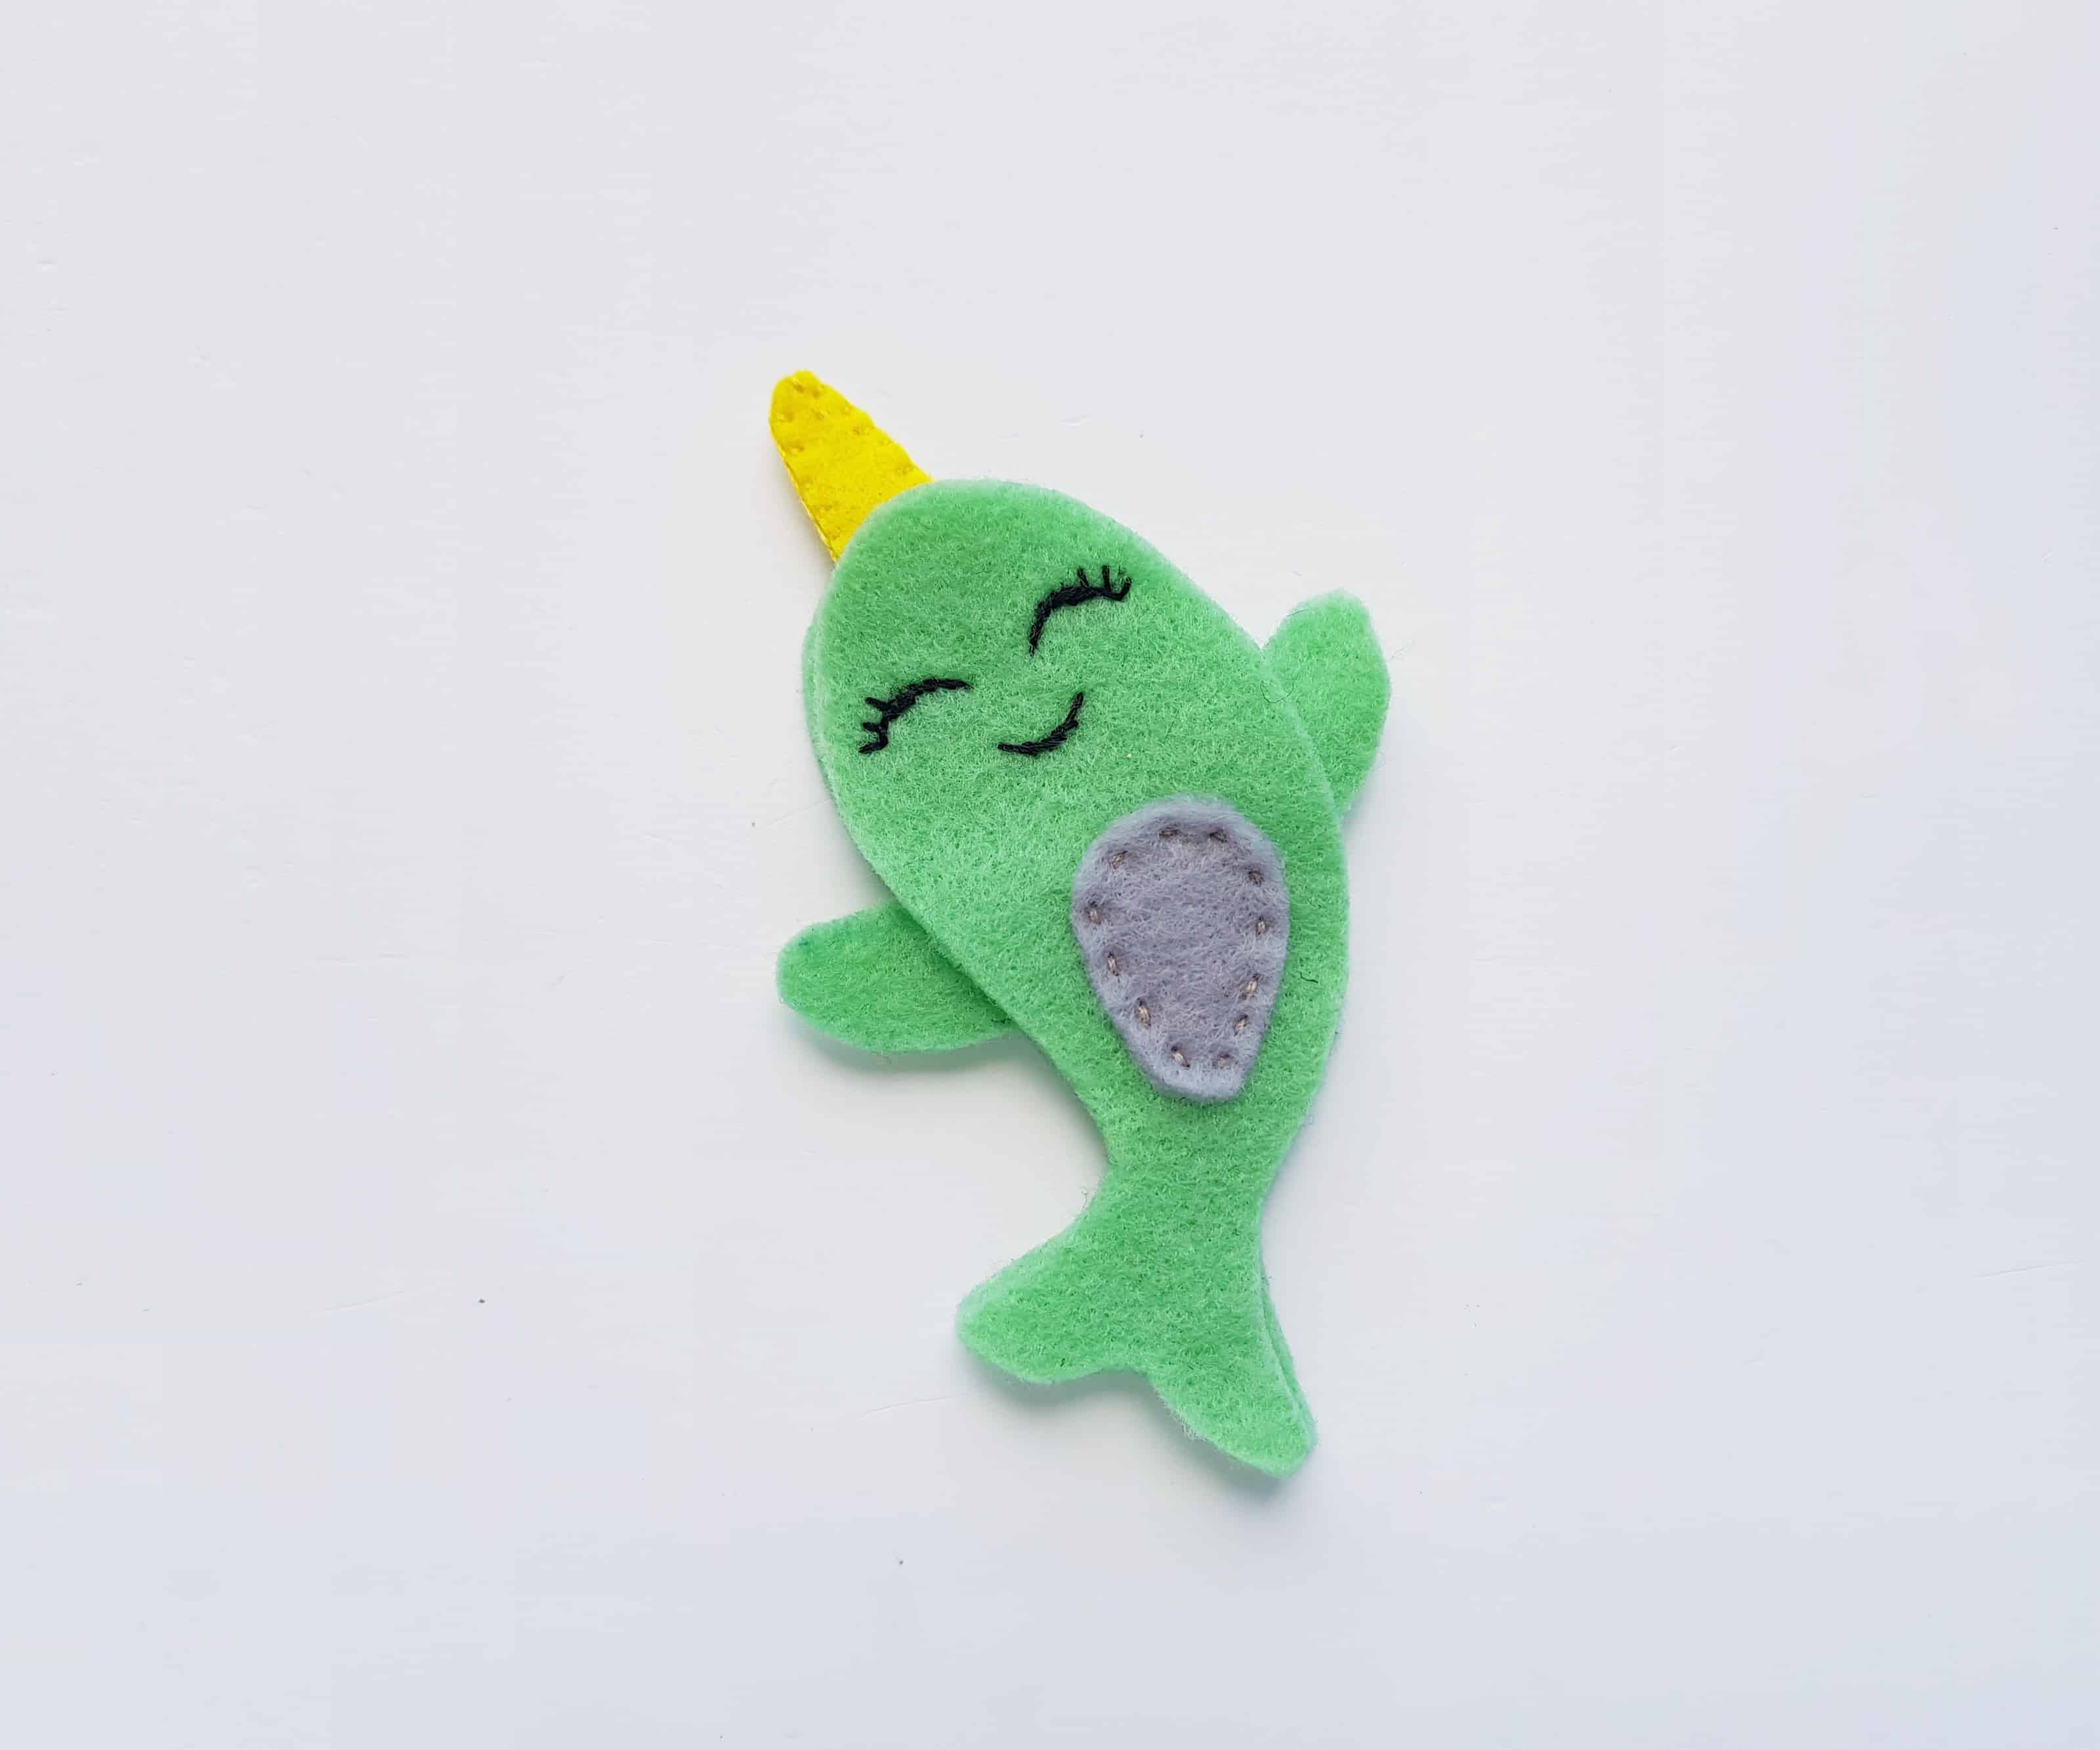
Step 7:
Stitch around the sides of the body cutouts to join them. I did flat blanket stitches.
Step – 8:
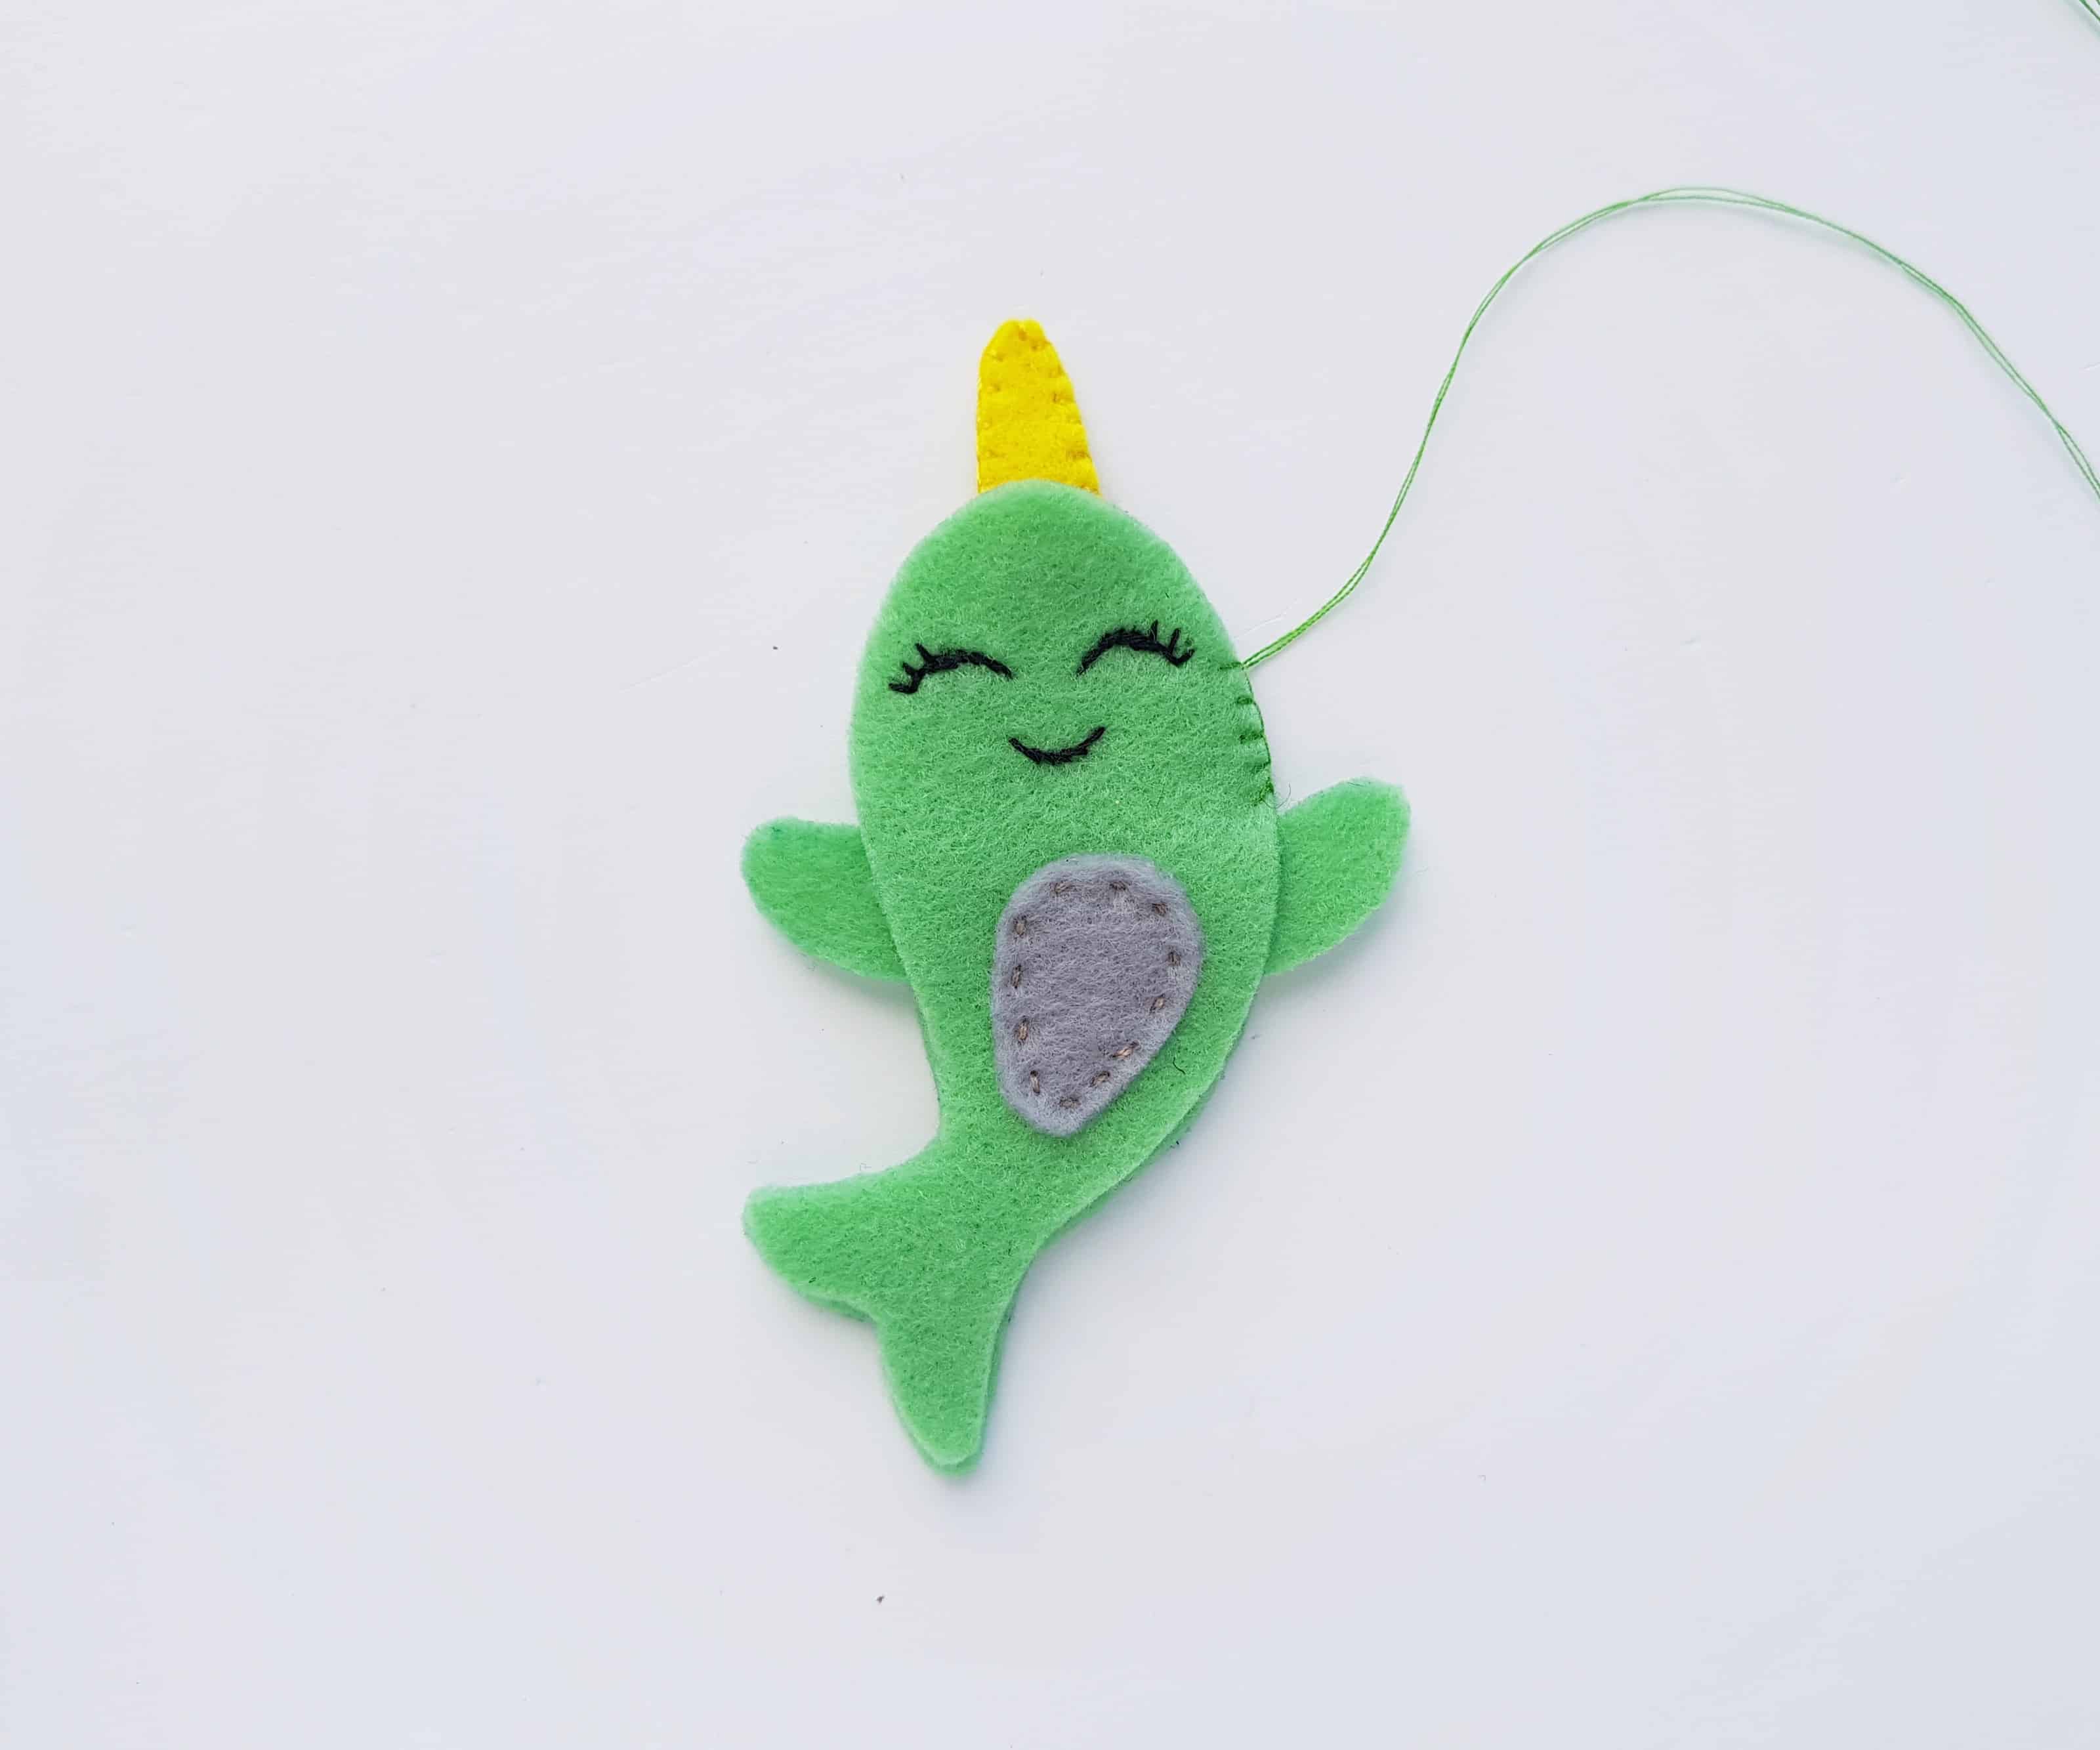
Keep a small opening for stuffing the felt narwhal. Using scrap felts for stuffing is a great way to recycle leftover felts. Cut them into tiny pieces to prepare them for stuffing.
Step 8:
Stuff the baby narwhal until it’s nice and fluffy.

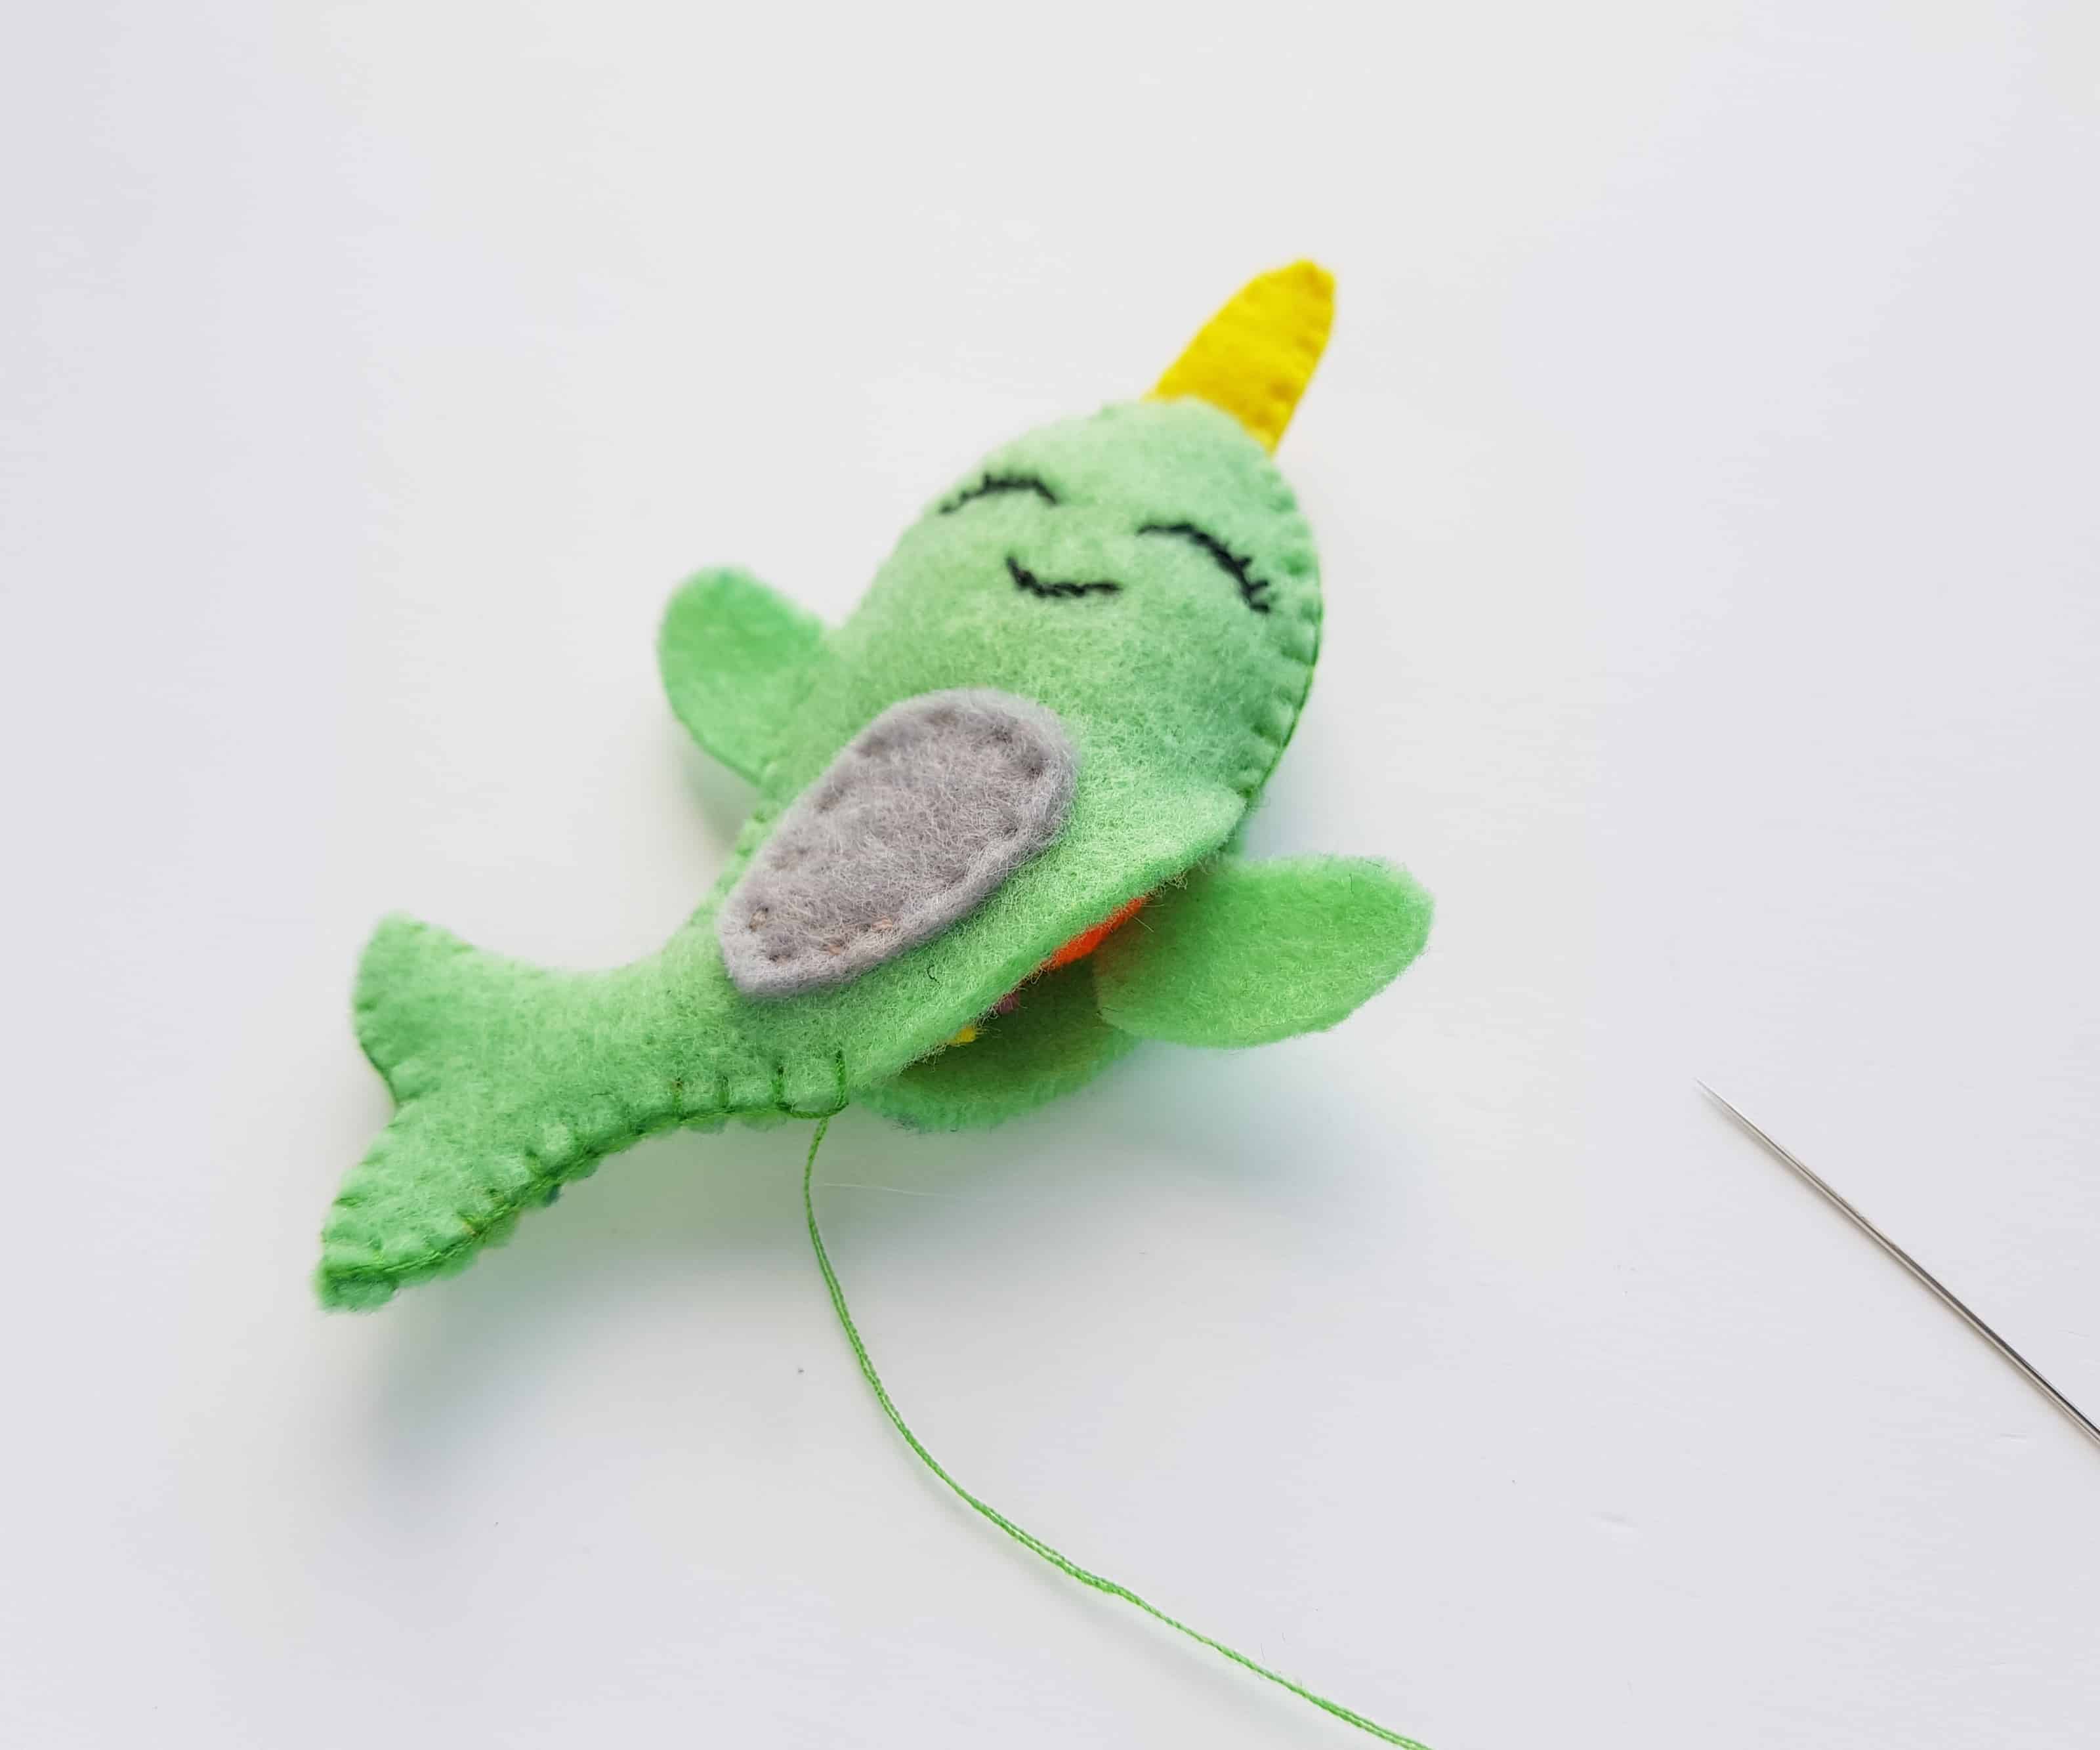
Step 9:
Stitch the open end to close it and secure the stuffing. Tie a knot, draw the needle through the plush and then draw it back out randomly. Cut off extra thread.
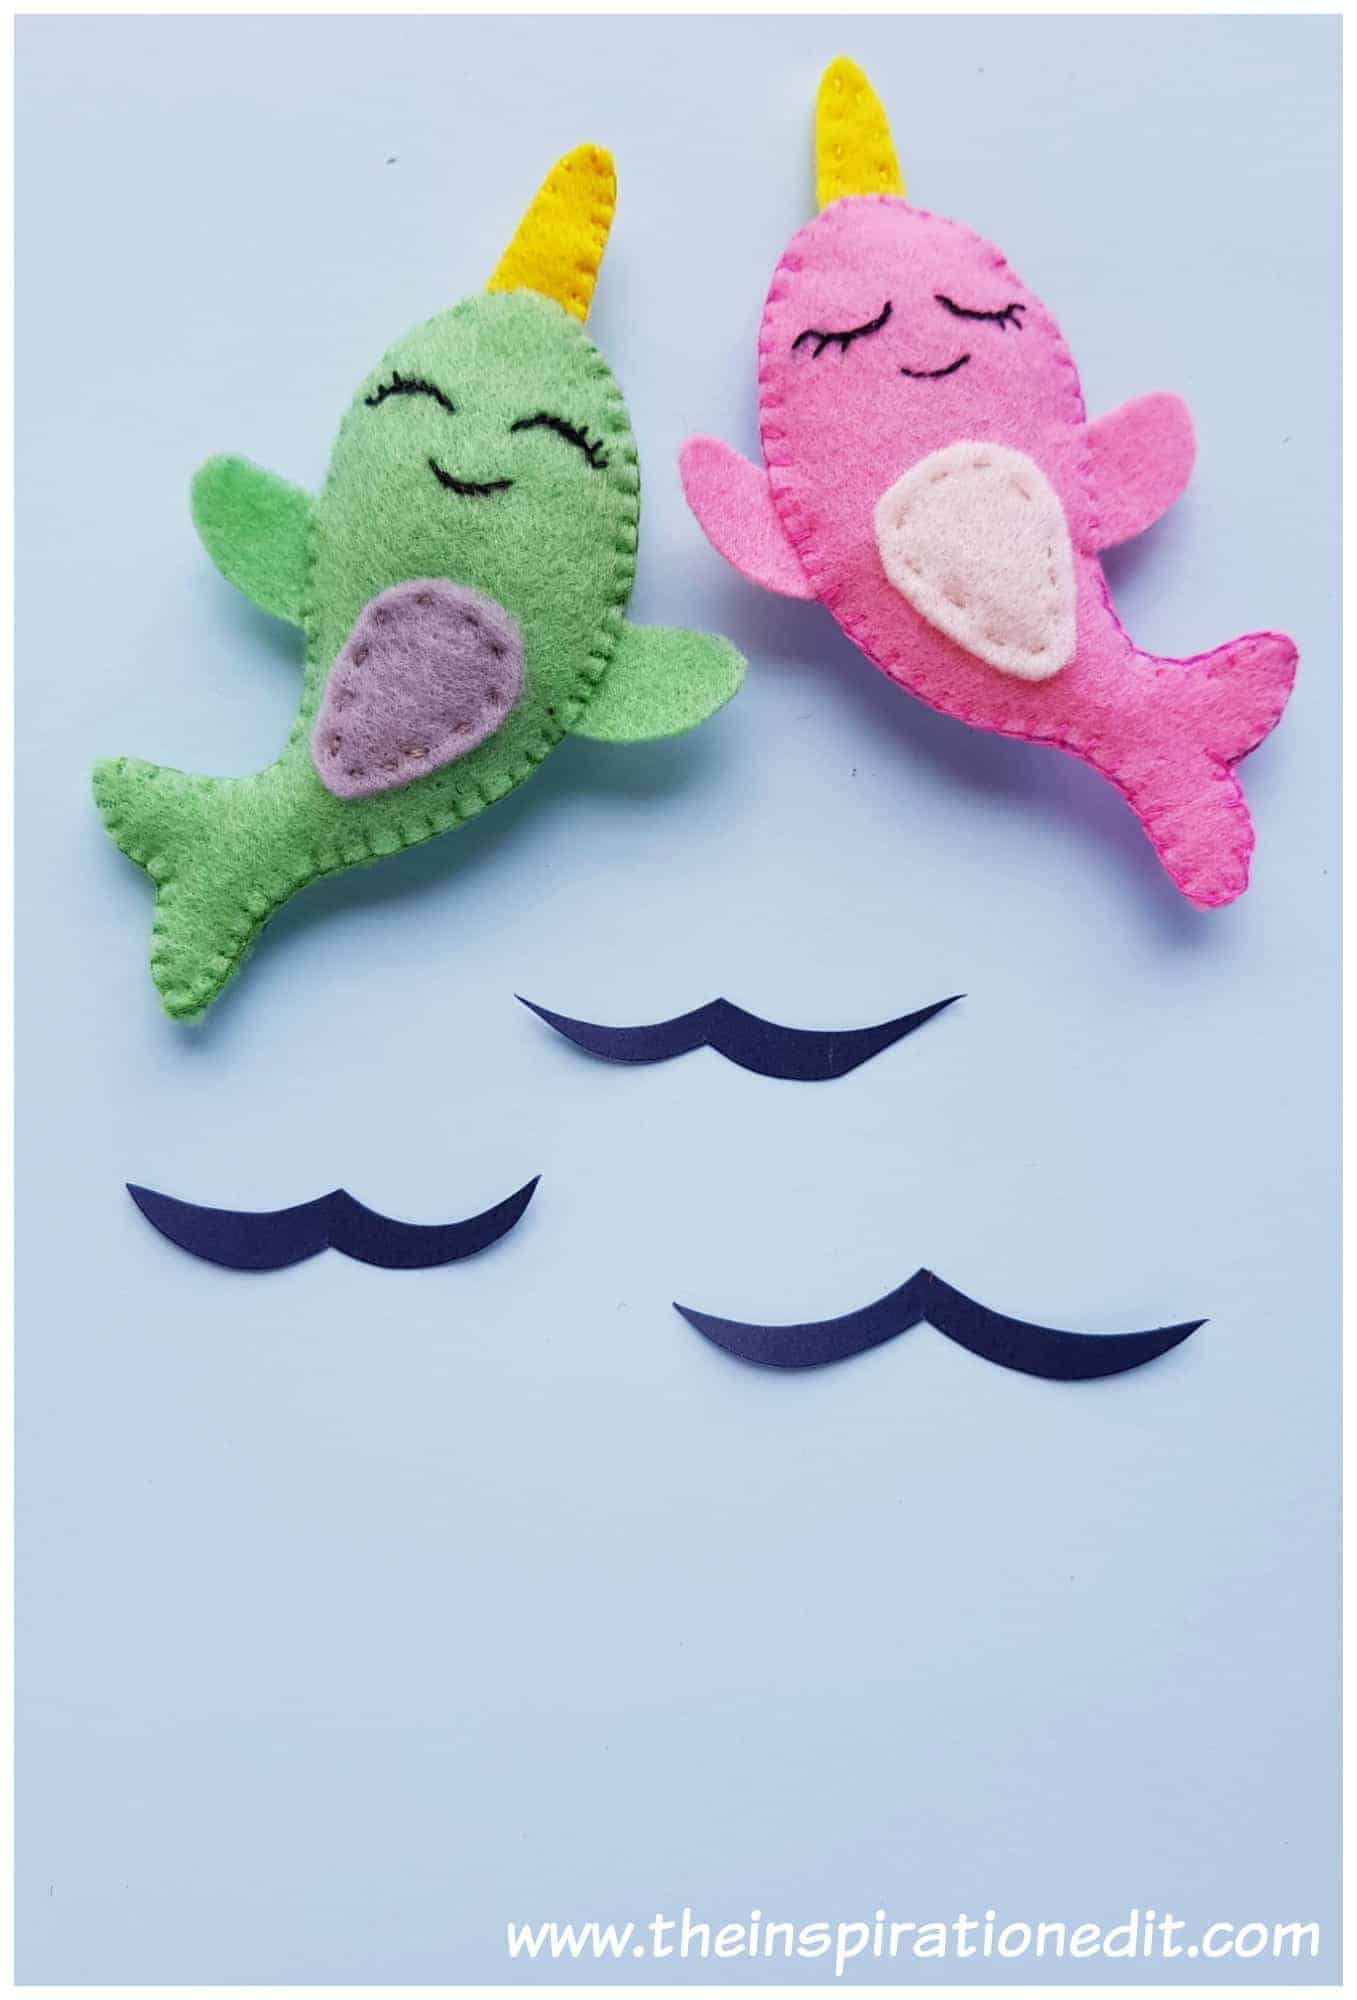
Your DIY Baby Narwhal Craft is now ready to enjoy!
Download Your Free Narwhal Plush Pattern HERE!

Baby Narwhal Plush Pattern For Kids To Sew

This is a tutorial on how to make a baby narwhal plush pattern.
Materials
- Felt fabric
- Pencil
- Needle
- Thread
- Narwhal Plush Pattern Template
Tools
- Scissors
Instructions
Print off your Narwhal Plush pattern. Select felt fabrics for your narwhal plushie and trace the narwhal template patterns on them. The template includes 2 body parts, 2 flaps, 2 horns, and 1 belly part.
Take any one of the body cutouts and draw a smiley face on it. Prepare a needle with black thread to trace the smiley face.
I did back stitch to stitch the traced smiley face of the narwhal plush. Stitch the 2 horn cutouts together as well.
Take the belly part and stitch it on the middle of the stitched body part.
Place the other plain body cutout on a flat surface. Place the 2 flaps on both sides of the body cutout by slightly overlapping all pieces. Place the horn on the top end, also overlapping it with the body cutout.
Place the stitched body cutout on the top of the plain one, with the other items (horn and flaps) between them.
Stitch around the sides of the body cutouts to join them. I did flat blanket stitches.
Keep a small opening for stuffing the felt narwhal. Using scrap felts for stuffing is a great way to recycle leftover felts. Cut them into tiny pieces to prepare them for stuffing.
Stuff the baby narwhal until it’s nice and fluffy.
Stitch the open end to close it and secure the stuffing. Tie a knot, draw the needle through the plush and then draw it back out randomly. Cut off extra thread.
Your DIY Baby Narwhal Craft is now ready to enjoy!
You may also love the following sewing patterns:
- Super Sweet Mermaid Sewing Pattern
- Bunny In A Carrot Sewing Craft
- Bunny Felt Sewing Project
- Super Cute Unicorn Felt Craft

Angela Milnes is a Qualified Early Years Teacher who has specialised in Preschool and Kindergarten teaching. She has a wealth of experience teaching young children and is passionate about kids crafts and having fun as a family. Angela has also taught cooking skills and loves to share both family recipes and easy crafts here on The Inspiration Edit. Follow her on Pinterest!


Aww! How cute are they!
My youngest is CRAZY about Narwhals at the moment x
Yes they have become popular at our house too lately.
Hi I cannot get the pattern. Am I doing something wrong? Do I need to join something? Thank you itsmonam@gmail.com
Hi,
I was not able yo download the pattern or find a link to the VIP Library anywhere on your site. Is there a broken link? My daughter has chosen this as a sewing project and we would love to get started on it. Any help with accessing the pattern is greatly appreciated.
Thank you,
Amy
https://www.theinspirationedit.com/wp-content/uploads/2019/08/Narwhal-Plushie-Template.pdf