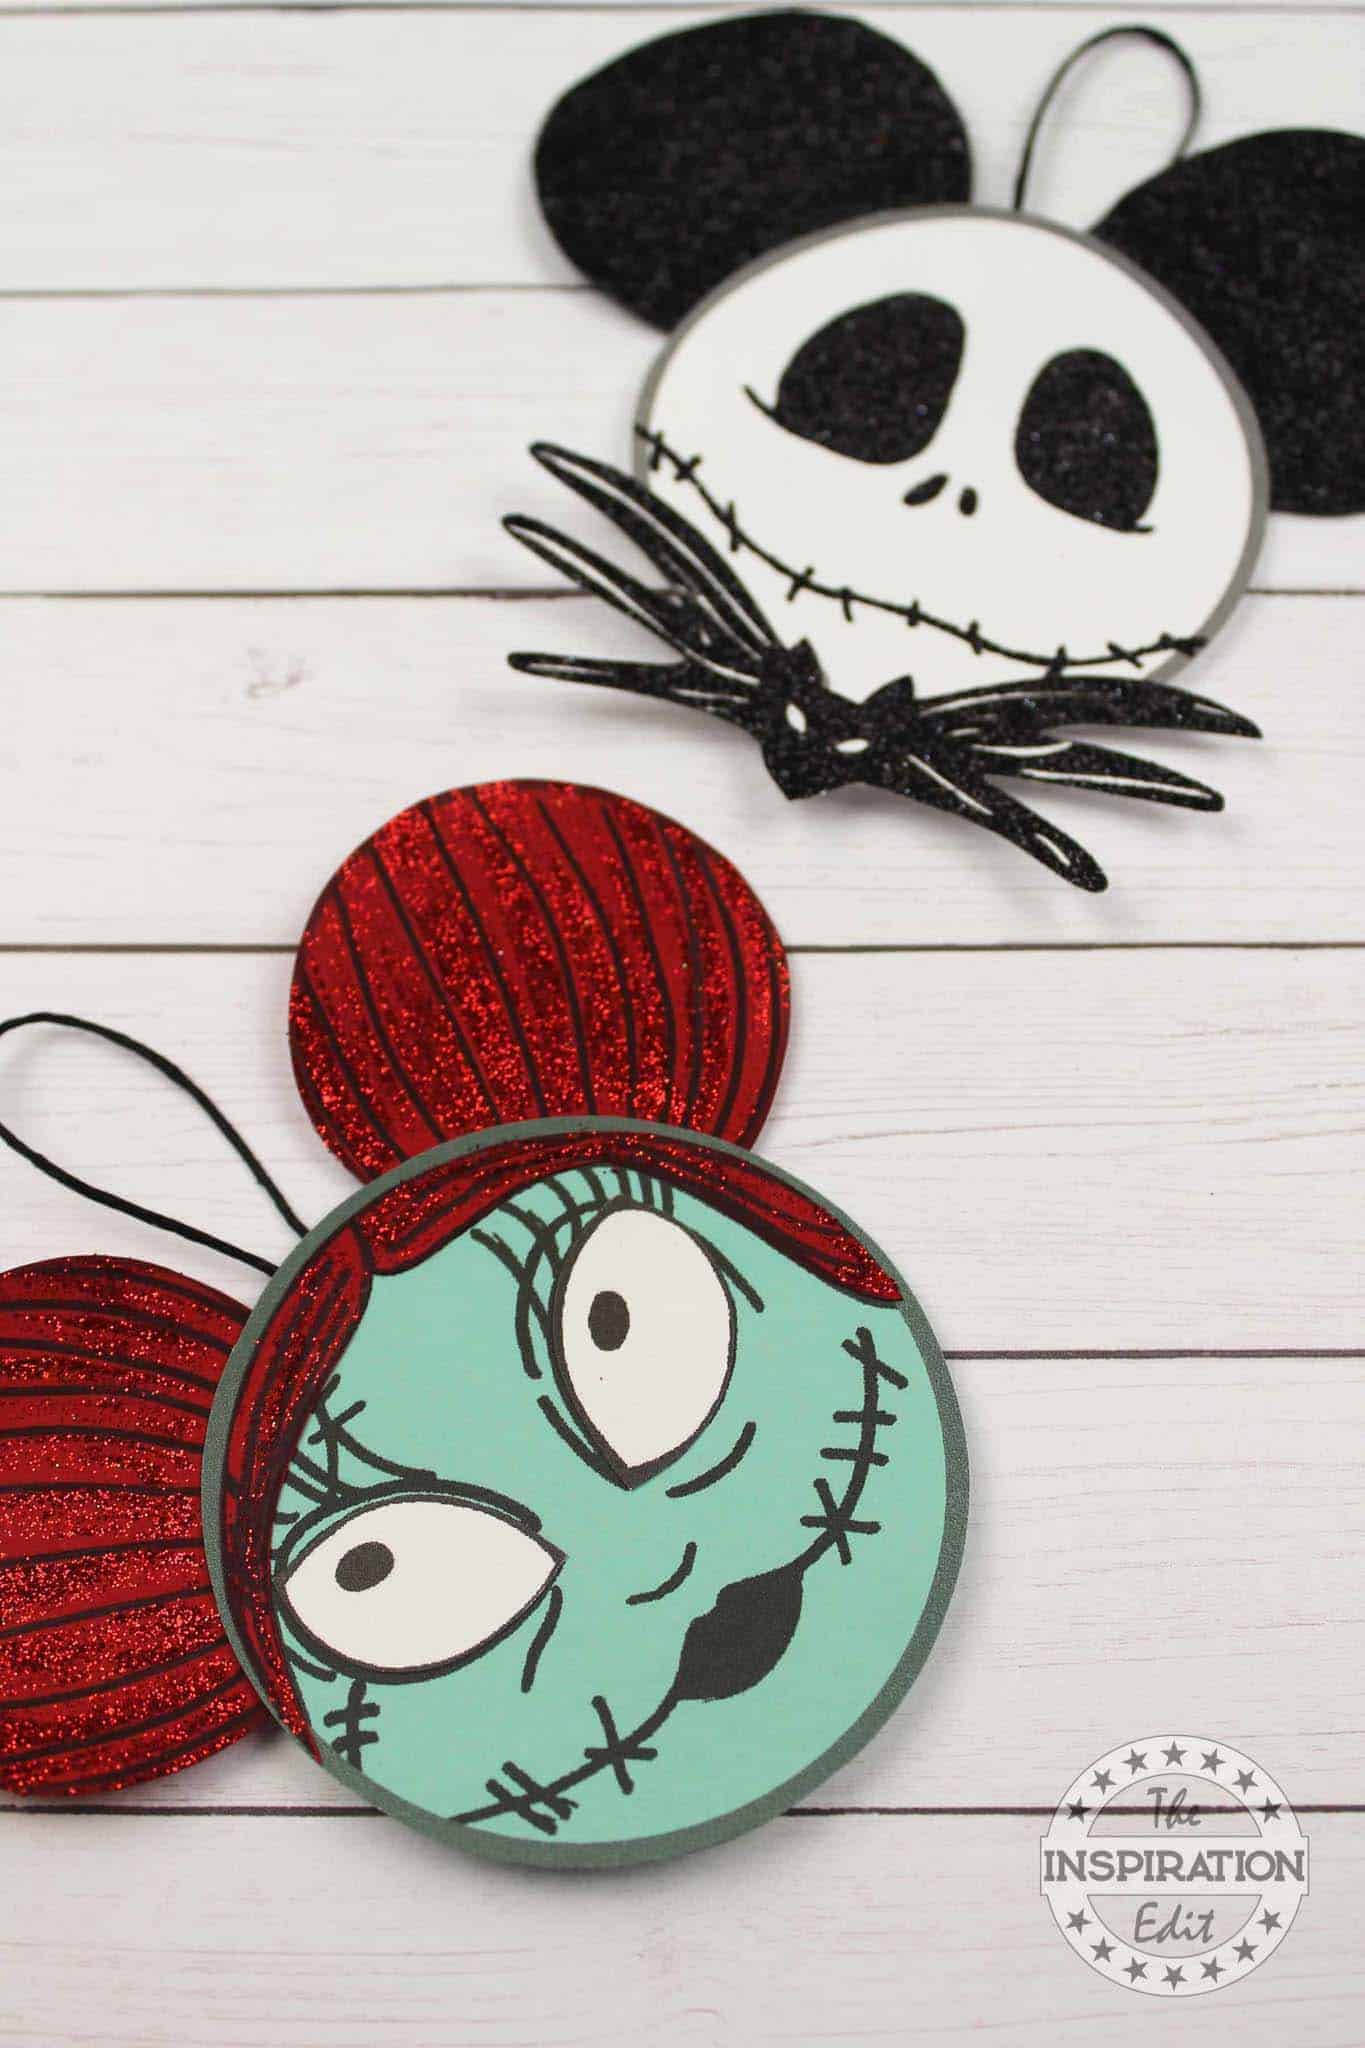
The Nightmare Before Christmas Sally Ornament
The Nightmare Before Christmas Sally Ornament
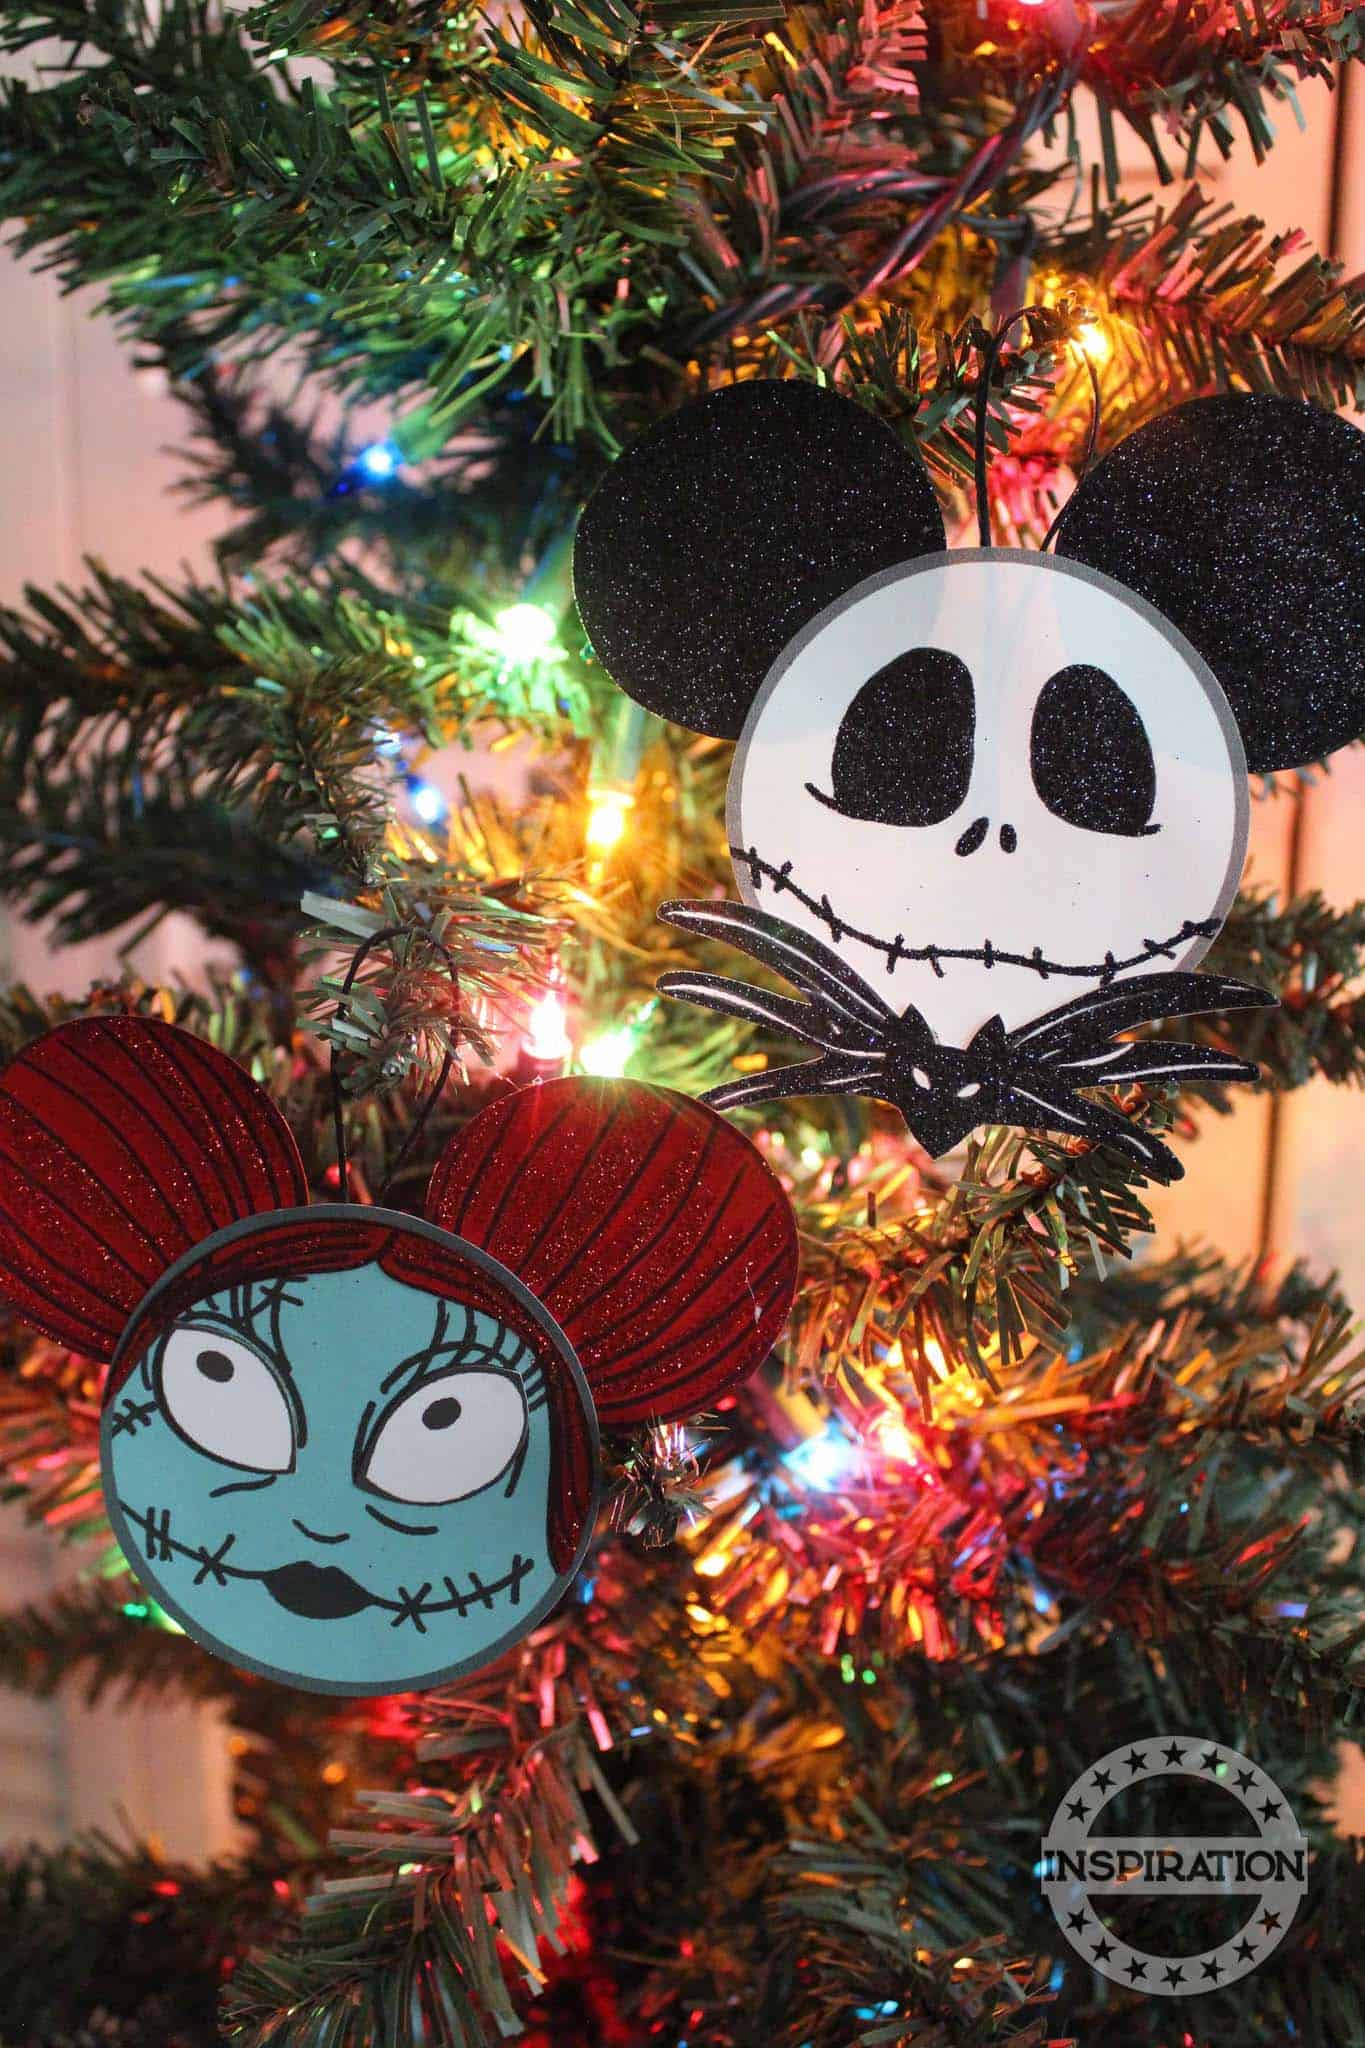
If you’re looking for easy Nightmare Before Christmas crafts then we have a treat for you today. We are sharing this Sally ornament and decoration which is super simple to make and comes with a free printable template.
That’s right, we have a fantastic and fun paper craft to share for those of you who love the Disney movie, The Nightmare Before Christmas. It’s a fun movie to watch during the Christmas season.
Jack Skellington is a great character but Sally happens to be one of my favourite characters from Halloween Town.

*I use affiliate links in this post. If you buy something from my links I earn a small commission*
Supplies to Make This Nightmare Before Christmas Decoration
Contents

What Color Is Sally From the Nightmare Before Christmas?
Sally is Jack Skellington’s love interest. She is a very pretty, loving, caring, and shy rag doll who told Jack that Christmas and Halloween shouldn’t be mixed. She is originally patched together by Doctor Finkelstein.
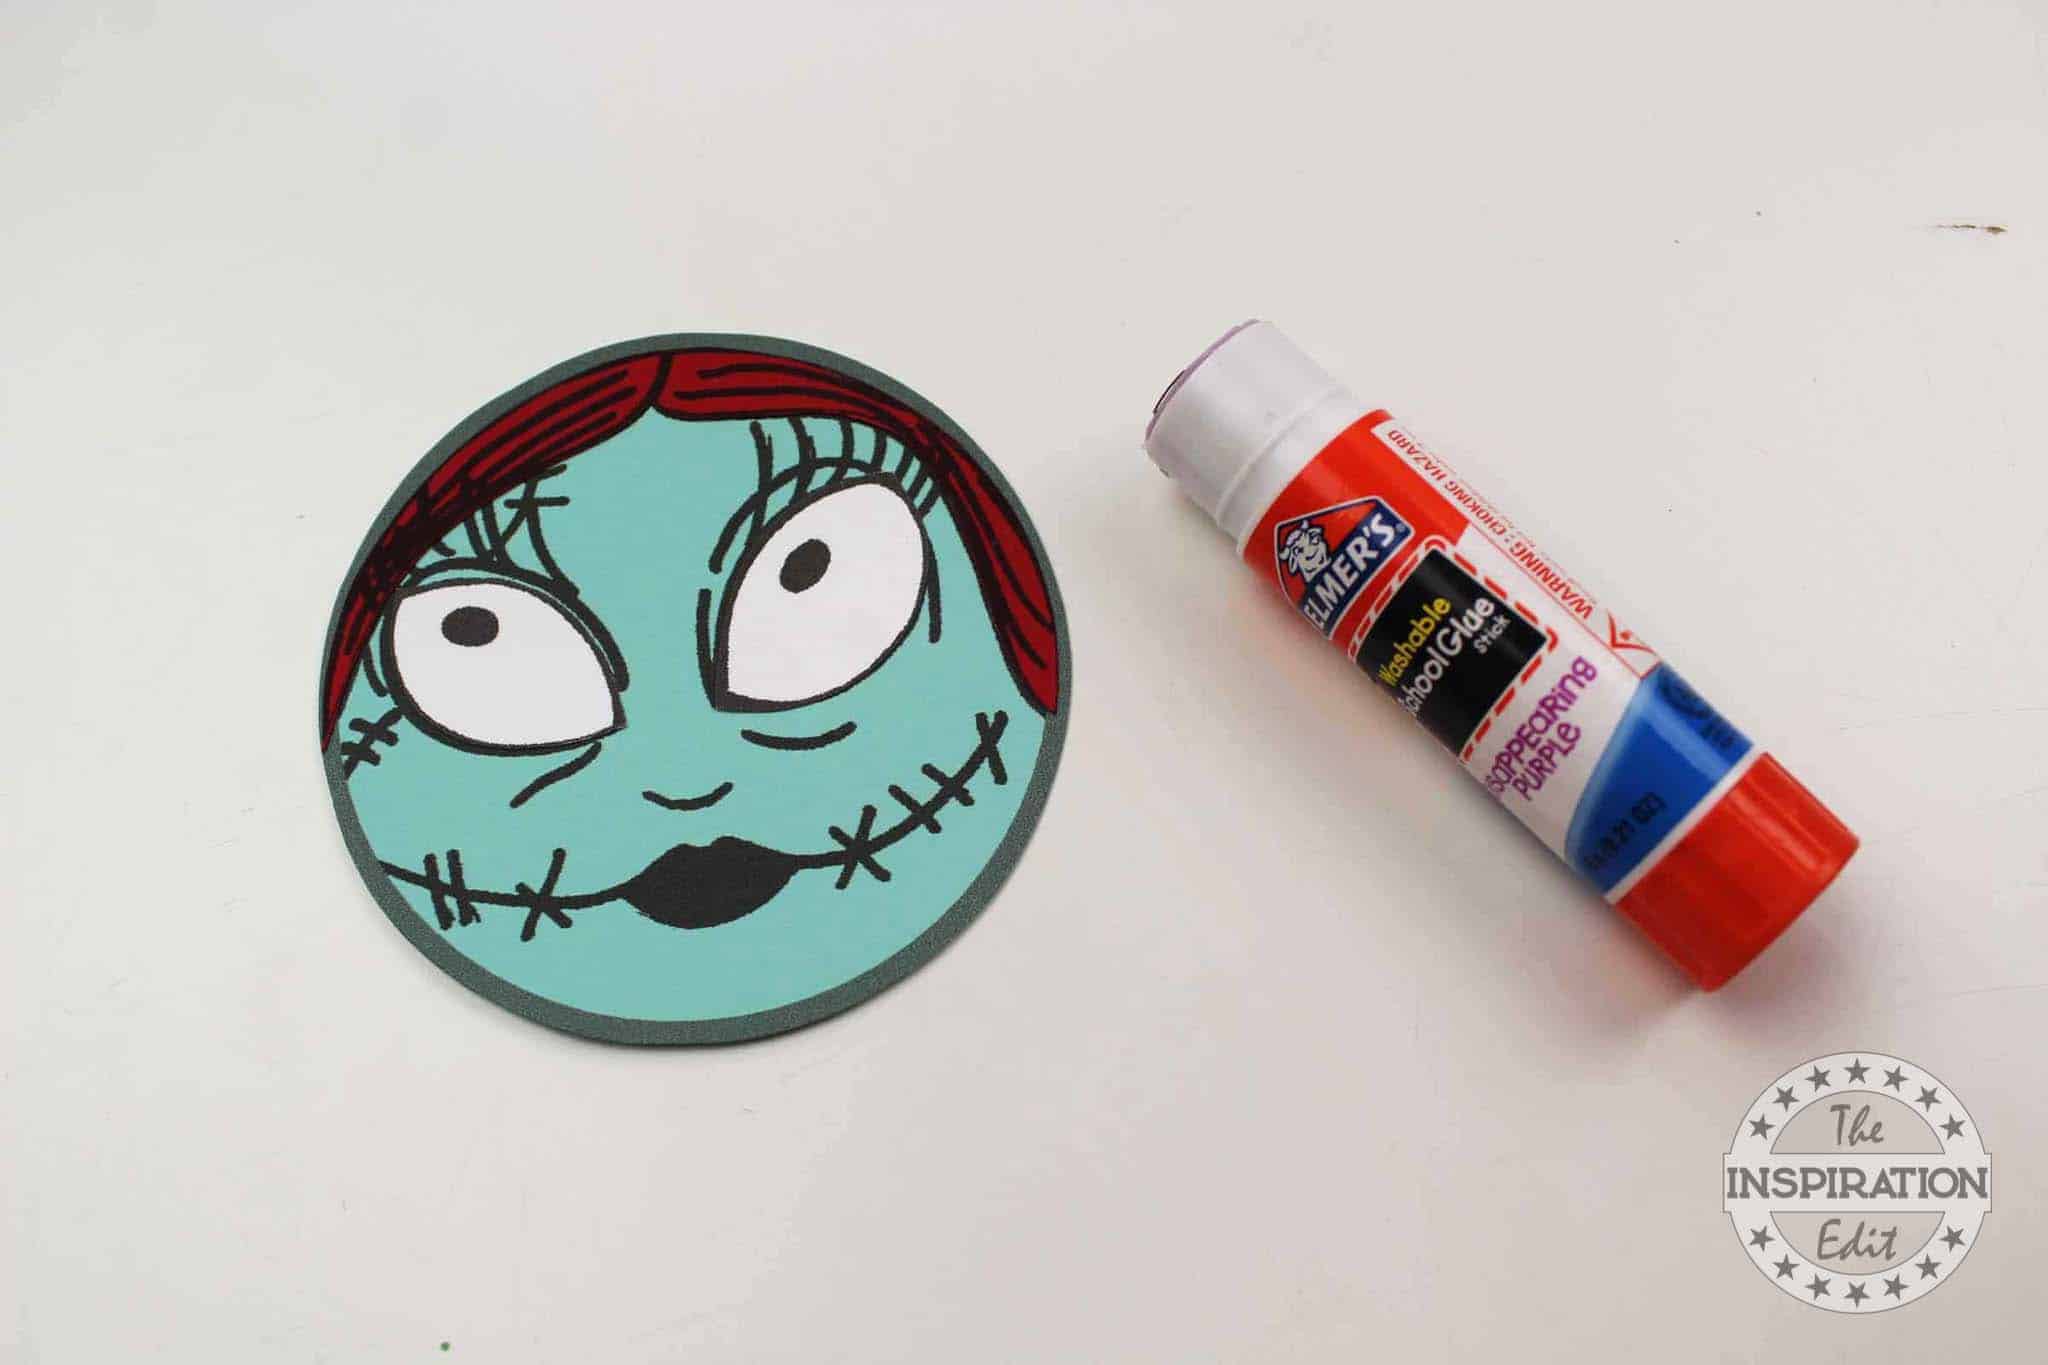
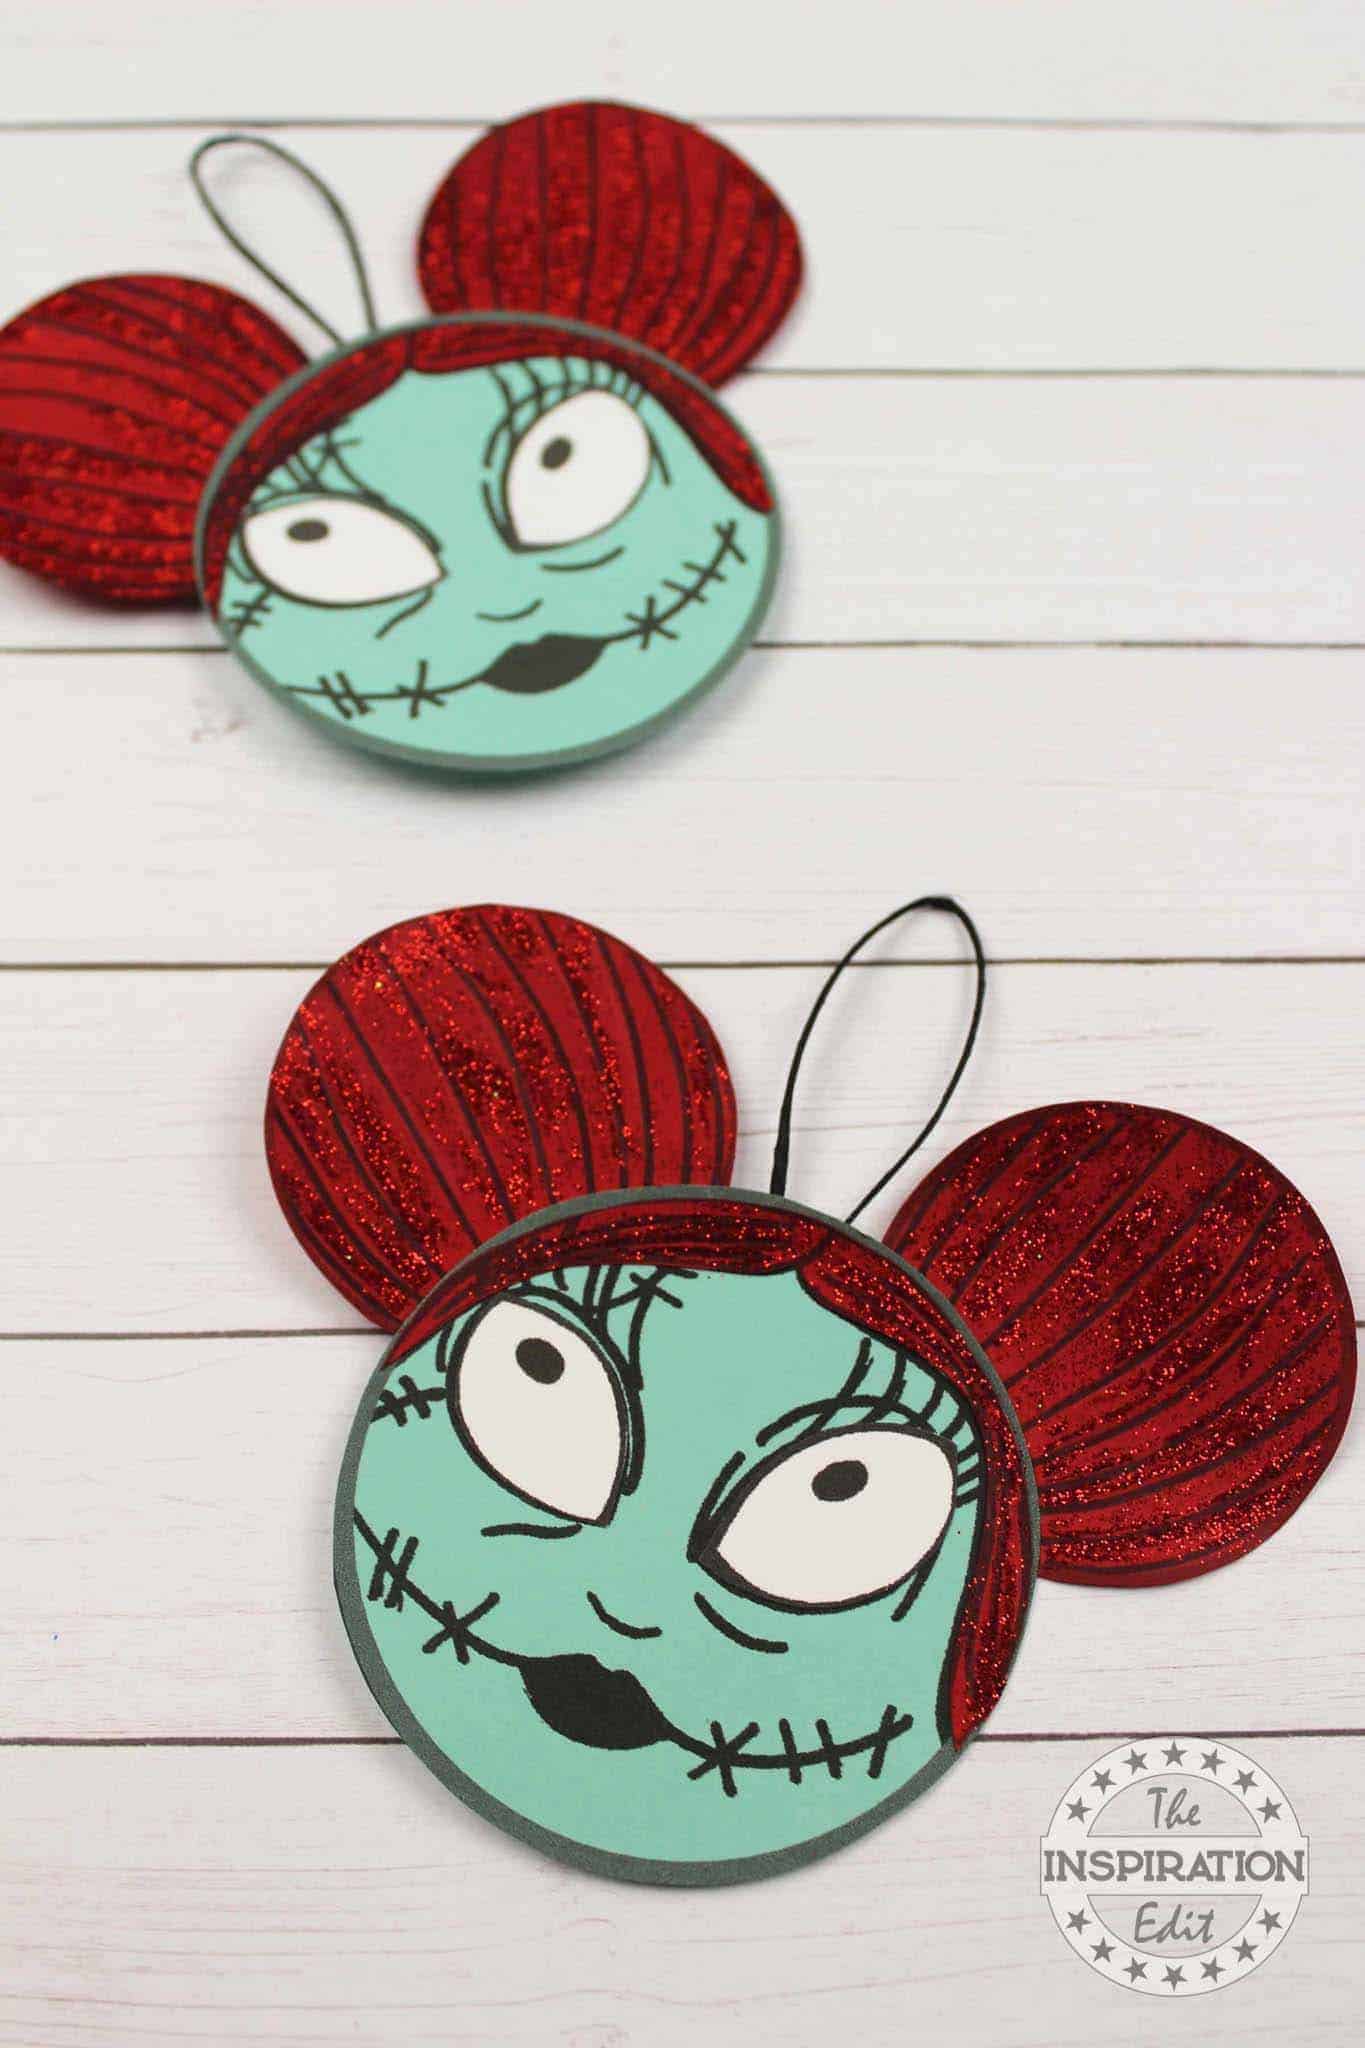
Sally has a faded blue color and fabric for skin. She has small black pupils, large eyes and bright red lips and red hair.
How to Make Sally From the Nightmare Before Christmas
Download and print out the Sally mickey head ornament template.
Pay close attention to the colors the PDF instructs you to print each page on.

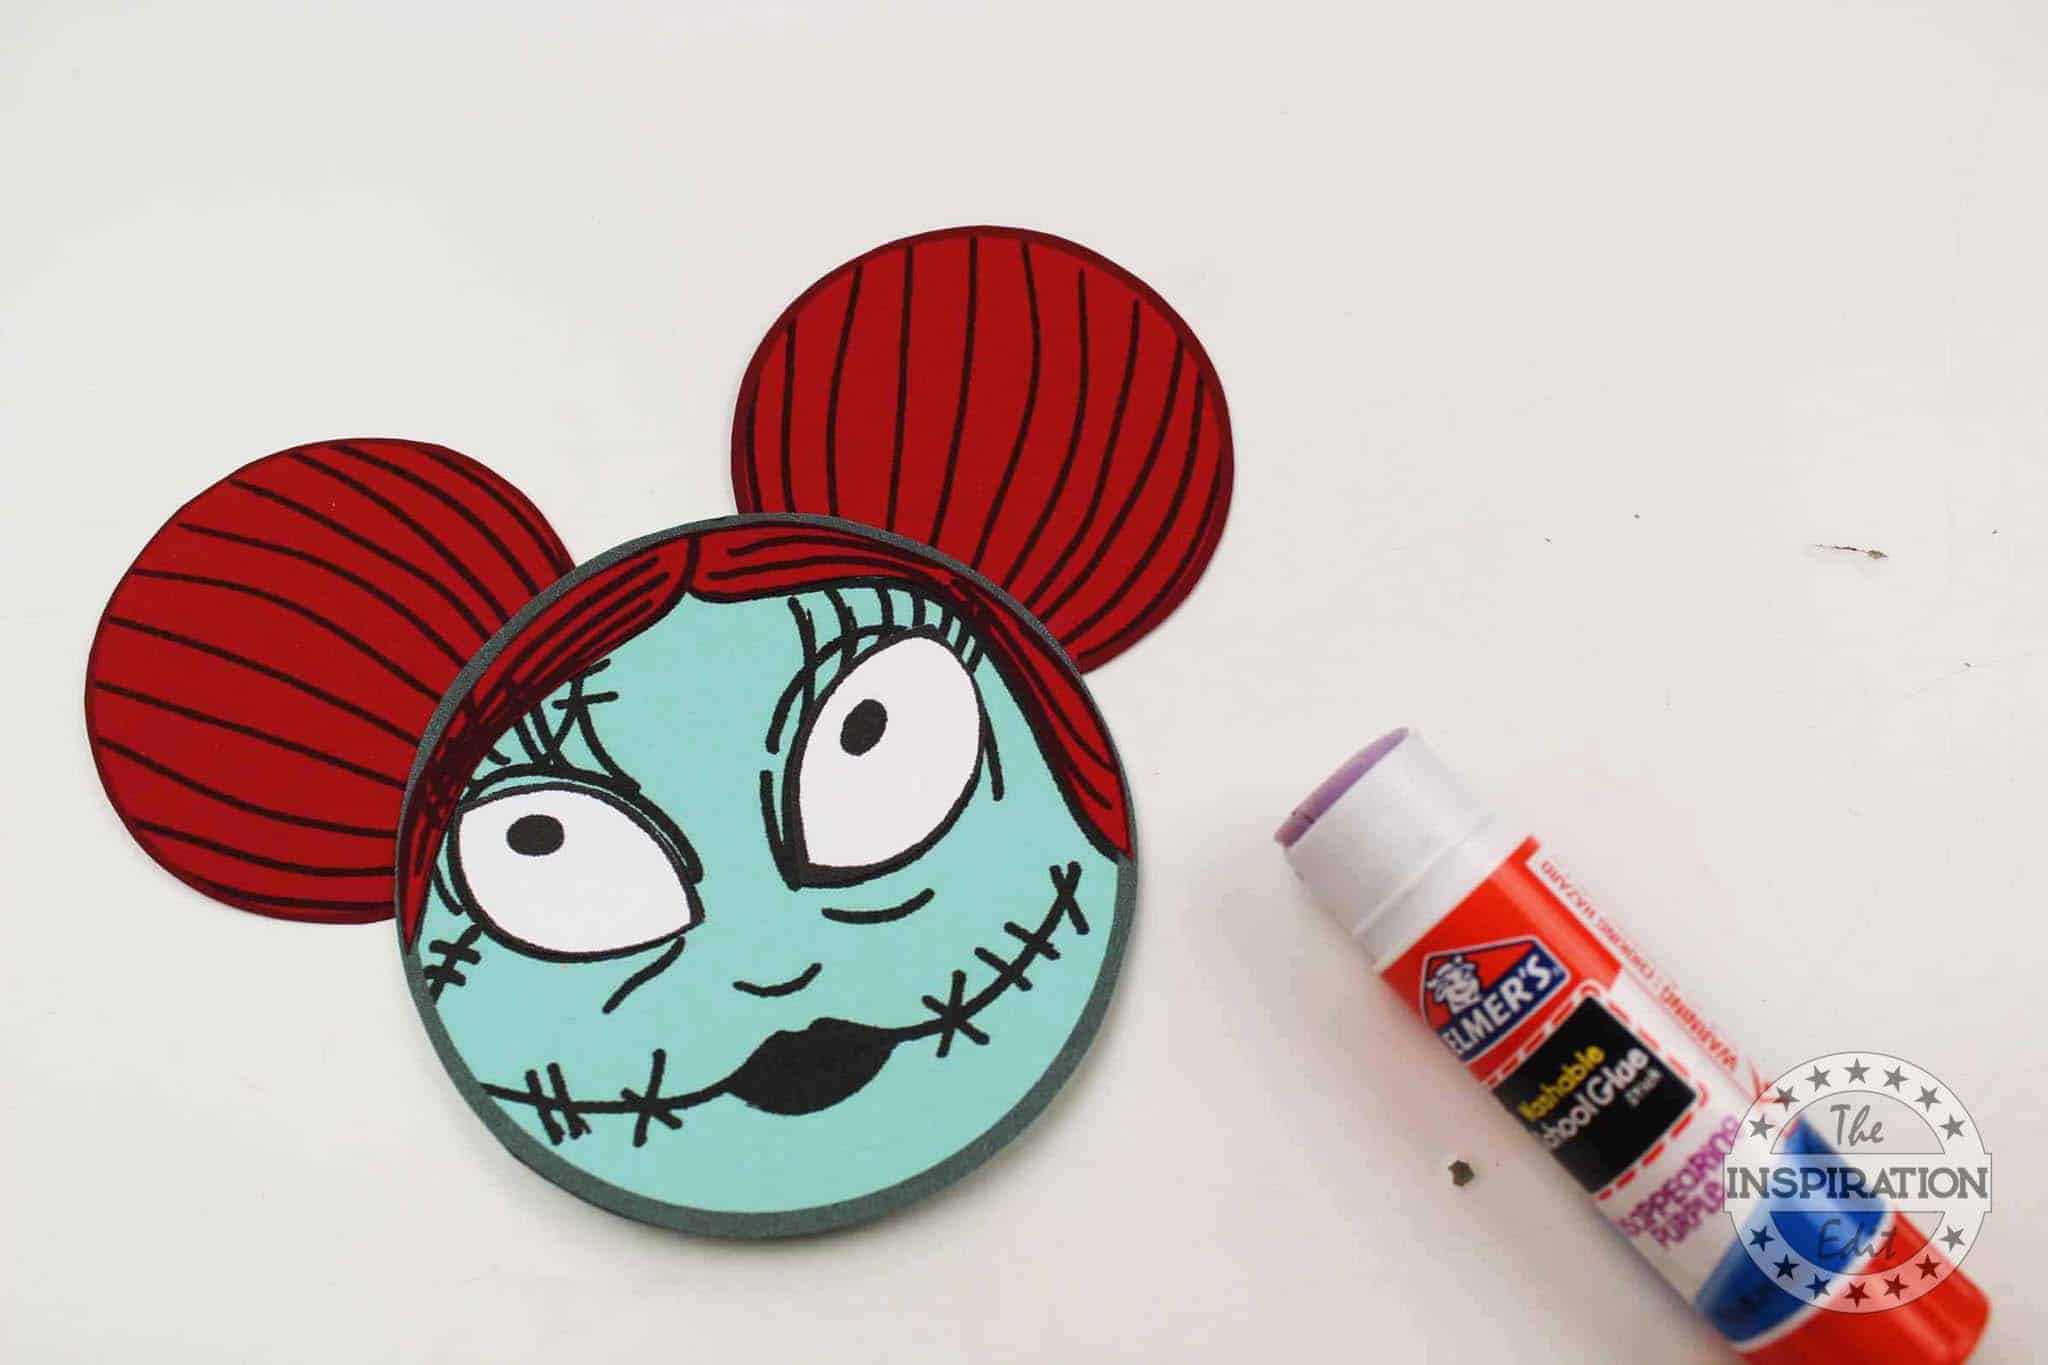
Start assembling Sally by gluing her eyes and hair onto the face and then glue the ears behind the face.
Carefully add white glue to the areas you’d like to glitter.
Add glitter and shake off excess. If glitter is not your thing, you can absolutely leave this part out of the process.
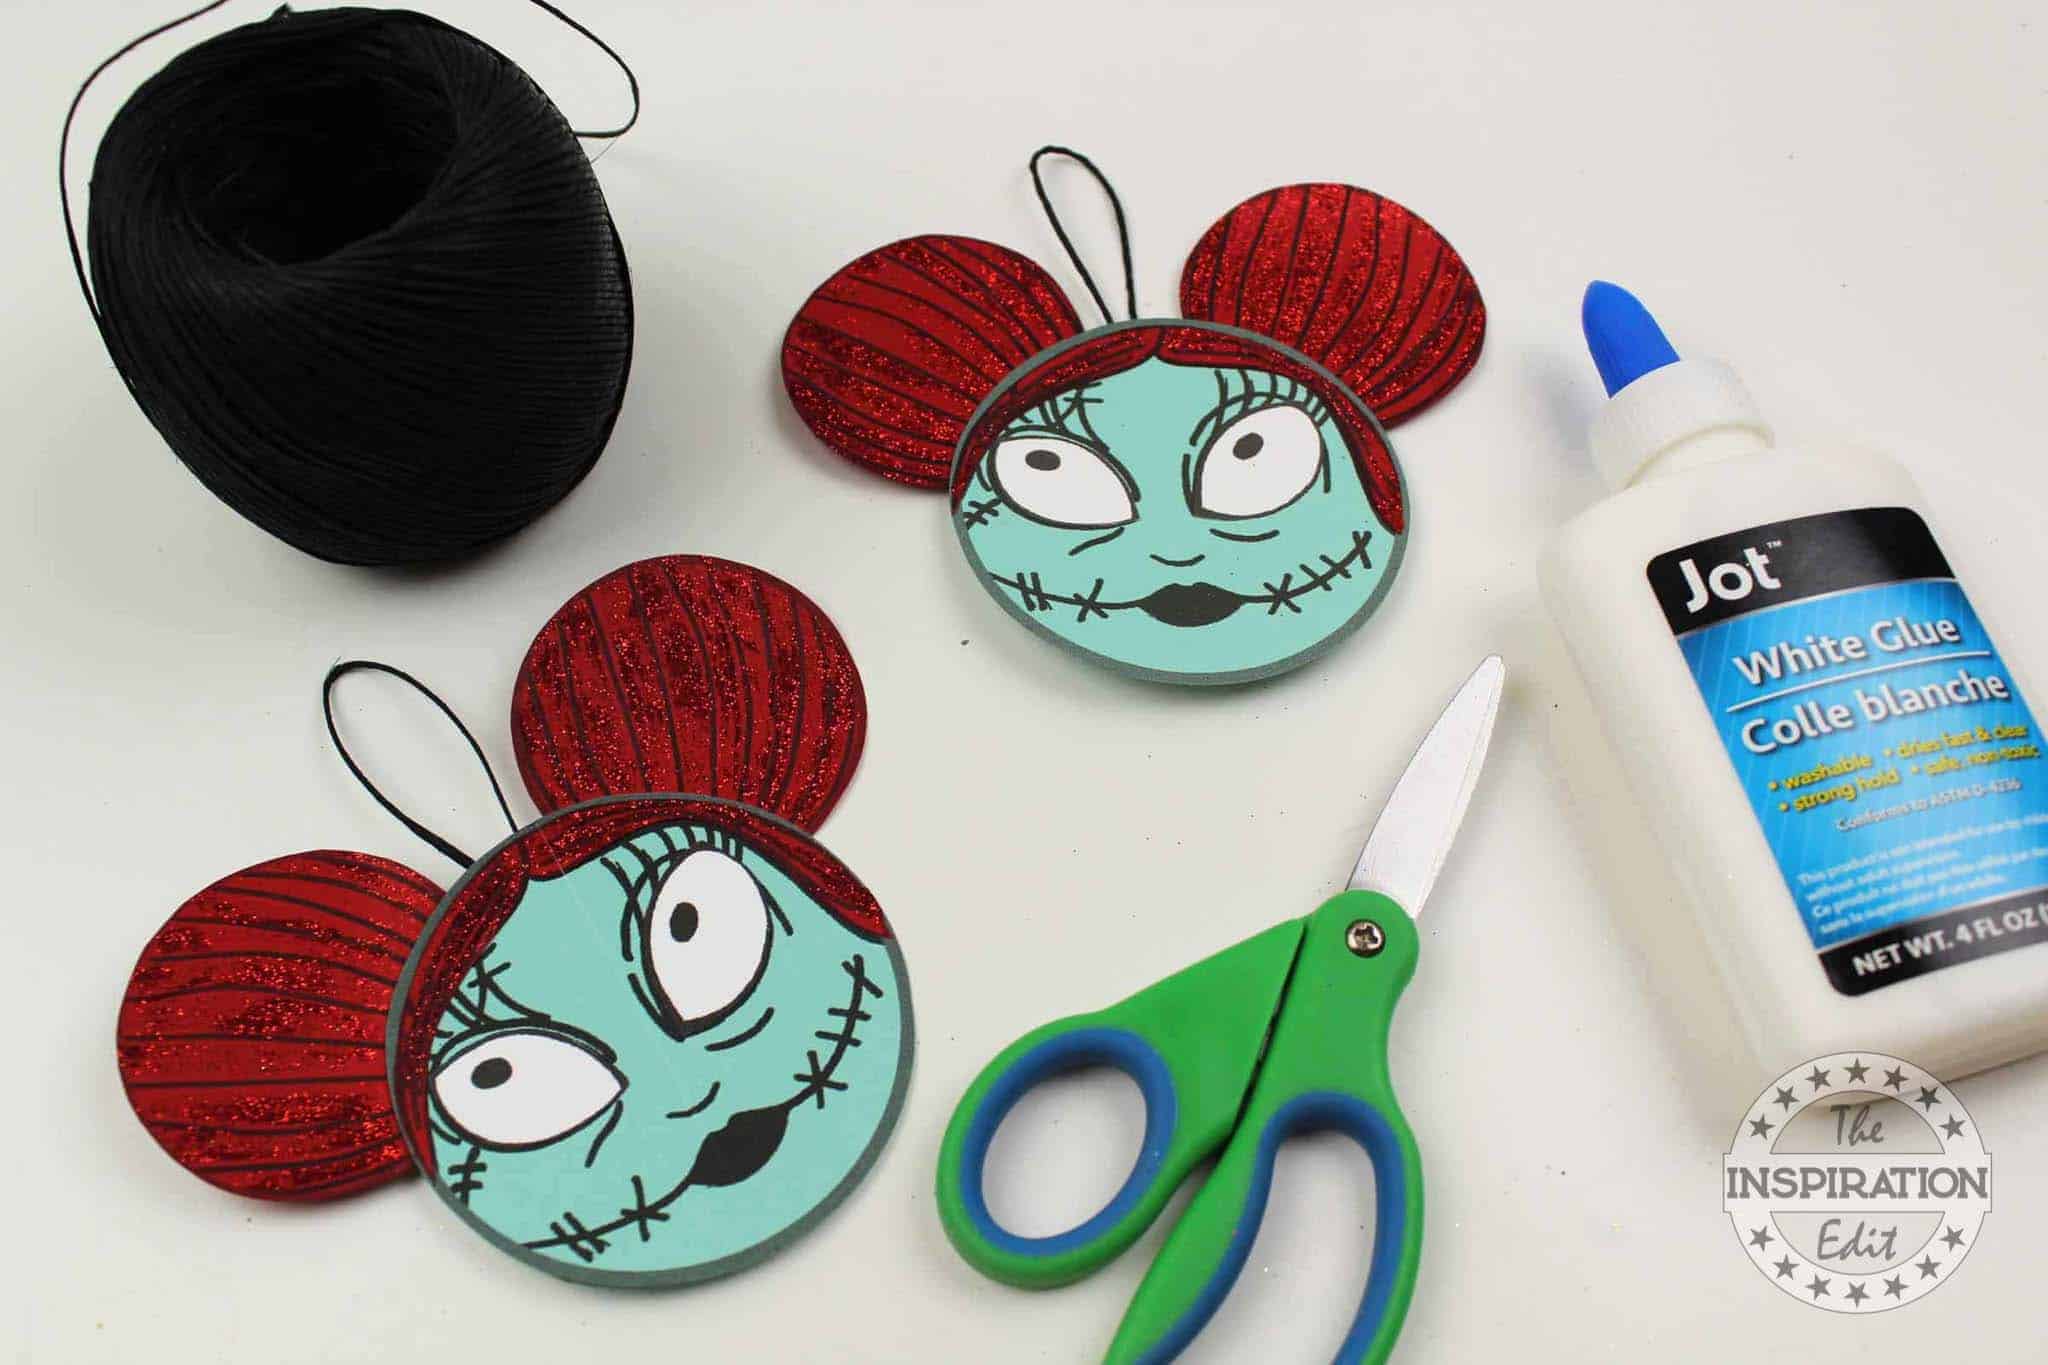
Cut a small bit of ribbon, thread or twine and loop it. Glue this behind the Sally ornament.
If you’d like to cover the glued ribbon, simply add a circle the same color as Sally to the back.
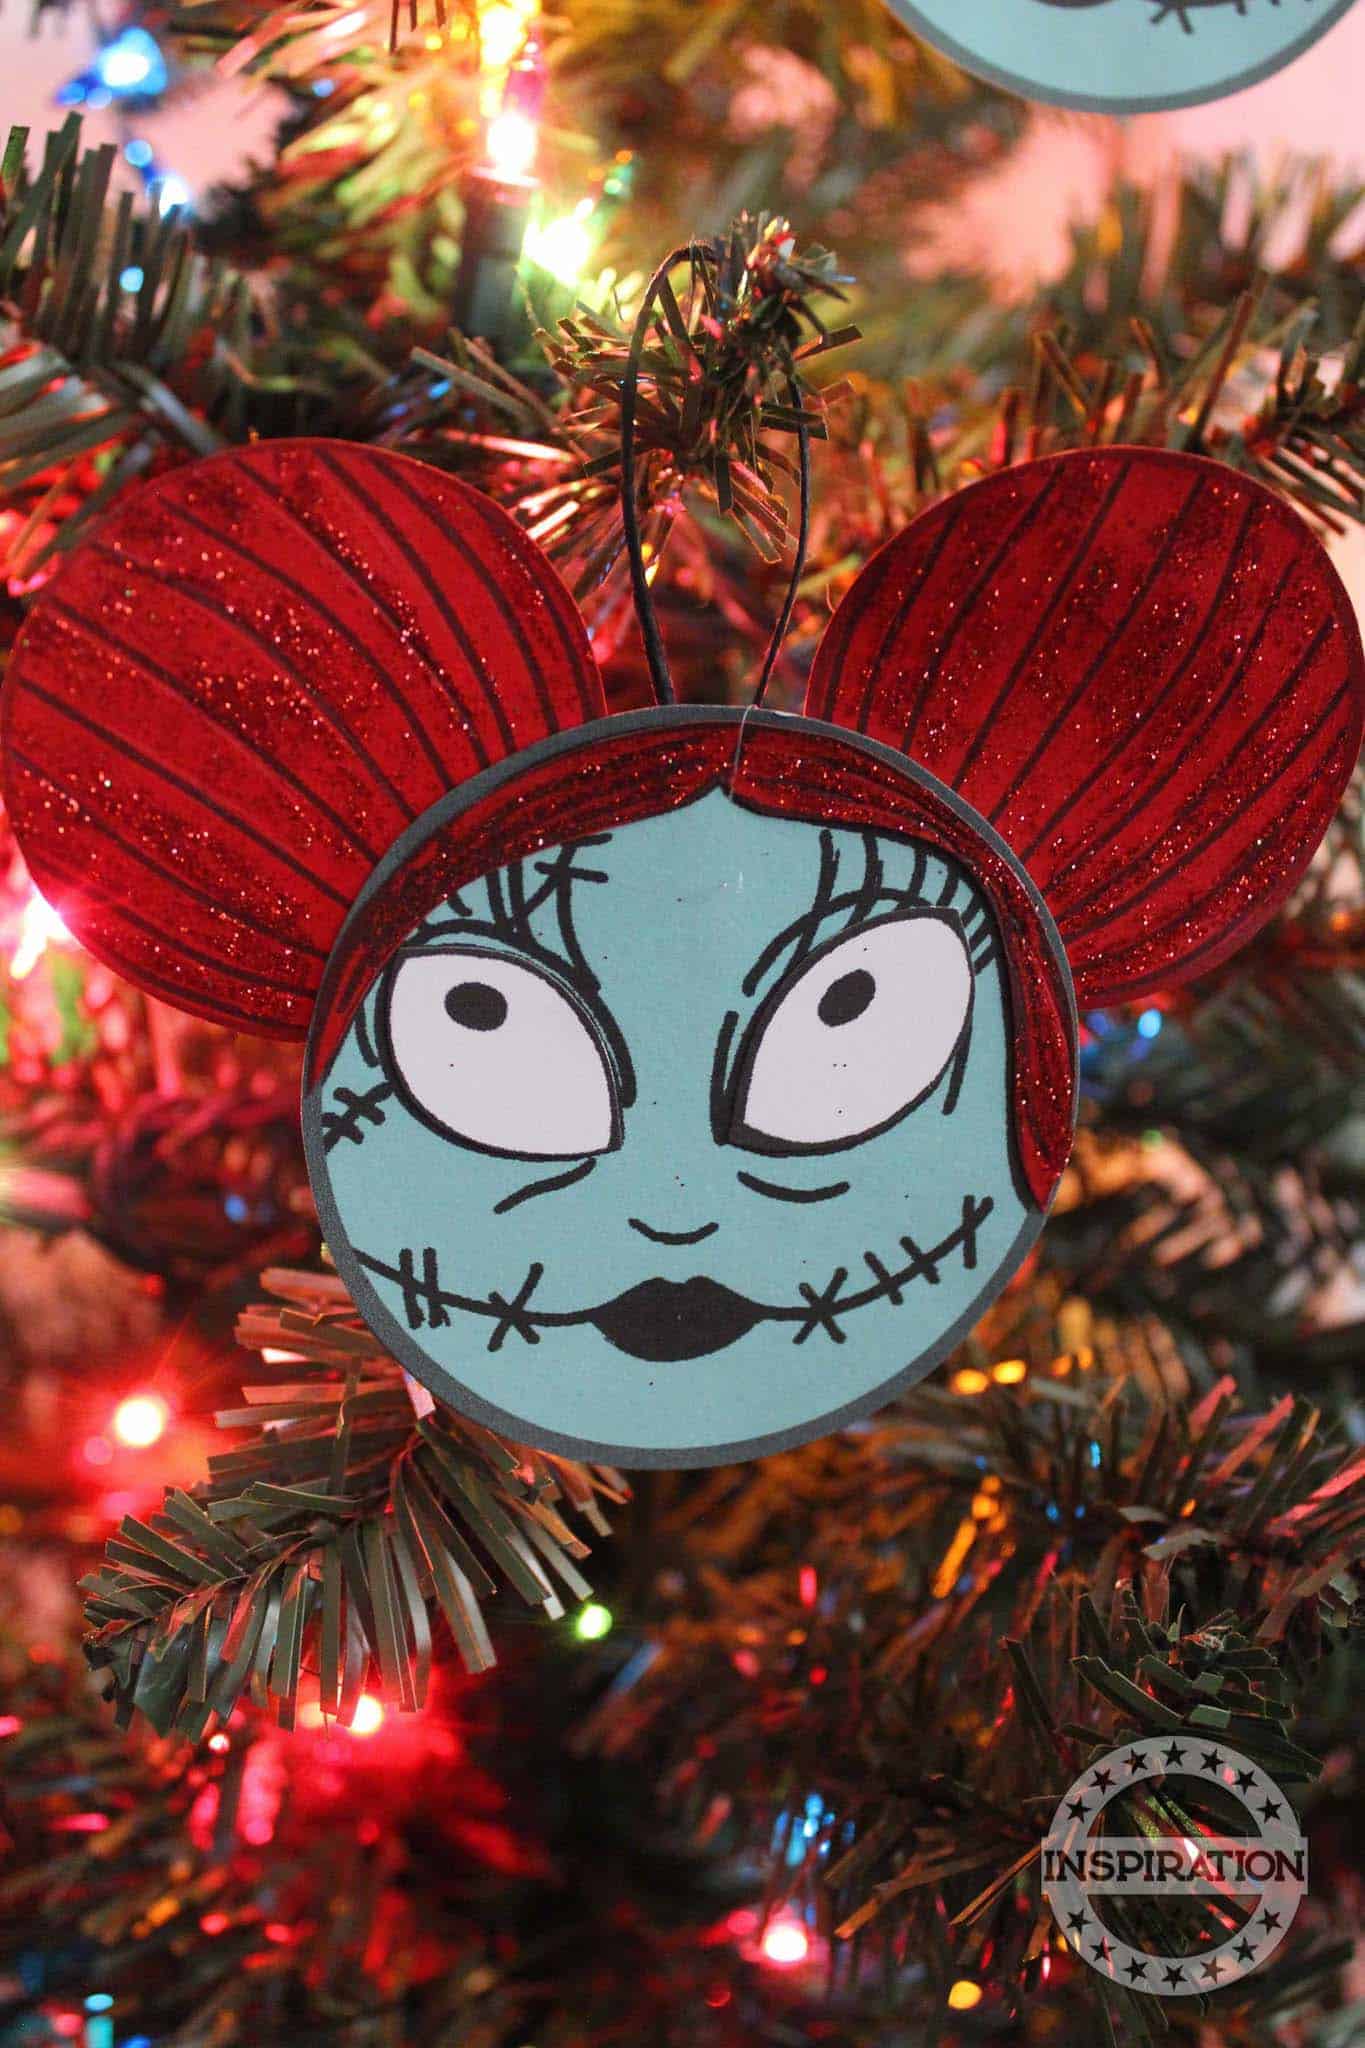
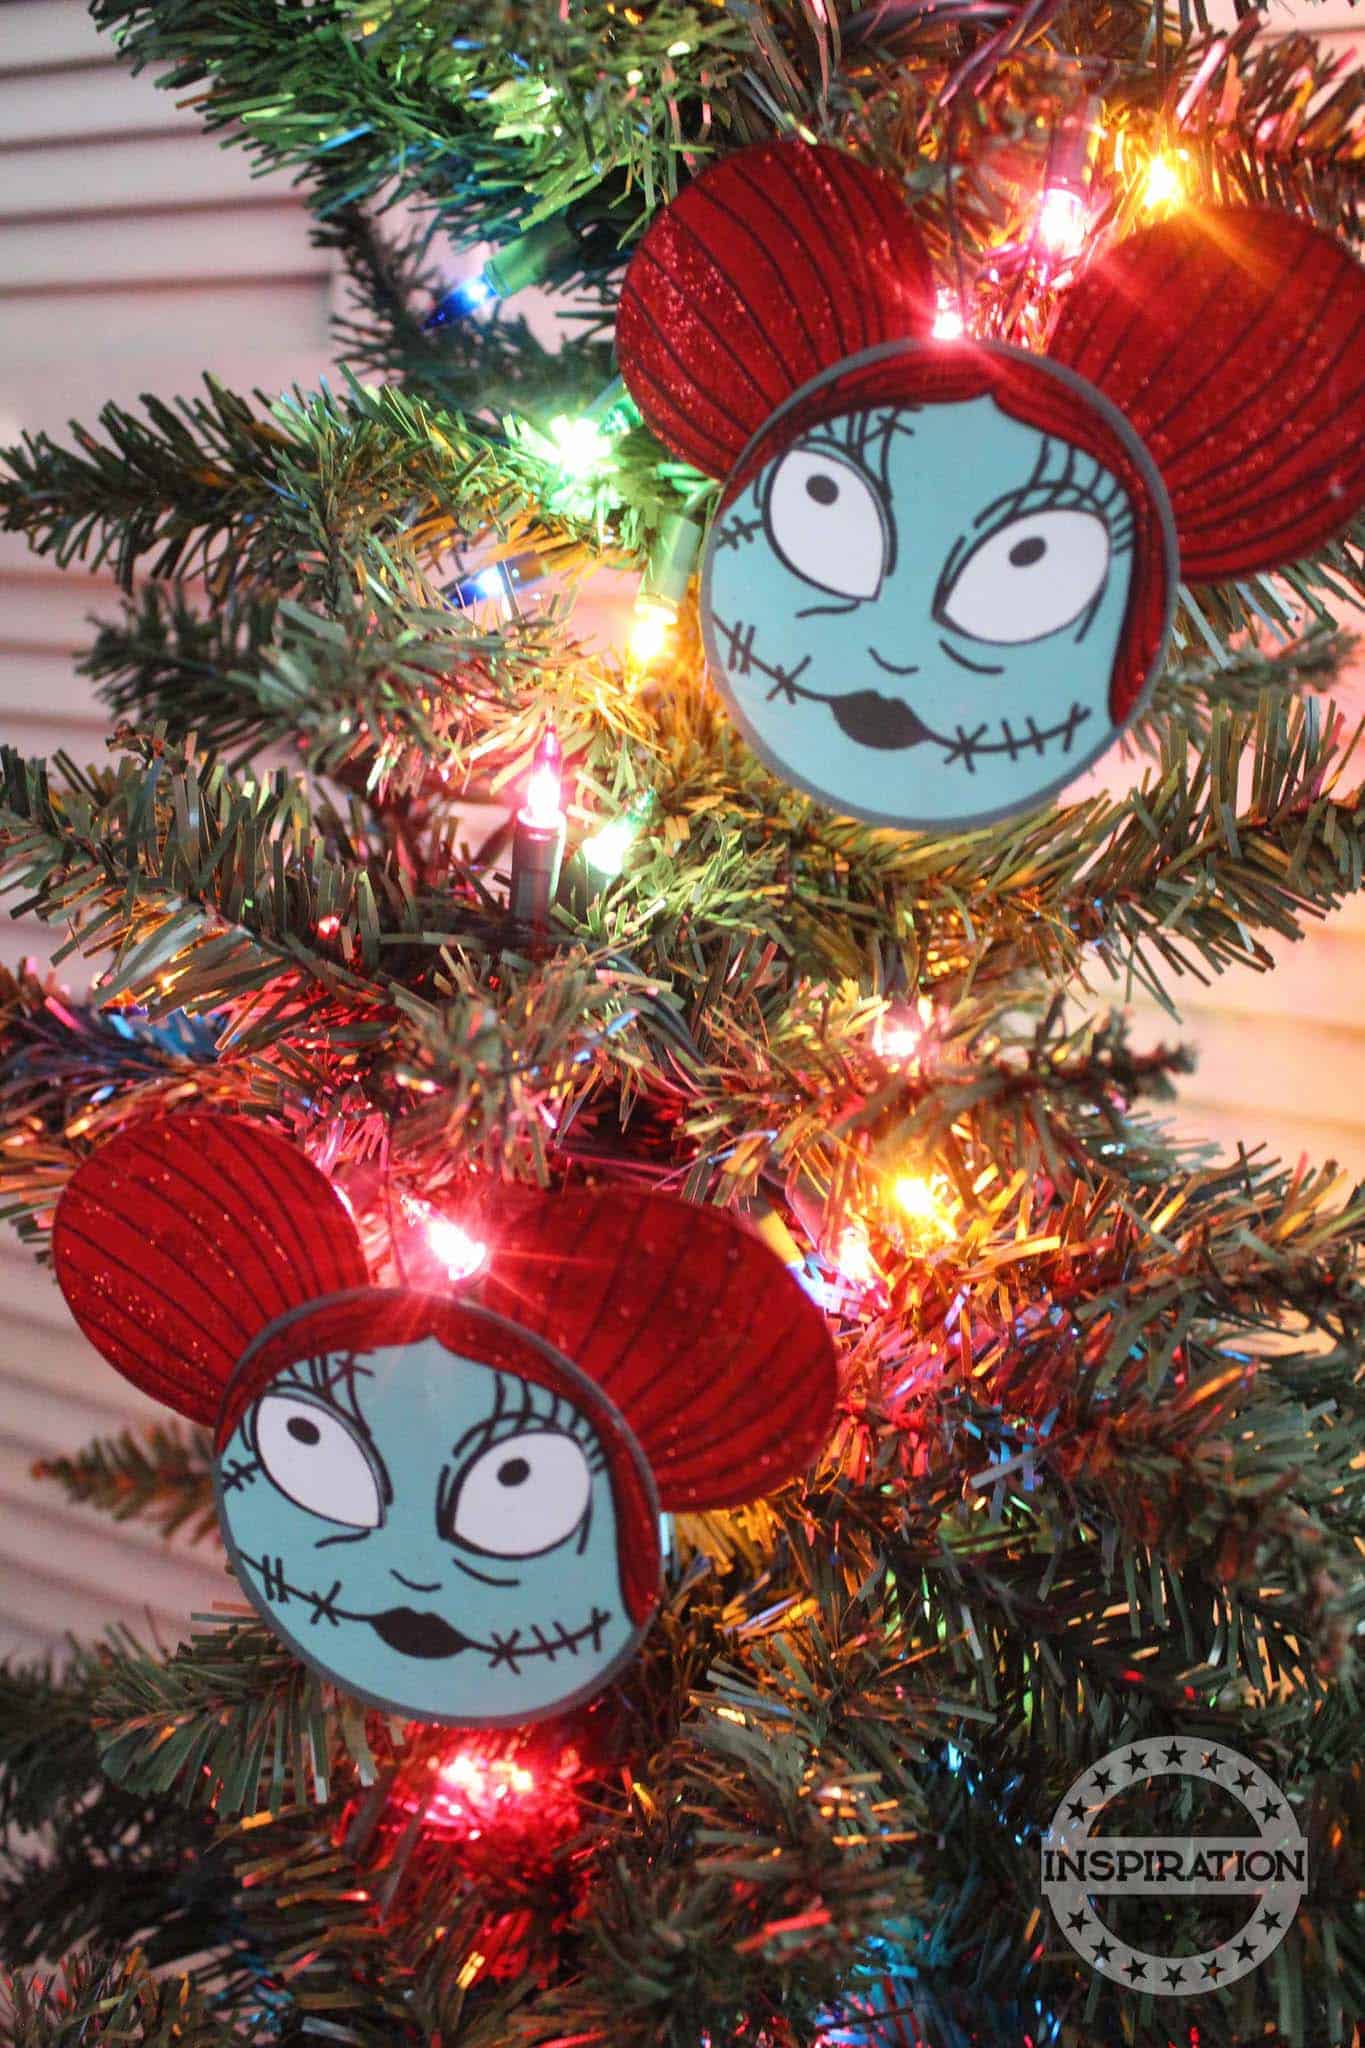
Your ornament is done and ready for your Christmas tree!
Download Your Free Sally Template Here!
If you’re interested in more super fun and easy paper crafts and ornaments we have a whole range of them here on The Inspiration Edit. Visit our Jack Skellington decoration tutorial here or check out the Mayor of Halloween Town decoration! I think it’s pretty awesome. We even have an Oogie Boogie Man craft which I’m sure any fan of this movie will love!
Along with these Nightmare before Christmas Crafts we also have some more fun Mickey head crafts, check the following out:
- DIY Snow White Christmas Ornament
- DIY Belle Christmas Ornament
- DIY Beast Christmas Ornament
- Mickey Ears Maleficent Ornament
Busy now? Why not pin this for later? Pinning supports my blog and allows me to share more fantastic ideas! Thankyou.

Angela Milnes is a Qualified Early Years Teacher who has specialised in Preschool and Kindergarten teaching. She has a wealth of experience teaching young children and is passionate about kids crafts and having fun as a family. Angela has also taught cooking skills and loves to share both family recipes and easy crafts here on The Inspiration Edit. Follow her on Pinterest!


