

A few weeks ago my daughter watched the Disney movie Lady And The Tramp for the first time. This has to be a classic all time favourite of mine and who doesn't love the iconic scene where Lady and the Tramp share a plate of spaghetti together. It's pretty iconic right!
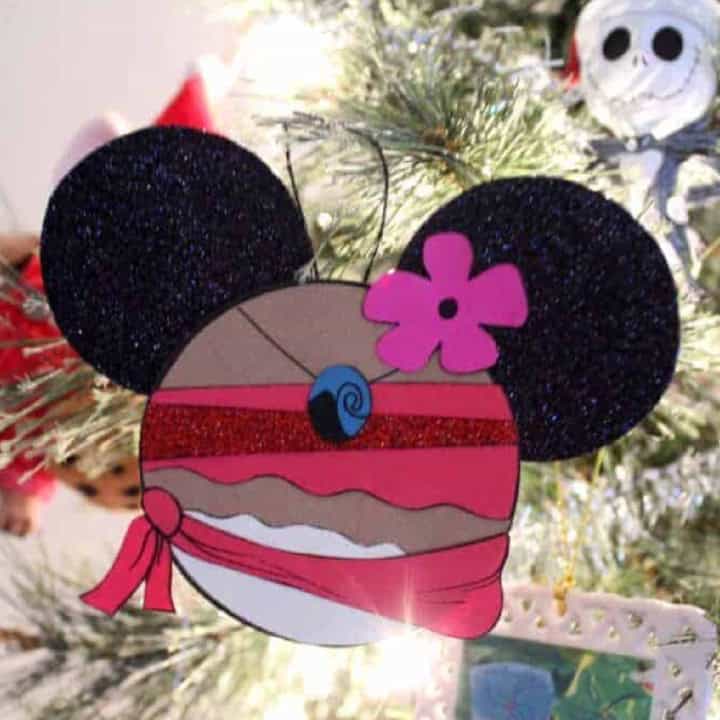
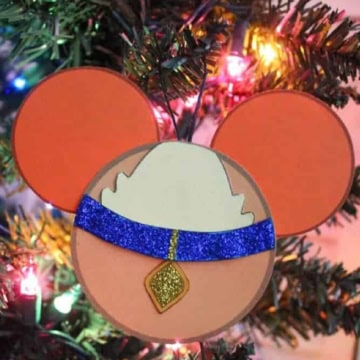
Well, today we have a fantastic Disney themed Mickey Ears craft based on the characters Lady And The Tramp. I'm sure the kids and adults alike will love this Mickey ears paper craft and ornament idea. It's pretty simple to create and very easy especially when you use the free Disney paper craft template I've provided.

Really! This is a fun craft for all ages and would make a great decoration for a Christmas Tree! Of course Disney is for all year around so you can make this fun Disney paper craft idea any season!
Jump to:
💖 Why You'll Love This Craft
- Adorable Love Theme: Celebrate one of Disney’s sweetest love stories with cute ears inspired by Lady and Tramp’s iconic spaghetti moment.
- Mix and Match Designs: Get creative by making one ear for Lady and one for Tramp, using ribbons, felt, or even faux fur for extra charm.
- Disney Movie Night Ready: Craft these ears before a family movie night and wear them while watching Lady and the Tramp for extra Disney magic!

🖌️ How To Make This Lady and the Tramp Ornament Craft

- Step 1: Download and print out the Lady and the Tramp Mickey ears ornament template. Cut out the shapes and set aside.

- Step 2: Glue the lady and the tramp pieces together with a glue stick. Use the photos as a guide.

- Step 3: Add white school glue to the collar and tag of your characters. Sprinkle on glitter and shake off the excess.

- Step 4: Allow the glue to dry completely. Flip over the Mickey ears ornament and add a bit of white school glue to the back. Loop a piece of string or ribbon and glue in place.

- Step 5: Allow the glue to dry completely. Your Mickey Ears Paper craft is now complete. How fun! You can hang this on the tree or give as a gift.

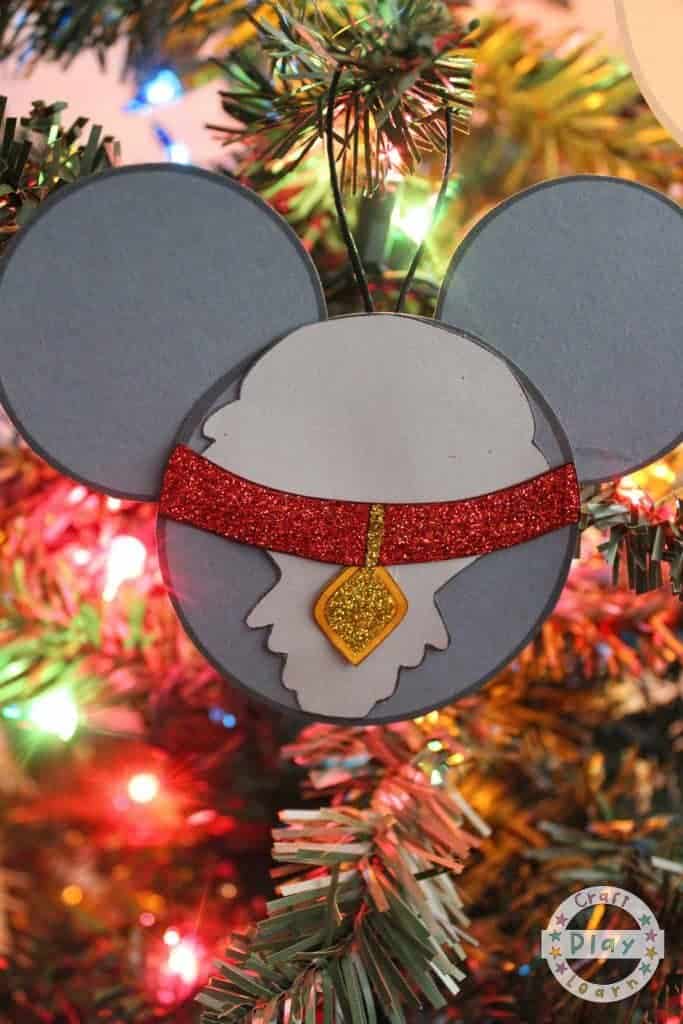
Pro Tip: Take a clear photo of a finished set before storing or gifting so you can easily recreate or compare designs in the future without remeasuring or guessing layout.
🧑🎨 Expert Tips
- Visual spacing: Space out the character elements slightly more than you'd think—this ensures clarity when viewed from a short distance.
- Flat surface rule: Assemble each side of the ears on a completely flat surface to keep pieces aligned and edges neatly matched.
- Corner precision: Trim any sharp paper corners with small angled cuts to prevent peeling or fraying over time, especially on curves.
- Backing consistency: Use the same shade for both backings to prevent visual imbalance when the ears are flipped or viewed from the side.
- Shadow detail: Shade under overlapping pieces using a slightly darker tone to give a subtle layered effect without making it look crowded.
- Packing smart: Stack finished sets with tissue between them if storing multiples to keep surfaces clean and prevent indentation from pressure.
🖌️ More Fun Mickey Craft Ideas
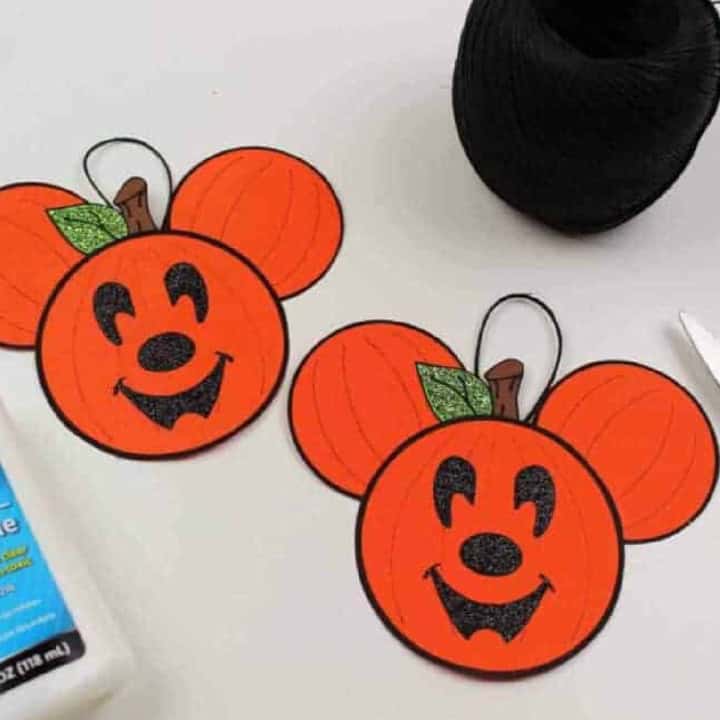
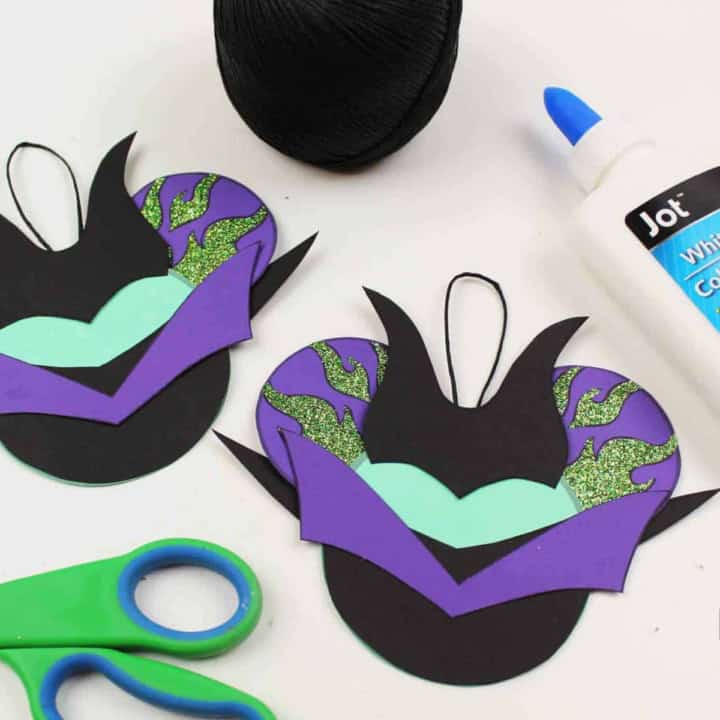
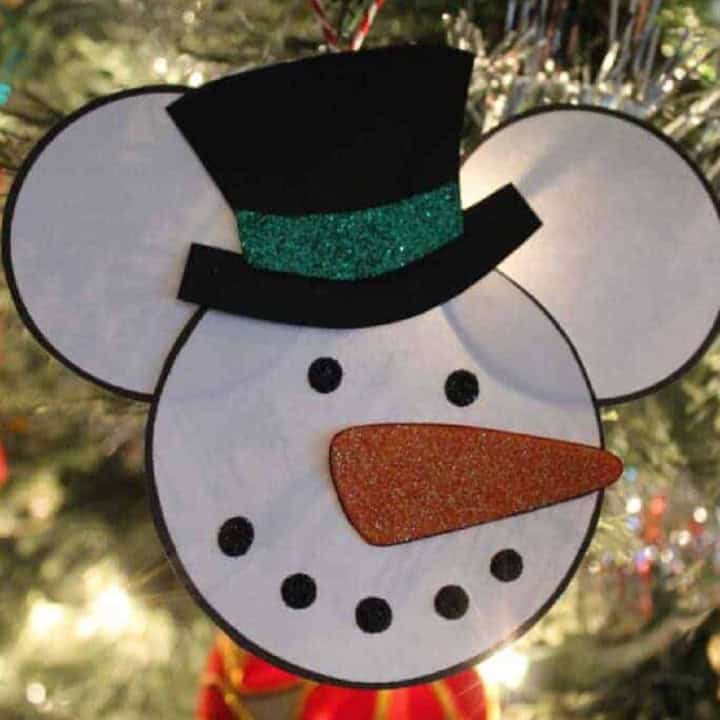
Did you make this craft? Leave a review and comment below! Alternatively, bookmark it in your browser or save to Pinterest.
Download Template
Download your free Printable Lady And The Tramp Template here
Now, if you loved this idea you may want to check out all our Disney-themed crafts. We have a whole heap here:
Lady and the Tramp Disney Mickey Ears Paper Craft
Instructions
- Download and print out the Lady and the Tramp Mickey ears ornament template. Cut out the shapes and set aside.
- Glue the lady and the tramp pieces together with a glue stick. Use the photos as a guide.
- Allow the glue to dry completely. Flip over the Mickey ears ornament and add a bit of white school glue to the back. Loop a piece of string or ribbon and glue in place.
- Allow the glue to dry completely. Your Mickey Ears Paper craft is now complete. How fun! You can hang this on the tree or give as a gift.

Leave a Reply