

One of my favourite things about winter is when we are lucky enough to get snow. It does not always happen and we seem to live in an area where we miss the downpours despite seeing snow on tv and hearing about it from friends and family living a few hours south.
I guess it's because I love snowmen and building them with my daughter. Well, today we have some lovely Snowman decorations not made from the snow but from wooden slices and these are a real treat. We hope you like the tutorial. Enjoy!

Jump to:
💖 Why You'll Love This Craft
- Rustic & Adorable: The natural wood slices give your snowmen a cozy, farmhouse-style holiday charm.
- Perfect for Tree Ornaments: Lightweight and easy to hang, they make the cutest additions to your Christmas tree.
- Easy for All Ages: Just paint, glue, and decorate—fun for kids, teens, or adults!
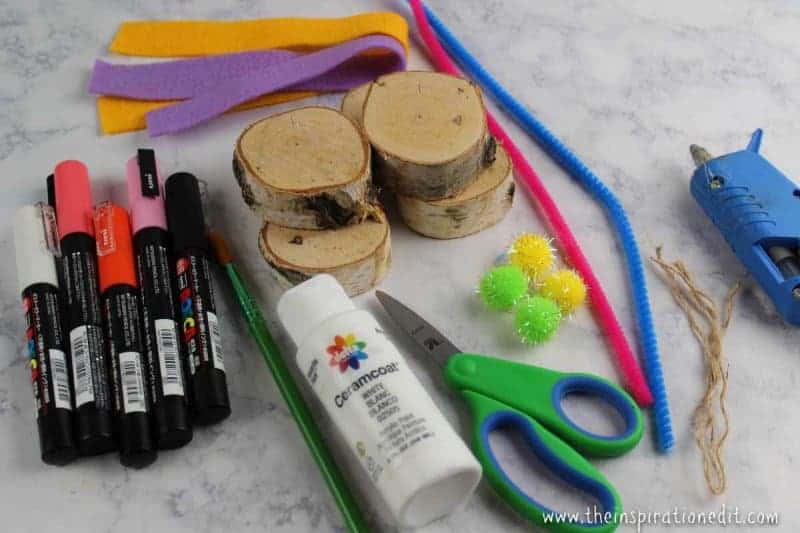
🎨 Supplies Needed
- Wood Slices
- Felt
- Glue gun
- Scissors
- Paint Brush
- White Paint
- Black, Pink, Light Pink, Orange and White Paint Pen
- Twine
- Pom Poms
- Pipe Cleaners
🖌️ How to Make This Wooden Slice Snowman Ornament

- Step 1: Glue 3 wood slices together, with the smallest slice on top and the largest slice on the bottom.

- Step 2: Paint the wood slice snowman white. 1-2 coats. Allow to dry completely.
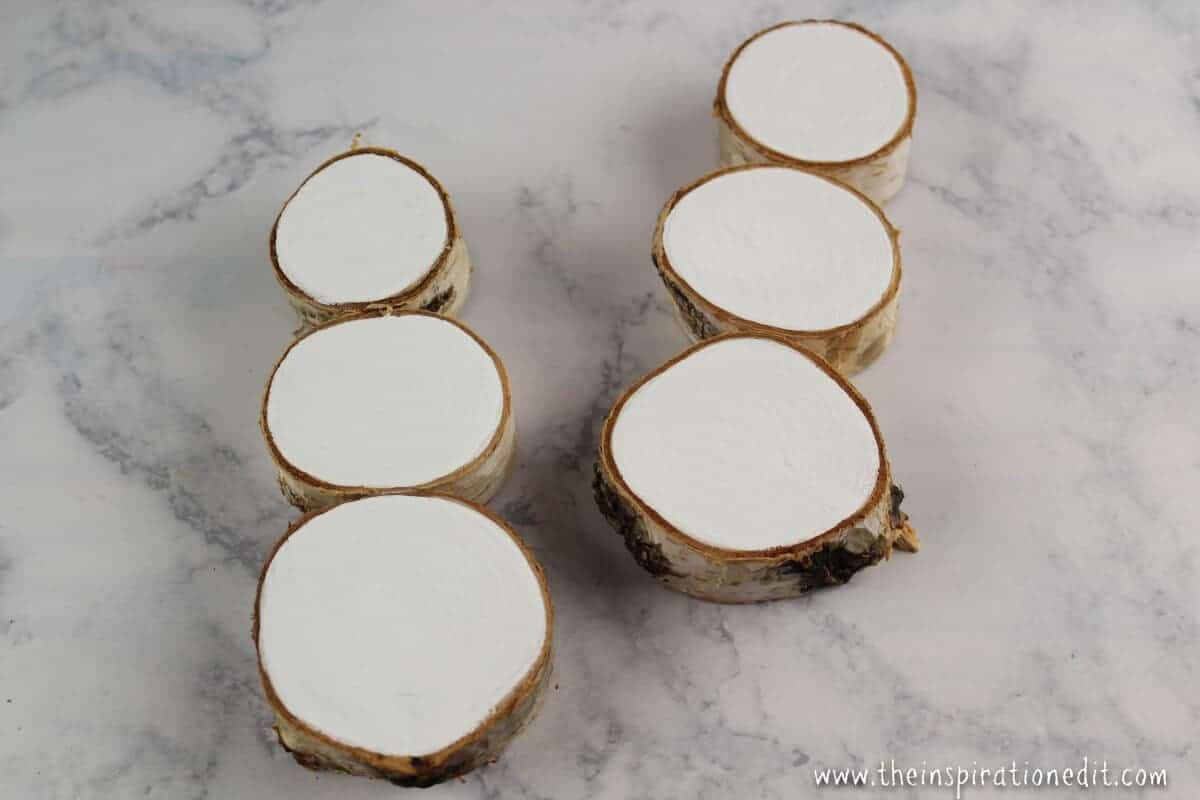
- Step 3: Allow to dry completely. Use pink paint pens to give the snowman pink rosy cheeks.
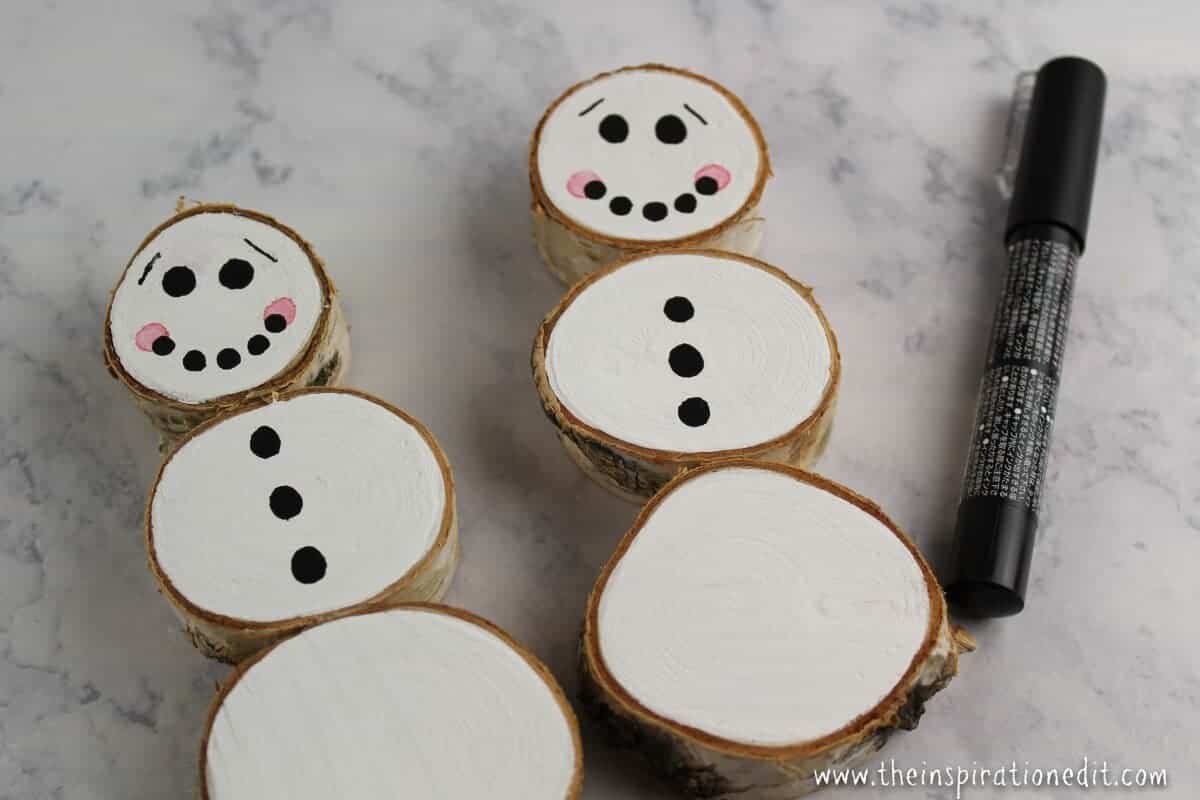
- Step 4: Use a black paint pen to draw on a coal mouth, eyes and buttons.
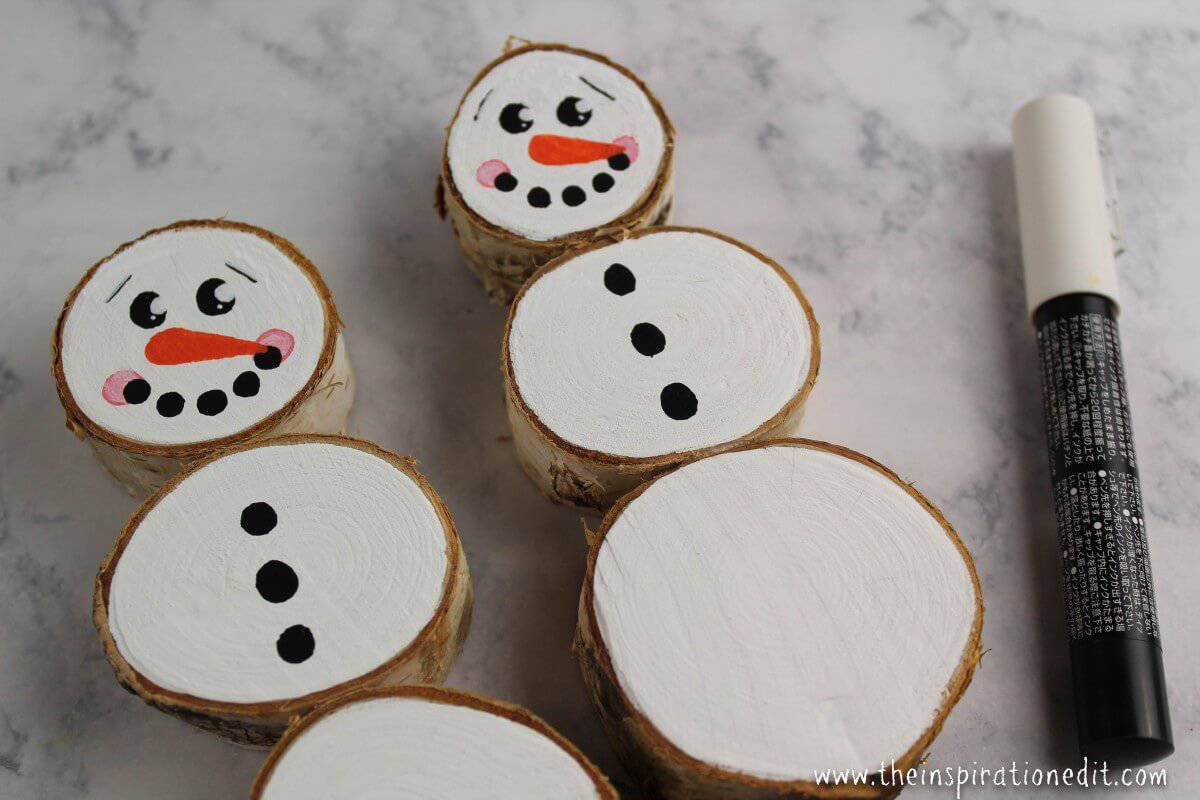

- Step 6: Cut a pipe cleaner large enough to wrap around the snowman’s head, leaving some empty space above his head. Refer to the photo.

- Step 7: Glue a pom pom on each end of the pipe cleaner.


- Step 9: Use scissors to frays the ends of the scarf.

- Step 10: Glue twine onto the back of the snowman for hanging on a tree. Your ornament is finished. These would make wonderful family gifts from children!

Related Products
More Snowman Crafts You Will Love!

Check out our other Wooden slice ornaments. We have quite a few ideas here on The Inspiration Edit.


💡 Pro Tip: Personalize your snowman ornaments by adding names or dates with a fine-tip marker, making each piece a unique keepsake or thoughtful gift.
🧑🎨 Expert Tips
- Wood Slice Preparation: Before painting, lightly sand the surface of each wood slice to ensure a smooth finish, allowing paint and decorations to adhere more effectively.
- Base Coating: Apply a primer or base coat of white acrylic paint to the wood slices to create a bright canvas for your snowman design, enhancing color vibrancy.
- Facial Features: Use fine-tip paintbrushes or markers to carefully add the snowman's eyes, nose, and mouth, ensuring precise and expressive facial details.
- Accessory Attachment: Securely attach embellishments like miniature hats, scarves, or buttons using a strong adhesive to add character and charm to your snowman.
- Hanging Mechanism: Drill a small hole at the top of each wood slice and thread a loop of twine or ribbon through it, creating a sturdy hanger for your ornament.
- Protective Finish: Once all decorations are in place and dry, apply a clear sealant to protect your snowman ornament from wear and preserve its appearance over time.
🖌️ More Christmas Decorations
Love these crafts! Don't forget to pin them on Pinterest or leave a comment and let us know how you got on!



Did you make this craft? Leave a review and comment below! Alternatively, bookmark it in your browser or save to Pinterest.
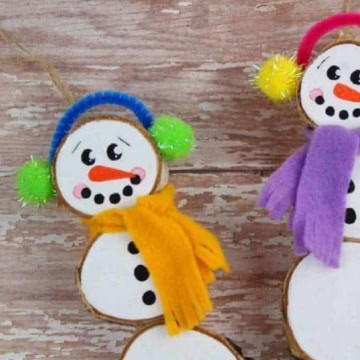
Wood Slice Christmas Snowman Decorations
Materials
- Wood Slices
- Felt
- Paint Brush
- White Paint
- Black Pink, Light Pink, Orange, and White Paint Pen
- Twine
- Pom Poms
- Pipe Cleaners
- Scissors
- Glue Gun
Instructions
- Glue 3 wood slices together, with the smallest slice on top and the largest slice on the bottom.
- Paint the wood slice snowman white. 1-2 coats. Allow drying completely.
- Allow drying completely. Use pink paint pens to give the snowman pink rosy cheeks
- Use a black paint pen to draw on a coal mouth, eyes, and buttons.
- Draw on eyebrows. Use an orange paint pen to give the snowman a carrot nose.
- Use a white paint pen to give the eyes some expression. Refer to the photo.
- Cut a pipe cleaner large enough to wrap around the snowman’s head, leaving some empty space above his head.
- Refer to the photo.
- Glue a pom pom on each end of the pipe cleaner.
- Cut a long thin piece of felt.
- Tie felt around the snowman’s neck. Glue in place.
- Use scissors to frays the ends of the scarf.
- Glue twine onto the back of the snowman for hanging on a tree.
- Your ornament is finished. These would make wonderful family gifts from children!
MORE CRAFTS YOU MIGHT LIKE:
DIY TOY SOLDIER CHRISTMAS DECORATION
PAPER REINDEER CRAFT & CHRISTMAS BAG FOR KIDS
EASY DIY CHRISTMAS TREE DECORATIONS


Leave a Reply