DIY Monster Planters: A Recycled Masterpiece
DIY Monster Planters: A Recycled Masterpiece
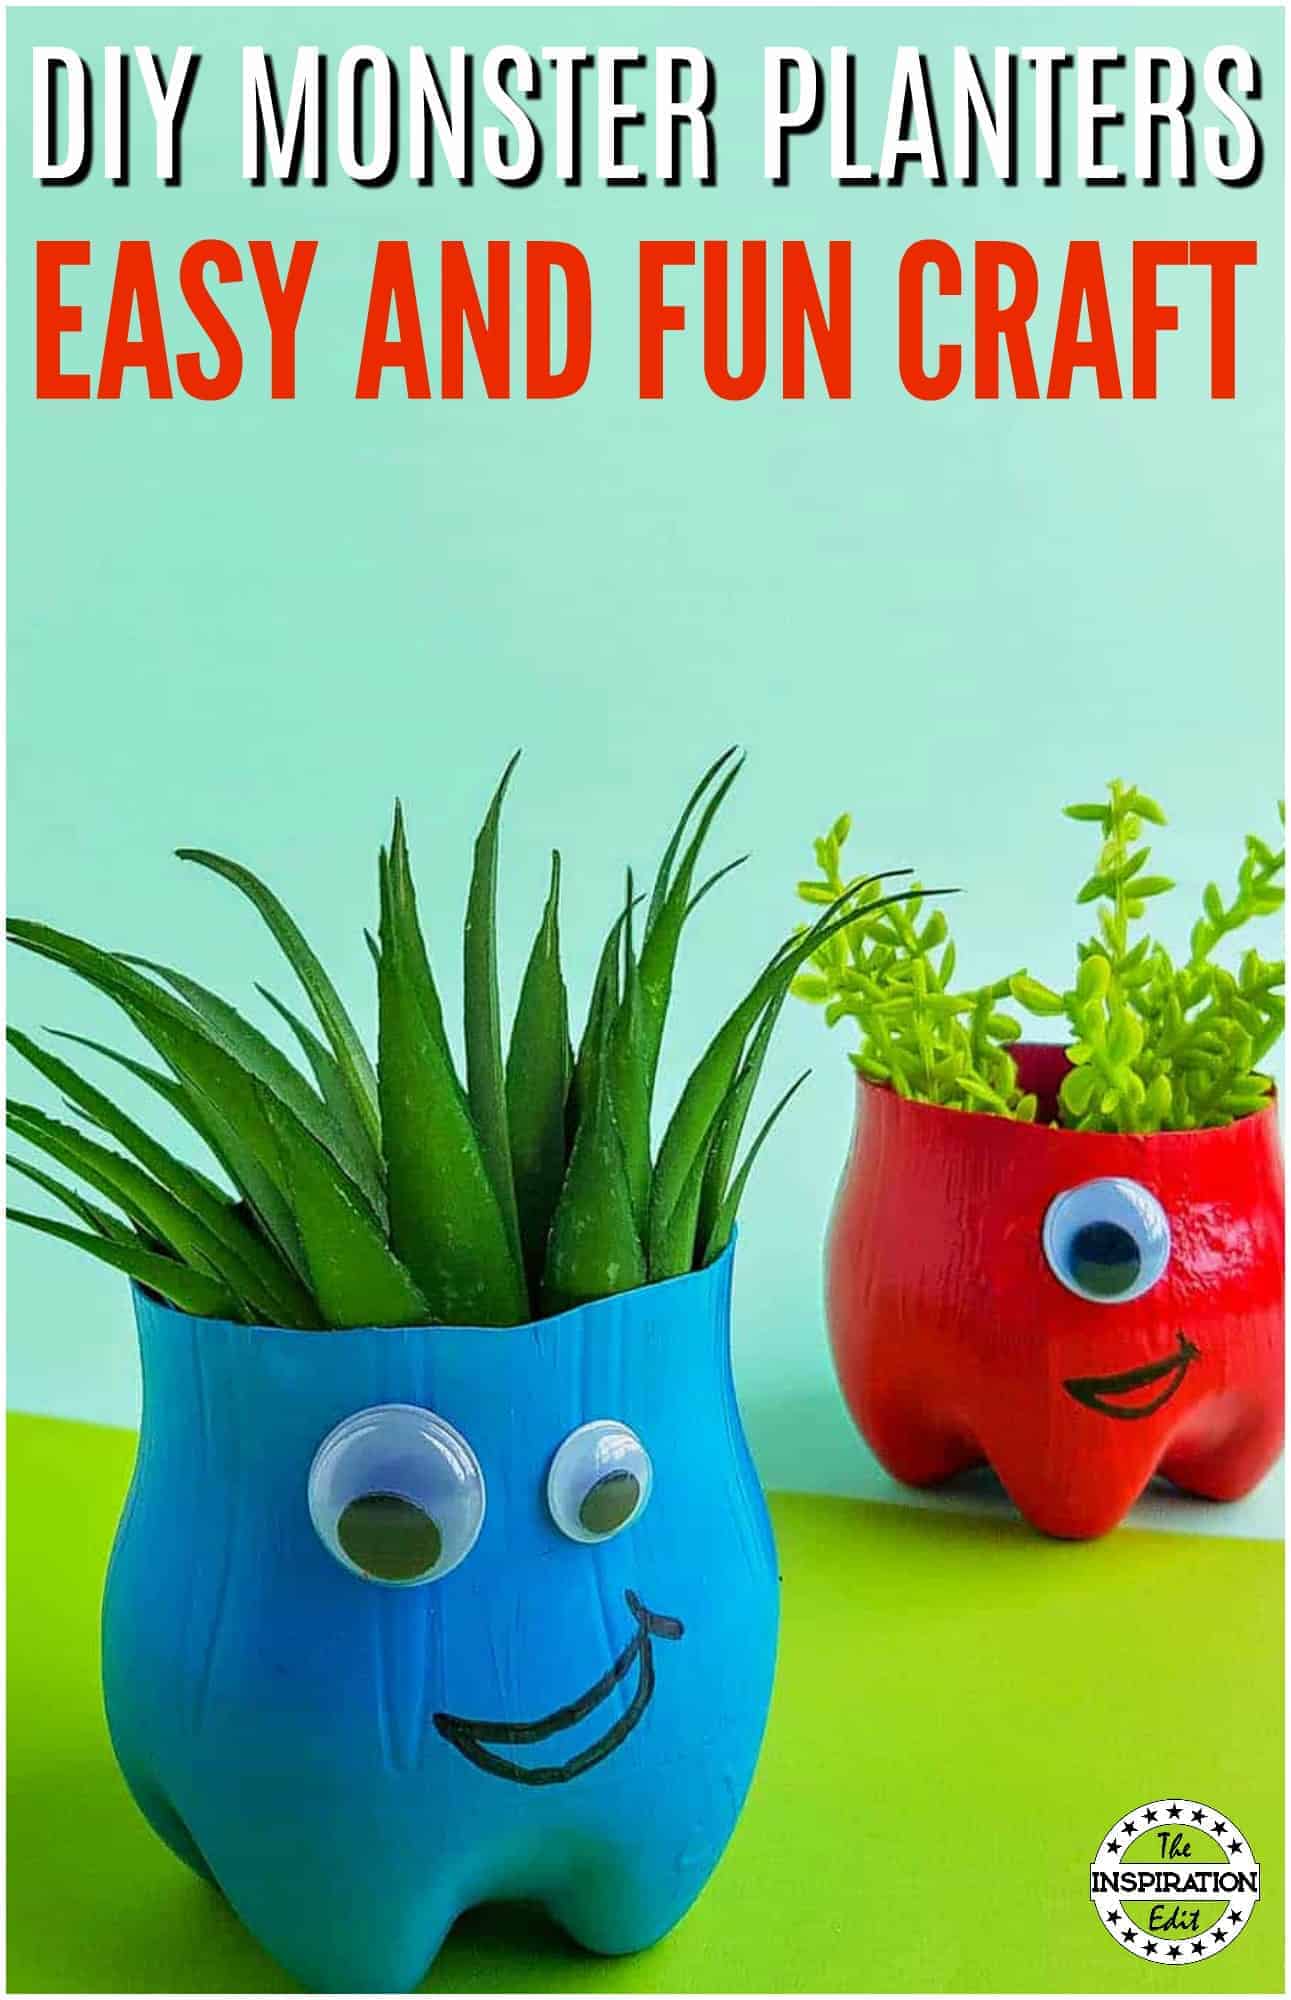
These DIY Monster Planters are super cute, but what I love about them the most is that by making them I am helping the environment. This monster craft uses recycled plastic bottles which means less plastic in the landfills and in our oceans. Not only is it a recycled masterpiece, but when you plant something in it, you are making the world better one plant at a time.
If you like the idea of this Plastic Bottle Recycling Craft, check out some other ways you can make cute crafts by recycling what you already have on the Inspiration Edit.
DIY Monster Craft Supplies
Contents
- Plastic bottle
- Exacto knife
- Temporary marker
- Scissors
- Googly eyes
- Craft glue
- Acrylic paint
- Paintbrush
RELATED POST: RECYCLED BADGE BUG CRAFT
How to Make This DIY Monster Craft
Step 1:
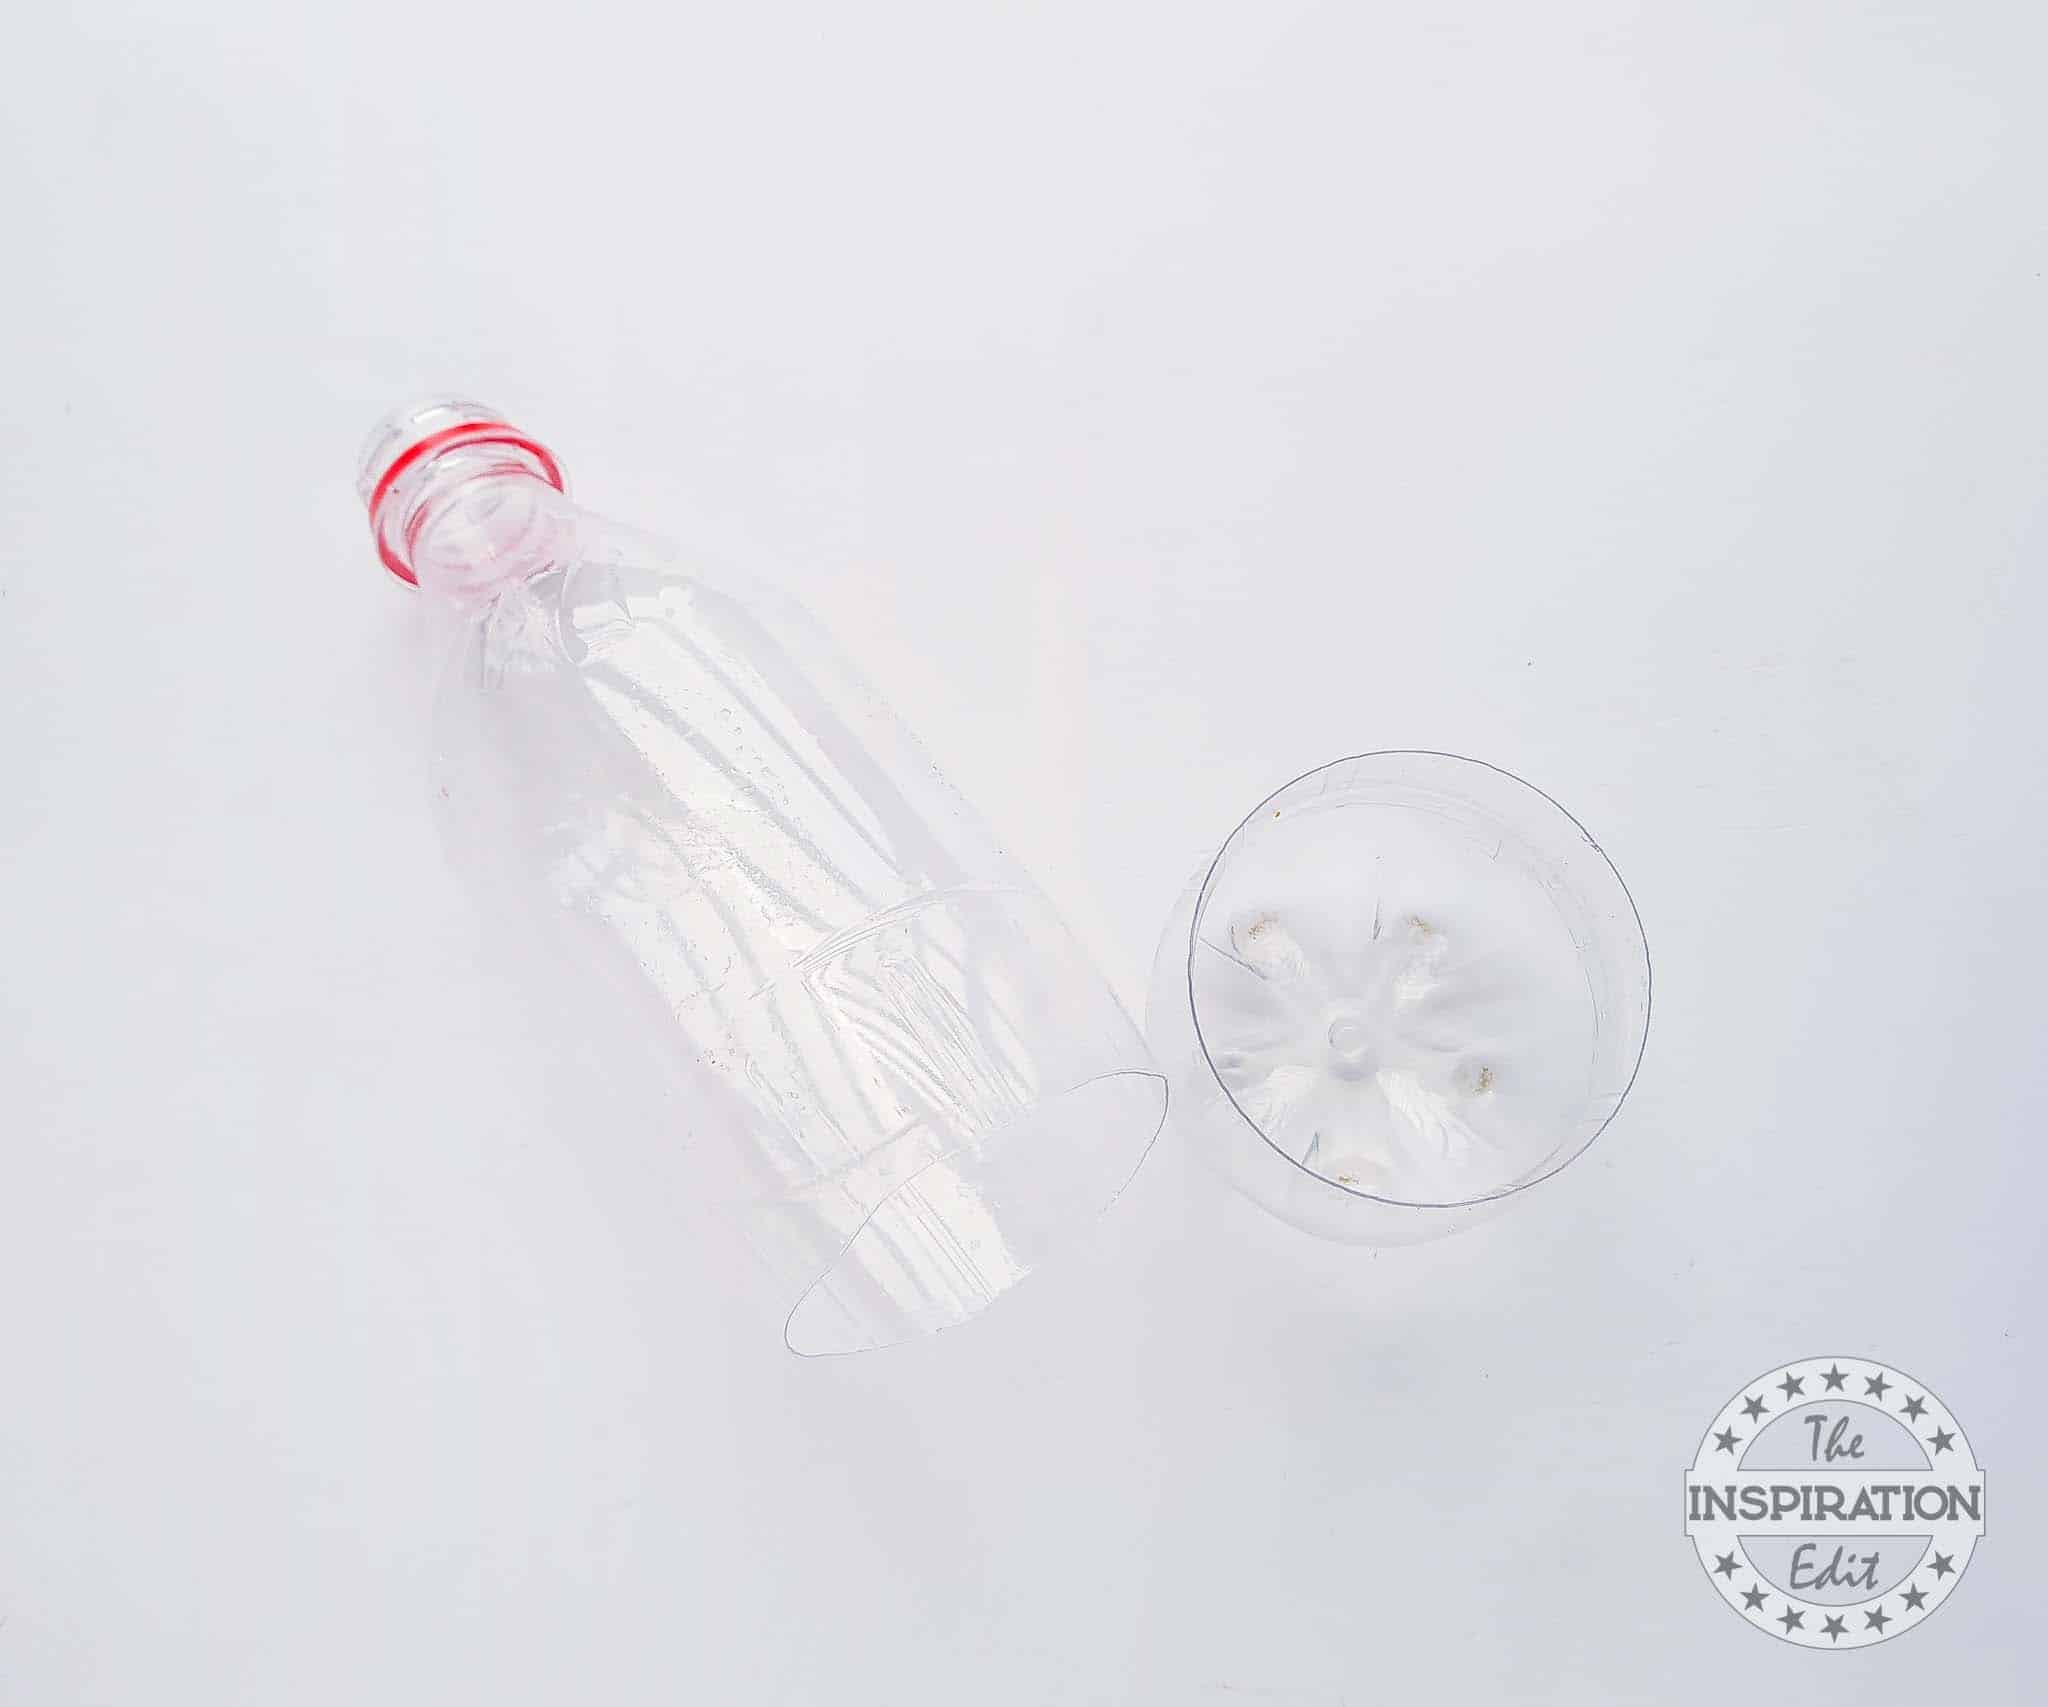
Wash, clean and dry the plastic bottles. Determine the height for the planters and mark the bottle (from its bottom end) using a temporary marker. Use a Exacto knife to cut out the marked bottom end of the plastic bottle.
Step 2:
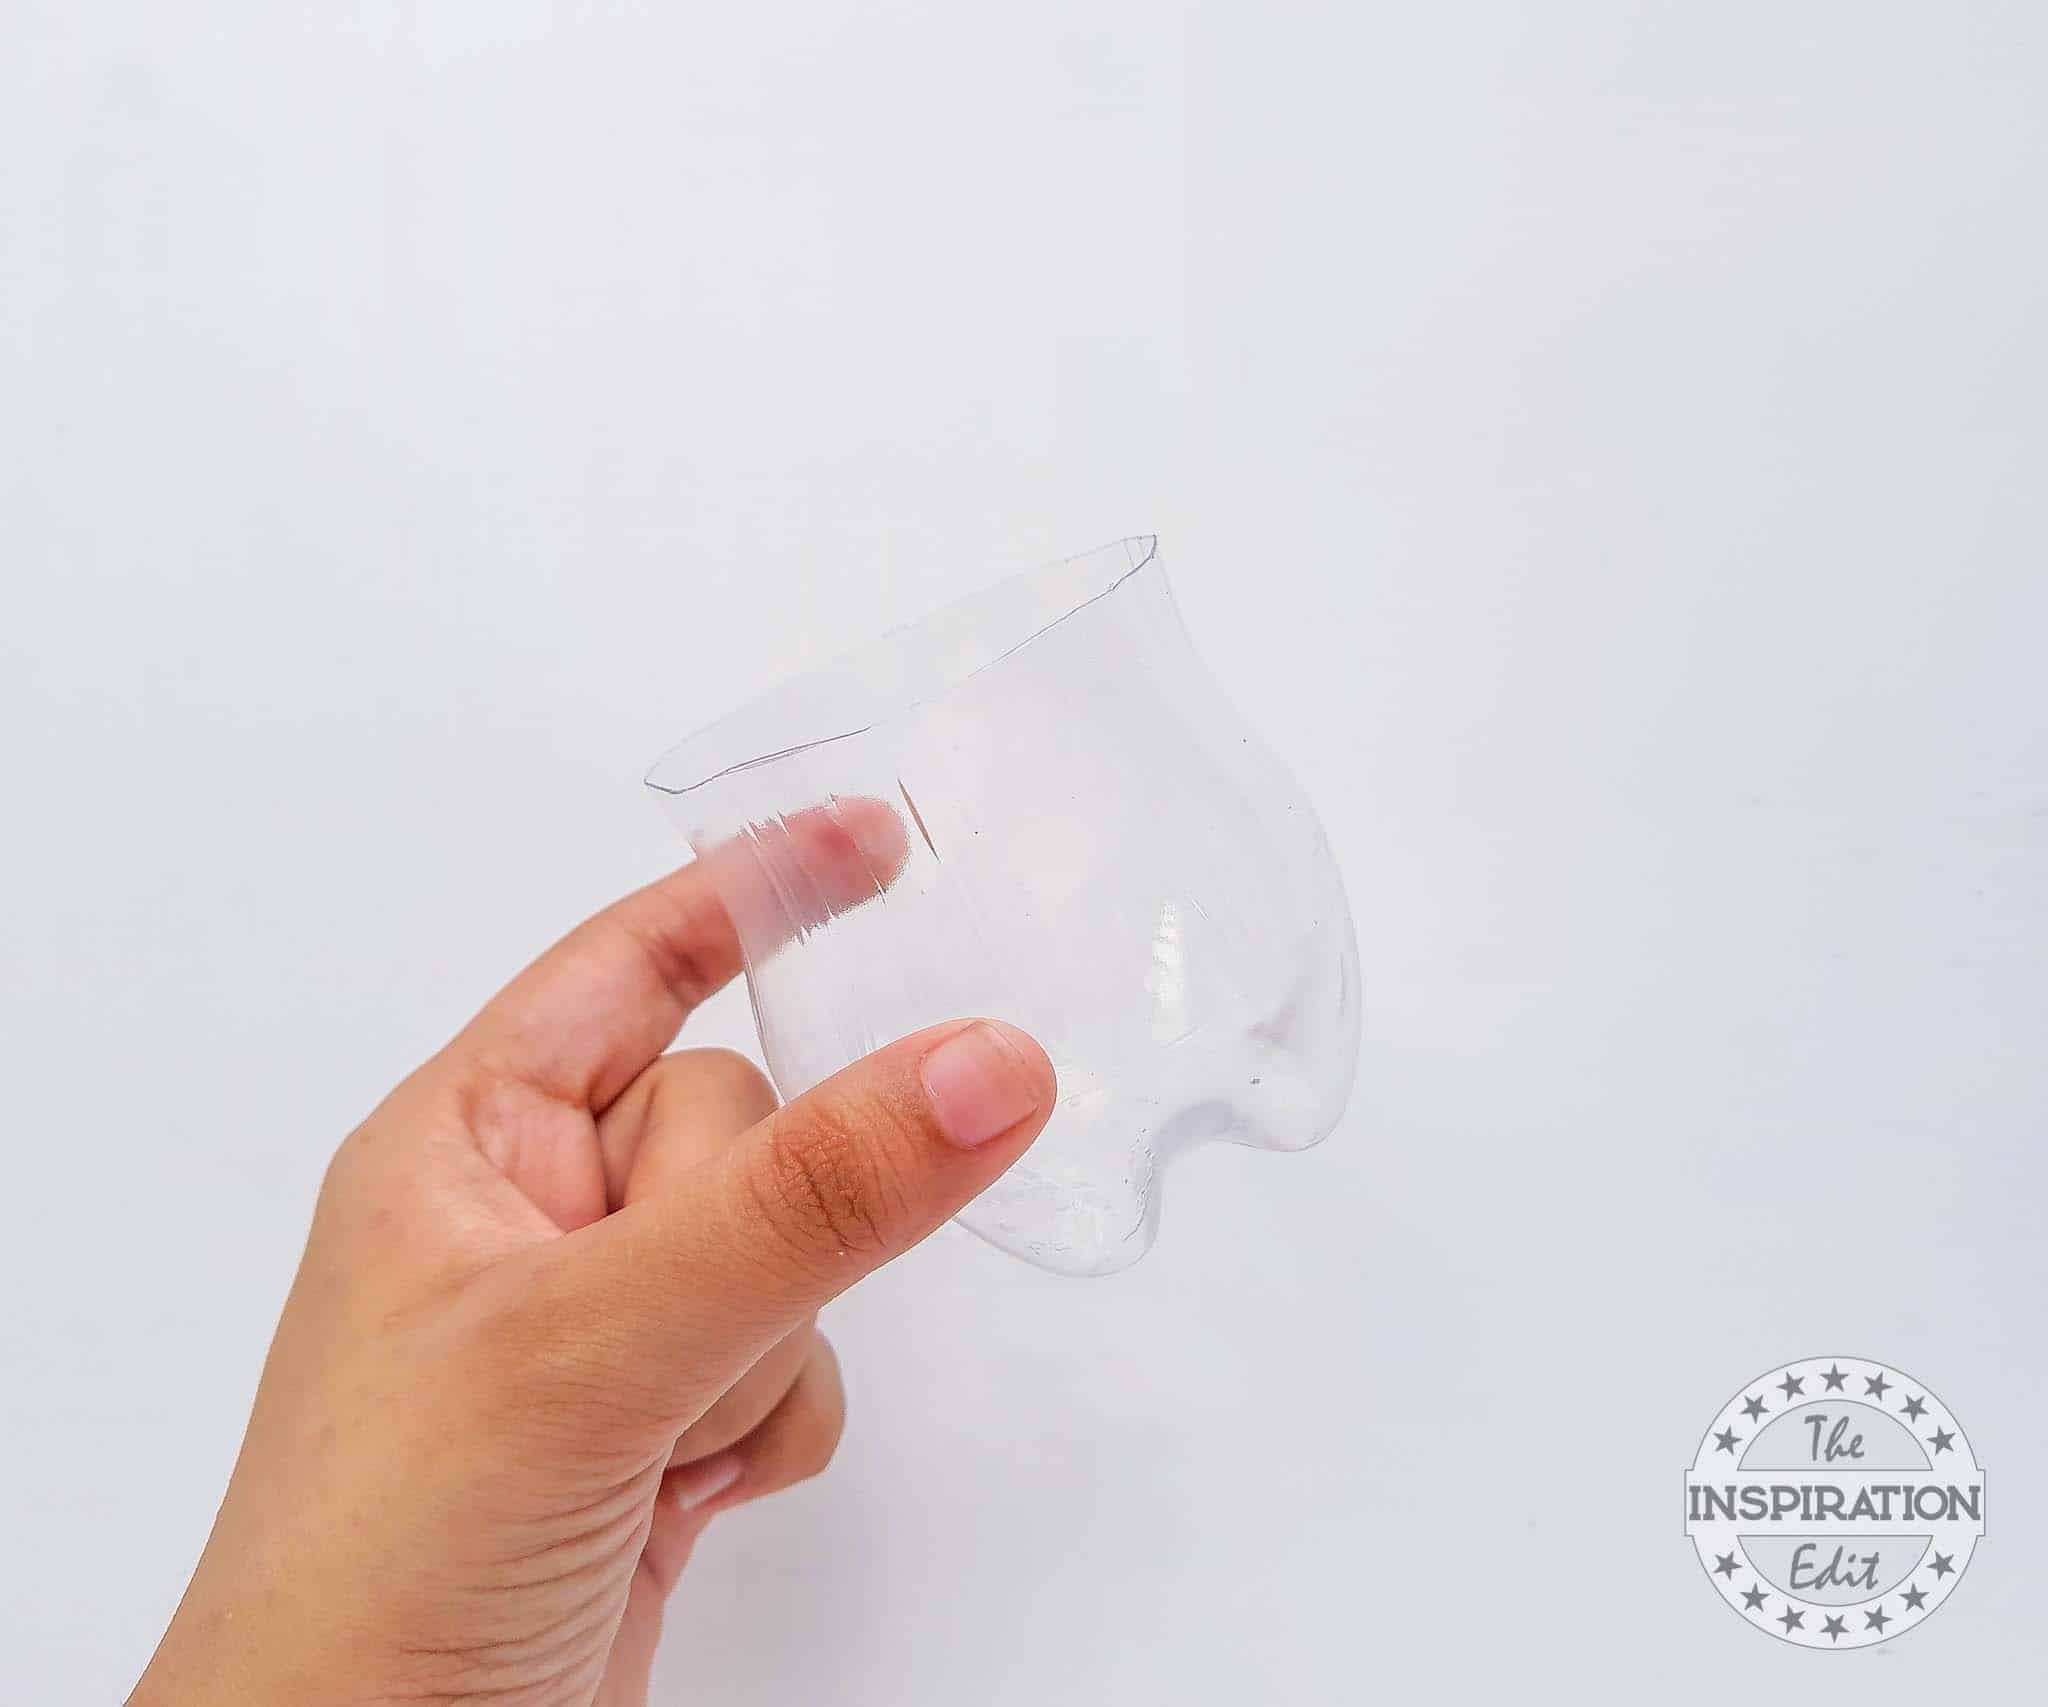
Try keeping the top open end of the bottle’s bottom cutout part as straight as possible. You can use scissors to get even top end for the planter.
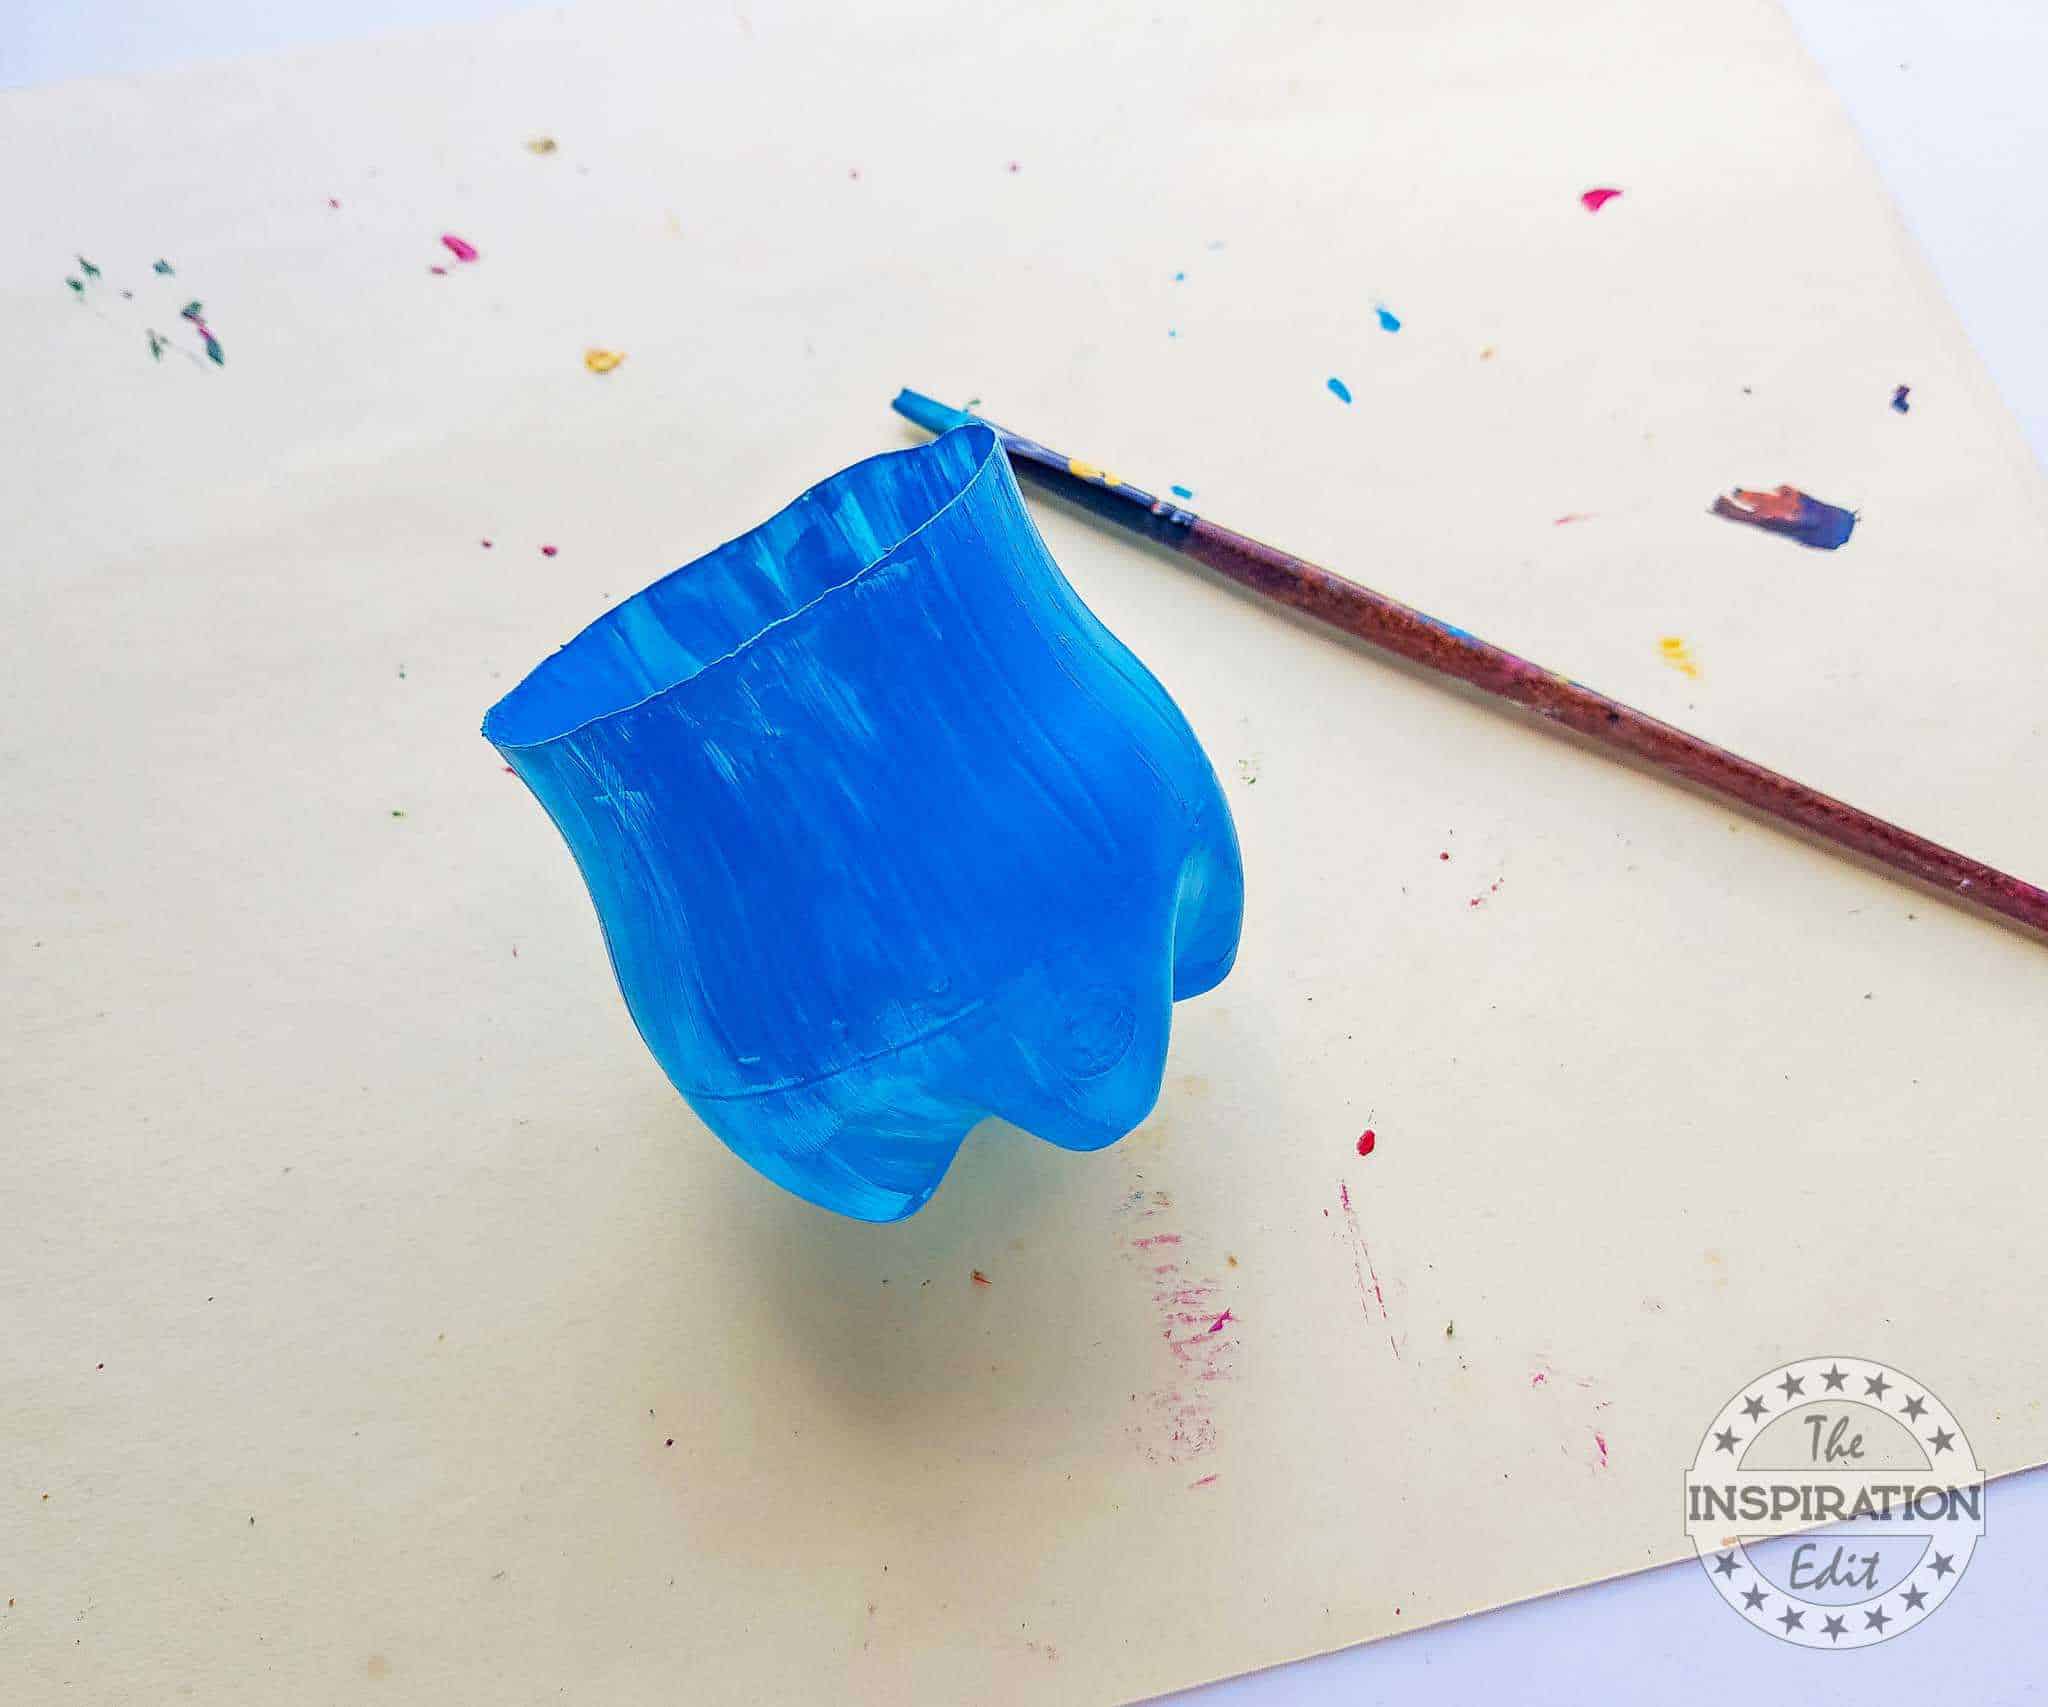
Step 3:
Select acrylic paint of your choice and apply a coat on the outer surface of the bottle cutout. Allow the 1st coat of paint to dry and then apply another coat. Allow the 2nd coat to dry entirely as well.
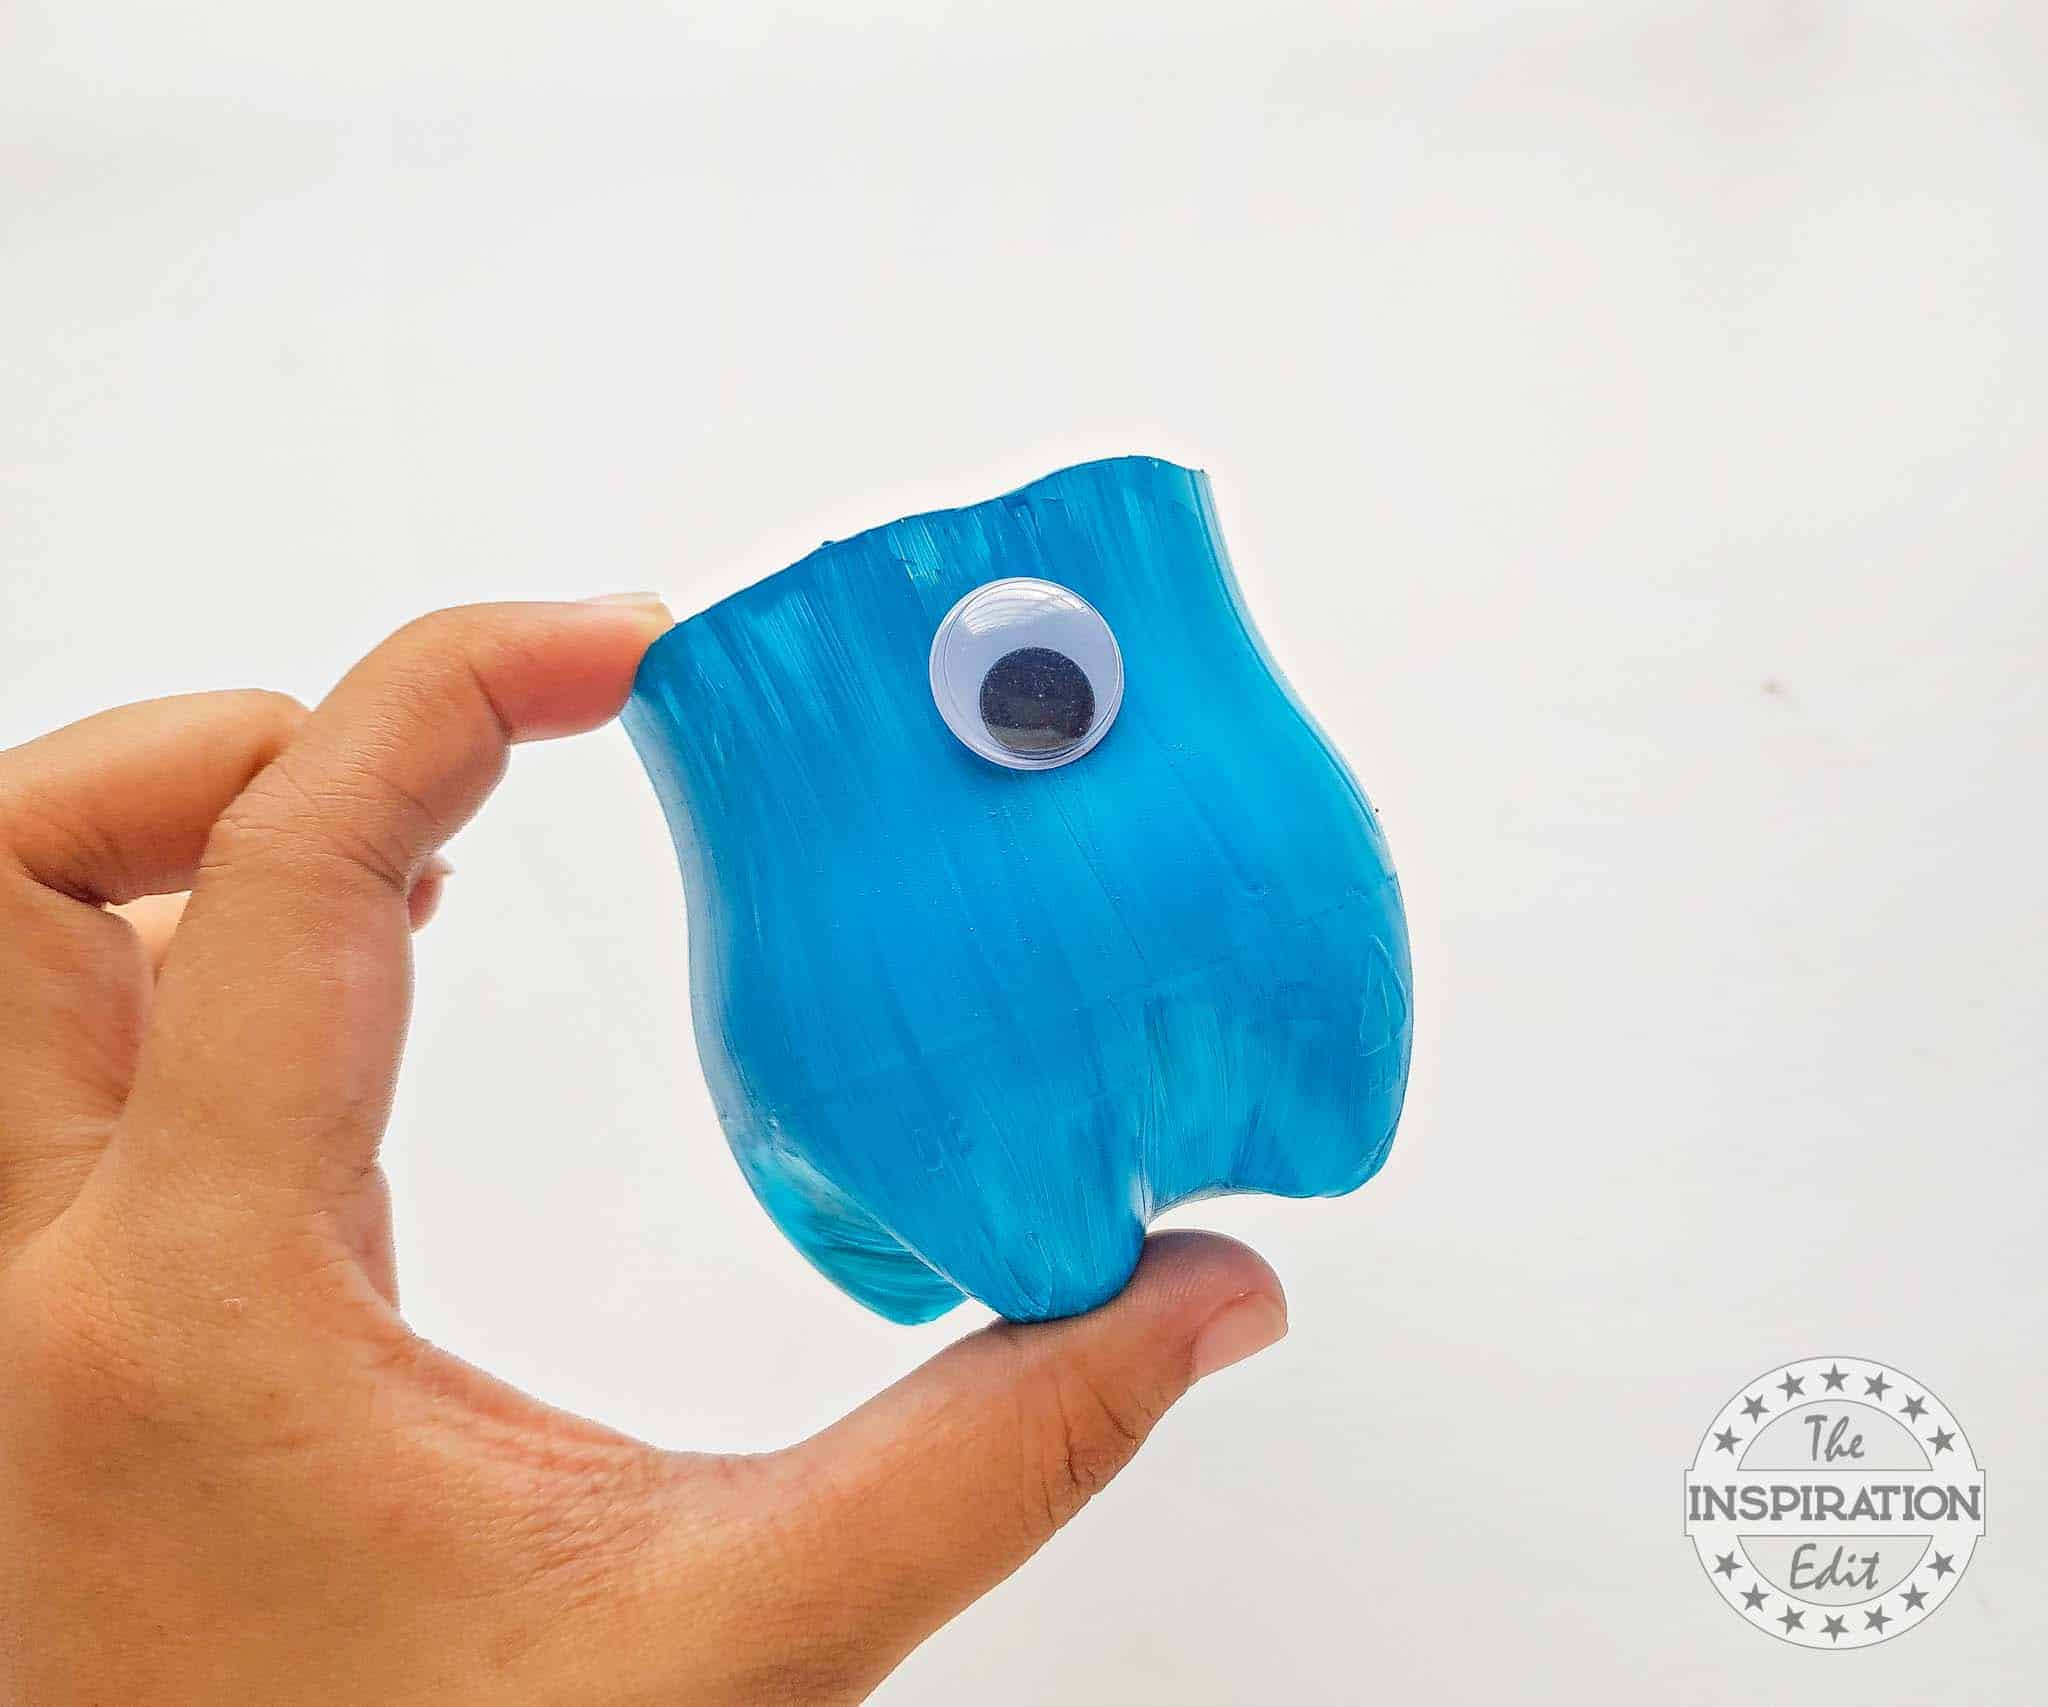
Step 4:
Add googly eyes to the painted planter. You can add 1 or 2 eyes, however, you want. Use craft glue to attach the eyes to the planter.
Step 5:
Use a black sharpie to draw a smile or mouth of the monster on the painted bottle planter.

You can add more details to the monster planter if you want to.

Add mixed soil and plants to planter and display!

DIY Monster Planters: A Recycled Masterpiece

This is a tutorial on how to make a recycled masterpiece DIY monster planters.
Materials
- Plastic bottle
- Exacto knife
- Temporary marker
- Googly eyes
- Craft glue
- Acrylic paint
- Paintbrush
Tools
- Scissors
Instructions
Wash, clean, and dry the plastic bottles. Determine the height for the planters and mark the bottle (from its bottom end) using a temporary marker. Use an Exacto knife to cut out the marked bottom end of the plastic bottle.
Try keeping the top open end of the bottle’s bottom cutout part as straight as possible. You can use scissors to get even top end for the planter.
Select acrylic paint of your choice and apply a coat on the outer surface of the bottle cutout. Allow the 1st coat of paint to dry and then apply another coat. Allow the 2nd coat to dry entirely as well.
Add googly eyes to the painted planter. You can add 1 or 2 eyes, however, you want. Use craft glue to attach the eyes to the planter.
Use a black sharpie to draw a smile or mouth of the monster on the painted bottle planter.
You can add more details to the monster planter if you want to.
Add mixed soil and plants to planter and display!
You may enjoy the following posts:
The benefits of role play in early years
Build fine motor skills with summer printables

Angela Milnes is a Qualified Early Years Teacher who has specialised in Preschool and Kindergarten teaching. She has a wealth of experience teaching young children and is passionate about kids crafts and having fun as a family. Angela has also taught cooking skills and loves to share both family recipes and easy crafts here on The Inspiration Edit. Follow her on Pinterest!


