

The Nightmare Before Christmas is a great Disney movie and today we have a super fun paper craft and Disney themed Christmas ornament to go alongside this fantastic movie.
If you're a fan of Sally then you'll love this easy Mickey ears paper craft. It's simple to follow and the kids will love to make this ornament for the Christmas tree or as a lovely gift.
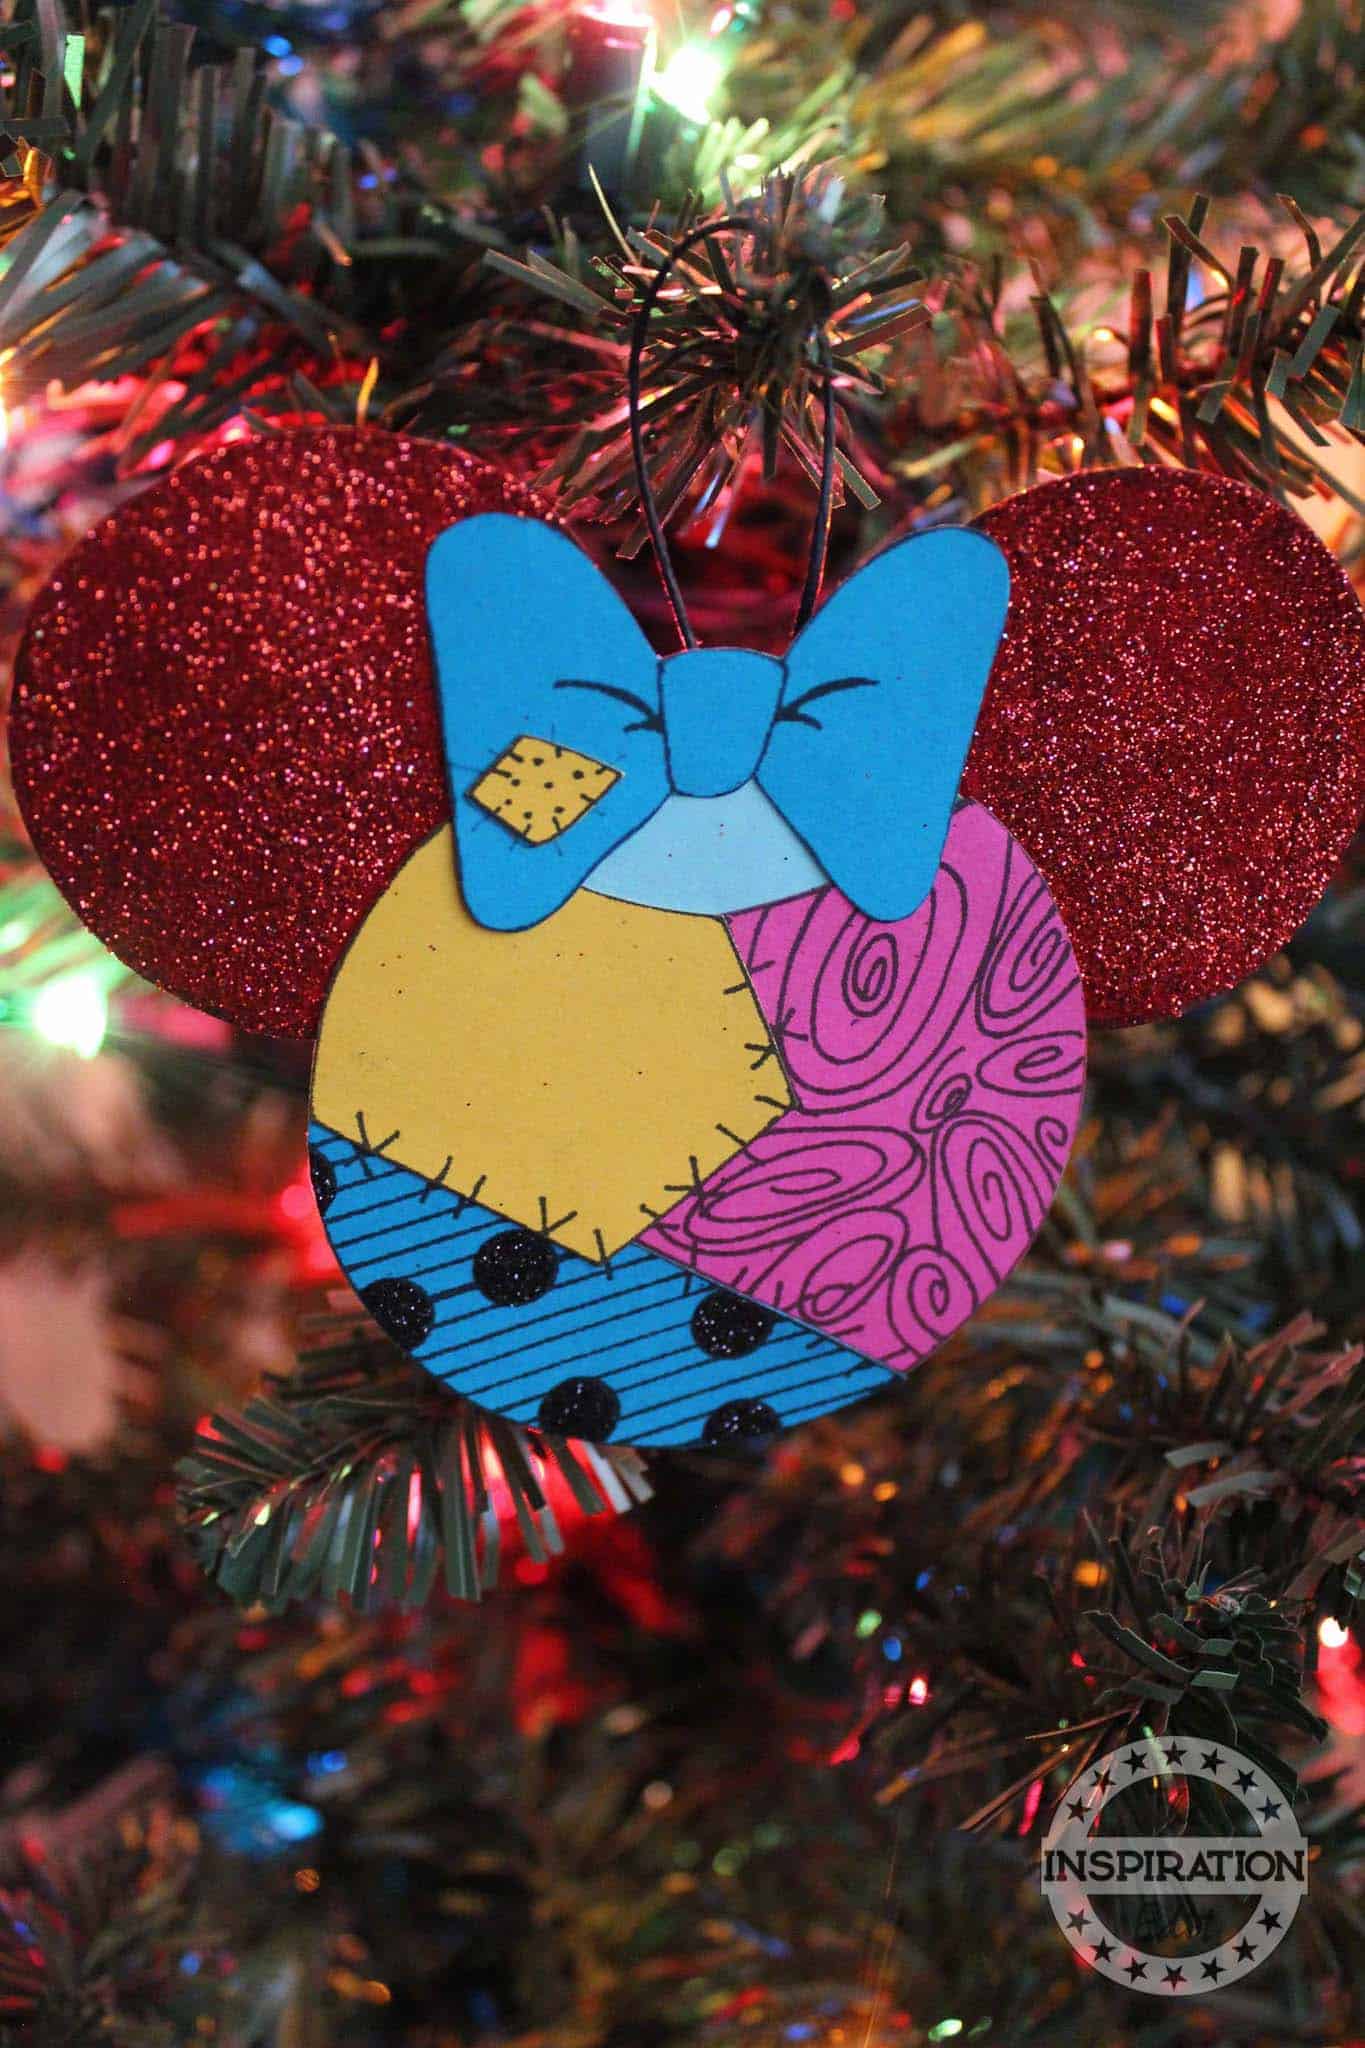
Don't forget to check out our many fantastic Disney Ornaments today. We have plenty of free downloads you will love from the Snow White Disney ears paper craft to a Poison Apple Mickey Ornament. We even have a fantastic Olaf Mickey Ears tutorial which I am sure you will love too!
Jump to:
💖 Why You'll Love This Craft
- Timeless Disney Charm: This craft brings Sally from The Nightmare Before Christmas together with Mickey Mouse in a fun and festive ornament that’s perfect for any Disney fan.
- Simple and Fun to Make: With a free template, kids can easily cut, decorate, and assemble their ornament—perfect for crafters of all skill levels.
- Perfect Keepsake: After crafting, this ornament will be a cherished addition to your holiday traditions
🖌️ How To Make This Nightmare Before Christmas Sally Craft
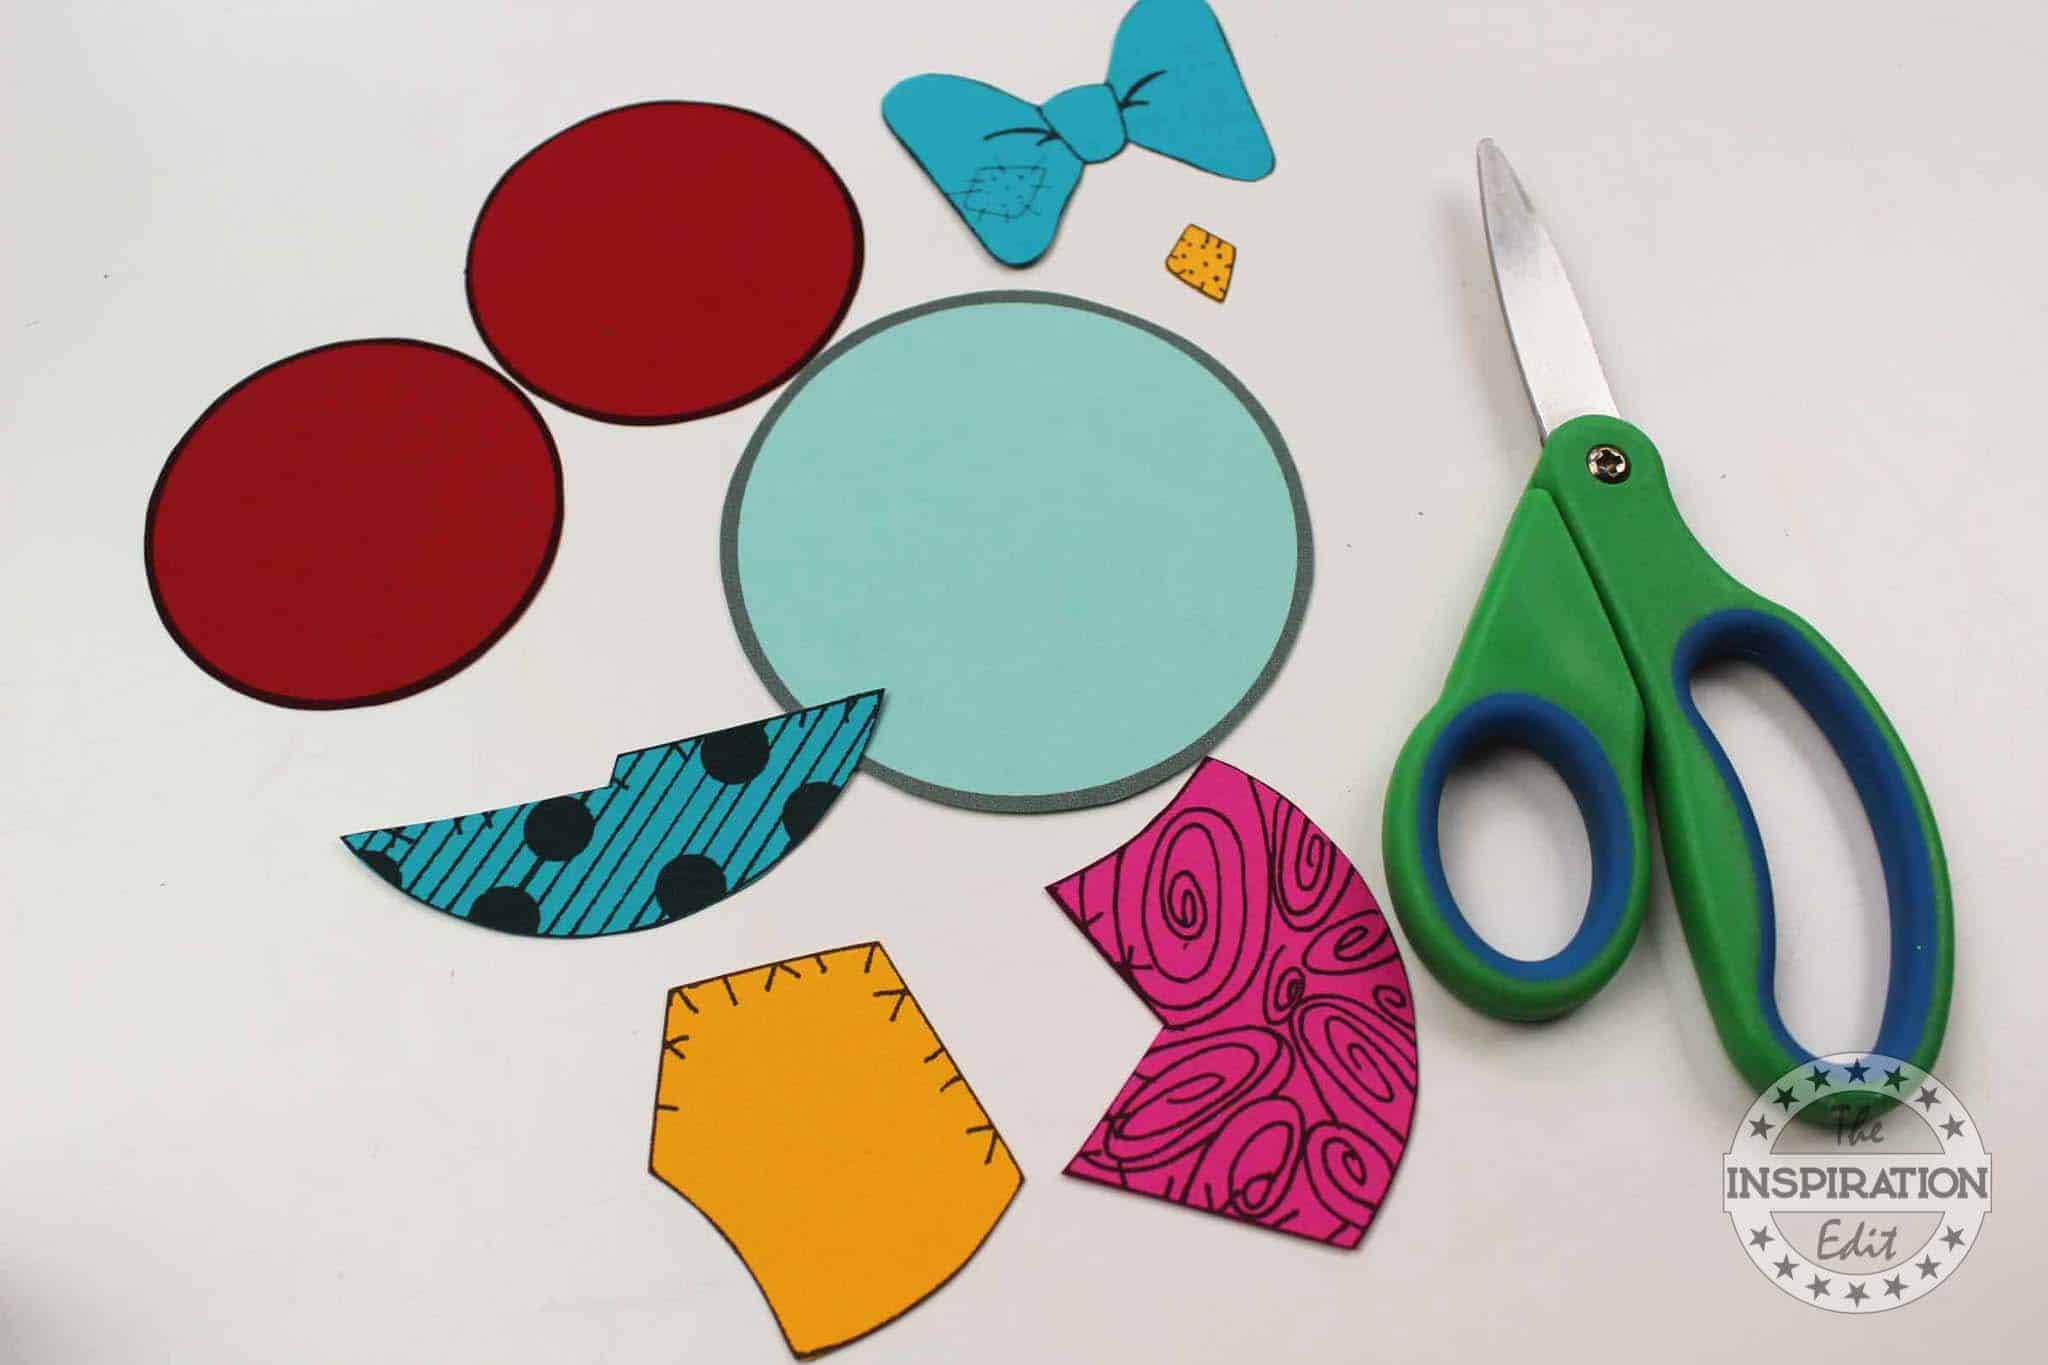
- Step 1: Download and print out the Sally Mickey head ornament template. Pay close attention to the colours the PDF instructs you to print each page on.
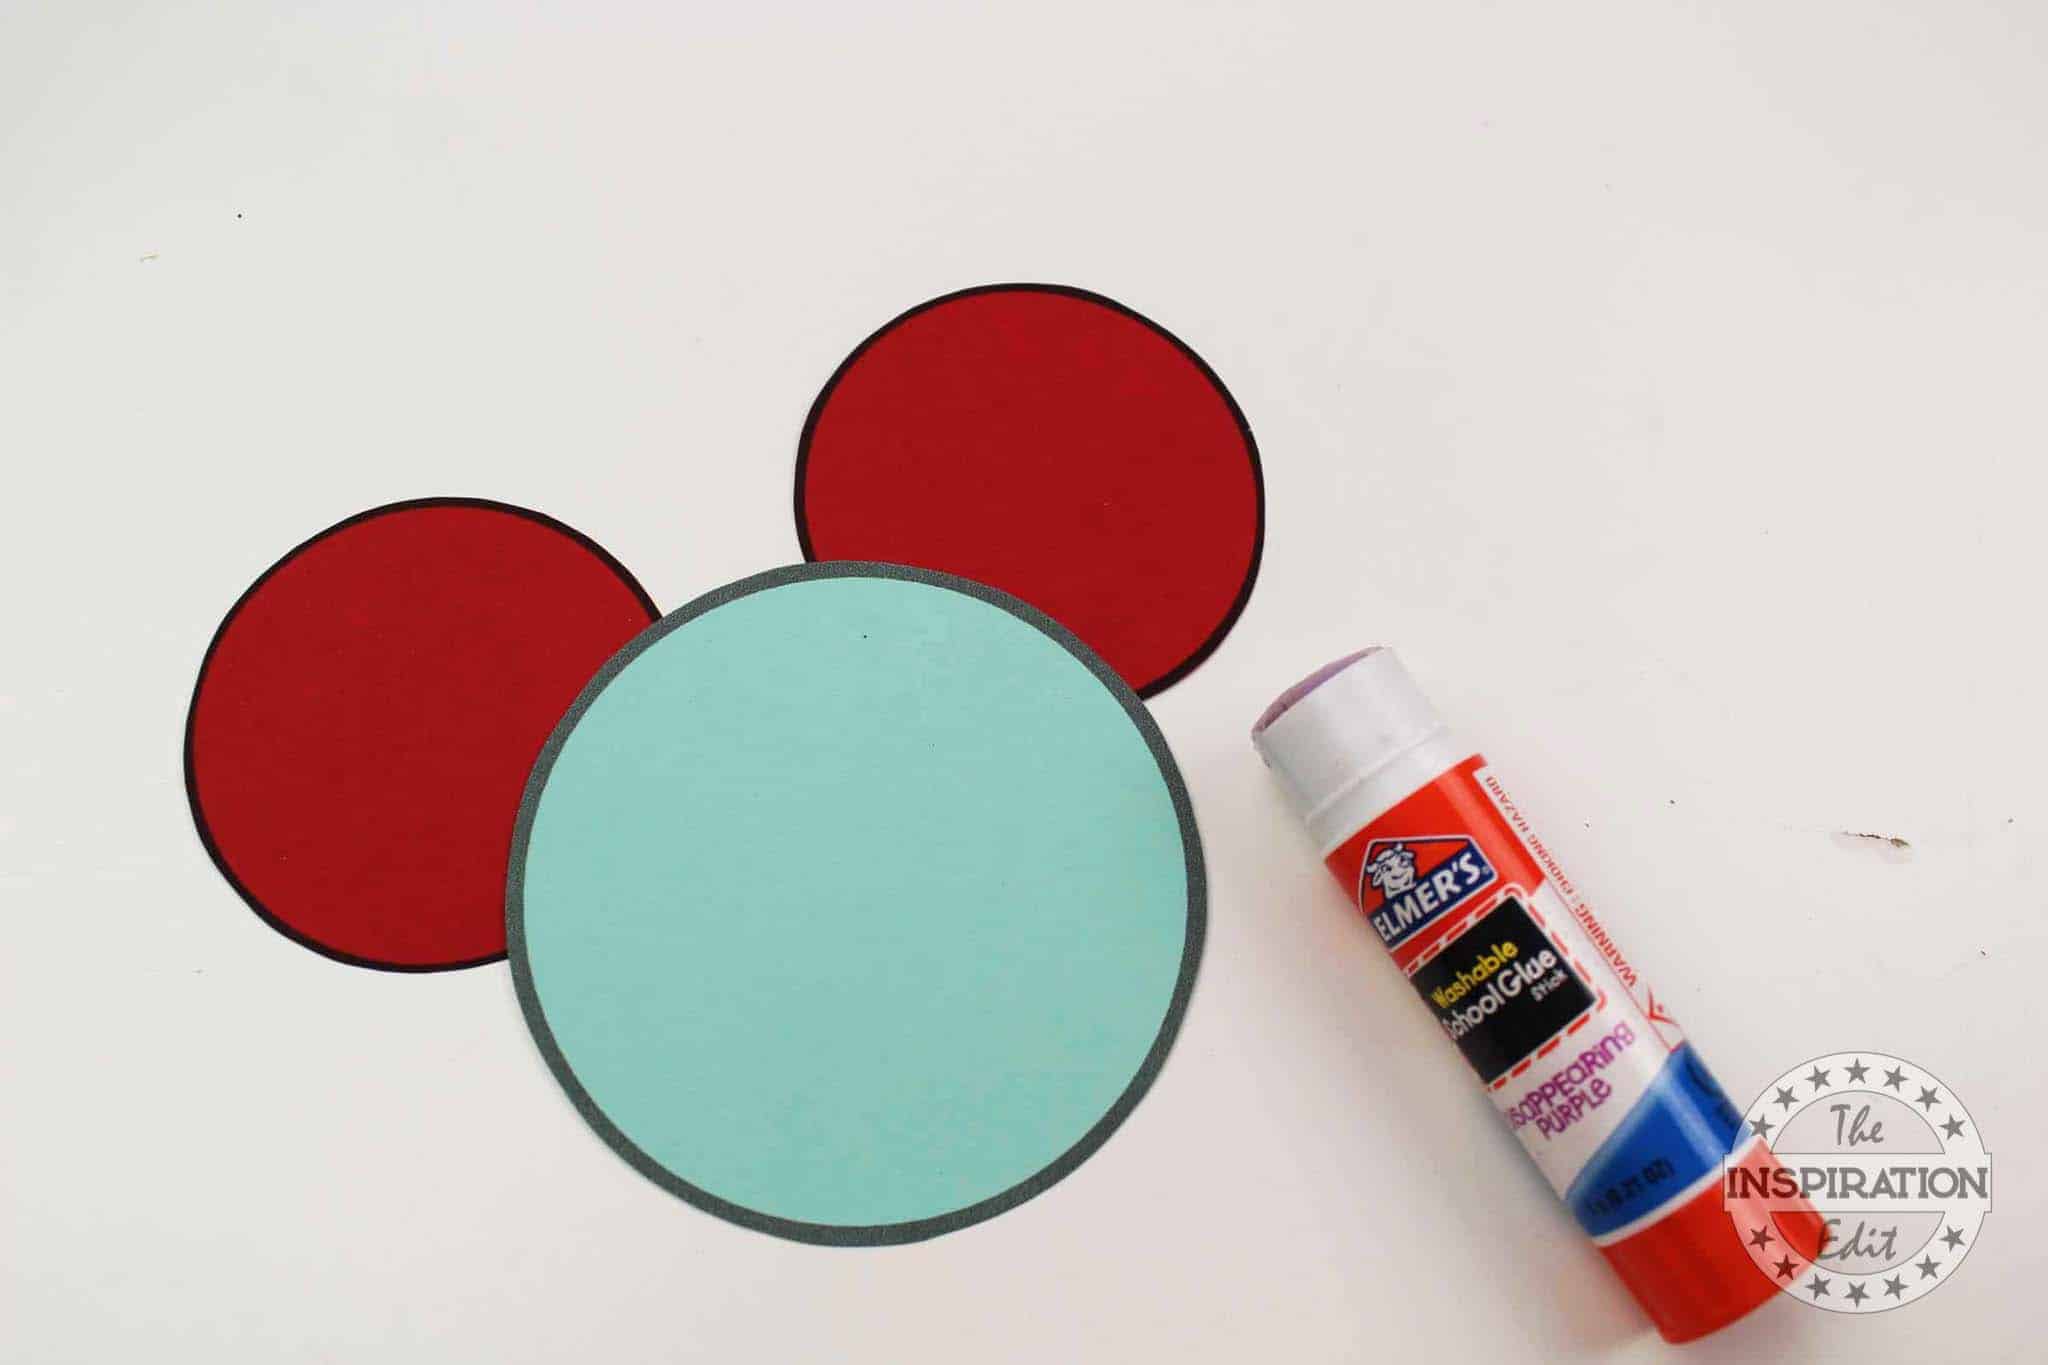
- Step 2: Start assembling Sally by gluing the ears behind the ornament, followed by her clothes onto the front and the bow on top.
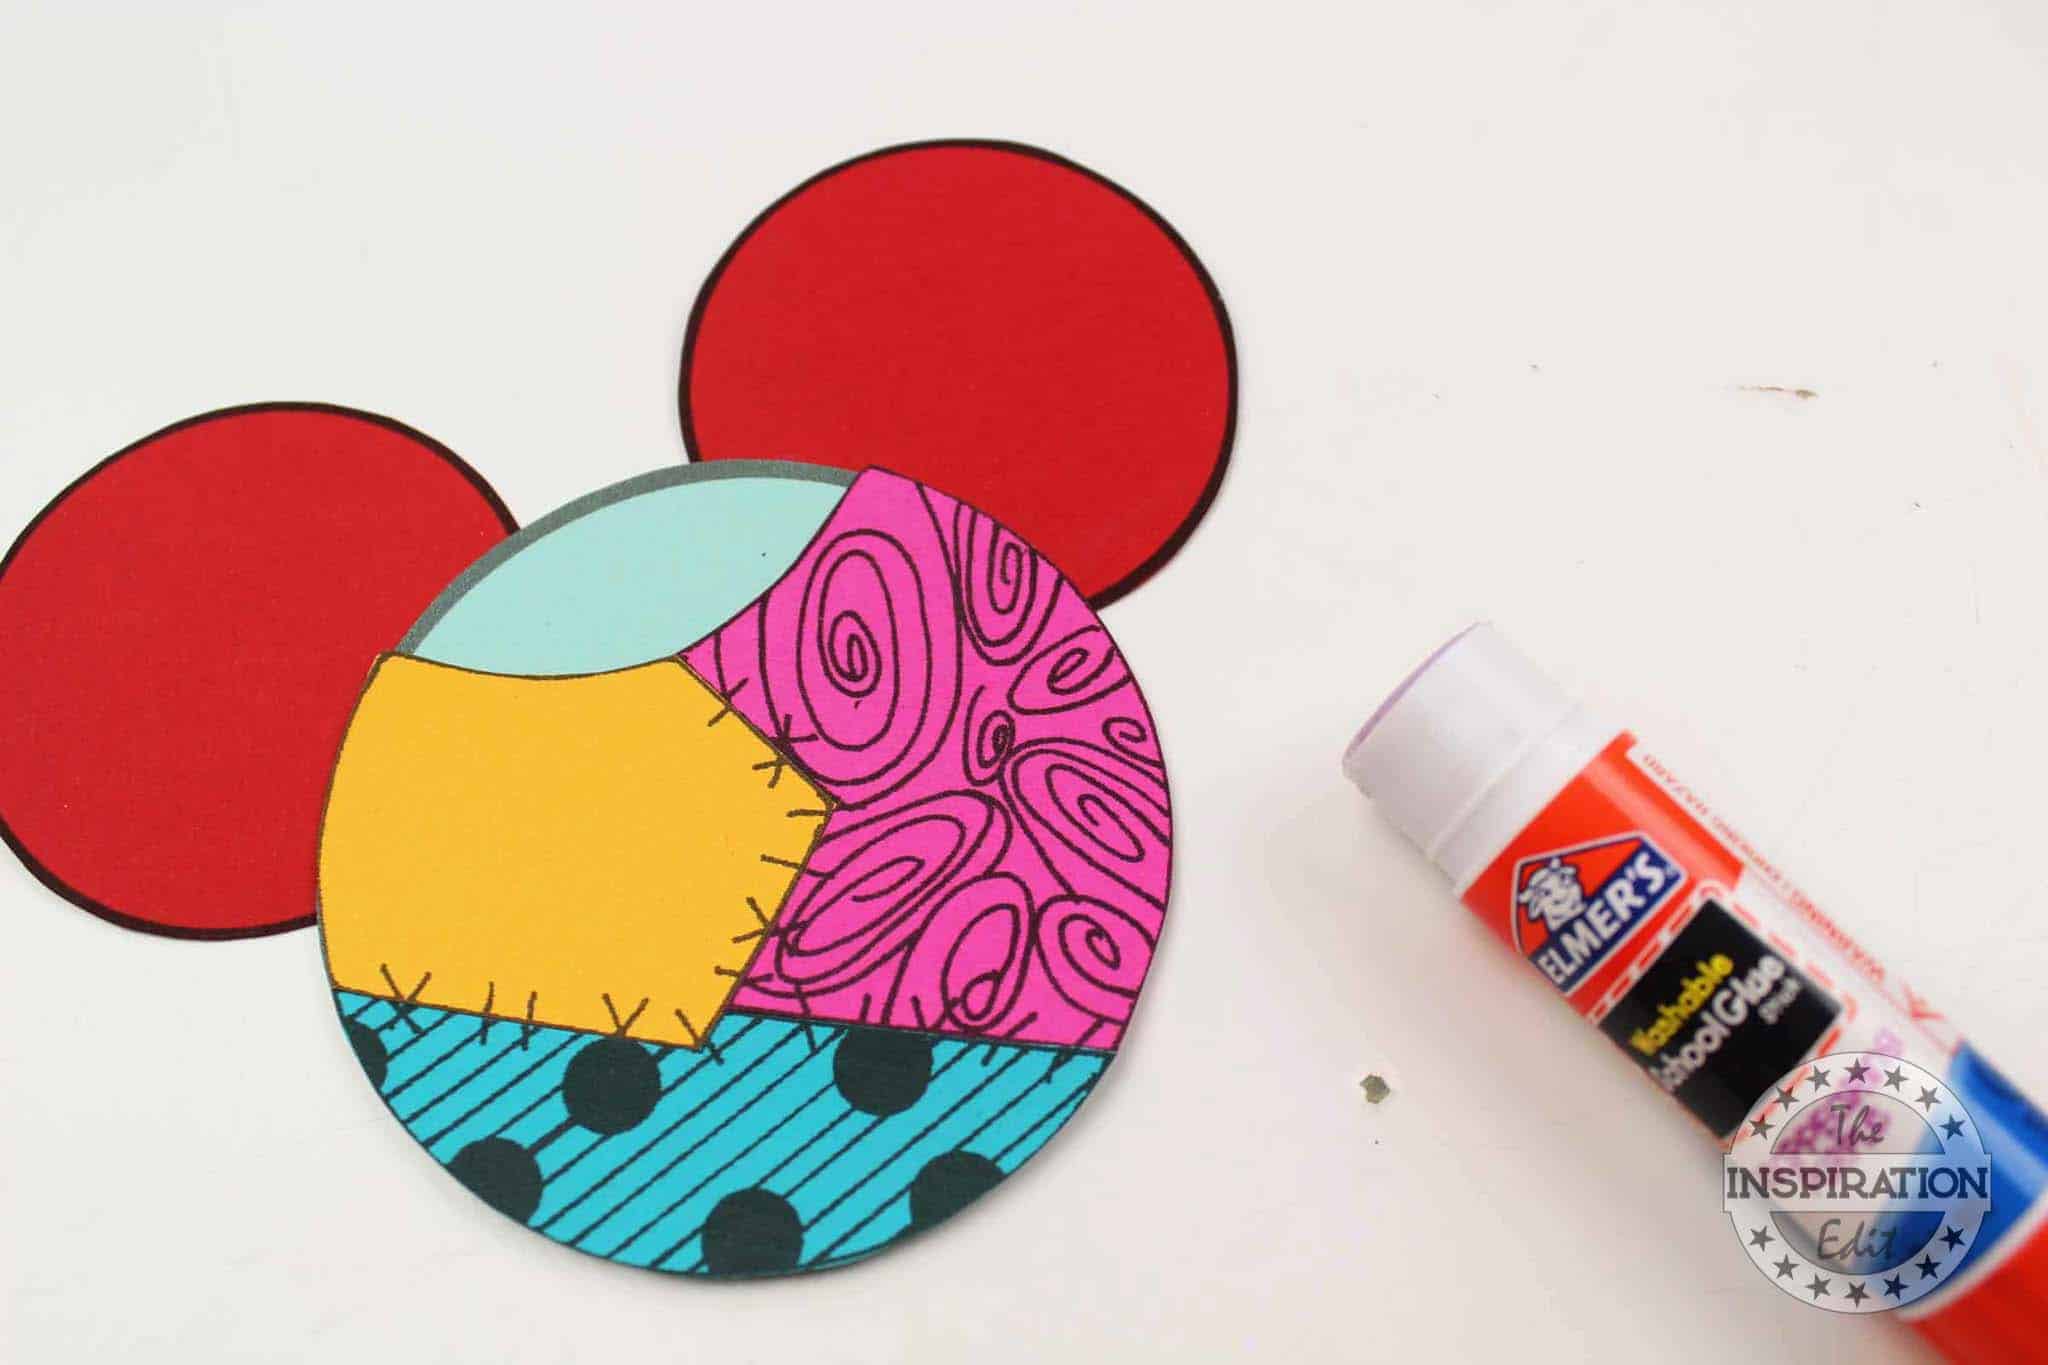
- Step 3: Carefully add white glue to the areas you’d like to glitter.
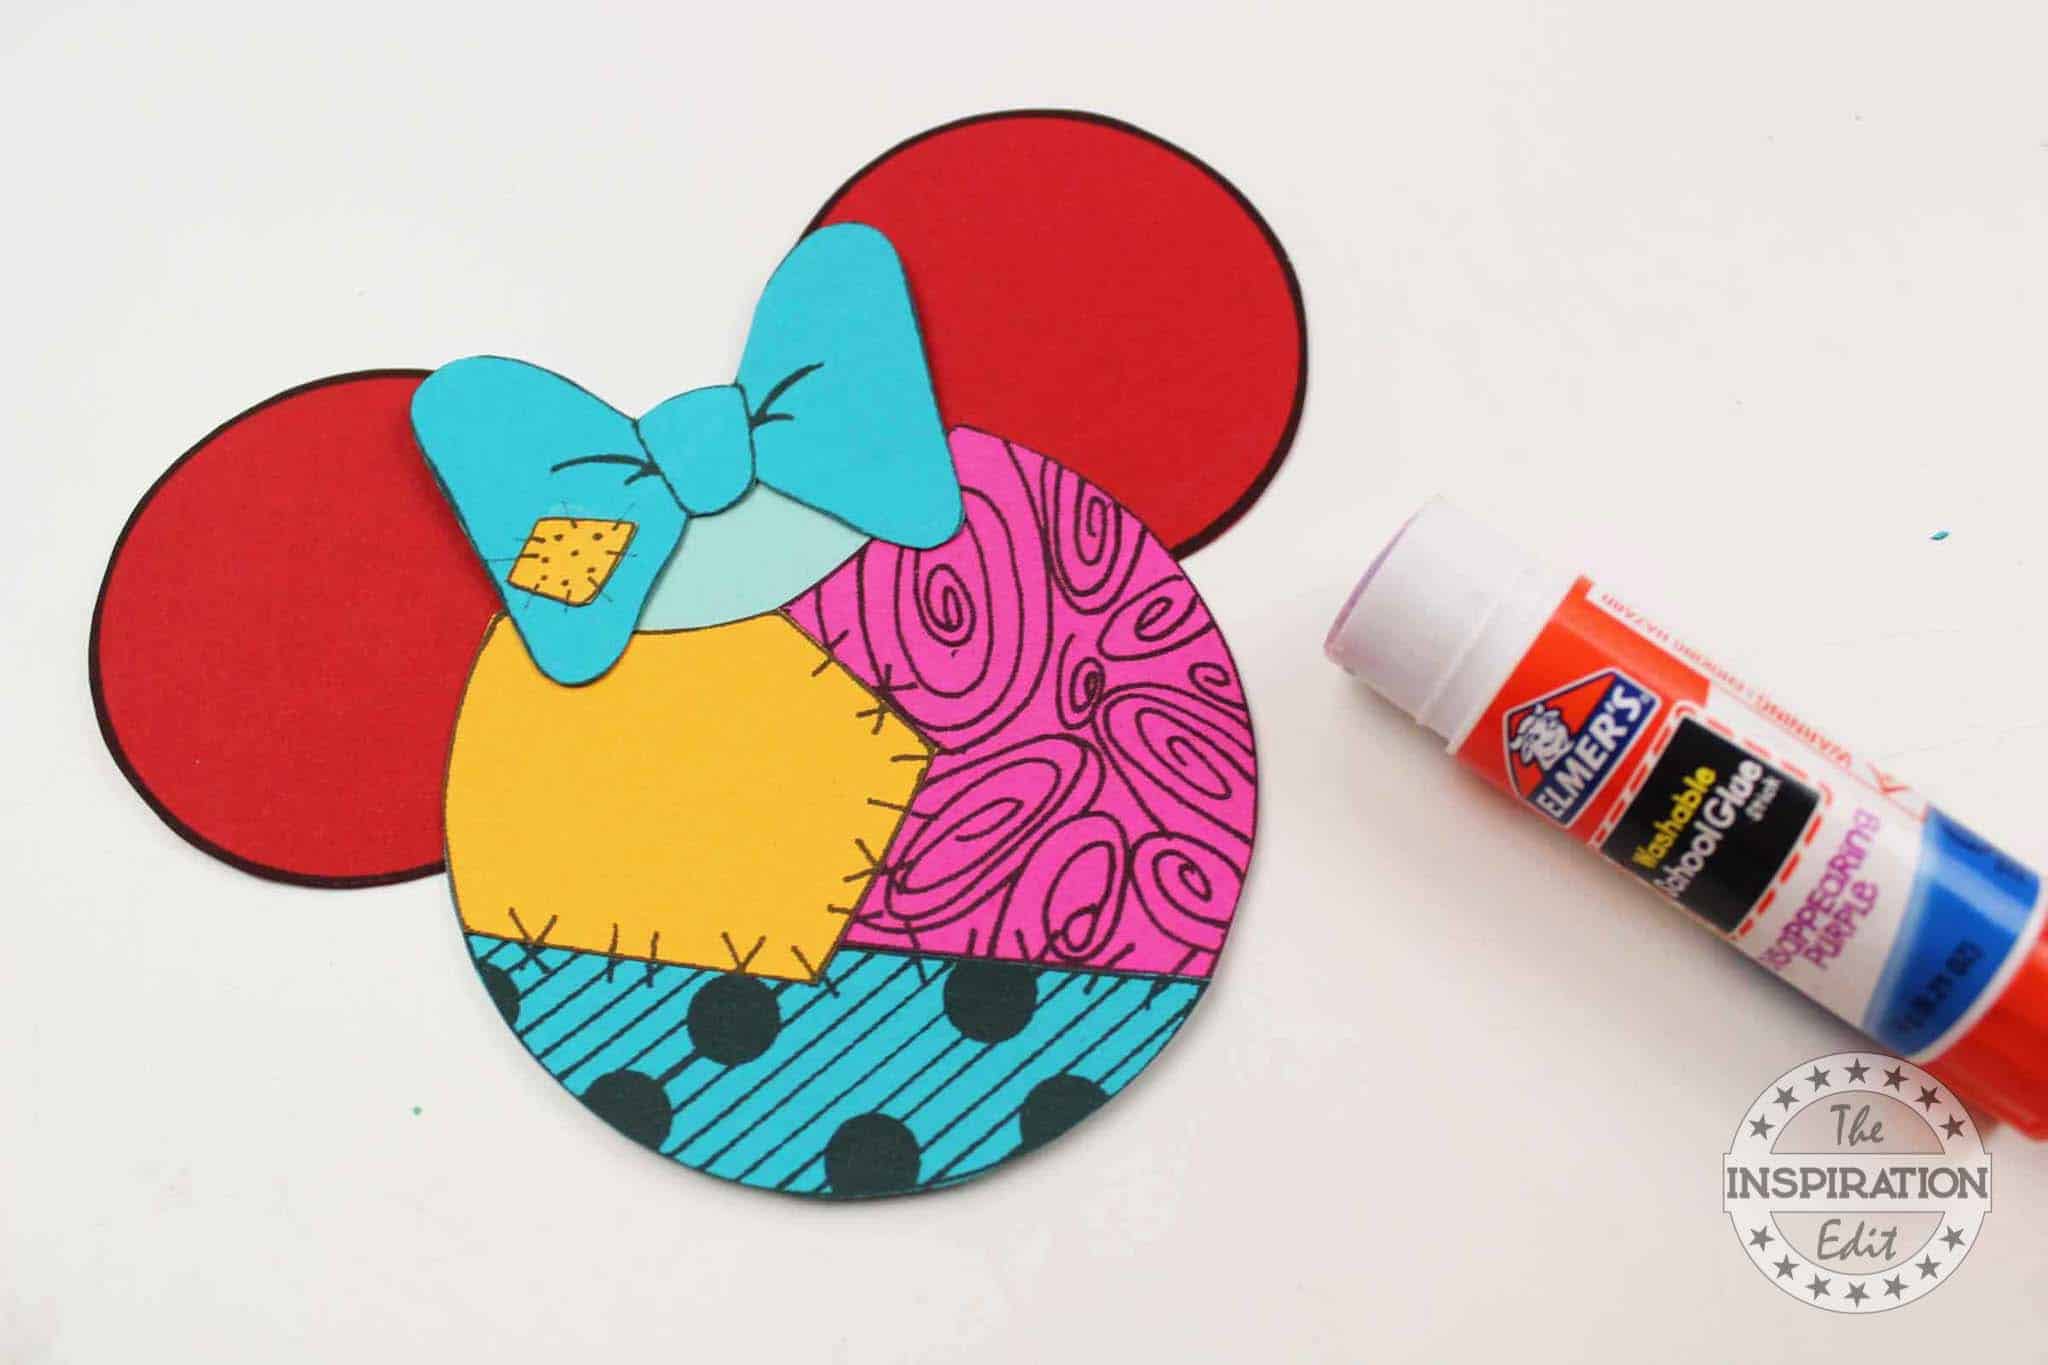
- Step 4: Add glitter and shake off excess. If glitter is not your thing, you can absolutely leave this part out of the process.
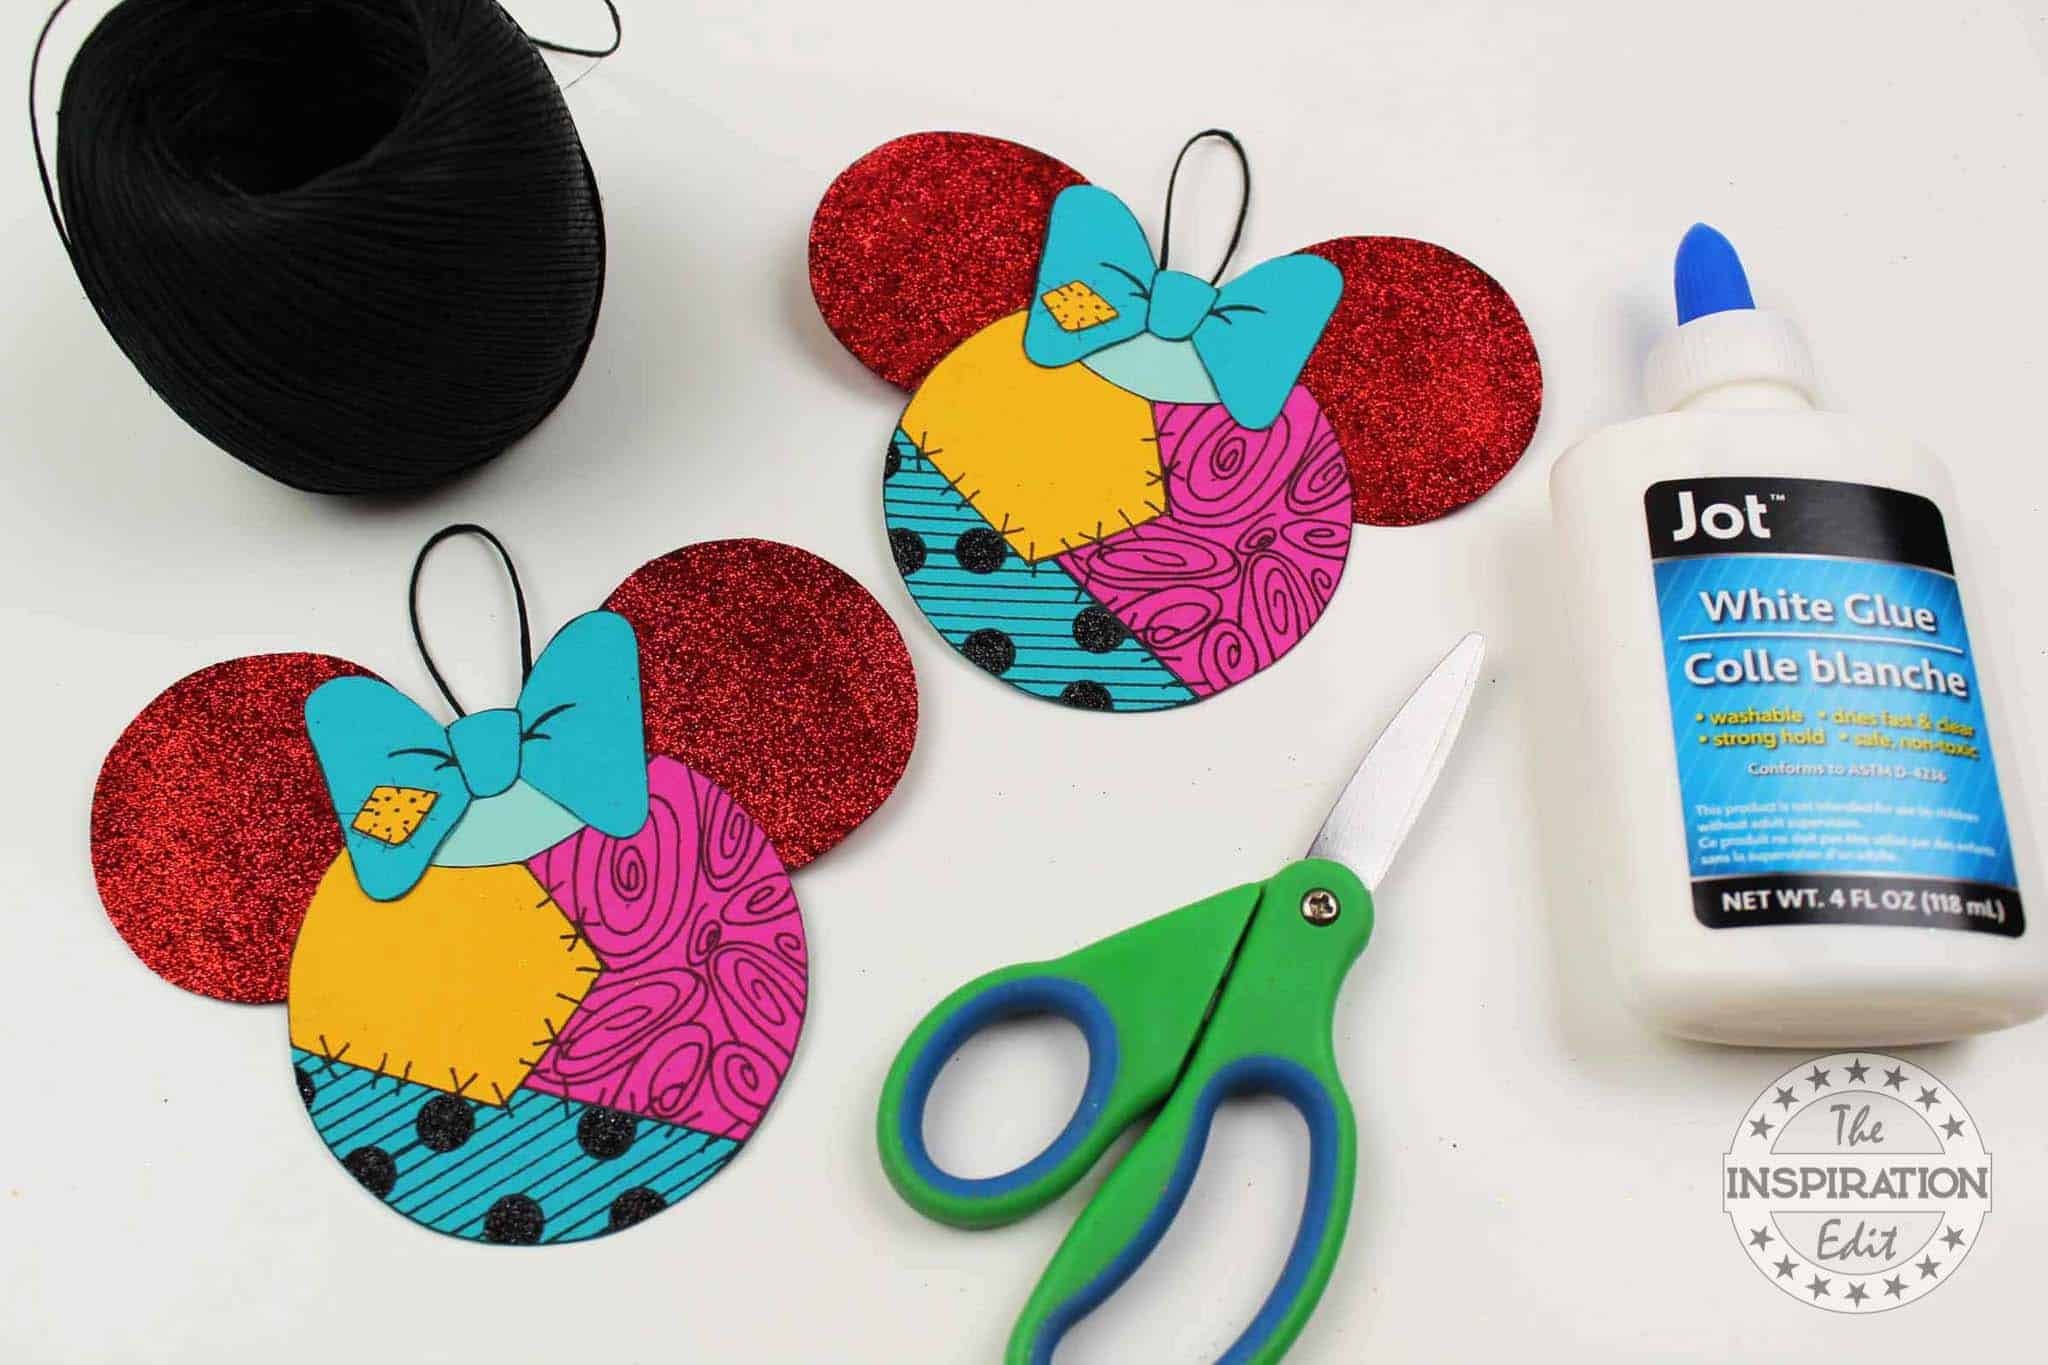
- Step 5: Cut a small bit of ribbon, thread or twine and loop it. Glue this behind the Sally ornament.
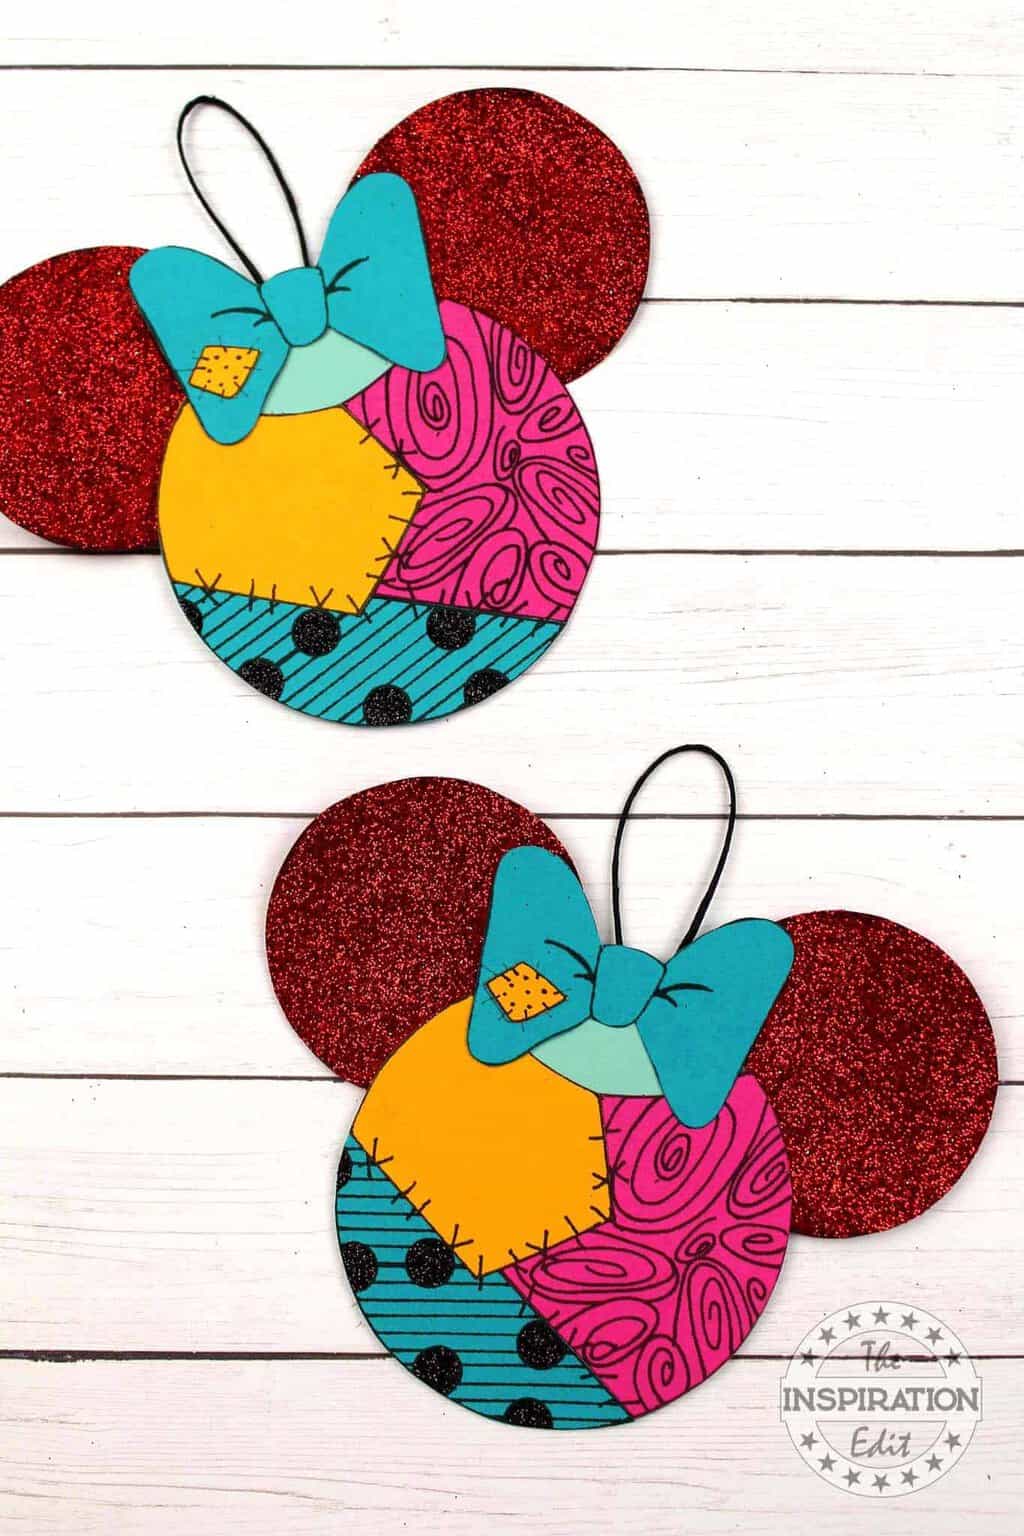
- Step 6: If you’d like to cover the glued ribbon, simply add a circle the same colour as Sally to the back.Your ornament is done and ready for your Christmas tree!
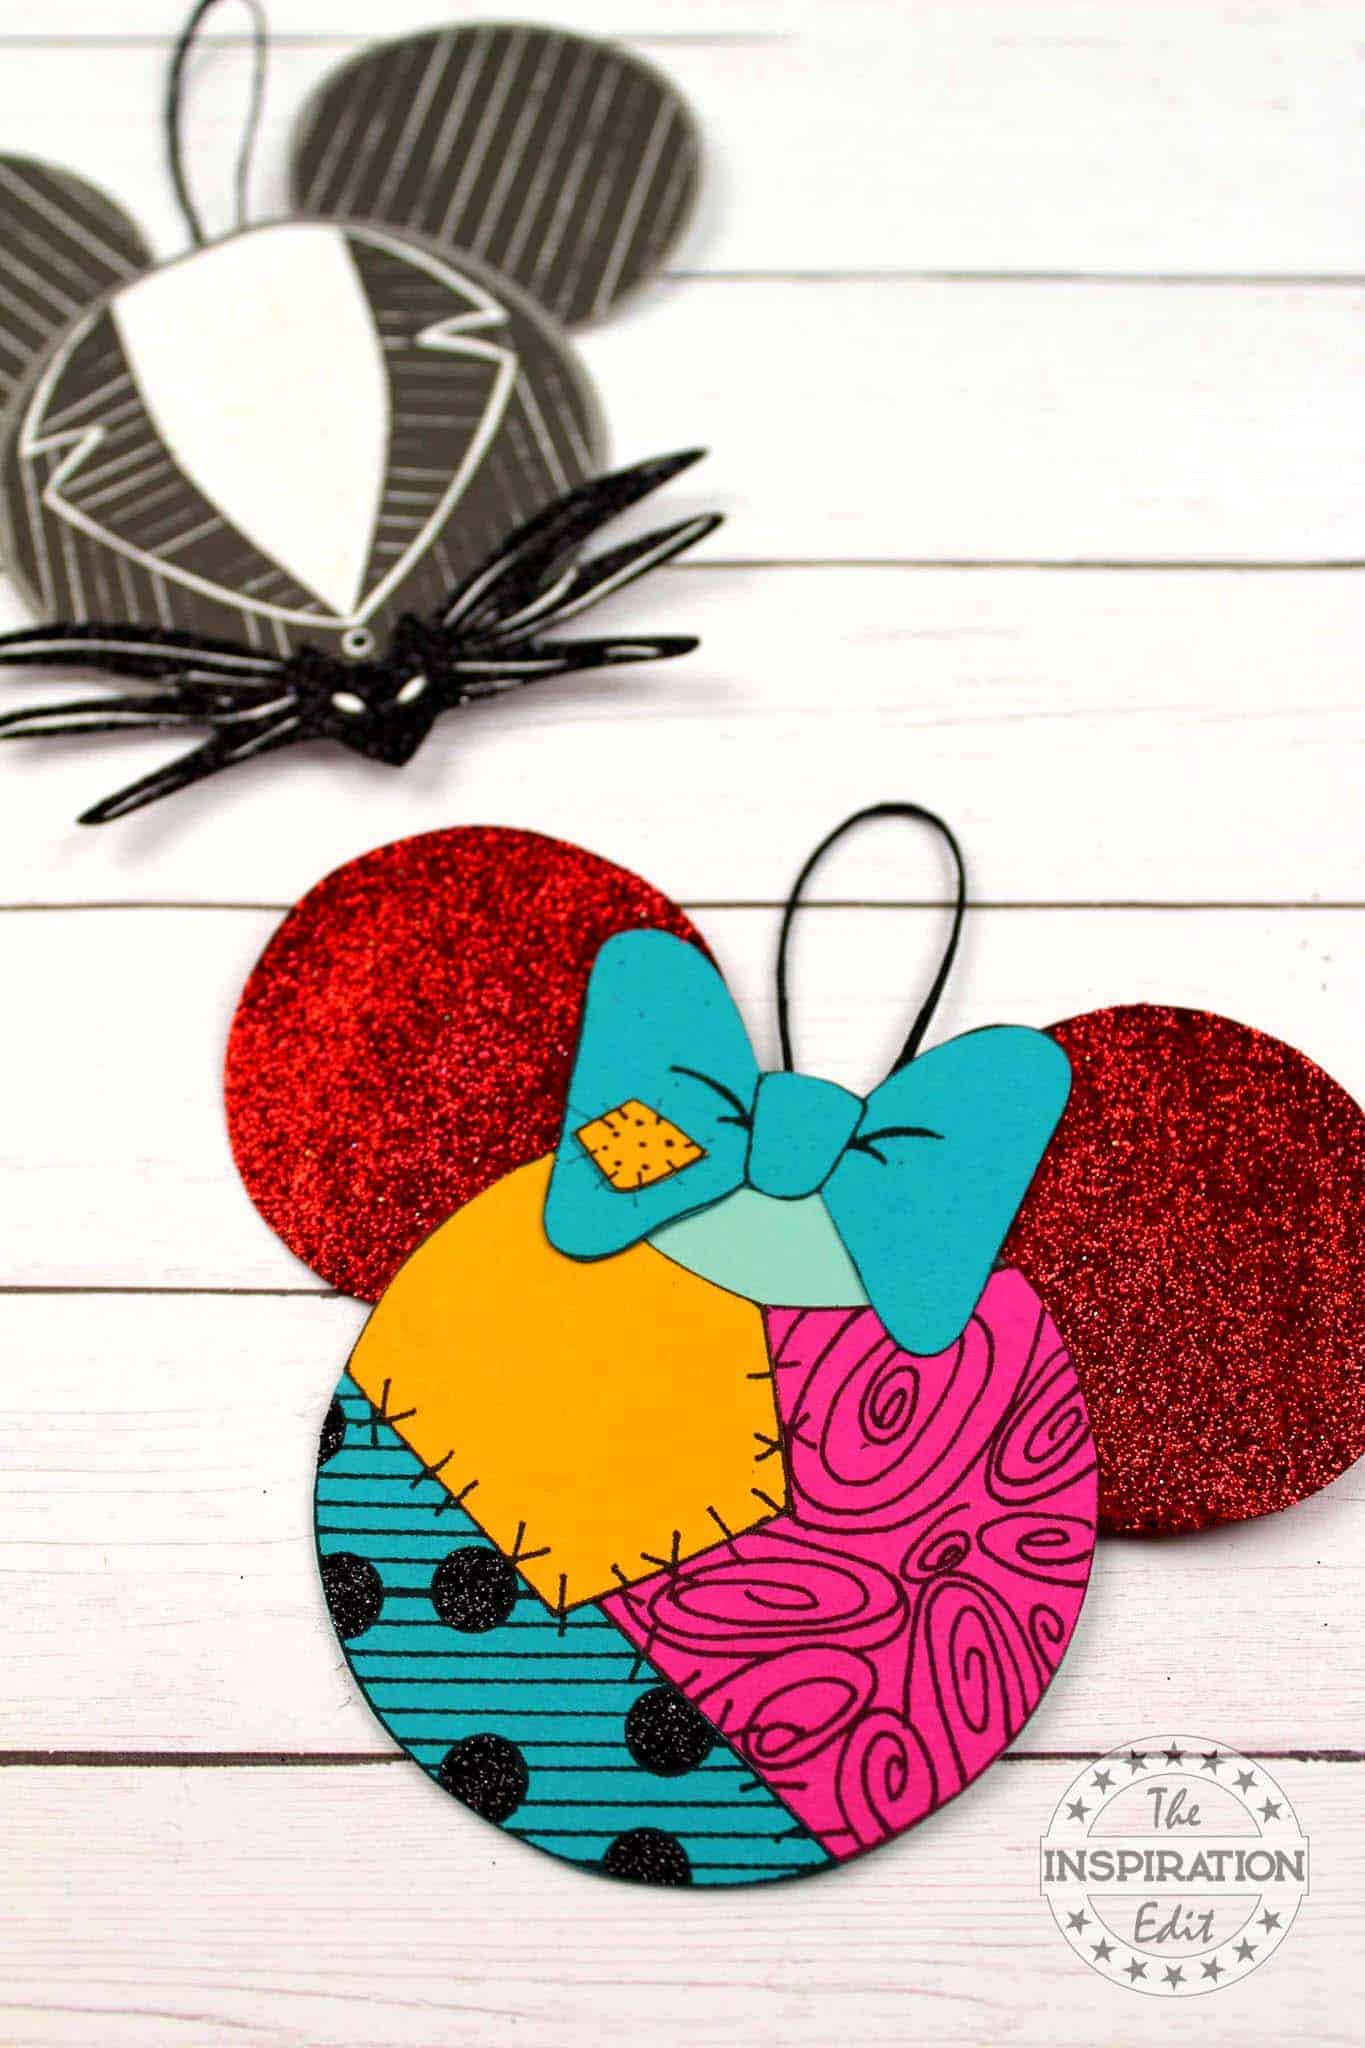
💡 Pro Tip: Having children line up their finished shapes side by side to notice tiny differences cultivates keen observation and pride in precision.
🧑🎨 Expert Tips
- Unique Personalization: Encourage kids to add their own touches by creating unique patterns on Sally’s dress or Mickey’s ears. This lets them express individuality and gives each ornament a personal flair, making it truly one-of-a-kind.
- Themed Crafting: Create a fun twist by incorporating a Halloween or Christmas theme into the ornament. This allows kids to explore different seasonal styles while keeping the craft relevant to the time of year.
- Textured Elements: Use different materials such as glitter, felt, or shiny paper for the patches and Mickey’s ears. These elements add depth and shine to the craft, making it more visually engaging.
- Artistic Exploration: Have kids experiment with alternative art tools, such as sponges or cotton swabs, for applying paint or designs on the ornament. This encourages them to step outside the usual craft routine and explore new techniques.
- Display Ideas: Once the ornaments are complete, showcase them in a special spot, like a homemade tree or hanging display. This gives children pride in their work and creates a festive atmosphere in the home.
- Crafts with a Purpose: Incorporate a small personal note or wish inside the ornament. This adds an element of sentimentality, making the craft not just decorative but also meaningful.
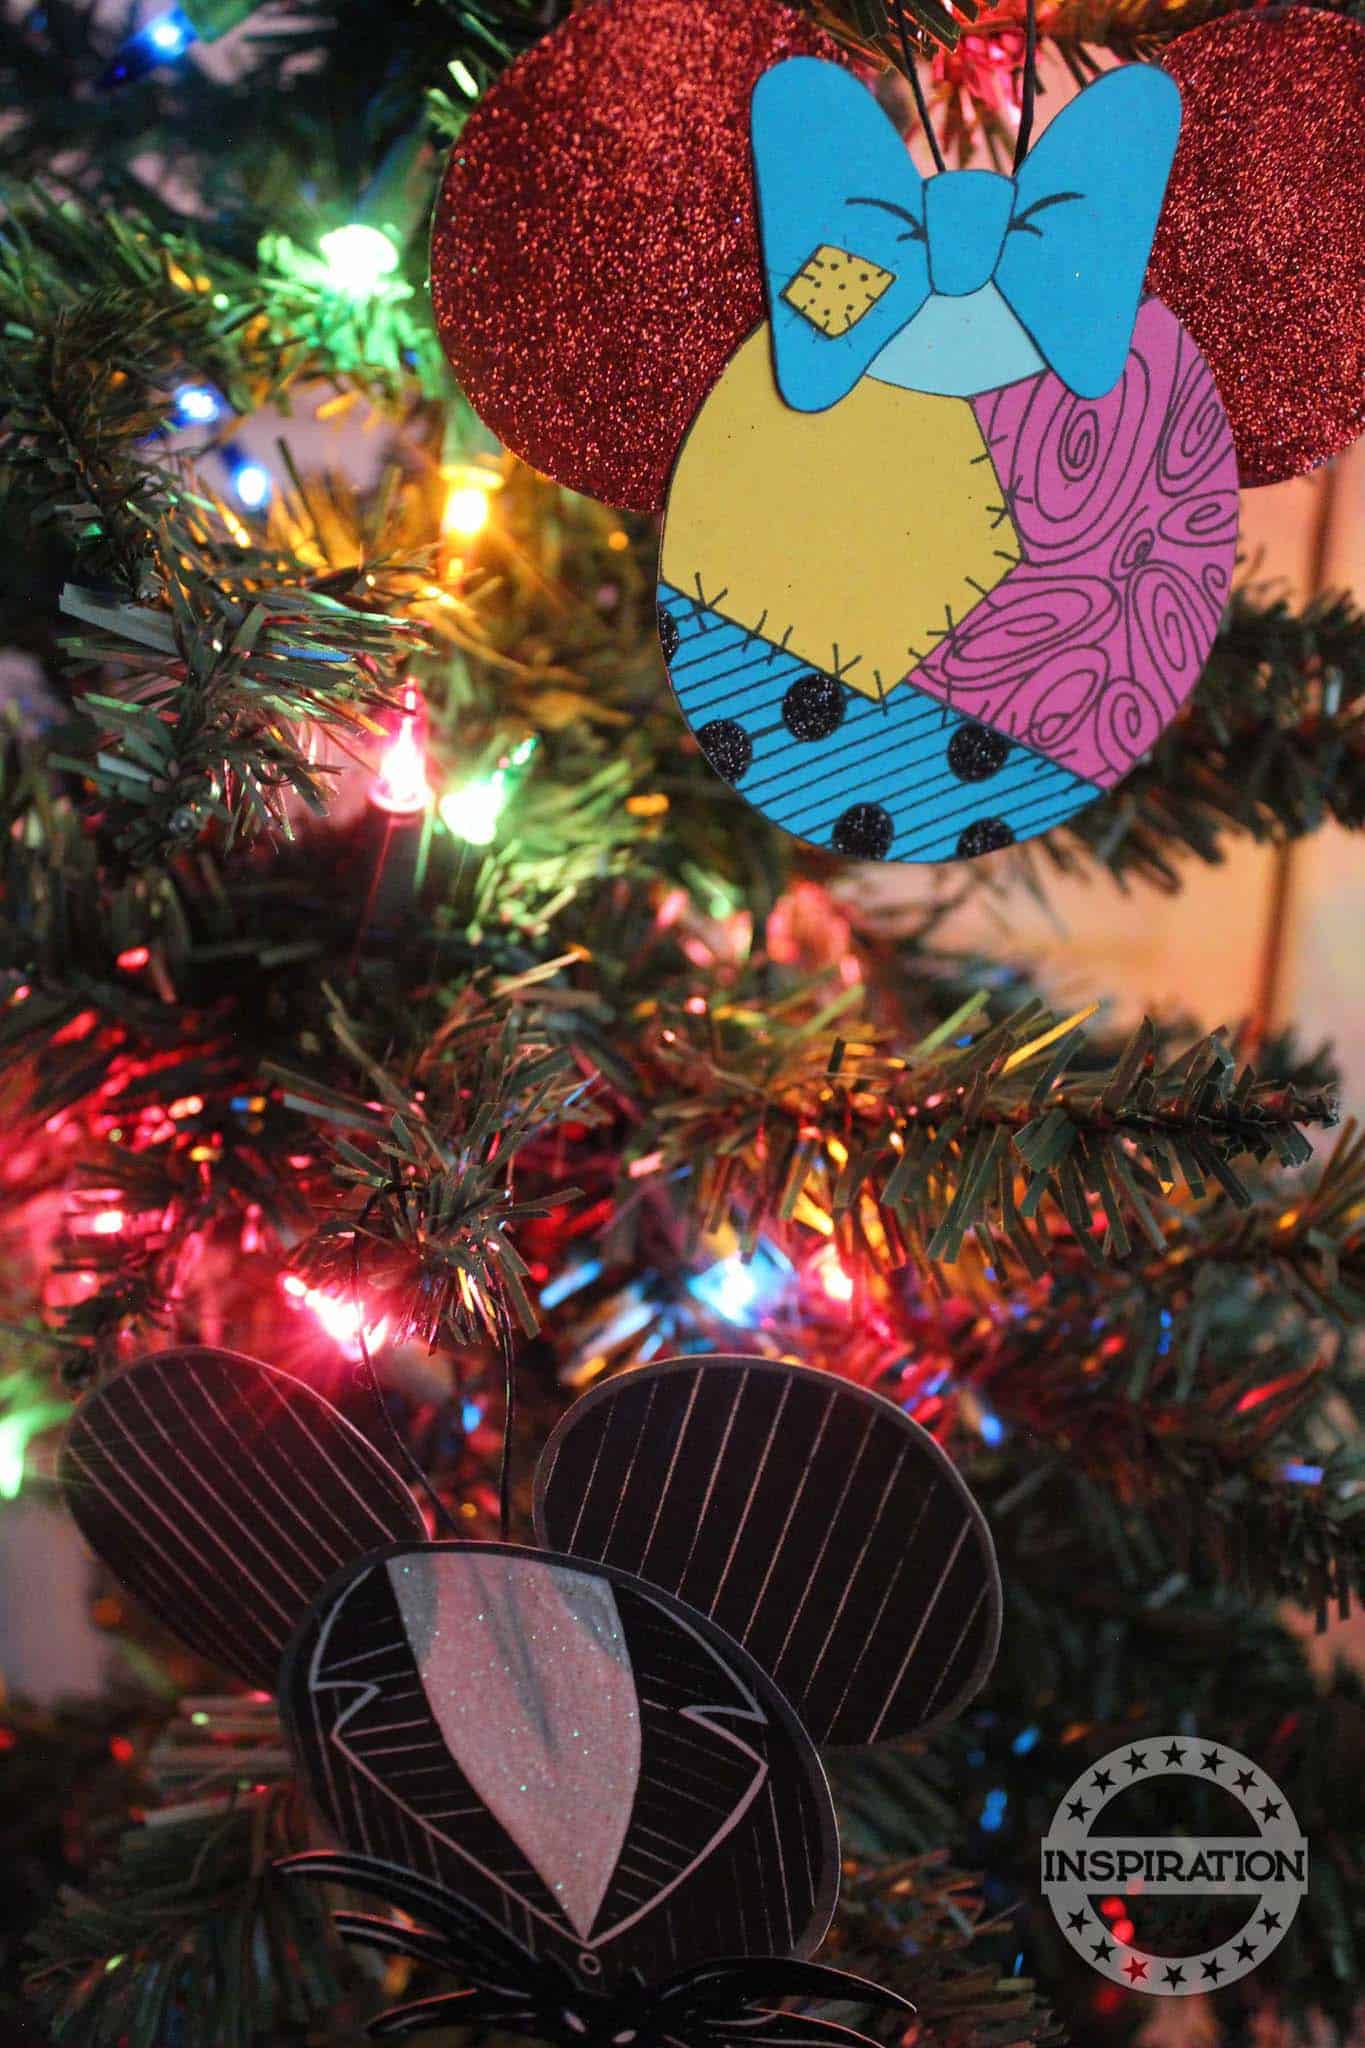


Did you make this craft? Leave a review and comment below! Alternatively, bookmark it in your browser or save to Pinterest.
Download Template
Download Your Free Printable Sally Mickey Head Craft Template here!
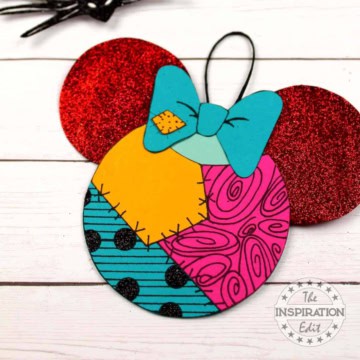
Sally Mickey Head Ornament With Free Template
Materials
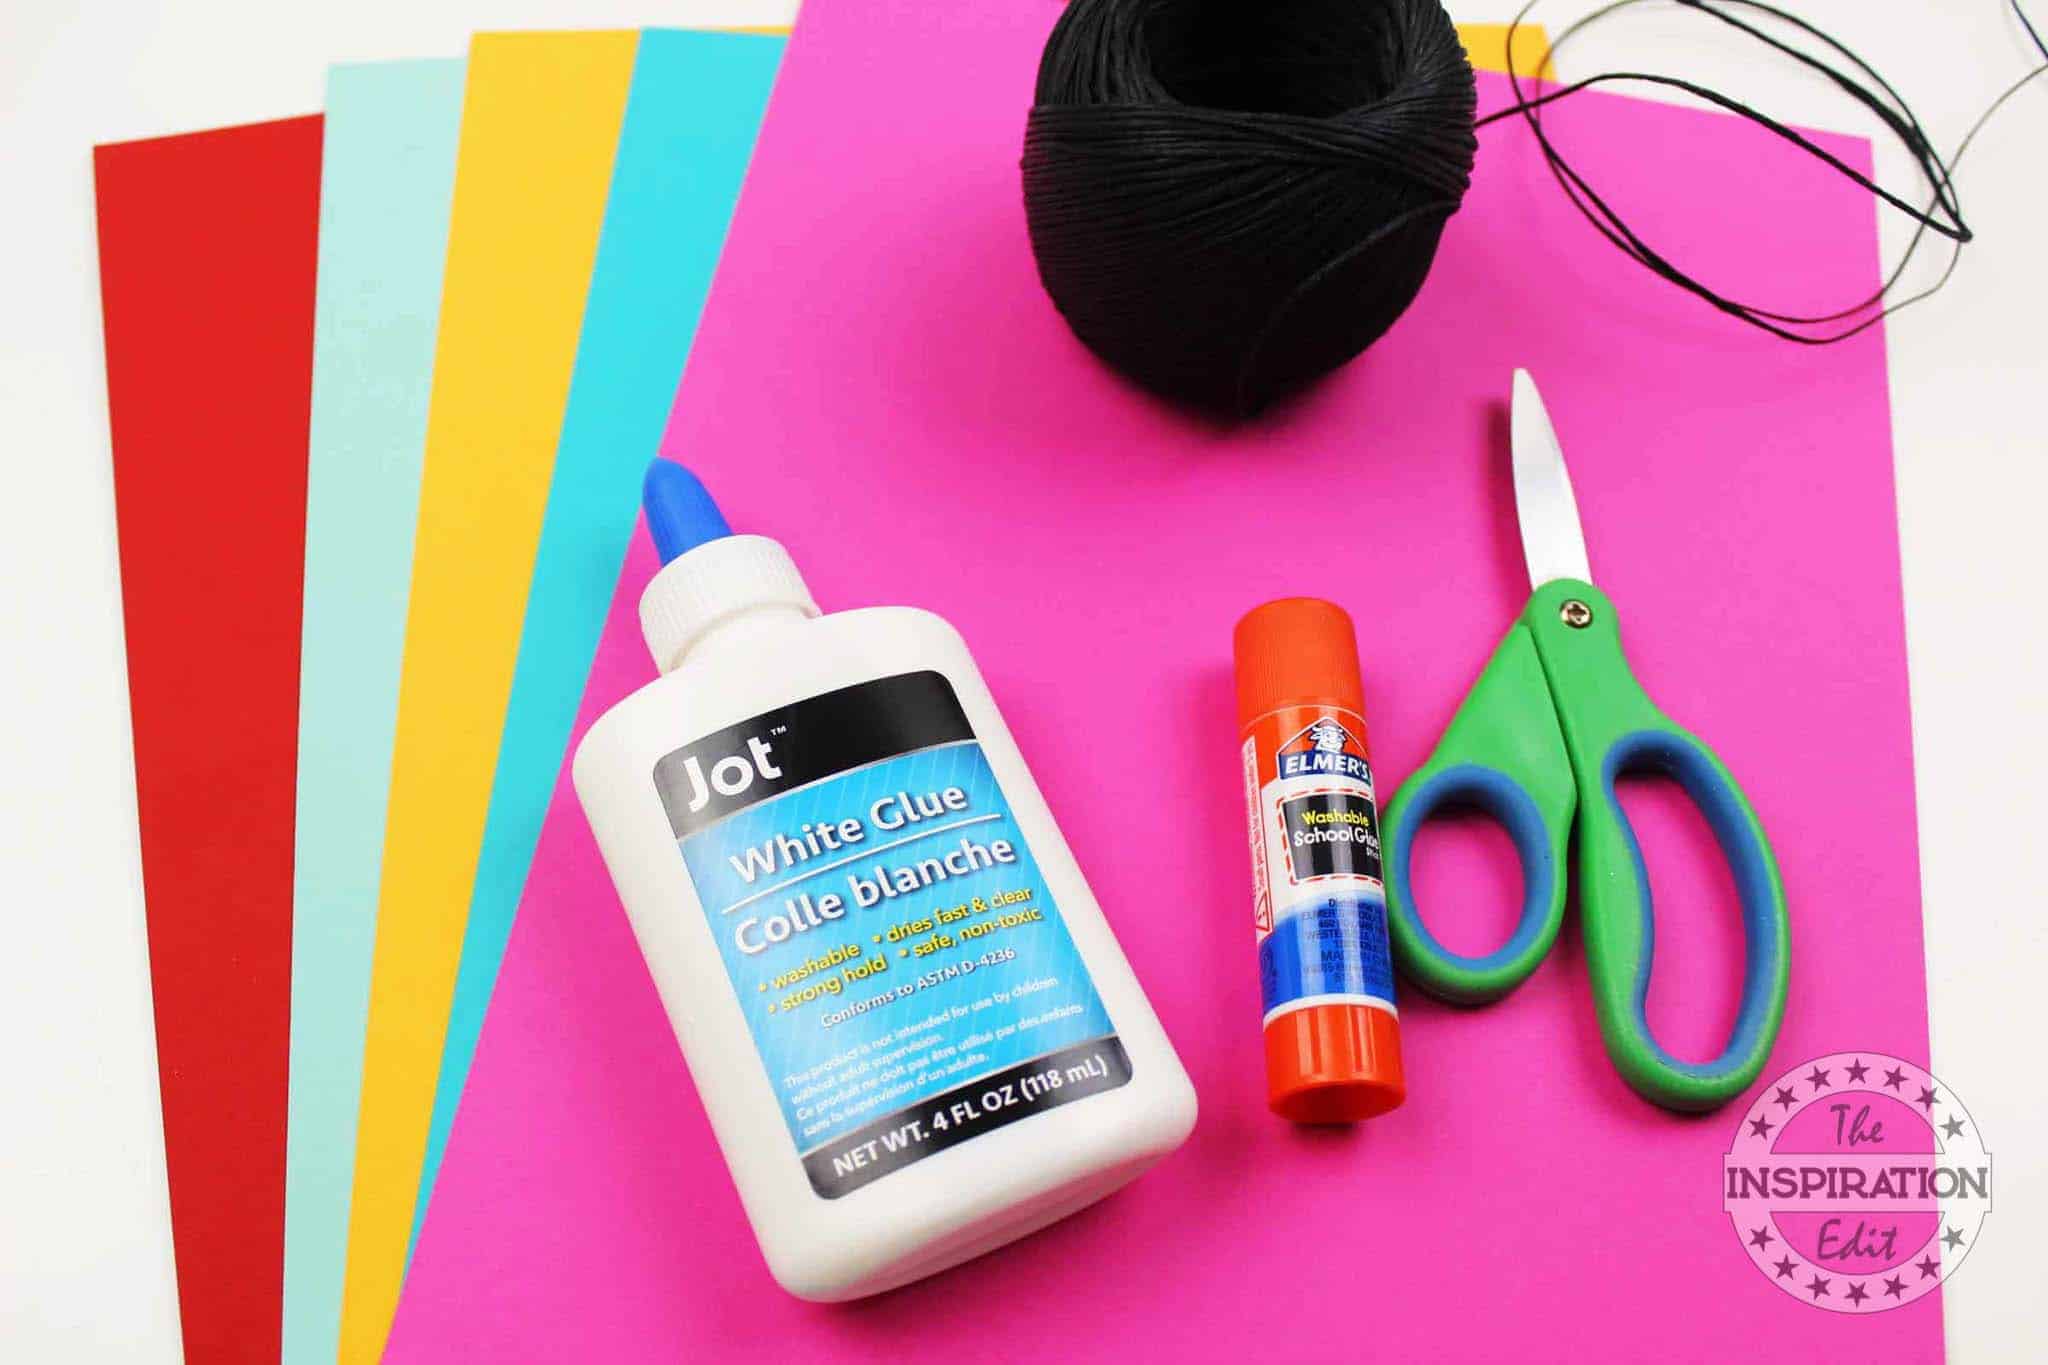
- Cardstock
- Glue
- Scissors
- Ribbon, Thread, Twine Etc.
- Glitter
Instructions
- Download and print out the Sally Mickey head ornament template. Pay close attention to the colours the PDF instructs you to print each page on.
- Start assembling Sally by gluing the ears behind the ornament, followed by her clothes onto the front and the bow on top.
- Carefully add white glue to the areas you’d like to glitter.
- Add glitter and shake off excess. If glitter is not your thing, you can absolutely leave this part out of the process.
- Cut a small bit of ribbon, thread or twine and loop it. Glue this behind the Sally ornament.
- If you’d like to cover the glued ribbon, simply add a circle the same colour as Sally to the back. Your ornament is done and ready for your Christmas tree!


The link doesn’t give a Sally template just goes to a Jack template
thanks for that here is the link https://www.theinspirationedit.com/wp-content/uploads/2019/11/Mickey-Head-Sally-Ornament-Craft.pdf