

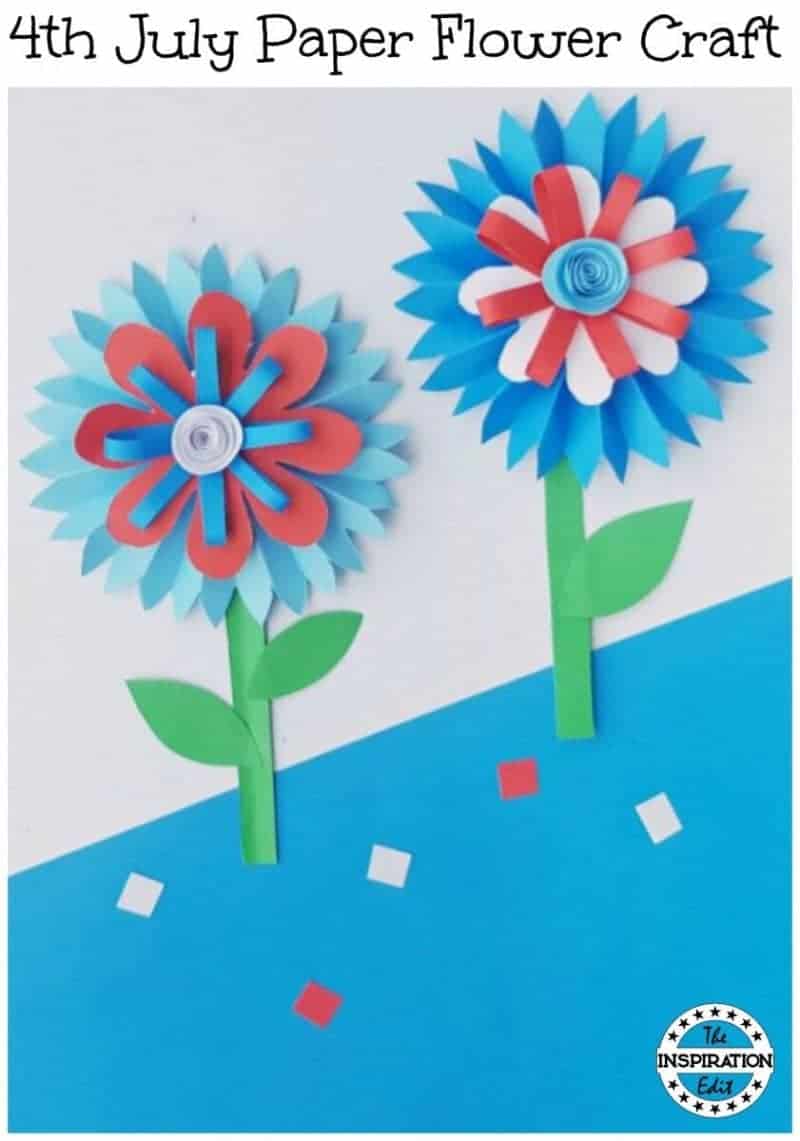
Paper flower crafts are really fun to make and today we are sharing a fun 4th of July Paper Flower craft idea. It's super fun and easy and can be great for helping kids develop fine motor skills. This is also a fun idea for older kids making a 4th of July scene in the classroom or at home. Enjoy!
Jump to:
💖 Why You'll Love This Craft
- Patriotic Vibes: This craft uses red, white, and blue paper to celebrate Independence Day, making it a perfect addition to your 4th of July decor.
- Simple for All Ages: Whether you’re crafting with toddlers or older kids, this easy project is a fun way to get everyone involved in the holiday spirit.
- Versatile Decoration: Once made, these paper flowers can be used to decorate your home, hang on walls, or even add to party tables for a festive touch.
🖌️ How To Make 4th July Paper Flower Craft
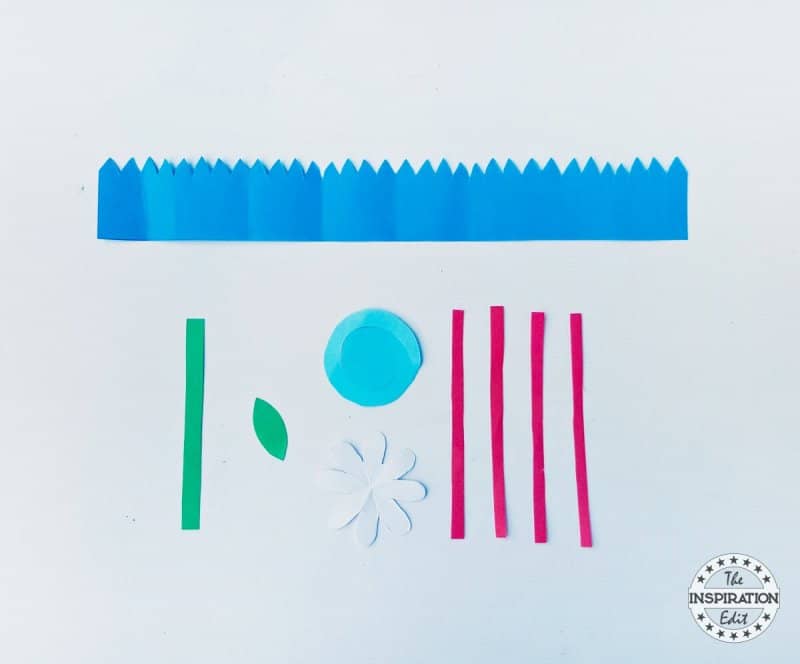
- Step 1: Prepare the patterns from the given template. Select different shades of red and blue coloured craft papers. Trace the template patterns on the selected papers, you may also use white paper. Cut out the traced patterns.
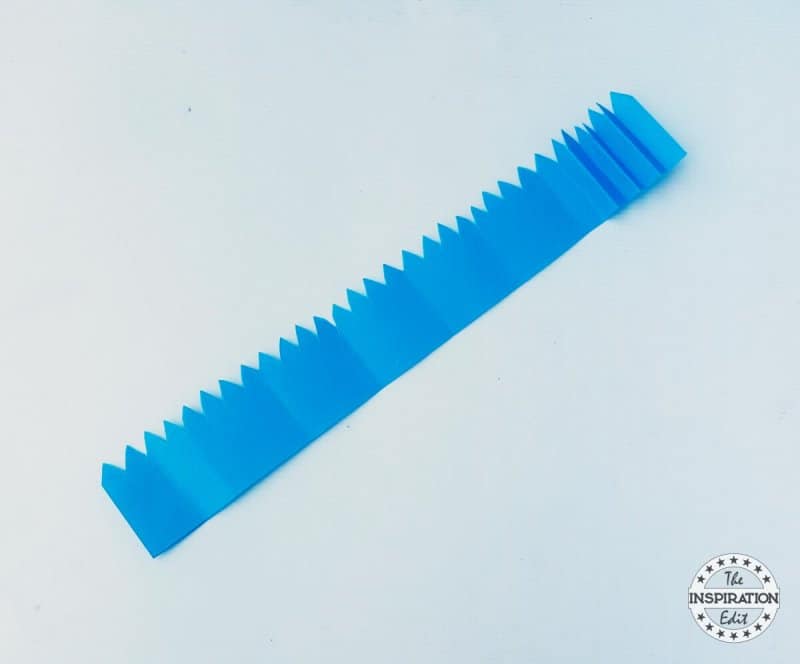
- Step 2: Take the strip with zigzag edge and start creating accordion folds along the length of the strip. The zigzag edge can guide in creating neat and even accordion folds.
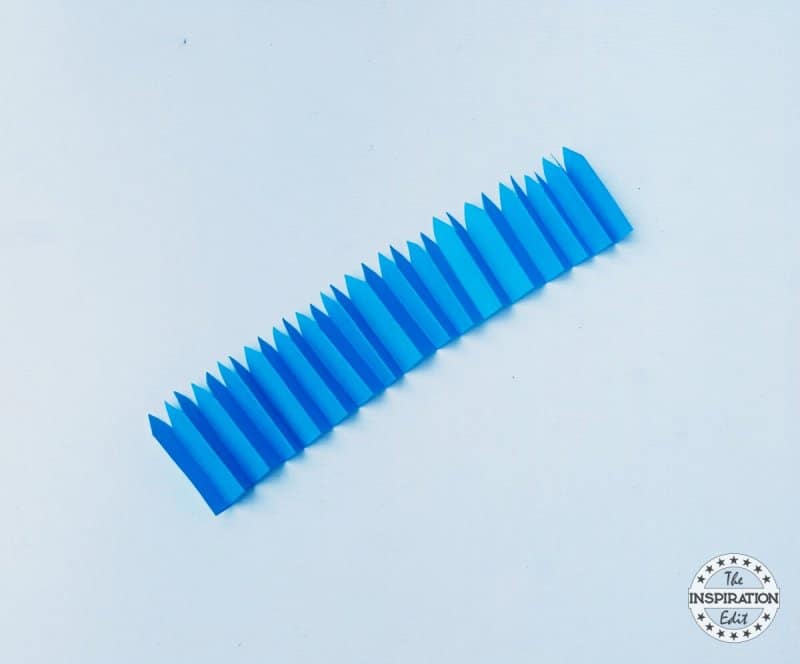
- Step 3: Keep folding the strip until reaching the other end of the strip.
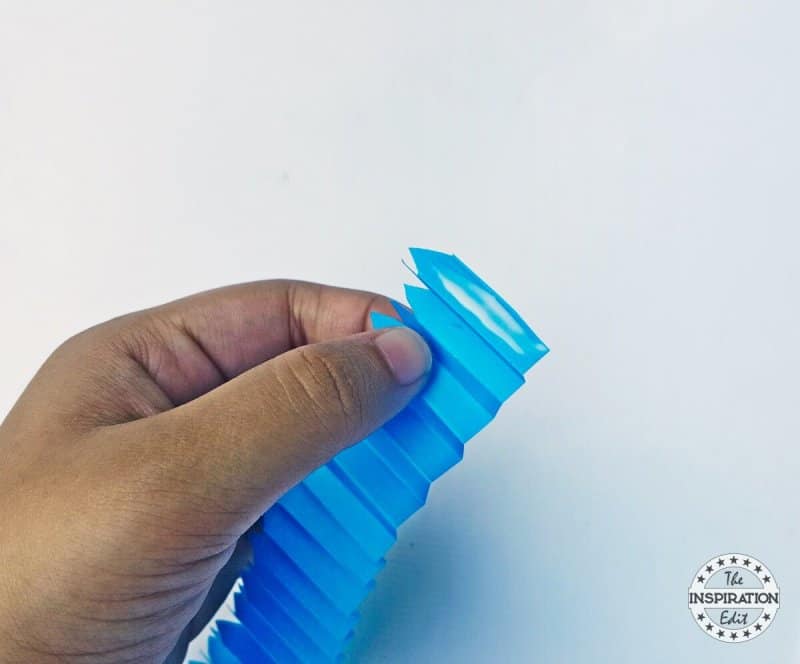
- Step 4: Apply a small amount of glue on any one folds of either open ends if the strip.
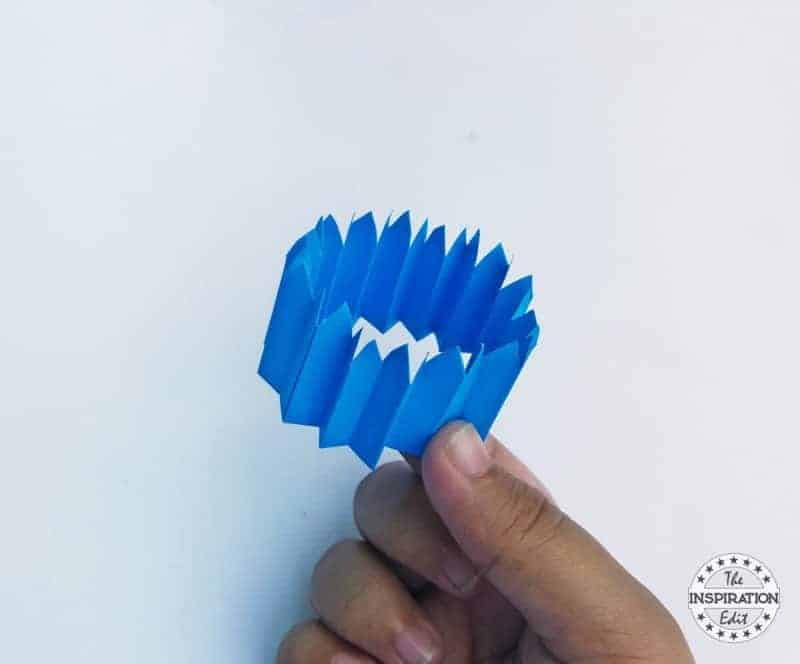
- Step 5: Join the glued end of the strip with the other end of it to form an accordion folded ring.
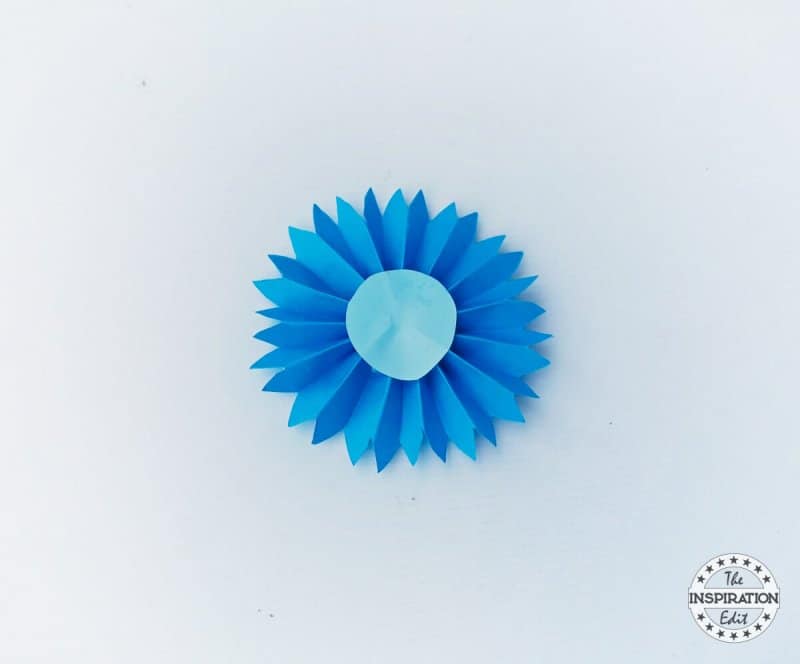
- Step 6: Hold and gather the straight part of the folded strip; press it towards the center to flatten it. Cut out 2 small pieces of paper and apply glue on them. Place a glued paper on the center of the flattened accordion folded piece. Similarly attach the other glued paper on the other side of it.
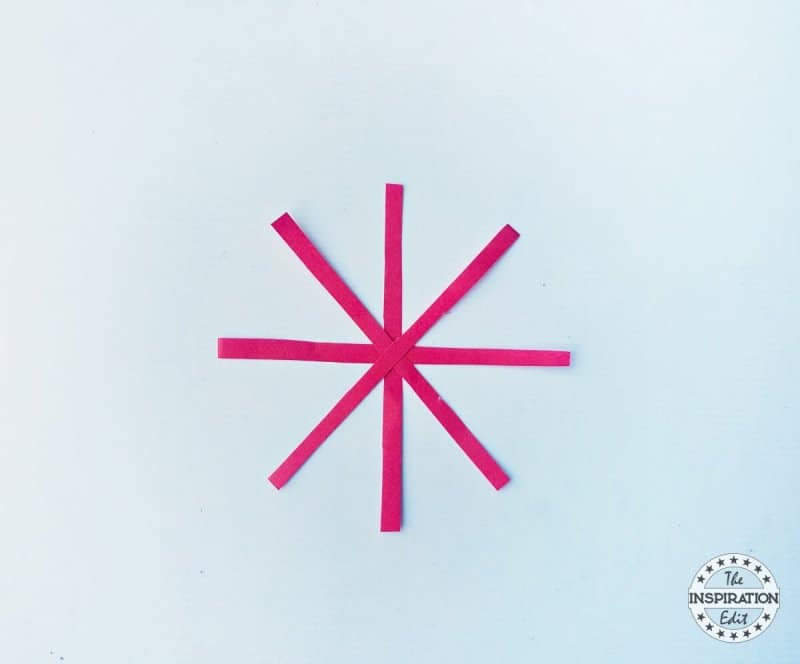
- Step 7: Now take the 4 thin strips and place any one of them on a flat surface vertically. Take another strip, apply glue on the middle of the strip and attach it with the previous strip on its middle horizontally. Take the 2 other thin strips and attach them with the previous strips diagonally, forming a criss -cross pattern.
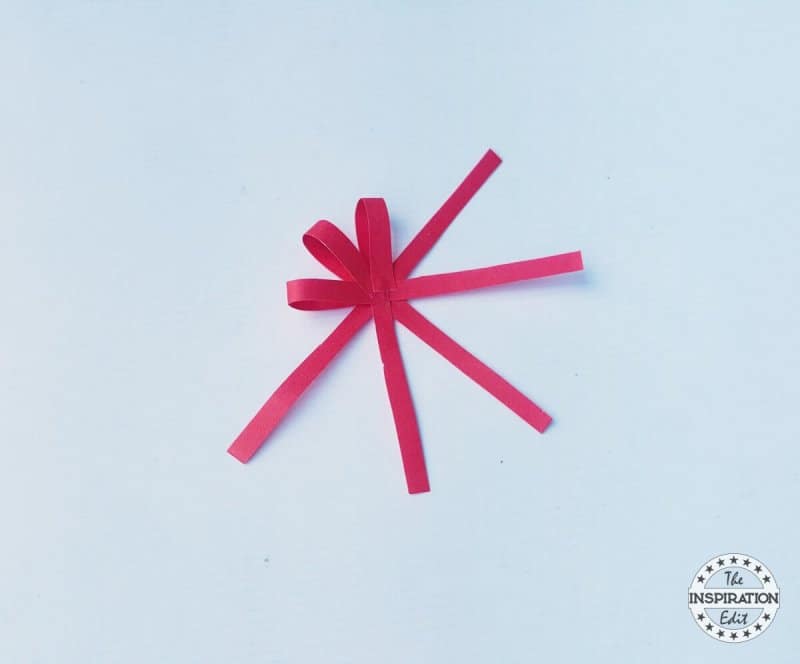
- Step 8: Apply glue on the open end of any one of the strips and bring it towards the center. Press the glued part on the center.

- Step 9: Similarly glue the rest of the open ends on the center of the pattern.
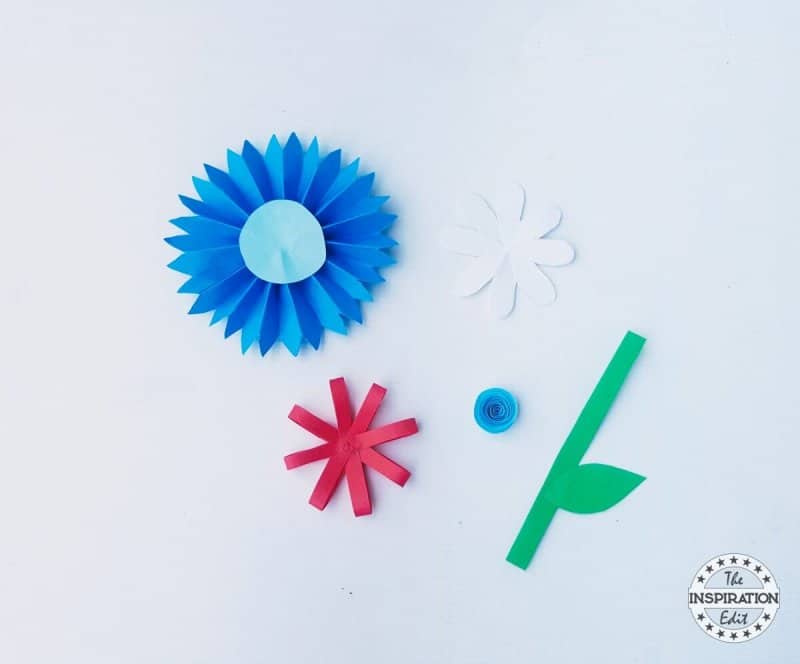
- Step 10: Take the spiral pattern and roll it from its outer edge. Continue to roll towards the center and glue the rolled part on the center. Glue the leaf cut out on the last strip (stem). All patterns ready? Great!
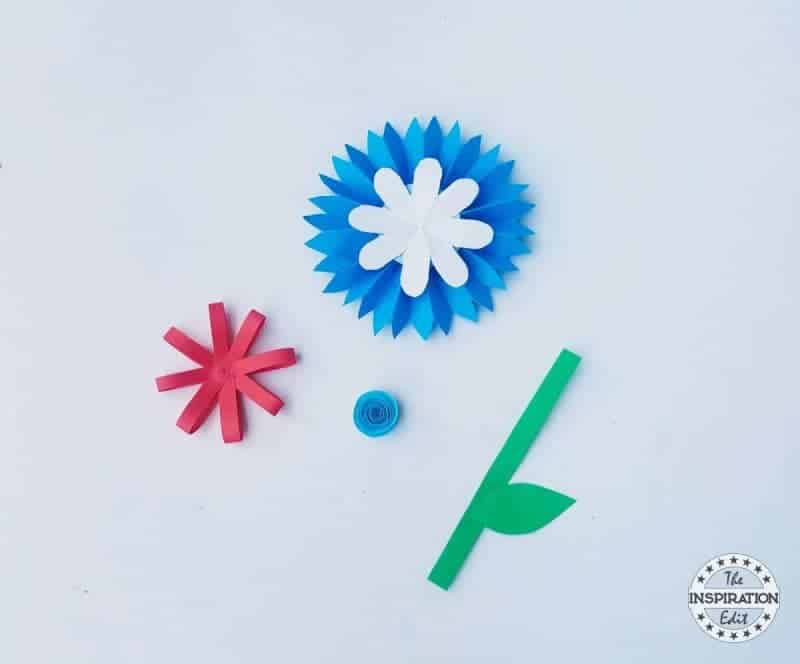
- Step 11: Glue the flat flower pattern with 8 petals on the accordion folded piece.
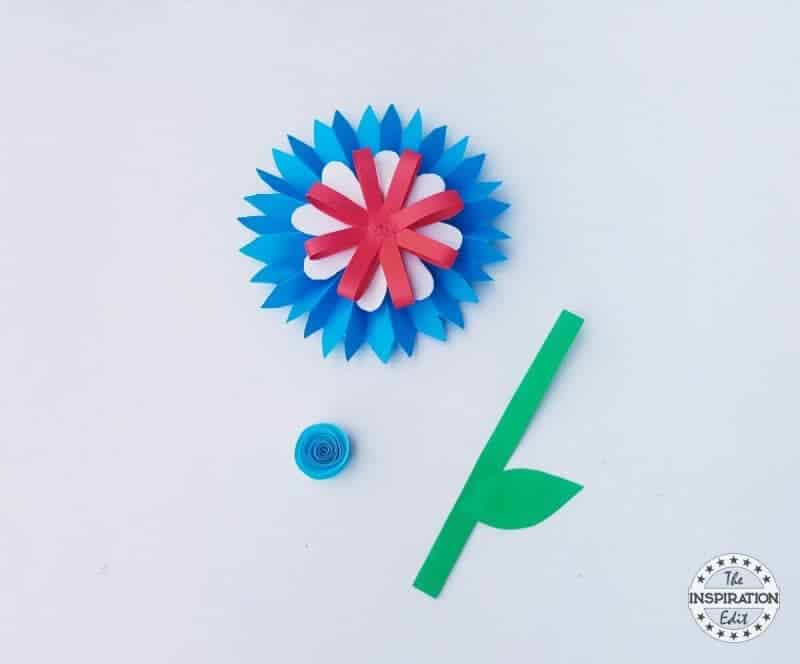
- Step 12: Now glue the pattern prepared in step 8 on the top of the flat flower.
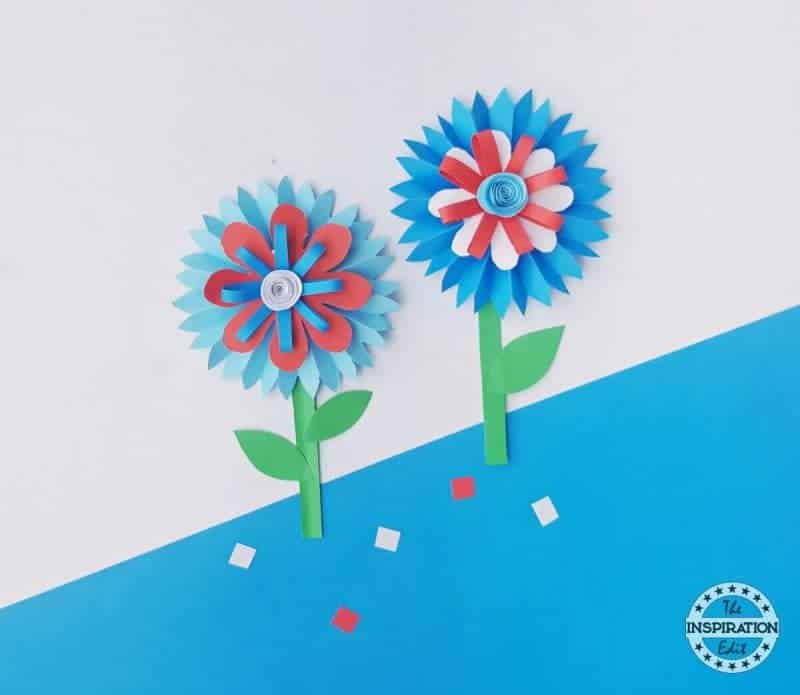
- Step 13: Glue the rolled pattern on the center of the last pattern. Finally attach the flower pattern on the top end of the stem with the leaf attached to it.
💡 Pro Tip: Place the finished flower against a plain neutral background when displaying—it helps the patriotic colors pop without visual competition.
🧑🎨 Expert Tips
- Tri-Color Rotation: Rotate red, white, and blue petals in even intervals around the center to keep the design balanced and easily recognizable as patriotic.
- Visual Weight: Use darker blue petals on the outer layer and lighter ones like white near the center—this inward brightness draws the eye naturally.
- Section Spacing: Divide petals into three even groups by color before starting; this keeps the pattern clean and prevents one shade from dominating.
- Center Highlight: Choose a gold or yellow center circle to contrast with the red-white-blue layout, helping the middle stand out without blending in.
- Petal Folding: Slightly crease each petal down the middle before gluing—this adds subtle depth and ensures they don't appear too flat or lifeless.
- Even Counts: Stick to multiples of three for the total petal count to keep the red, white, and blue distribution even as the flower rotates outward.
🖌️ More Cute Creations
Love these crafts! Don't forget to pin them on Pinterest or leave a comment and let us know how you got on!


Did you make this craft? Leave a review and comment below! Alternatively, bookmark it in your browser or save to Pinterest.
Download Printable
Download free Printable 4th July Flower Craft Template here!
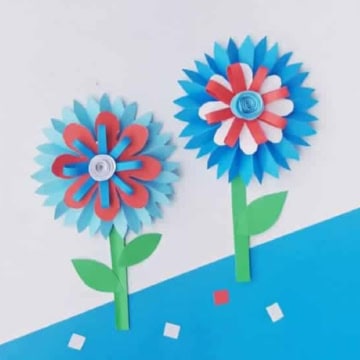
4th July Paper Flower Craft
Equipment
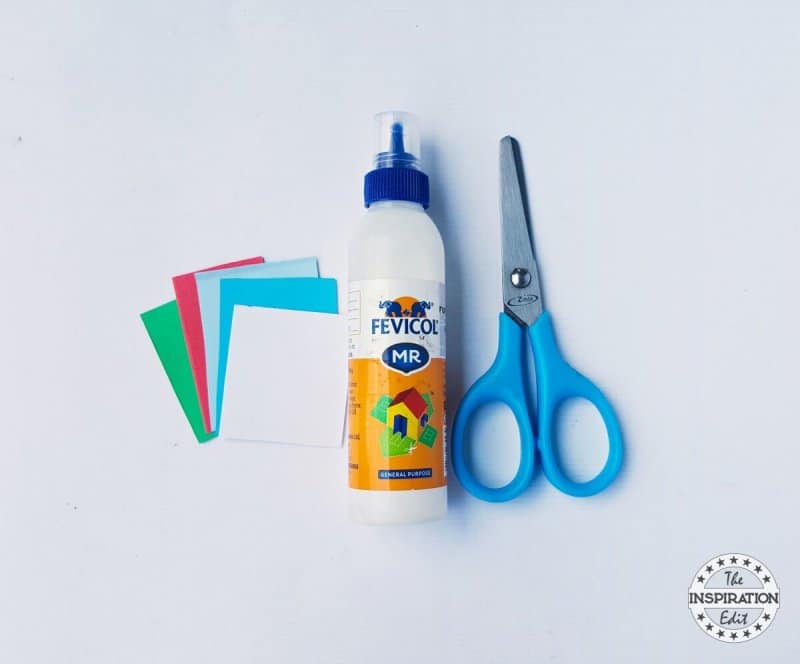
- Scissors
Materials
- Craft Glue
- Coloured Craft Papers
Instructions
- Prepare the patterns from the given template. Select different shades of red and blue coloured craft papers.
- Trace the template patterns on the selected papers, you may also use white paper. Cut out the traced patterns.
- Take the strip with zigzag edge and start creating accordion folds along the length of the strip.
- The zigzag edge can guide in creating neat and even accordion folds.
- Keep folding the strip until reaching the other end of the strip.
- Apply a small amount of glue on any one folds of either open ends if the strip.
- Join the glued end of the strip with the other end of it to form an accordion folded ring.
- Hold and gather the straight part of the folded strip; press it towards the center to flatten it.
- Cut out 2 small pieces of paper and apply glue on them.
- Place a glued paper on the center of the flattened accordion folded piece.
- Similarly attach the other glued paper on the other side of it.
- Now take the 4 thin strips and place any one of them on a flat surface vertically.
- Take another strip, apply glue on the middle of the strip and attach it with the previous strip on its middle horizontally.
- Take the 2 other thin strips and attach them with the previous strips diagonally, forming a criss -cross pattern.
- Apply glue on the open end of any one of the strips and bring it towards the center.
- Press the glued part on the center.
- Similarly glue the rest of the open ends on the center of the pattern.
- Take the spiral pattern and roll it from its outer edge.
- Continue to roll towards the center and glue the rolled part on the center.
- Glue the leaf cut out on the last strip (stem). All patterns ready? Great!
- Glue the flat flower pattern with 8 petals on the accordion folded piece.
- Now glue the pattern prepared in step 8 on the top of the flat flower.
- Glue the rolled pattern on the center of the last pattern.
- Finally attach the flower pattern on the top end of the stem with the leaf attached to it.
- Enjoy!
MORE CRAFTS YOU MIGHT LIKE:

Leave a Reply