

Are you a fan of Princess Merida from the Disney movie Brave? If so you will love to make this super cute and fun Merida paper craft and ornament. We love to share paper crafts and easy ornament ideas here on Craft Play Learn and I'm sure you will love this fun and free template! Enjoy!

Jump to:
💖 Why You'll Love This Craft
- Fearless Girl Power: Celebrate Merida’s bold spirit and independence—she’s the ultimate role model for strong, adventurous kids.
- Storytime Add-On: After crafting Merida, kids will love rewatching Brave or acting out their own courageous stories!
- Perfect for Princess Fans: It’s a fresh break from the usual pink-and-sparkles with a fierce, outdoorsy twist.
How Old Is Princess Merida
Merida is a brave and strong 16 year old princess and lives in Scotland with her father King Fergus and mother Queen Elinor. Merida is the 11th Disney Princess. For more Disney Princess crafts visit our Belle, Cinderella and Snow White crafts here.

🎨 Supplies Needed

🖌️ How to Make This Merida Craft

- Step 1: Begin by downloading your free Merida template. Be sure to follow the instructions and print out the template on the different colored card stock.

- Step 2: Once the Merida pieces are cut out they are ready to be glued together. Cutting and gluing is a fantastic activity for kids.

- Step 3: Add glue to the Mickey ears and the trim of Merida's dress. Next sprinkle red and gold glitter onto the paper craft to create Merida's red hair and gold trim coat.
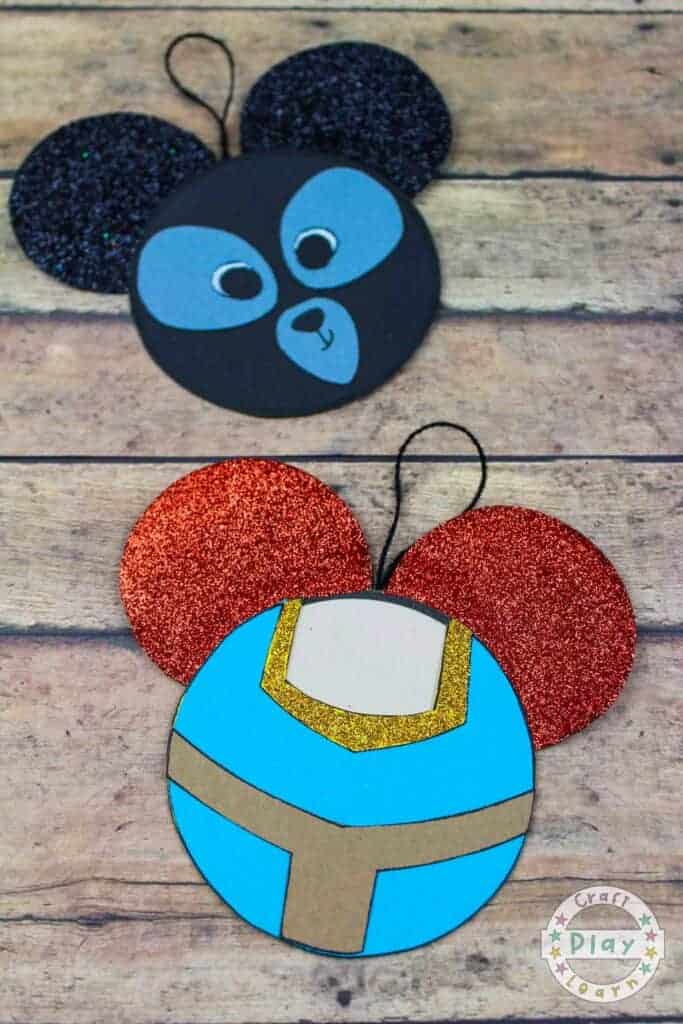
- Step 4: You can add string to the back of your Merida paper craft to make it into an ornament. Add to your tree or decorate in the home.
This is a great Disney themed craft and you could even make a whole lot of these to create a garland for a party!


💡 Pro Tip: Lay out all parts unglued first on a clean surface to preview the full figure before securing anything—this trains kids in planning and positioning.
🧑🎨 Expert Tips
- Section Mapping: Begin by separating all parts—like head, dress, and hair—into simple geometric shapes to make the layout easier for young kids to follow.
- Hair Grouping: Tackle the layered hair in clusters by organizing curls into left, right, and center groups before placing them, reducing visual overload.
- Angle Alignment: Position the face and torso pieces using a vertical centerline as reference, helping ensure everything stays proportionate and upright.
- Accessory Placement: Place smaller items like the belt or sleeves only after the core silhouette is in place to avoid crowding or misalignment.
- Layer Order: Follow a top-down structure—starting from head to torso to details—which helps children understand logical placement and spatial flow.
- Mirror Checking: Occasionally hold the work up to a mirror to spot alignment mistakes more easily, especially with symmetrical parts like shoulders or eyes.
🖌️ More Disney Paper Crafts
Love these crafts! Don't forget to pin them on Pinterest or leave a comment and let us know how you got on!
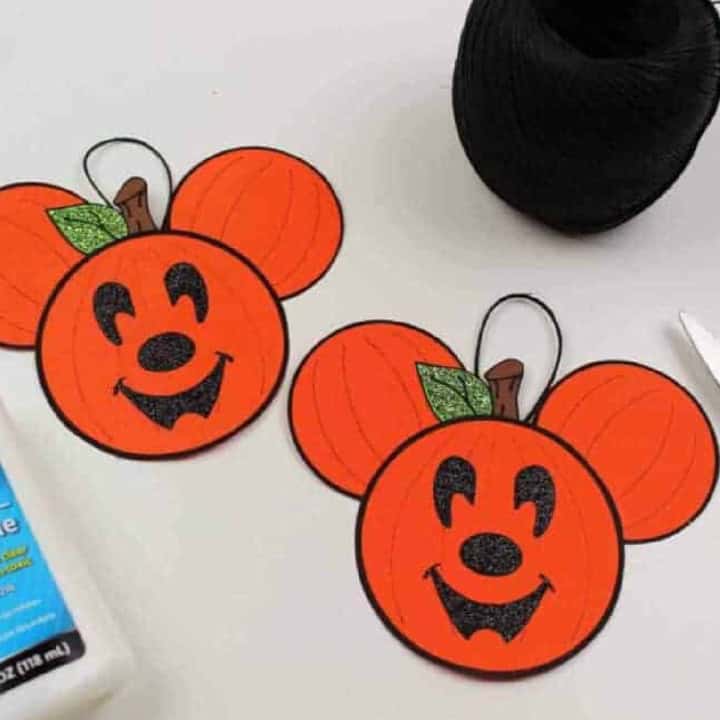
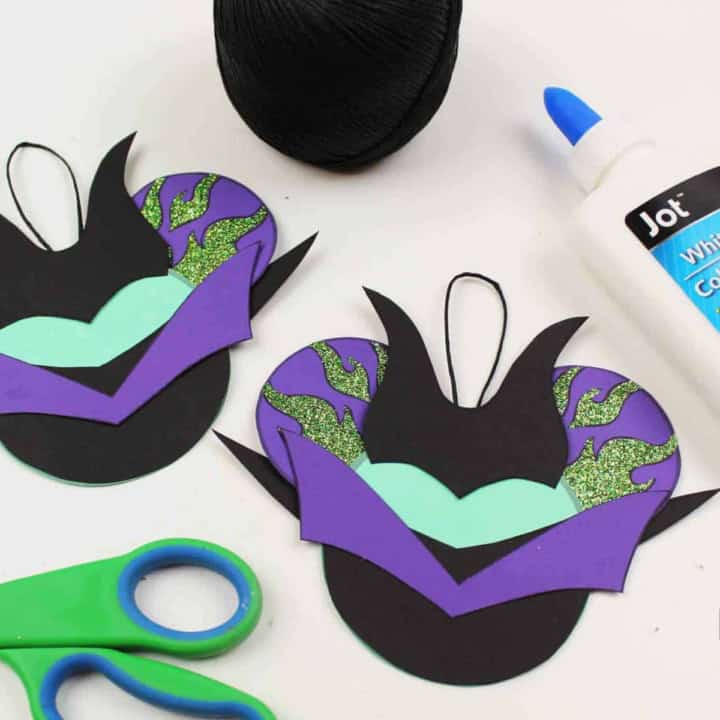
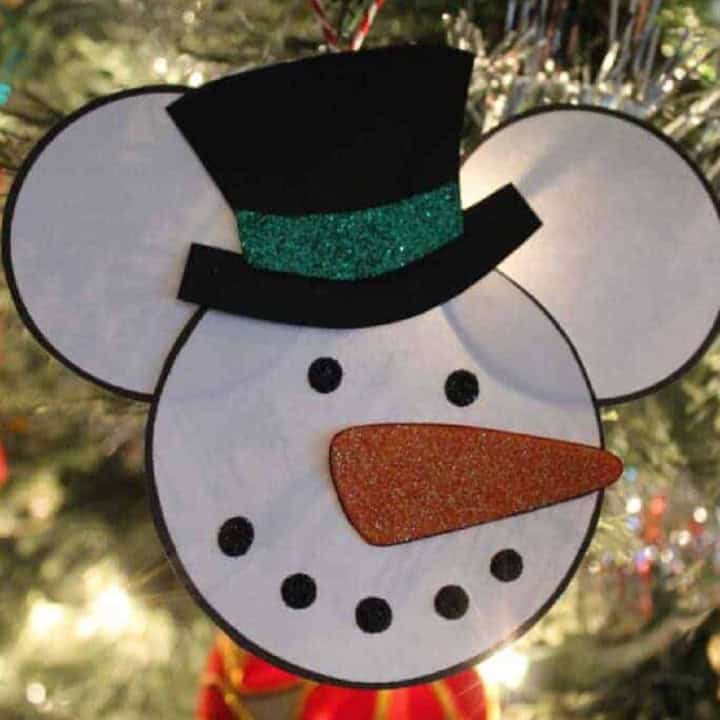
Did you make this craft? Leave a review and comment below! Alternatively, bookmark it in your browser or save to Pinterest.
You may also enjoy the following Mickey Disney Ear Crafts:
- Disney Lady And The Tramp Craft
- Disney Cruella De Vill Ears Craft
- Snow White Poison Apple Ears
- Cinderella Mickey Ears Craft
- Disney Brave Bear Paper Craft
Disney Brave Merida Paper Craft
Materials
- Colored Cardstock
- Scissors
- Glue
- Black Sharpie Pen
- Printer Black
- Glitter
- Laminator Optional
Instructions
- Begin by downloading your free Merida template. Be sure to follow the instructions and print out the template on the different colored card stock.
- Once the Merida pieces are cut out they are ready to be glued together. Cutting and gluing is a fantastic activity for kids.
- Add glue to the Mickey ears and the trim of Merida's dress.
- Next sprinkle red and gold glitter onto the paper craft to create Merida's red hair and gold trim coat.
- You can add string to the back of your Merida paper craft to make it into an ornament. Add to your tree or decorate in the home.

Leave a Reply