

Vlogging has become one of the most accessible ways to share experiences, document everyday activities, and build an online audience. From travel adventures and cooking demonstrations to technology reviews and personal stories, creators are using video to communicate ideas in more engaging ways.
However, getting started can feel expensive when beginners consider cameras, editing software, subscriptions, and other production costs.
Fortunately, modern editing technology has made video production more accessible. Many creators can begin with a smartphone, natural lighting, and free editing tools rather than investing in professional equipment immediately.
One important consideration is finding software that allows clean exports without unwanted watermarks. Understanding the available editing features can help beginners produce professional-looking content while keeping their initial expenses low.
Jump to:
- 1. Why Watermark-Free Editing Matters for New Vloggers
- 2. Start With Simple Equipment and a Clear Content Plan
- 3. Essential Editing Features Every Beginner Should Understand
- 4. How to Edit a Vlog Without Spending Money
- 5. Creating More Engaging Vlogs Through Visual Storytelling
- 6. Choosing the Right Editing Workflow for Different Platforms
- 7. Common Vlogging Mistakes and How to Avoid Them
- Conclusion
1. Why Watermark-Free Editing Matters for New Vloggers
When someone starts a vlog, the main priority should be creating useful and engaging content. However, the way a video is presented also influences how viewers perceive it. A visible software watermark can distract from the footage, compete with on-screen text, or make a finished video appear less polished.
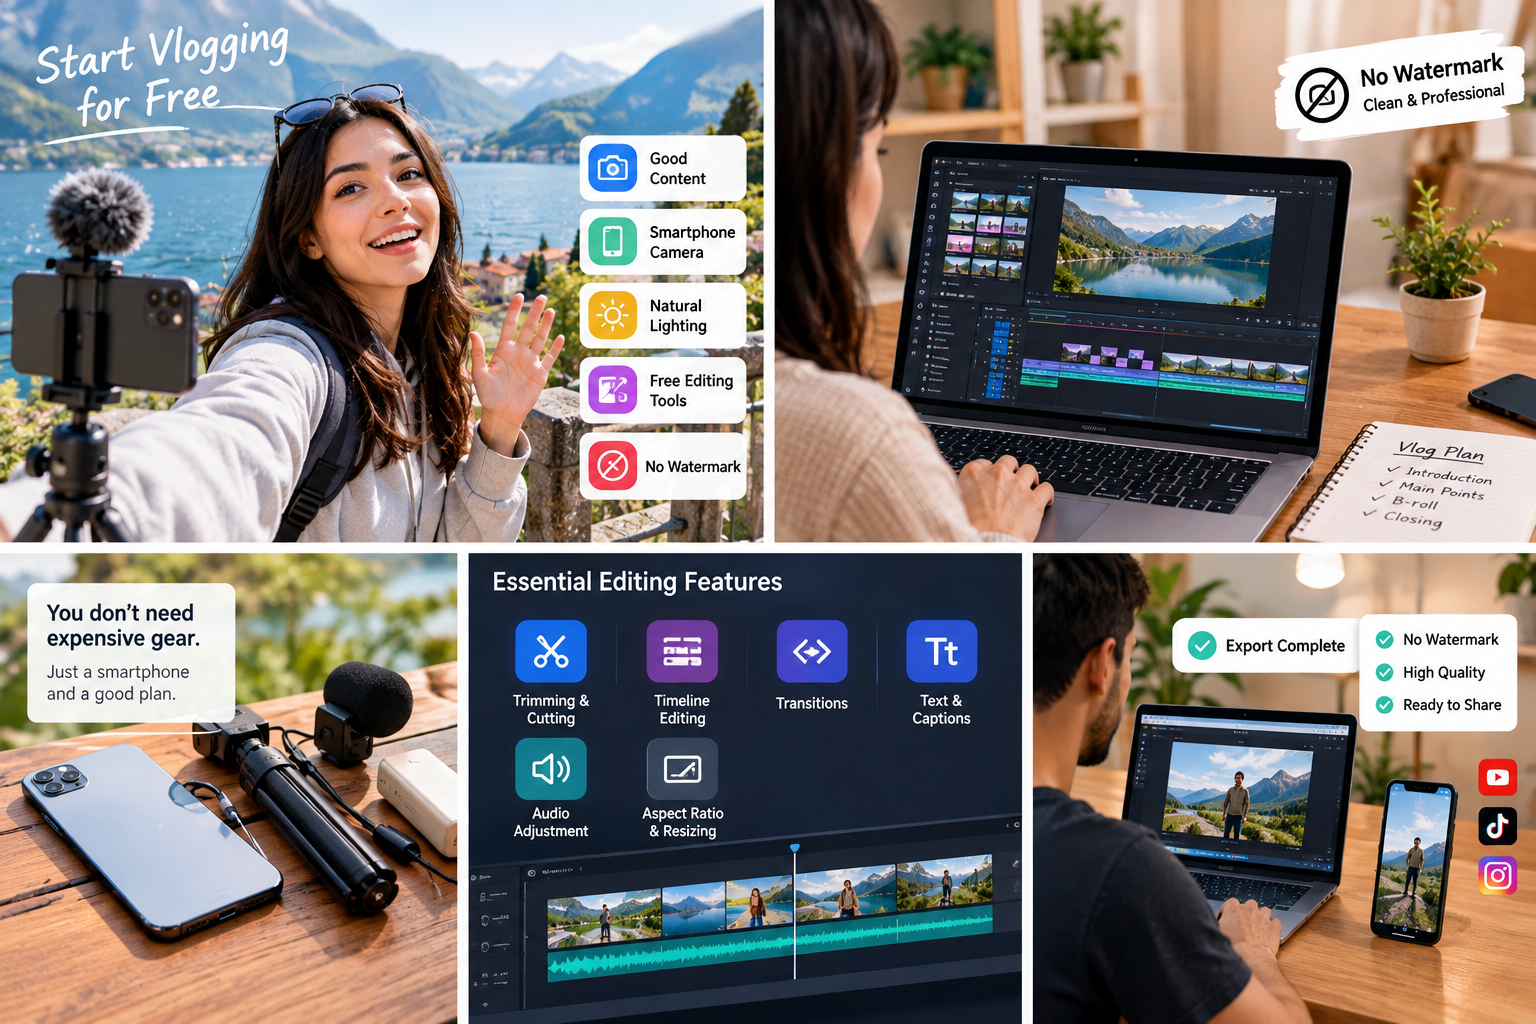
This is particularly important for creators who want to establish a consistent visual identity. A clean video gives more attention to the creator, the subject, and the story being communicated. It also provides greater flexibility when adding personal branding, channel logos, or other design elements.
Beginners should therefore consider editing tools that offer watermark-free exports under their available usage conditions. Exploring a best free video editor no watermark option can be a useful starting point when comparing editing workflows for personal vlogs and social media projects.
However, removing a watermark is only one part of the decision. Editing features, export resolution, available templates, and licensing conditions also deserve attention. Some free tools may restrict certain effects, templates, or premium assets.
Understanding these details before starting a project helps creators avoid unexpected limitations during export. It also makes it easier to choose a workflow that supports their needs as their content develops.
2. Start With Simple Equipment and a Clear Content Plan
One common mistake beginners make is assuming that successful vlogging requires expensive equipment. Although professional cameras and microphones can improve production quality, they are not essential for creating a first video.
A modern smartphone can provide sufficient video quality for many beginner projects. The most important factors are stable footage, suitable lighting, understandable audio, and a clear subject.
Natural light is a practical starting point. Recording near a window or outdoors during suitable daylight conditions can improve visibility without requiring expensive lighting equipment. Creators should also avoid placing strong light sources directly behind the subject because this can make faces appear too dark.
Audio deserves equal attention. Background noise, wind, and distant voices can make an otherwise interesting vlog difficult to watch. Recording in a quieter location and positioning the phone closer to the speaker can improve clarity.
Planning the video before recording is another useful habit. A simple outline might include an introduction, three main points, and a closing message. This structure reduces unnecessary footage and makes editing easier.
Starting with manageable equipment allows beginners to focus on storytelling and gradually identify which upgrades are actually necessary.
3. Essential Editing Features Every Beginner Should Understand
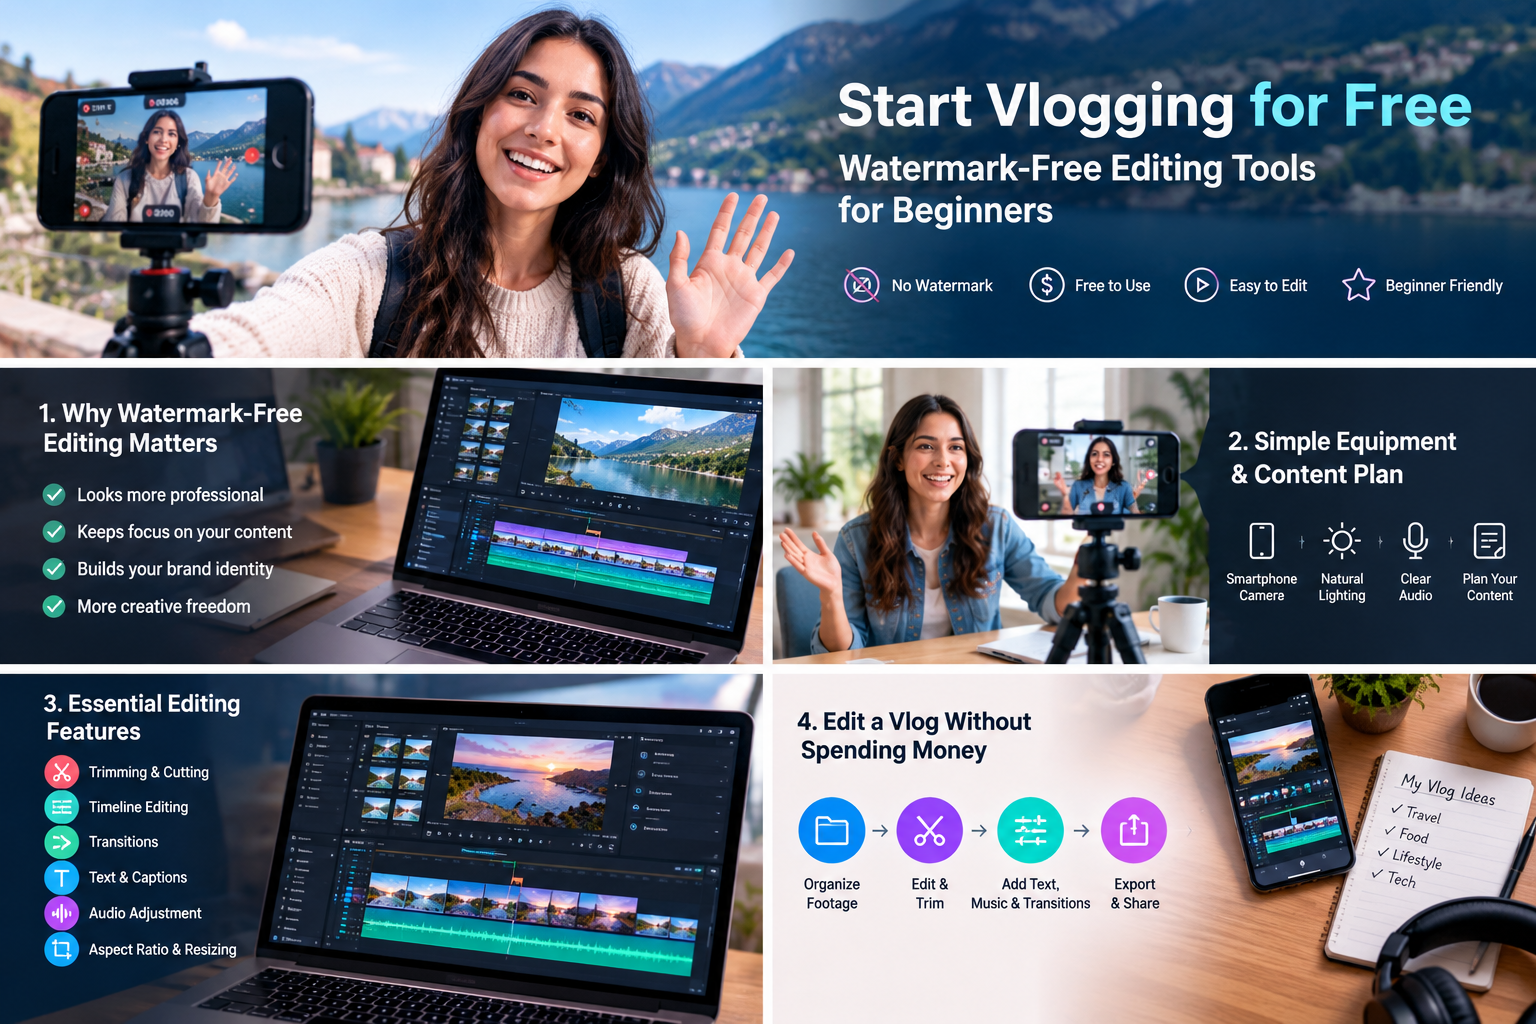
Video editing does not have to involve complicated visual effects or advanced production techniques. For most beginner vloggers, a few essential features are enough to create clear and enjoyable videos.
Trimming and cutting: These functions remove unnecessary footage, long pauses, repeated sentences, and mistakes. A well-trimmed video keeps viewers focused on the main subject.
Timeline editing: A timeline allows creators to arrange clips in the intended order. Beginners can combine an introduction, main footage, supporting shots, and a closing section into one continuous project.
Transitions: Transitions help connect different scenes. Simple cuts and subtle fades are often more effective than using too many decorative effects.
Text and captions: On-screen text can introduce topics, highlight important information, and make spoken content easier to follow. Captions are especially useful for people watching videos without sound.
Audio adjustment: Editing tools can help balance background music, voiceovers, and recorded sound. Speech should remain clear and understandable throughout the video.
Aspect ratio and resizing: Different platforms use different video dimensions. Vertical formats are commonly used for short-form mobile content, while horizontal formats remain useful for traditional vlogs and longer videos.
Learning these basic functions provides a strong foundation. Rather than trying every available effect, beginners should focus on making their videos easy to watch and understand.
4. How to Edit a Vlog Without Spending Money
A practical editing workflow can help creators produce consistent videos without investing in expensive software. The process becomes easier when each stage has a clear purpose.
The first step is organizing recorded footage. Creators should review their clips and separate useful material from unnecessary recordings. Naming files according to the video topic or recording date can also make projects easier to manage.
Next, arrange the selected footage on the editing timeline. Place the introduction first, followed by the main content and supporting clips. Remove long pauses and repeated sections to maintain a natural pace.
Once the basic structure is complete, improve the visual presentation. Adjust brightness and contrast when necessary, correct inconsistent colors, and crop footage to match the intended publishing format. Avoid excessive filters because they can make natural footage appear artificial.
The next stage involves audio. Reduce distracting background sounds where possible, balance voice levels, and select suitable background music. Creators should make sure that music does not overpower spoken explanations.
Finally, review the entire video before exporting. Check spelling, captions, transitions, audio levels, and the final frame. Export settings should match the destination platform and the quality of the original footage.
A consistent workflow reduces editing time and helps beginners avoid repeating unnecessary tasks. It also creates a reliable process that can be improved with every new vlog.
5. Creating More Engaging Vlogs Through Visual Storytelling
Good vlogging is not simply about recording a sequence of events. It is about presenting those events in a way that gives viewers a reason to continue watching.
Visual storytelling helps creators communicate information through a combination of footage, dialogue, sound, and editing decisions. Even an ordinary daily routine can become interesting when it has a clear beginning, development, and ending.
For example, a travel vlog might begin with a short introduction explaining the destination. The next scenes could show the journey, interesting locations, food, and personal observations. A final section could summarize the experience and share useful information with viewers.
Supporting footage, sometimes called B-roll, is particularly useful. Instead of showing only the person speaking to the camera, creators can include relevant shots of the environment, objects, activities, or details being discussed.
Music can also influence the atmosphere. Relaxed background audio may suit a lifestyle vlog, while more energetic music could support a travel montage. The selection should match the subject rather than distract from it.
Another useful technique is maintaining a recognizable editing style. Consistent captions, colors, title placement, and transitions can help viewers identify a creator's content across multiple videos.
These small decisions contribute to a more memorable viewing experience without requiring complicated production techniques.
6. Choosing the Right Editing Workflow for Different Platforms
Not every vlog needs the same editing approach. The intended audience and publishing platform should influence the video's length, dimensions, pacing, and presentation.
Long-form vlogs often benefit from a horizontal format. This gives creators more room to show environments, demonstrations, and conversations. A slower pace may also work when the video contains detailed explanations or travel experiences.
Short-form videos usually require a different approach. Vertical framing, quick introductions, concise captions, and focused editing can help communicate an idea within a limited amount of time.
Creators who publish on multiple platforms should consider preparing separate versions of the same footage. A horizontal vlog can be edited into shorter vertical highlights, provided the important subjects remain visible after cropping.
Resolution is another important consideration. A 1080p export is often a practical choice for everyday online videos, although the best setting depends on the source footage, editing software, and publishing platform.
File size should also be considered. Higher resolutions and bitrates can improve detail but may increase upload times and storage requirements. Beginners should balance visual quality with practical needs.
It is worth reviewing the exported video on a phone and computer before publishing. Small text, faces, and important visual details may appear differently across screens.
7. Common Vlogging Mistakes and How to Avoid Them
New creators often make similar mistakes because they are still learning how to record and edit effectively. Recognizing these problems early can improve video quality without increasing production costs.
One common issue is making introductions too long. Viewers should understand the subject quickly, so creators should explain the purpose of the video near the beginning.
Another mistake is using too many transitions and effects. Although editing software offers many creative options, excessive visual changes can make a video difficult to follow. Simple editing usually creates a more consistent experience.
Poor audio is another frequent problem. Even attractive footage can lose viewers if speech is difficult to understand. Checking microphone placement and recording conditions before filming can prevent many audio issues.
Some beginners also ignore export settings. A video may look sharp in the editing preview but appear blurry after compression. Reviewing the final exported file helps identify problems before publication.
Finally, inconsistent publishing can make it difficult to develop an audience. A realistic schedule is more useful than promising frequent uploads that become difficult to maintain.
Improvement comes through practice. Reviewing audience feedback, identifying weak sections, and applying lessons to future projects can gradually strengthen a creator's editing skills.
- What Happens to Your Old Medical Scans When a Hospital Upgrades Its Imaging System
- How to Design a Custom Folder for Your Small Business Without Design Software
- Smart Financial Planning Tips for Parents Investing in Their Children’s Education
- Four Tips to Furnish Your Home When Living in a Humid Environment



Conclusion
Starting a vlog does not require an expensive production setup or a large software budget. With a smartphone, basic recording knowledge, and suitable editing tools, beginners can develop engaging videos while keeping their initial costs manageable. Watermark-free exports, practical editing features, clear audio, and suitable resolution all contribute to a polished final presentation.
However, technology alone does not make a successful vlog. Strong storytelling, thoughtful planning, consistent editing, and an understanding of the intended audience are equally important. New creators should focus on learning essential techniques rather than purchasing every available tool.
As online video continues to evolve, accessible editing workflows will give more people opportunities to share their experiences and creative ideas. Starting with simple resources and improving through regular practice is a sustainable way to build confidence and develop a recognizable vlogging style.




Leave a Reply