

A healthy roof does more than keep the rain out. It protects your home’s structure, helps manage energy costs, and keeps your interior finishes safe from moisture and mold.
With a calm approach and a simple plan, you can spot most issues before they turn costly.
DIY roof care is less about climbing high and more about paying attention. From the ground, binoculars and good lighting can reveal a lot.
Add a steady ladder, a buddy, and a few basics, and you can handle many small fixes with confidence.
Jump to:
Read The Signs From The Ground
Start with a slow walk around your home and look up at the roofline. Scan for missing or curled shingles, sagging sections, lifted flashing, or debris piles in valleys. Use binoculars to see details without stepping on the roof.
Watch the gutters and downspouts during rain. If water spills over the edges or pools near the foundation, your roof’s drainage is struggling. Consider a quick fix first, like clearing clogs, and confirm that downspout extensions carry water away.
Use indoor clues too. Ceiling spots, peeling paint near crown molding, or a musty attic smell often point to small leaks that began outside. Catching them early prevents wet insulation and warped drywall.
Know When To Call A Pro
Some signals mean the job is bigger than DIY. Widespread shingle loss, structural sagging, soft decking underfoot, or repeated leaks after rain point to deeper problems. These require trained help and proper safety gear.
If a fix sits near high-voltage service lines, a steep pitch, or a tall two-story drop, step back. Your safety matters more than speed. Document what you see and get professional input.
When you need expert help fast, compare reviews and response times. You can reach local experts by searching for roofing contractors near Hanover to assess complex issues and coordinate repairs. Ask about warranties on labor and materials.
Tools And Safety Basics
Gather the basics before you begin so you’re not climbing up and down. A sturdy ladder, leather gloves, utility knife, roofing nails, hammer, caulk gun, roofing cement, and a pry bar cover most tasks.
Set the ladder on flat ground and secure the top to a stable anchor. Wear shoes with good tread. Work in dry weather, and even a little moisture makes shingles slick and unsafe.
🤖 Looking For An Answer?
Ask AI to summarise this post to see if the article answers your questions:
Keep fixes small on DIY days. Swap one or two shingles, reseal a short stretch of flashing, or clean a clogged valley. Save big structural problems for pros who carry fall protection and advanced tools.
- Ladder with stabilizer
- Work gloves and eye protection
- Utility knife and roofing nails
- Roofing cement and exterior sealant
- Pry bar and tin snips
- Binoculars and a chalk line
Spot Trouble In Shingles, Flashing, And Valleys
Shingles tell a story when you know what to look for. Granules collecting in gutters signal aging.
Edges that cup or crack invite wind to lift them. Gaps expose the underlayment to sun and water.
Flashing is the thin metal around chimneys, skylights, and sidewalls. If it looks bent, rusted, or lifted, water can sneak behind it.
Valleys that collect leaves or grit can trap moisture and speed decay.
If a small patch of shingles looks off, compare it to nearby sections. Mismatched color may reveal a past repair that is failing.
Note the slope and direction of the leak path so you fix the source, not just the symptom.
Make Simple, Durable Repairs
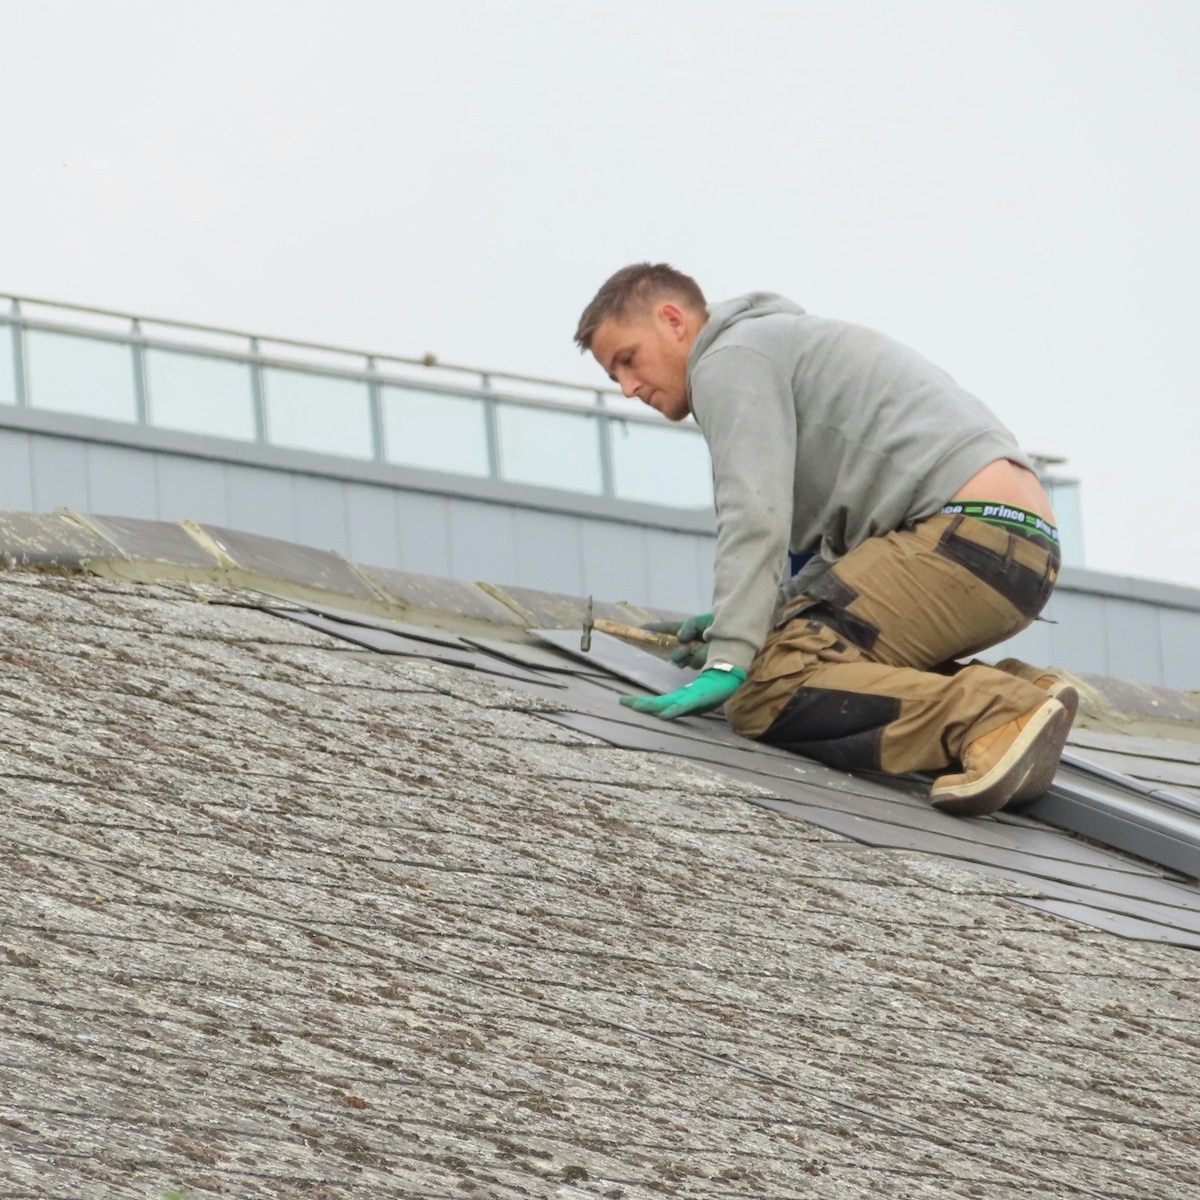
Replace a single damaged shingle by lifting the tabs above it, removing the nails, and sliding in a new shingle cut to size.
Nail it in place, then bed the tabs in a thin layer of roofing cement.
For minor flashing leaks, clean the area, gently press the metal back to the surface, and seal edges with high-quality exterior sealant.
If flashing is badly corroded, replace the piece rather than smothering it in caulk.
Reseal nail heads and small punctures with roofing cement. Press firmly so the sealant fills the voids.
Always clean dirt and old sealant first, as new material sticks best to clean, dry surfaces.
Tackle Attic And Ventilation Checks
The attic is often where roof problems show first. Look for dark stains on sheathing, damp insulation, or rusty nail points.
Daylight peeking through boards means gaps that can let water in.
Ventilation keeps your roof system healthy by moving warm, moist air out.
Check that soffit vents are open and not packed with insulation. Ridge vents should be continuous and free of debris.
If the insulation is compressed or wet, replace it after fixing the leak. Add baffles at the eaves to protect airflow.
Good ventilation supports shingle life and helps stabilize indoor temperatures.
- Parents Are Prioritising Breathable, Sustainable Fabrics For Children's Seasonal Sleepwear
- Our Homemade Christmas Printables, Made With AI: What Worked, What Didn't, and What I'm Saving for Next Year
- At-Home vs. In-Lounge IV Therapy in the Hudson Valley: Which Makes More Sense?
- Can Passengers Pursue Compensation After a Car Accident?




Think of roof care as a loop. Observe, maintain, repair, and recheck. Most fixes are small when caught early, and your checklist gets easier with practice. Keep notes so you can spot patterns.
When a problem grows beyond your comfort zone, bring in a trusted specialist without delay.
A safe home and a dry ceiling are worth it. With a careful eye and steady hands, you’ll keep your roof performing season after season.





Leave a Reply