

Family RV adventures bring the joy of the open road, but they also come with the unique challenge of protecting your rolling home from the elements.
A neglected roof quickly turns a dream vacation into a stressful ordeal of tracking down mysterious water leaks. Fortunately, maintaining your rig does not require an expensive professional or a lost weekend.
Three lazy hacks keep your RV roof new by combining a quick walkaround, proactive seam sealing, and a simple elastomeric coating.
Jump to:
Why Your RV Roof Deserves a Little Attention
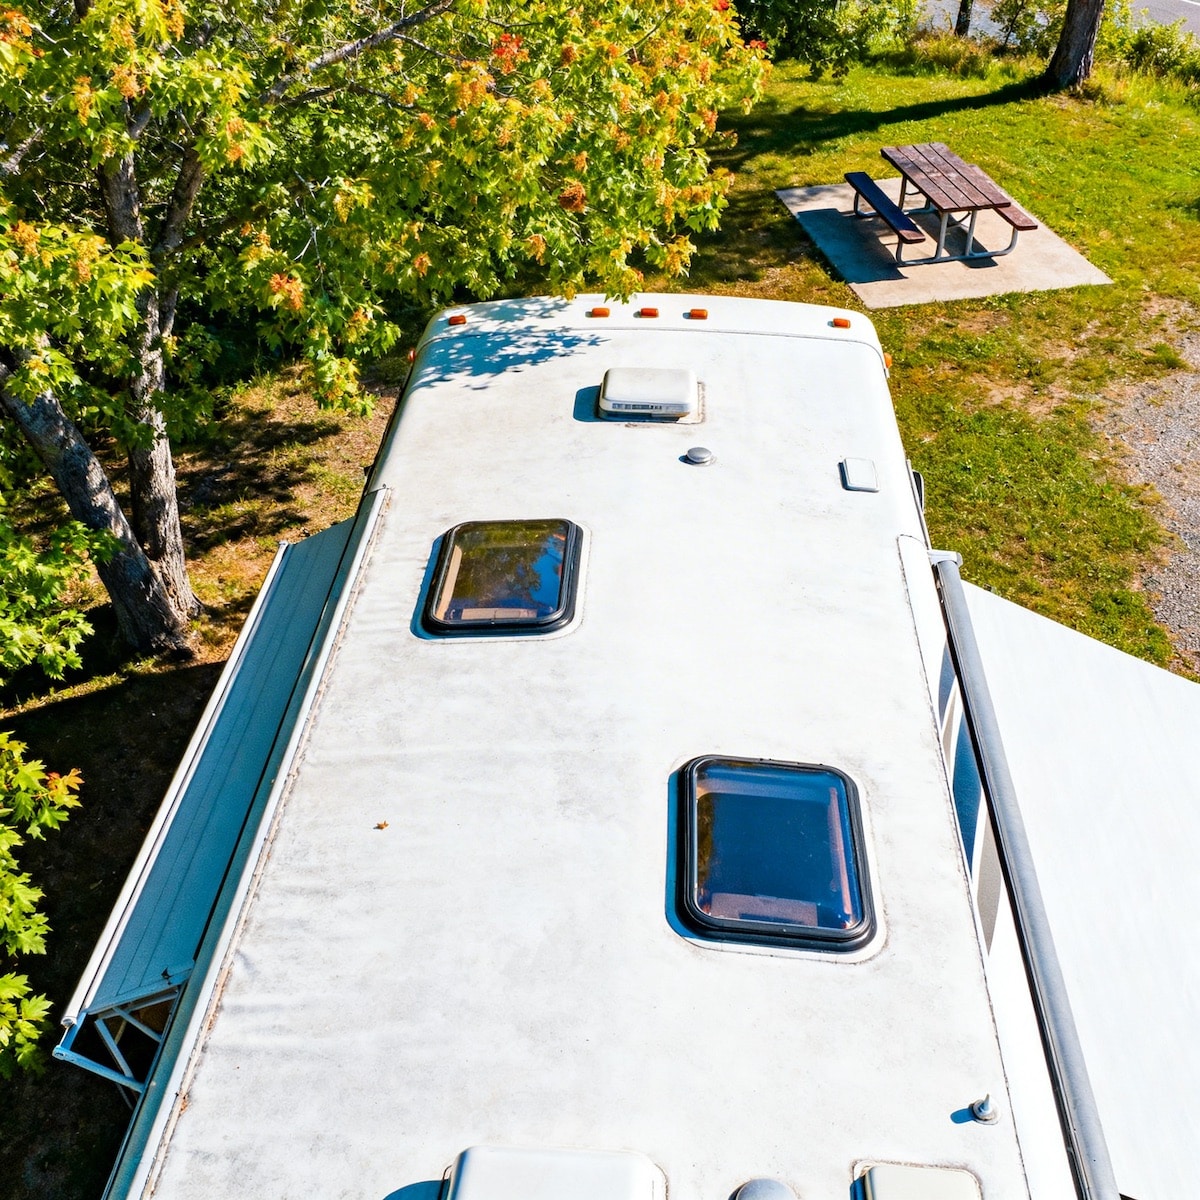
Your RV roof takes quite a beating every single day from the harsh environment. UV rays break down surface materials, temperature swings cause the structure to expand and contract, and pooling water lingers after heavy rain.
Even minor cracks or loose seals can lead to water seeping inside, causing expensive damage.
Catching these early signs of wear prevents small vulnerabilities from turning into expensive interior damage.
Before undertaking serious repairs, evaluating the roof's condition determines whether you need a simple spot treatment or a comprehensive sealing solution.
Utilizing high-quality solutions like Liquid Rubber's RV roof coating helps maintain a watertight barrier against the elements. The key is catching wear early, saving you from complex weekend projects down the line.
1. The 10-Minute Roof Walkaround and Smart Inspection
A quick, intentional cleaning and visual inspection routine takes less time than finishing a morning coffee. Washing your RV's roof at least twice a year, ideally in spring and fall, helps remove dirt, grime, and debris that can wear down the surface over time.
Keeping the roof clean is essential for preparing the surface before any sealant or coating is applied. Start by using a soft-bristle brush to sweep off loose leaves, twigs, and dirt.
Next, rinse the surface gently with a standard garden hose. Once clean, perform a slow visual scan of the seams, edges, and areas around vents or fixtures, looking for discoloration or soft patches.
Industry data shows a rubber roof inspection twice a year doubles your rig's life expectancy, so ask any full-timer over 200k miles.
Building this 10-minute walkaround into a 90-day maintenance cycle turns basic upkeep into an effortless habit.
Warning/Important:
Avoid using a high-pressure washer when cleaning your RV roof. The intense force can severely damage sensitive EPDM or TPO membranes, creating the exact leaks you are trying to prevent.
2. Seal the Small Stuff Before It Becomes Big
If the walkaround is an early warning system, targeted seam sealing is your first line of defence.
The seams along the edges and the areas surrounding vents, antennas, skylights, and air-conditioner mounts are highly vulnerable.
Water requires only a microscopic opening to seep in and degrade the underlying structure.
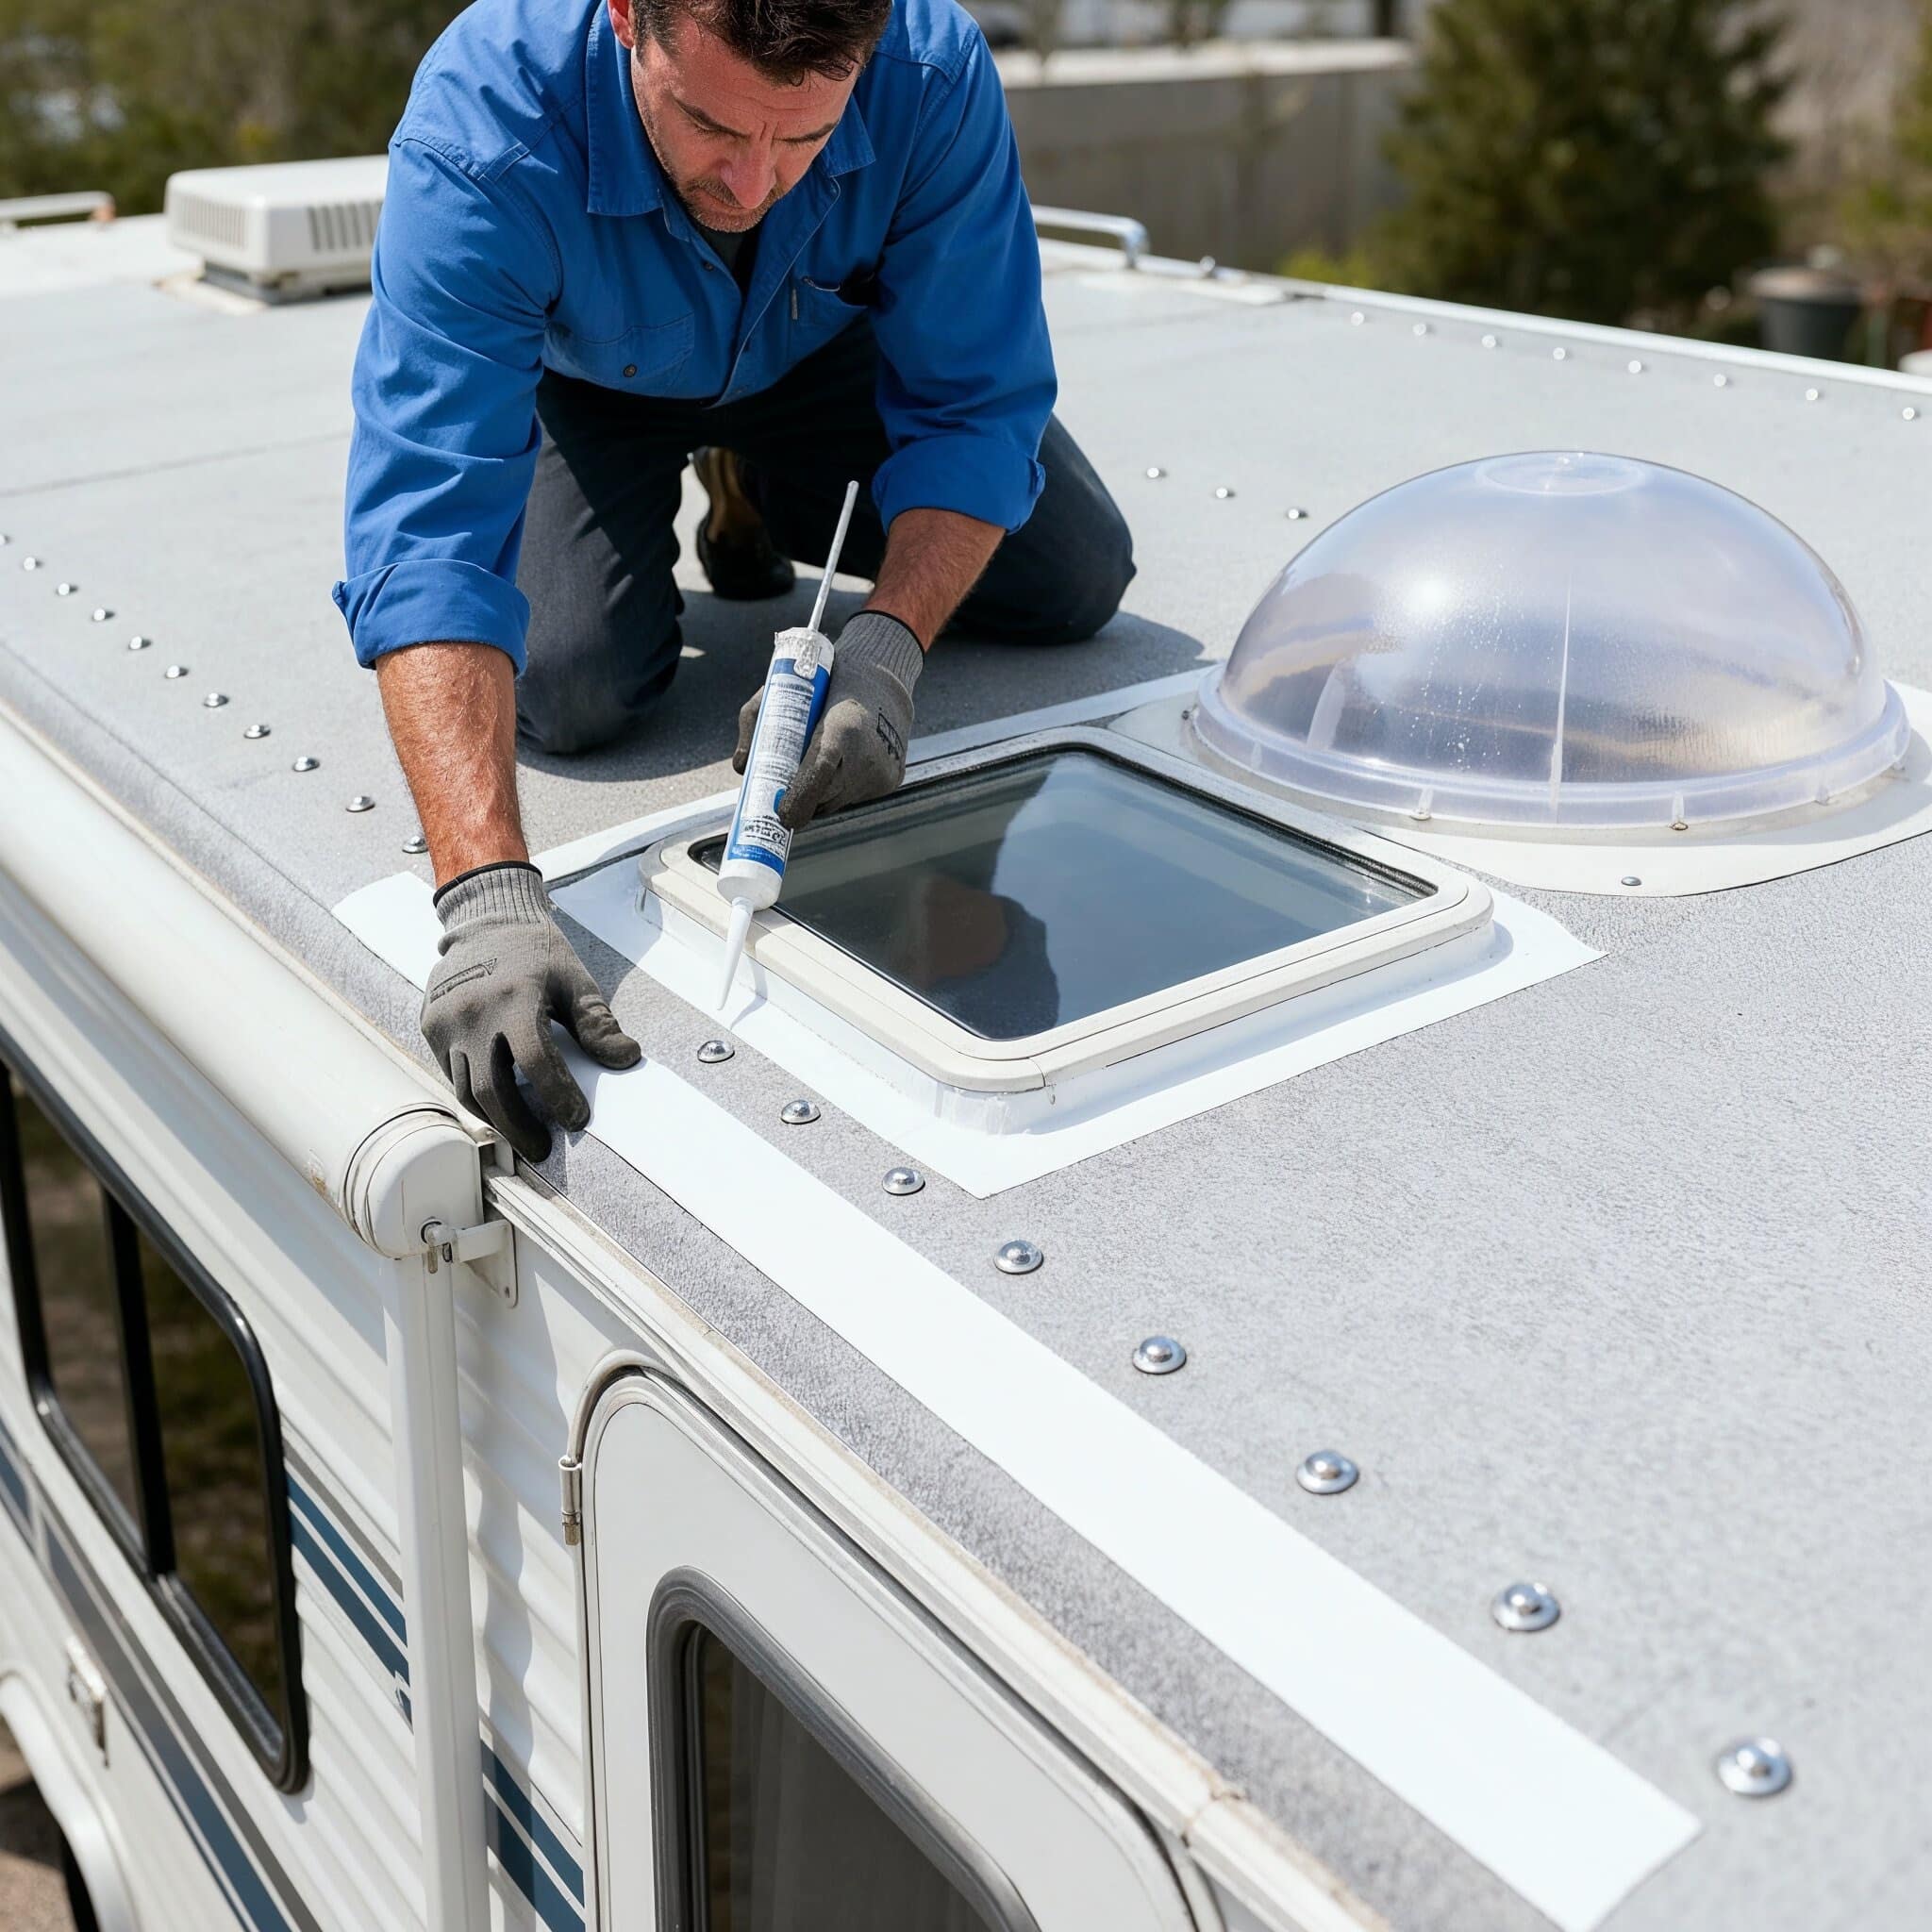
Addressing these spots is a straightforward task that any DIY enthusiast can handle quickly. After cleaning, focus on any seams or penetration points that look slightly separated or worn.
Apply a high-quality peel-and-stick seam tape over these vulnerable areas to create a reinforced, flexible bond.
Follow up by using a compatible adhesive caulking around fixtures or edges where small gaps have started to form.
Pro Tip:
When choosing seam sealants, prioritize products with up to 900% elongation. High elasticity ensures the seal flexes safely as your RV expands and contracts during extreme temperature shifts.
3. Roll On Long-Term Protection with RV Roof Coating
For long-lasting protection that drastically reduces ongoing maintenance, applying a fluid-applied elastomeric coating is a highly effective strategy.
Many modern water-based and non-toxic coatings apply easily with standard paint rollers or heavy-duty brushes, requiring no specialized contractor equipment. Because these products are free of harsh solvents, they are safe to use around families and pets.
Cleanup requires only basic soap and water, making the DIY process stress-free. To ensure success, always clean the surface thoroughly beforehand. Apply the product in thin, even coats, allowing adequate curing time between each layer.
Once fully cured, the coating forms a flexible skin that completely stops water in its tracks, adapting seamlessly to the movements of the vehicle on the road.
Key Insight:
Unlike patchy spot treatments that leave adjacent areas vulnerable, a fluid-applied elastomeric coating creates one continuous, seamless membrane that completely locks out moisture across the entire roof surface.
Your 3-Hack RV Roof Checklist at a Glance
To make sure you never miss a step before your next big trip, keep a simple cheat sheet on hand.
Following a structured routine ensures that every component of your roof gets the attention it needs to remain watertight. Review these core tasks whenever you prepare your rig for a new travel season.
- Clean and inspect: Perform a soft-brush sweep, gentle hose rinse, and visual scan every 90 days or before major travel.
- Seal seams and penetrations: Apply flexible peel-and-stick seam tape and adhesive caulking annually to reinforce vulnerable edges.
- Apply a continuous membrane: Roll on a water-based elastomeric coating for professional-grade, seamless waterproofing that flexes with the vehicle.
Now, It's Your Turn
Maintaining a recreational vehicle does not require advanced contractor experience, specialized machinery, or giving up an entire weekend.
By establishing a few intentional habits, you can protect the structural integrity of your vehicle and prevent minor wear from escalating into severe water damage.
Adopting these simple, DIY-friendly RV care strategies ensures the roof remains capable of handling harsh UV rays, heavy rain, and shifting temperatures.
- Parents Are Prioritising Breathable, Sustainable Fabrics For Children's Seasonal Sleepwear
- Our Homemade Christmas Printables, Made With AI: What Worked, What Didn't, and What I'm Saving for Next Year
- At-Home vs. In-Lounge IV Therapy in the Hudson Valley: Which Makes More Sense?
- Can Passengers Pursue Compensation After a Car Accident?




Implement these straightforward maintenance steps before the next family trip, allowing you to focus entirely on the upcoming adventure with complete peace of mind.
Taking action today saves you time, money, and unnecessary stress on your future vacations. Grab your tools, check your roof, and get ready for a season of worry-free travels.
Author Profile:
Liquid Rubber's waterproof sealants and products can help with your toughest home DIY projects. Seal your basement, foundation, roof, decks and more




Leave a Reply