

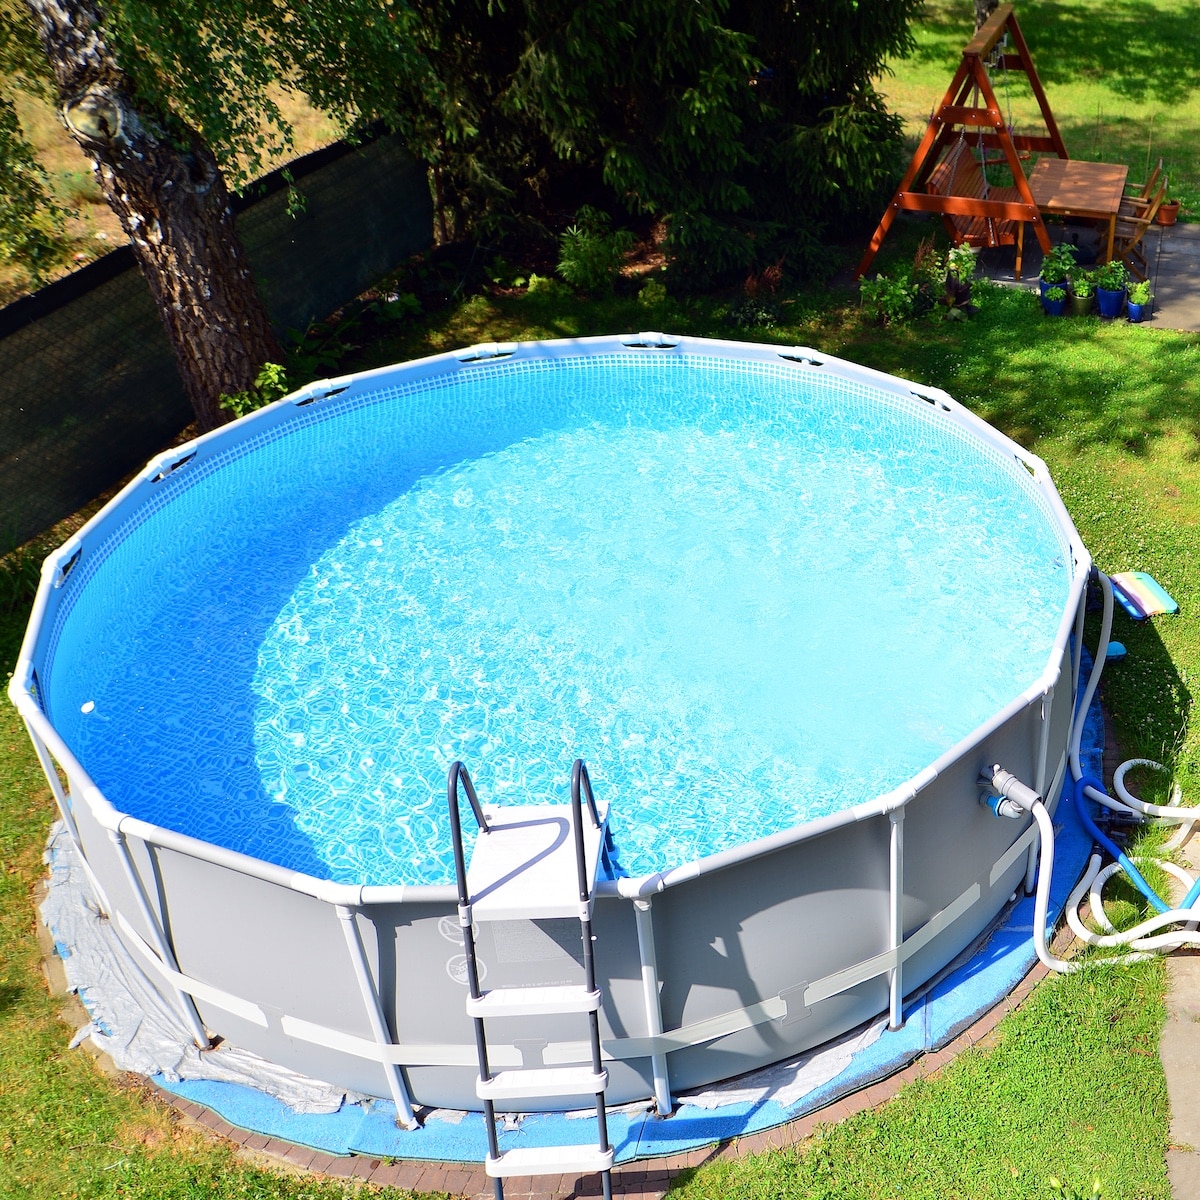
An above-ground pool rarely starts with steel walls or clear water. The visible finish comes much later, after grading, measurements, base prep, liner placement, and equipment checks.
Installers follow a fixed order because each stage affects structural stability and safe use.
Families in Little Rock, where people love to take dips in hot weather, usually benefit from seeing that order ahead of time.
Clear expectations reduce rushed decisions, help with scheduling, and make the finished setup easier to maintain through a long Arkansas summer.
Jump to:
Before Delivery
Most jobs begin with a yard inspection, code review, and access check for freight and crew movement. Soil firmness, drainage pattern, and overhead clearance matter early. Families researching above-ground pool installation in Little Rock often find that site readiness shapes the timeline more than delivery speed. Even a tidy corner may still need grading, fill, or a better path for materials.
Choosing the Spot
Location affects safety, cleaning effort, and day-to-day comfort. Installers want level ground, dependable drainage, and enough open space around the wall. They also avoid roots, fence pinch points, and low areas where runoff settles after heavy rain. A smart placement choice leaves room for walking, filter service, and future additions. That early call influences nearly every step that follows.
Grade And Clearance
A slight slope can create major stress once thousands of pounds of water press against the frame. Crews measure several times before ground work begins. They also confirm clearance for hoses, electrical access, and entry steps. Those checks catch trouble before materials are assembled. Fixing grade errors later usually means more labor, more cost, and a weaker result.
Ground Preparation
Ground prep carries much of the physical workload. Crews remove sod, shave down high points, and create a flat pad that matches the model shape. Soft areas are corrected before heavy parts go in place. Many installations use compacted base material and a smooth top layer. That support protects the liner, reduces settling, and helps distribute weight more evenly across the footprint.
Setting The Track
Once the base is flat, the bottom track is laid out and checked for exact shape. Round models need steady spacing through the full circle. Oval versions require tighter control because long runs can drift during setup. Measurements are taken across key points until the layout stays true. Precision here prevents wall strain, alignment trouble, and visible distortion after the pool is filled.
Wall And Frame Assembly
The wall is raised carefully, usually with several people guiding the rolled section into the track. Uprights, stabilizers, and top rails follow after the shell is secured. At that point, the structure still appears light, yet alignment matters more than appearance. Fasteners must be snug without damaging coated metal. Good assembly depends on balance, steady handling, and repeated visual checks.
Liner Installation
The liner goes in only after the shell is clean and stable. Wrinkles are addressed early because water pressure locks them into place. Warm conditions help the material relax and seat more evenly. Many crews also install cove material or a floor pad for extra protection. A smooth fit improves comfort underfoot, limits abrasion, and supports better long-term wear.
Plumbing And Equipment
After the liner is seated, crews cut in the skimmer and return fittings. The pump and filter are connected, then checked for tight seals and dependable flow. Electrical work, where required, must comply with local codes for safety and qualified installation standards. Circulation deserves close attention. Strong water movement supports cleaner conditions, steadier chemistry, and fewer operating issues during the swim season.
Filling And Watching
Filling begins slowly, with repeated checks as the waterline rises. Installers watch the wall, liner, and fittings for movement during the first several inches. If a wrinkle appears or a connection shifts, the issue is corrected before depth increases. Patience matters at this stage. A rushed fill can hide small defects until they show up later as leaks, strain, or uneven settling.
Final Safety Review
The last stage covers access, stability, and startup basics. Ladders or steps are secured, equipment is tested, and water movement is confirmed. Families should also review barriers, cover choices, and child safety habits before regular use begins. A finished setup is ready for swimming only after those checks are complete. Water in the basin does not mean the work is fully finished.
The First Week
The structure still needs attention after installation day ends. Water chemistry is adjusted, debris is removed, and fittings are checked again after the base settles. Minor shifting can happen during the first week, especially near the perimeter. Early observation helps catch concerns before they spread. That short follow-up period often determines how smooth ownership feels for the rest of the season.
Conclusion
Above-ground pool installation is a sequence of practical steps, not one dramatic event. Placement, grading, track layout, wall alignment, liner fit, and circulation setup all support safe performance.
- Parents Are Prioritising Breathable, Sustainable Fabrics For Children's Seasonal Sleepwear
- Our Homemade Christmas Printables, Made With AI: What Worked, What Didn't, and What I'm Saving for Next Year
- At-Home vs. In-Lounge IV Therapy in the Hudson Valley: Which Makes More Sense?
- Can Passengers Pursue Compensation After a Car Accident?




When crews stay disciplined and families understand the order, the project feels more predictable from start to finish.
The completed pool may look simple from the outside, yet reliable results depend on careful preparation, patient assembly, and steady follow-up after filling.




Leave a Reply