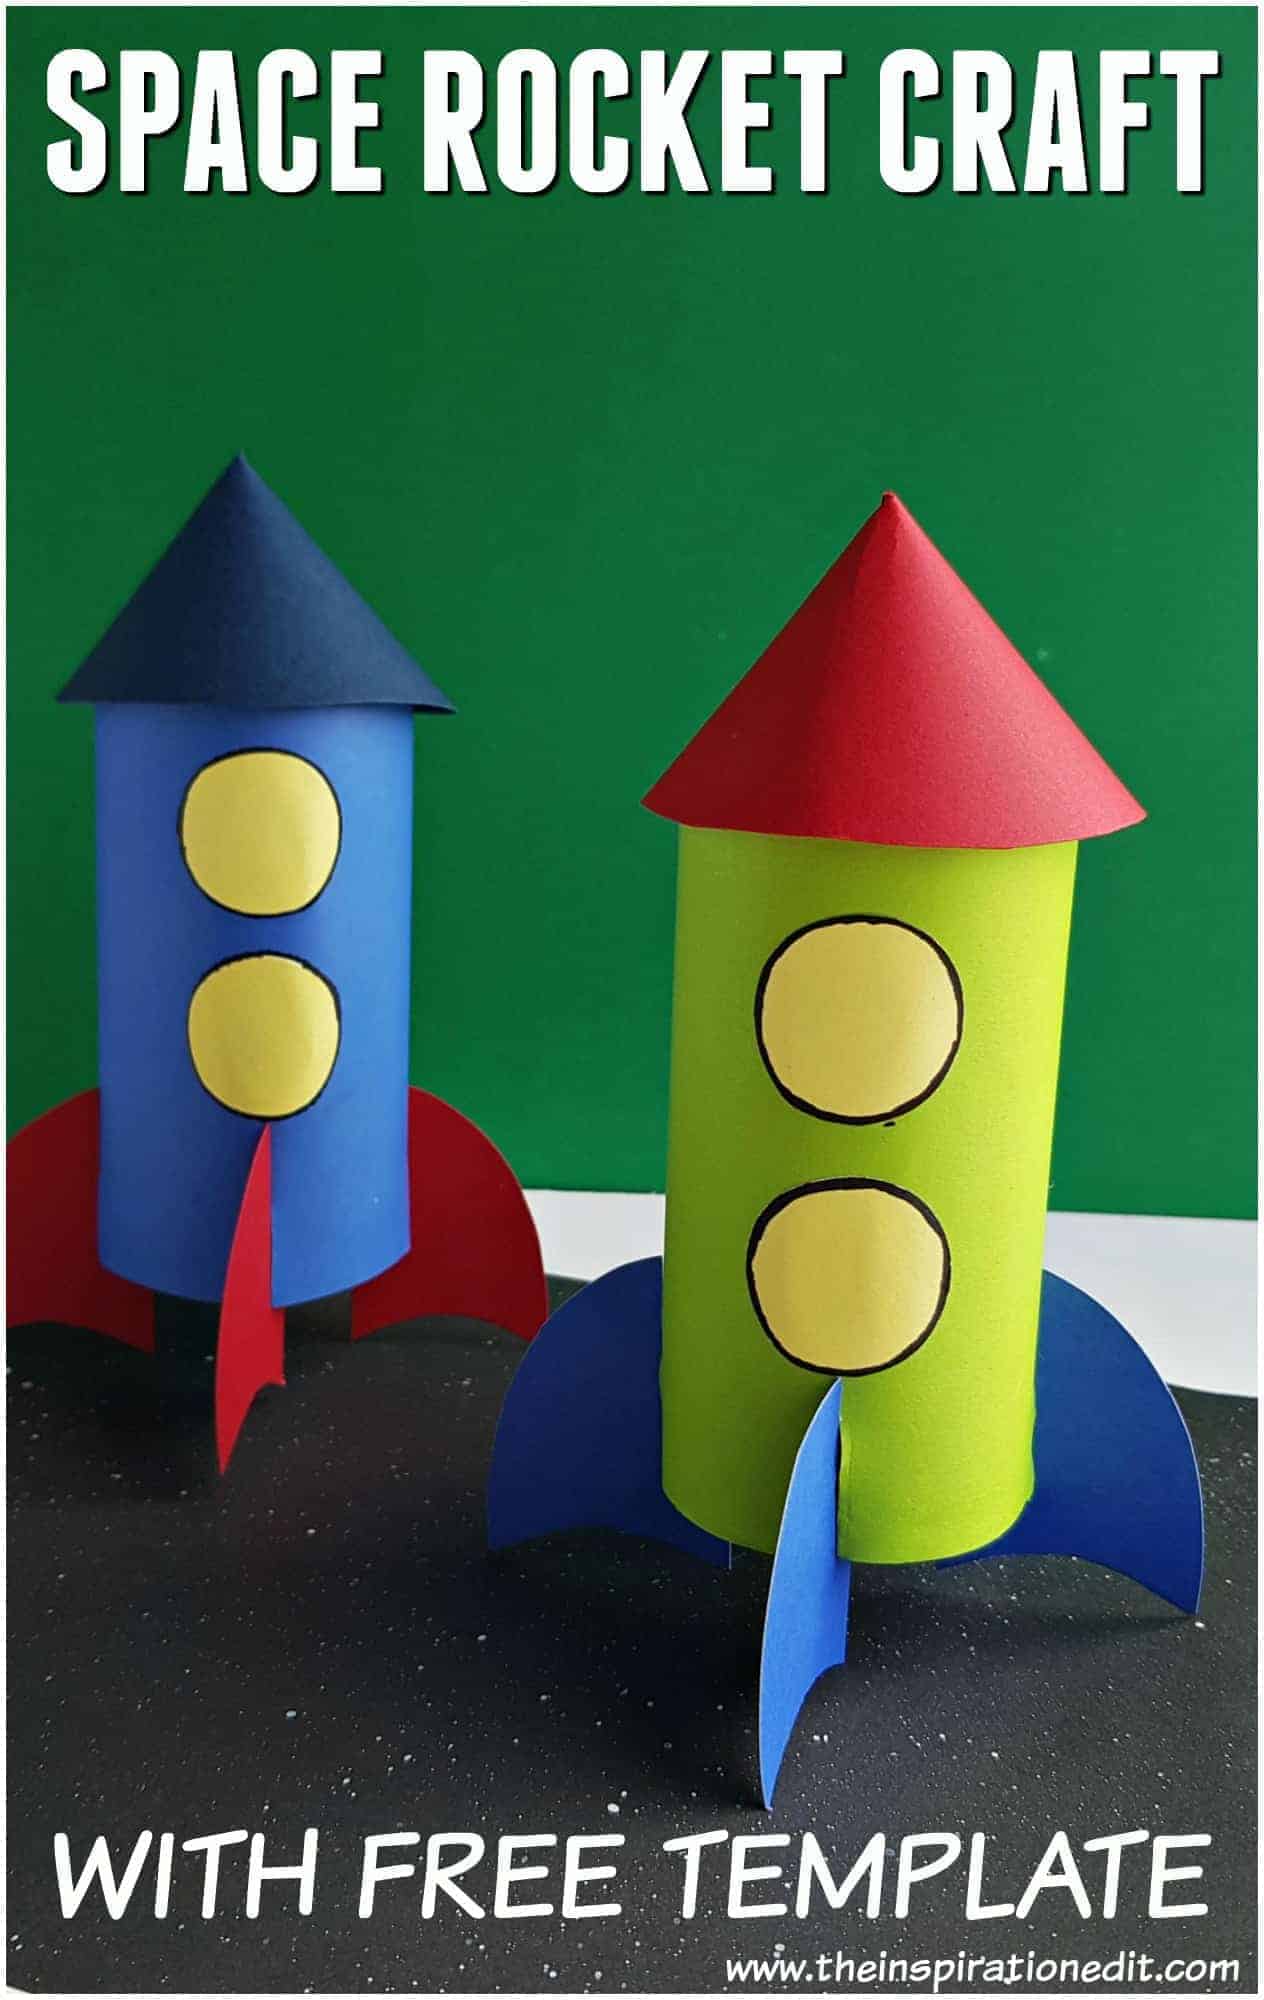
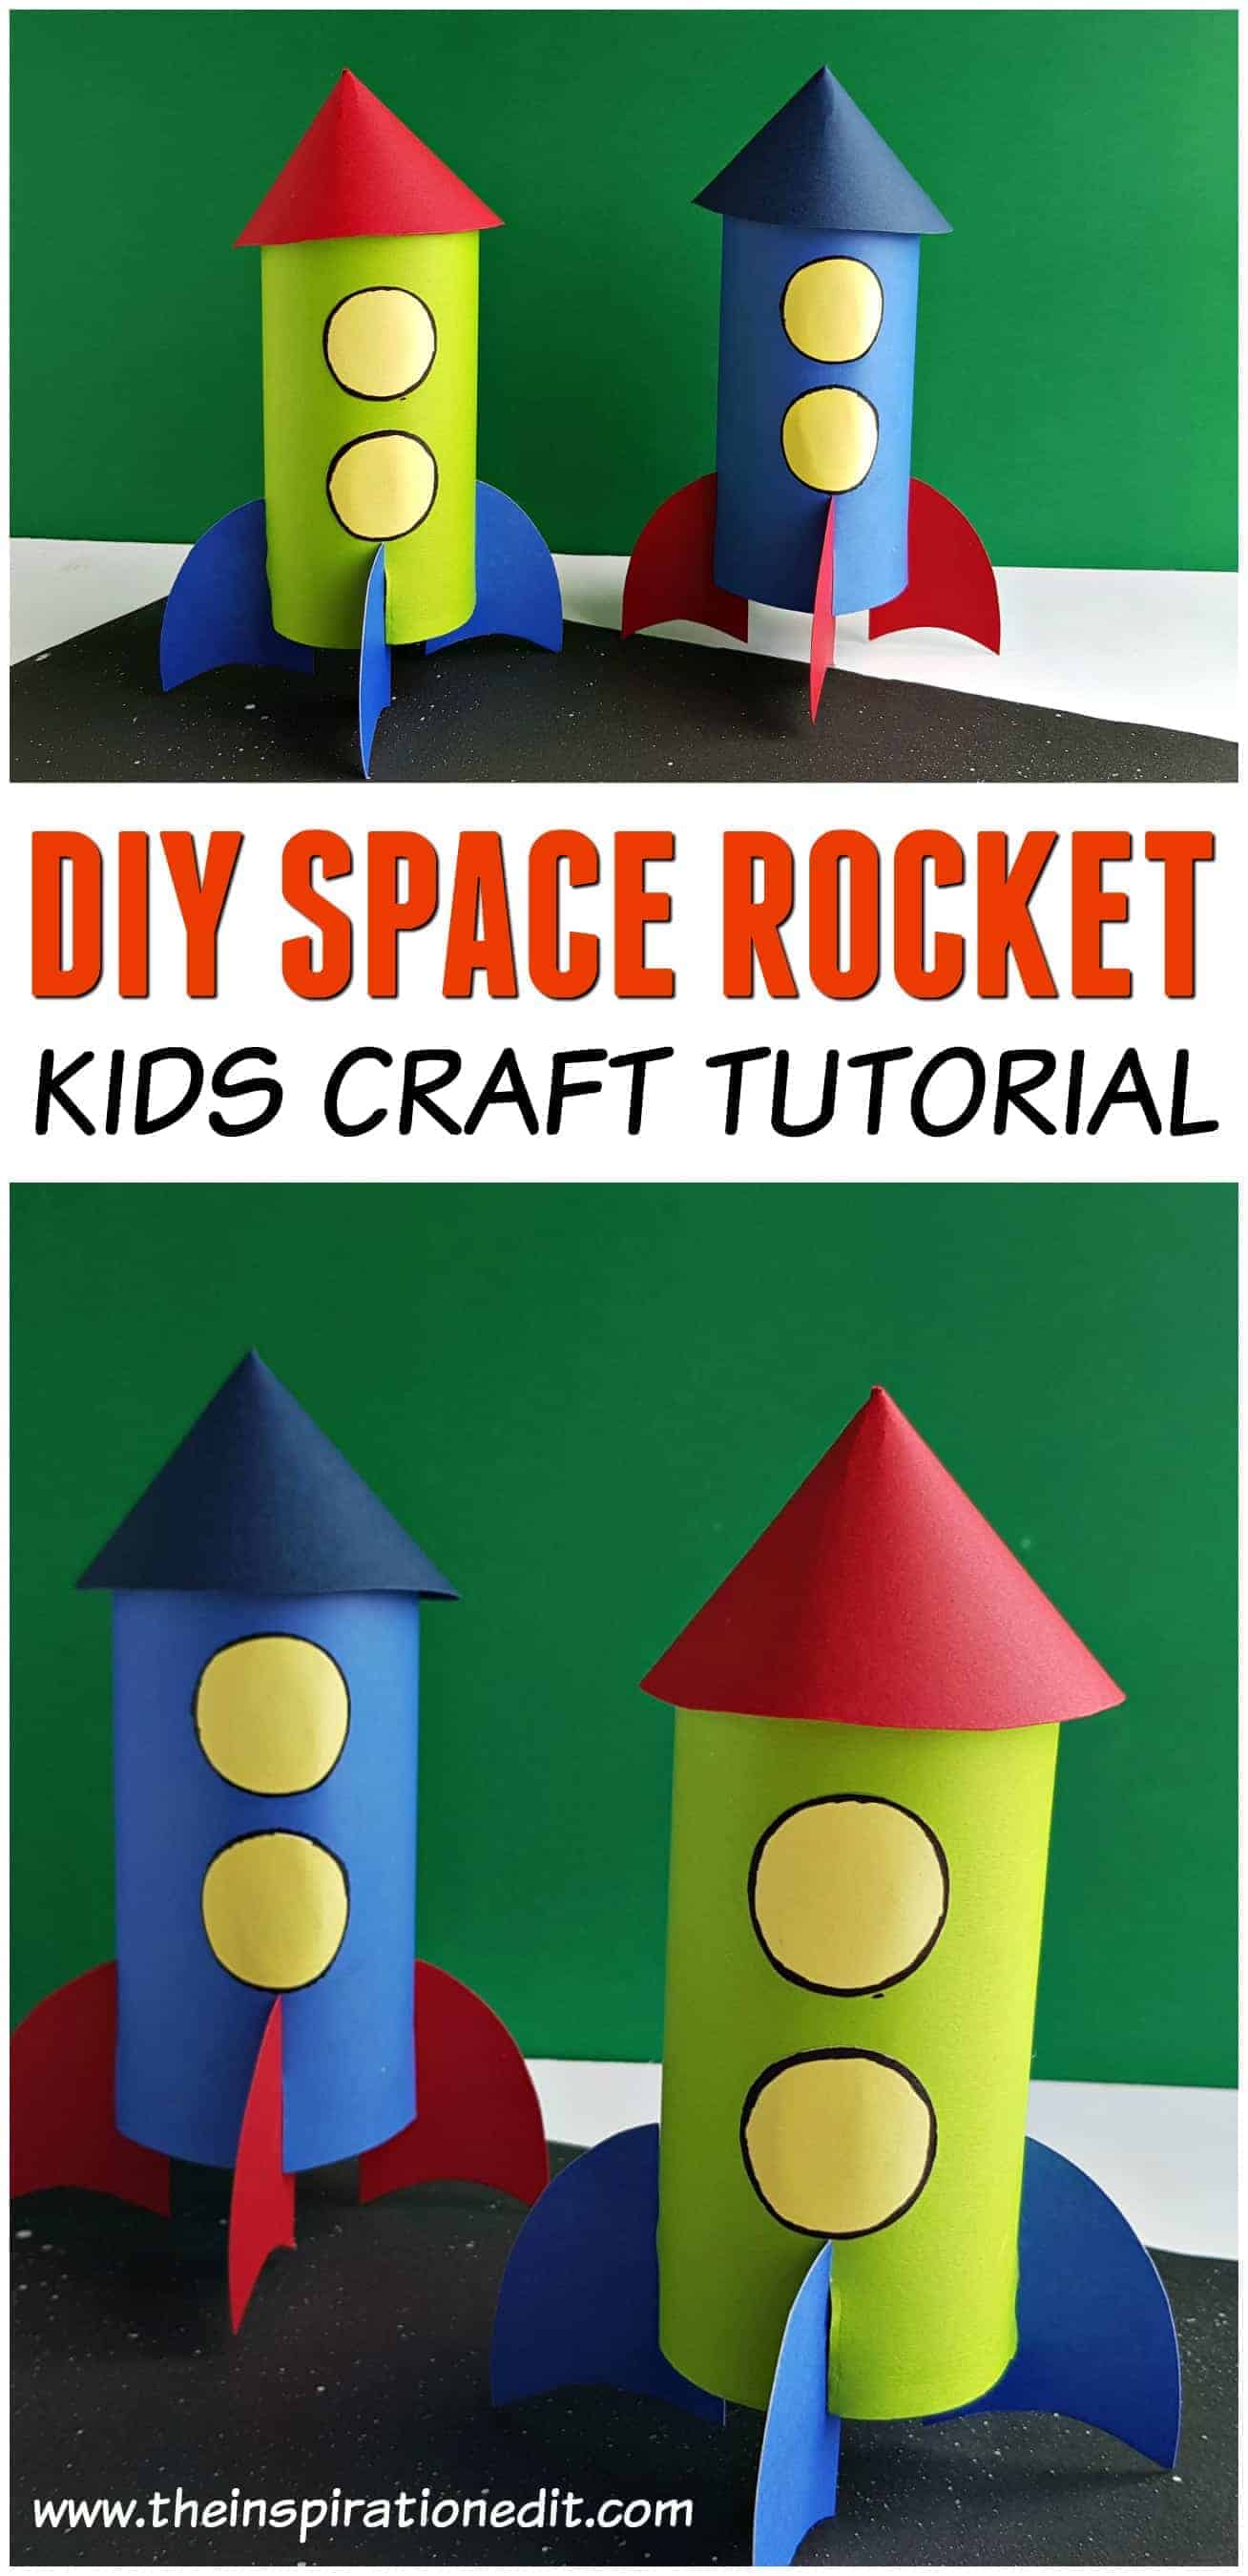
Homemade Rocket Craft for Kids
Are you looking to make a homemade rocket with the kids? If so, here is a fantastic step by step tutorial to make your very own space rocket craft using a toilet tube.
This is a fantastic recycled craft project and is a great way to get the kids interested in space and the solar system. You can build a homemade model rocket using the space rocket template at the end of this post. I hope you love this simple rocket craft idea. But if you have more free time, and you have a home 3D-printer, then you can make both a rocket and an entire solar system, and then your child will definitely be interested in space.
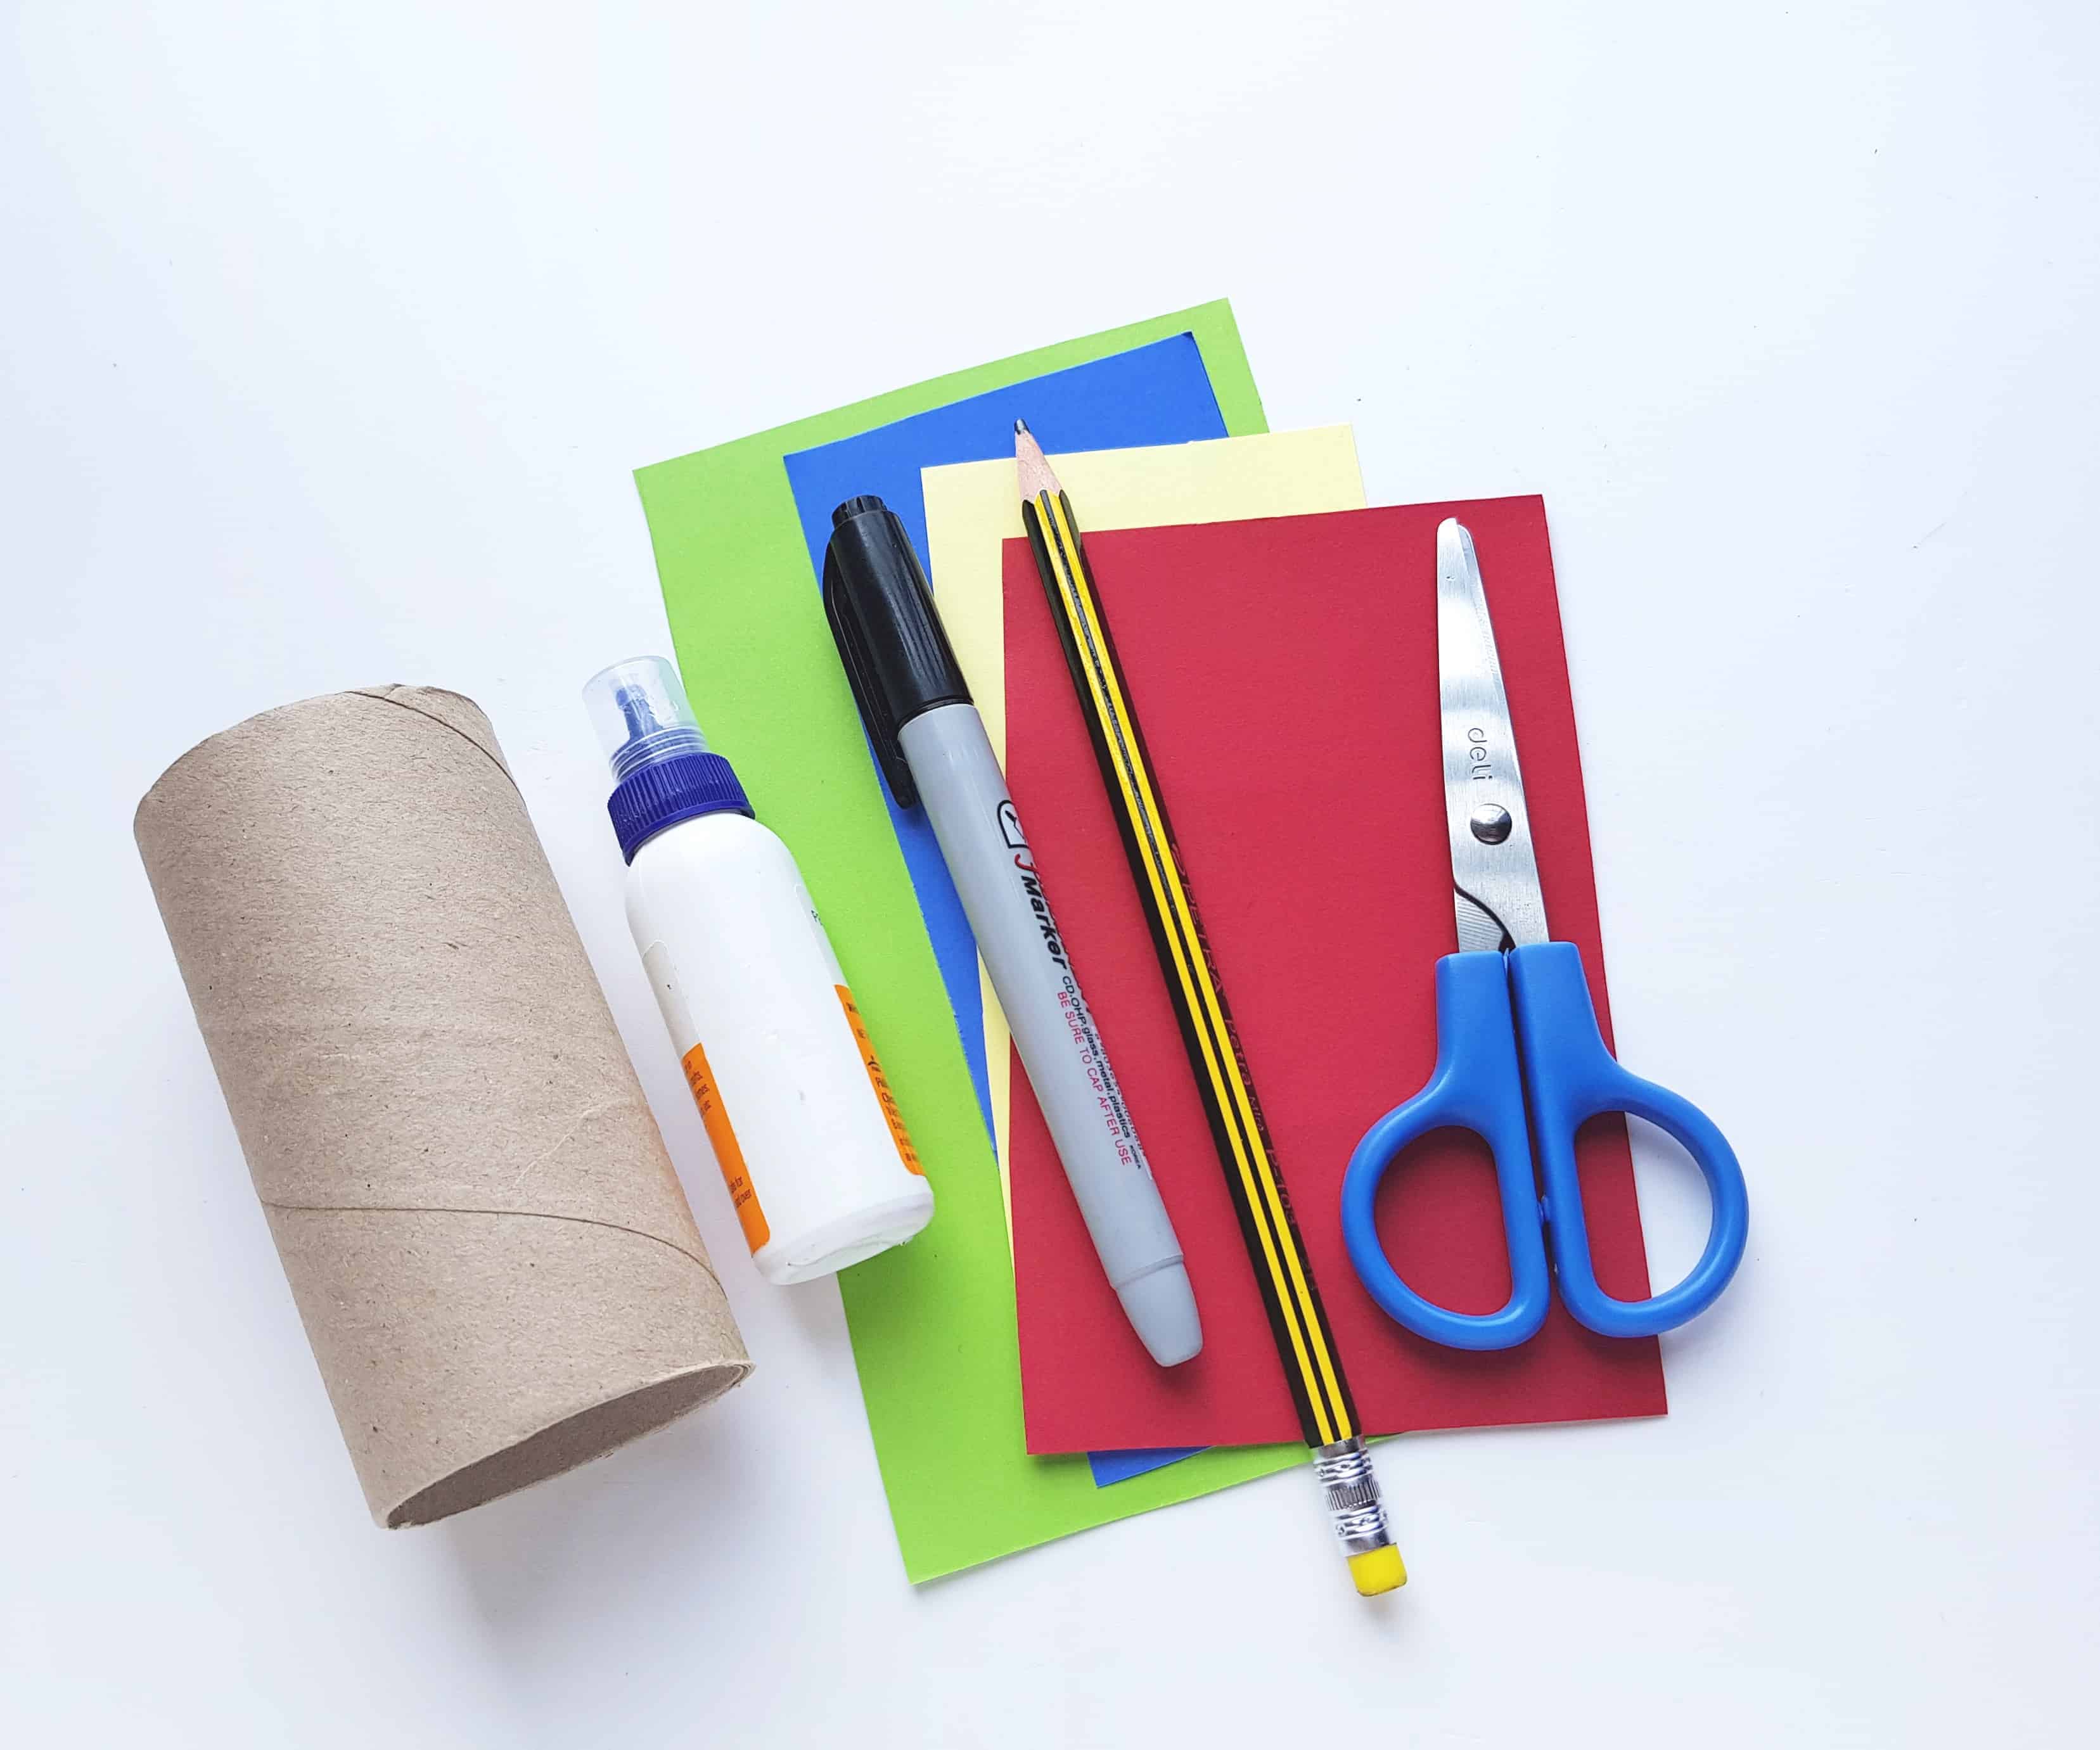
Supplies Needed for Your Homemade Rocket Craft
Contents
- Tissue paper roll
- Coloured craft papers
- Coloured cardstock paper
- Pencil
- Scissors
- Craft glue
RELATED POST: DIY SPACE ROCKET PENCIL TOPPERS
How to Make a Homemade Rocket
Here are the instructions for your toilet tube space rocket
Step 1:
We’ll need both craft papers and cardstock papers for this project.
Use craft papers to cover the toilet paper roll and to make the round windows of the rocket.
Use cardstock papers for the top cone and the stands of the rocket.

To get started, use a coloured craft paper to cover the entire outer surface of the tissue paper roll.
Step 2:
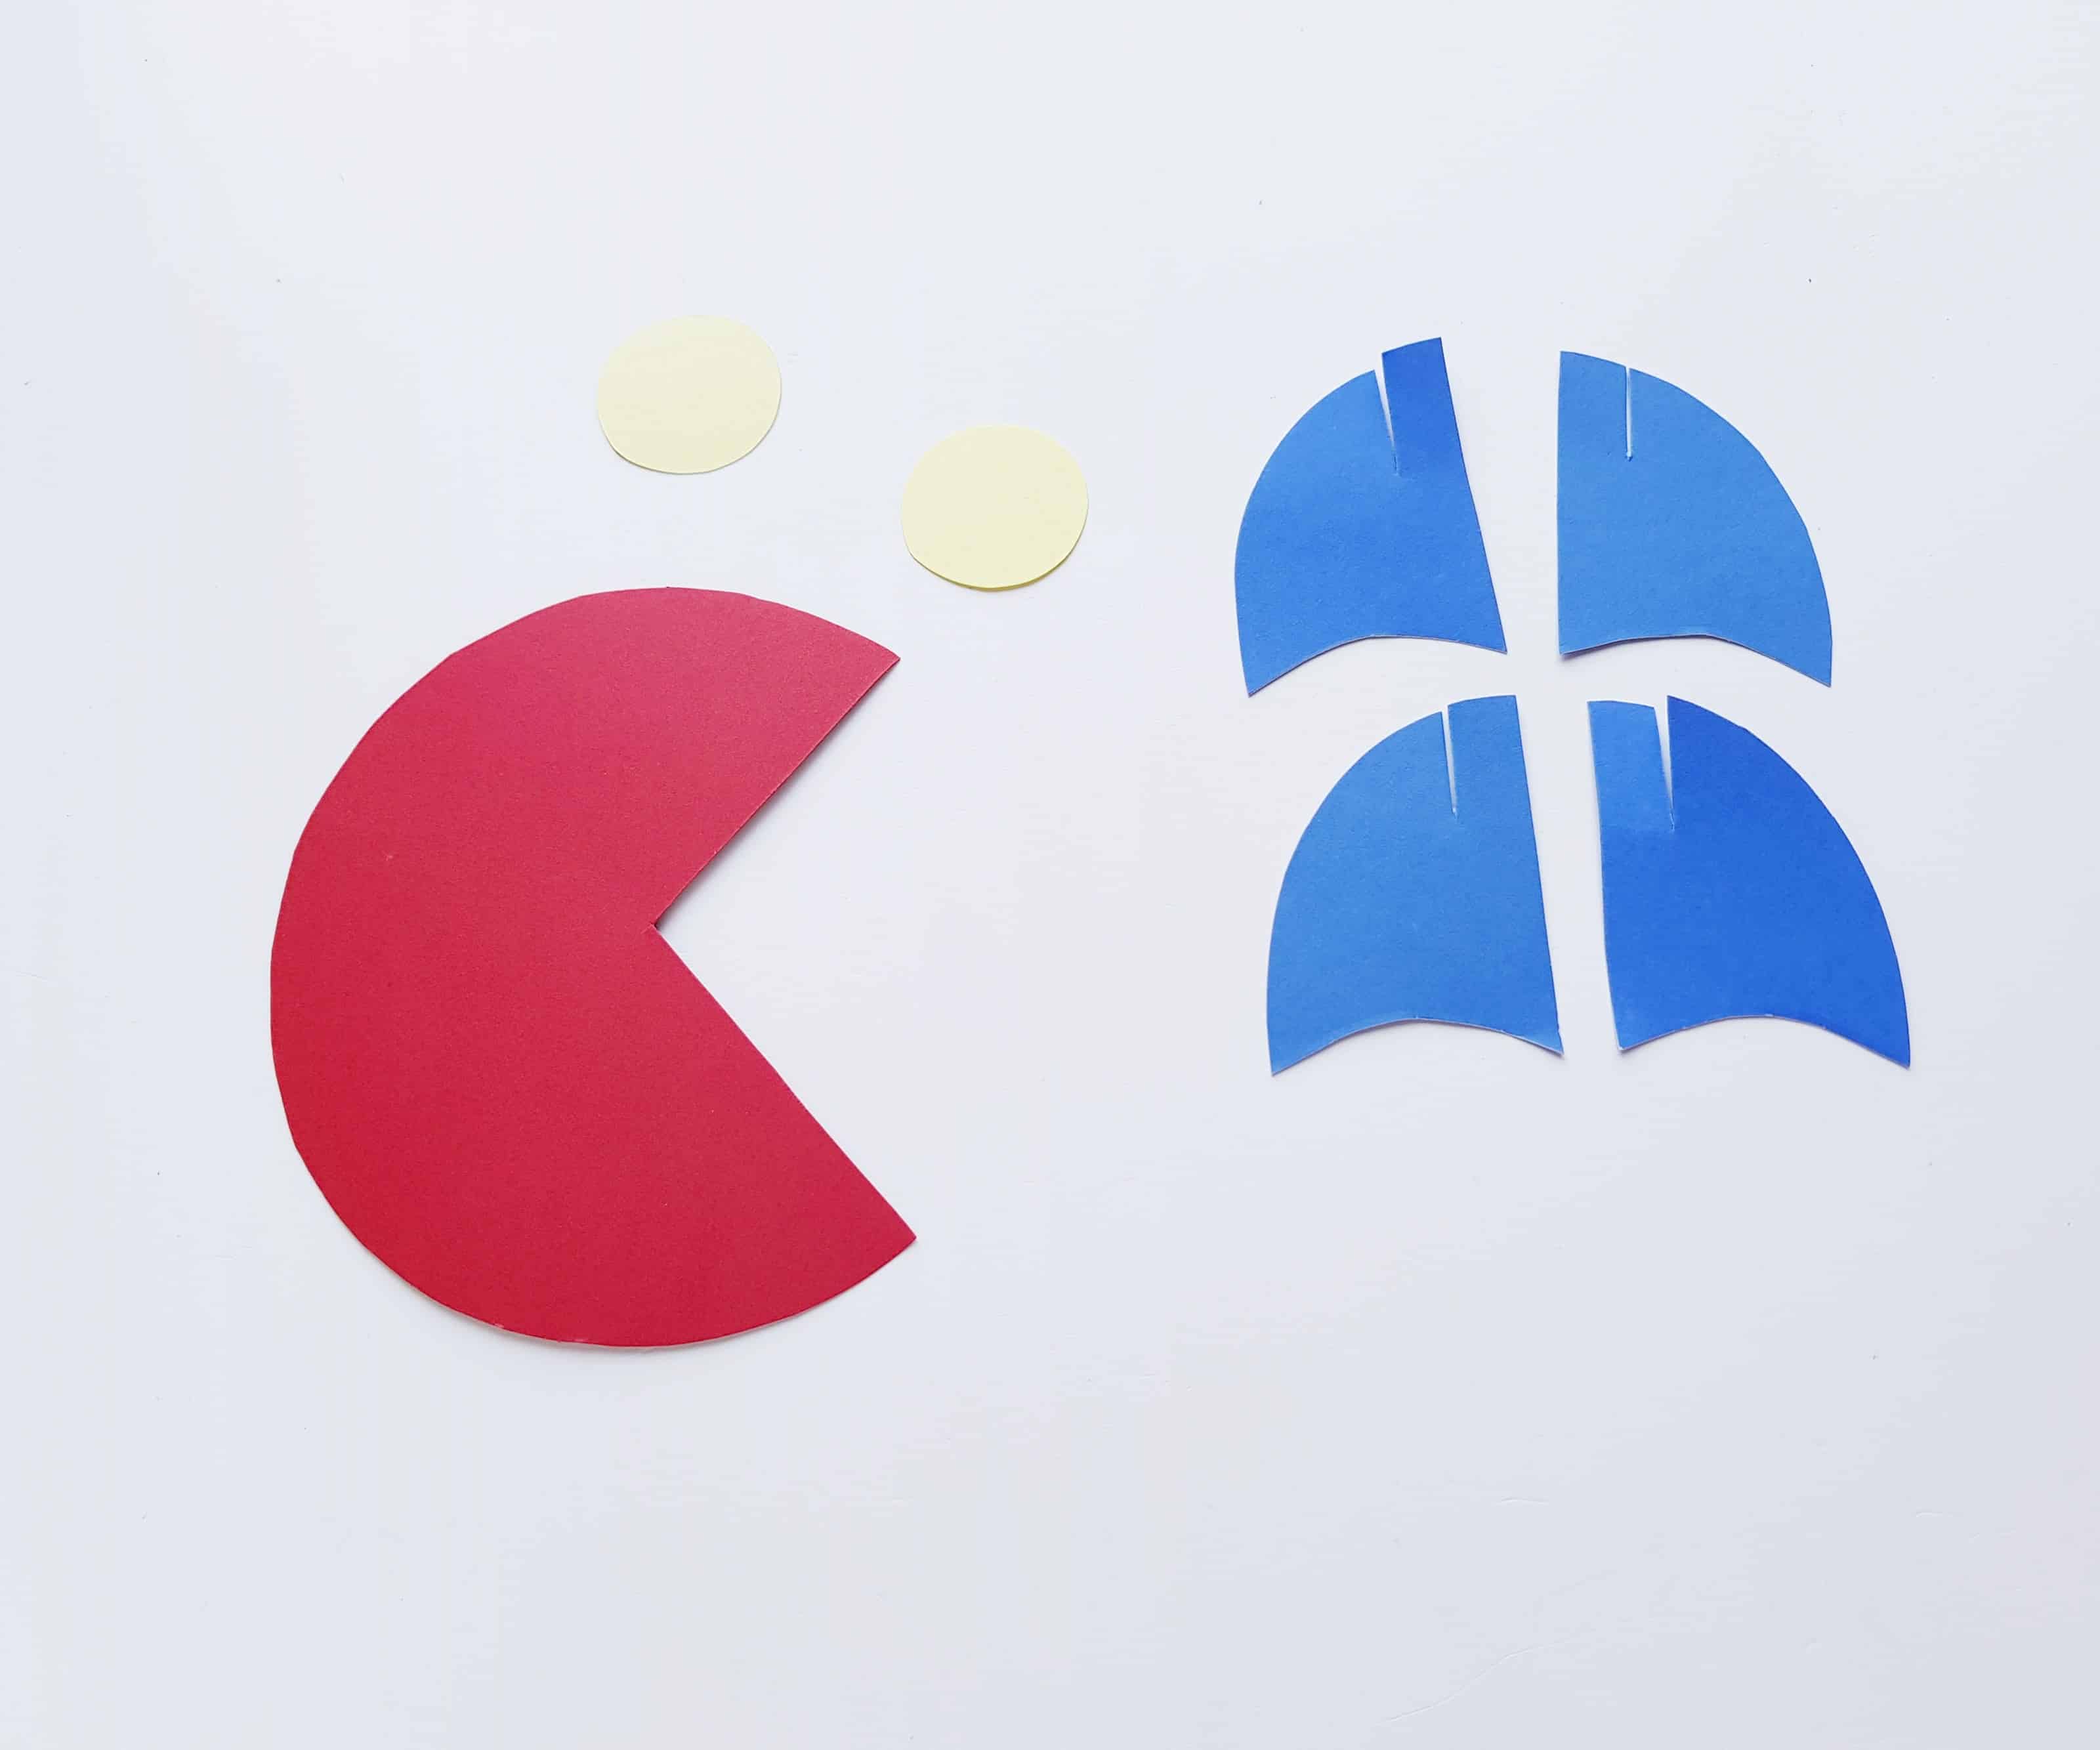
Select craft papers and cardstock papers for tracing the template patterns.
Trace the 2 round shapes on craft papers and trace the rest of the patterns on cardstock papers.
Step 3:
Take the pattern for the cone and apply glue along any one of its straight end.
Bring the 2 straight ends together by overlapping them and joining them along the glued part.
Press hold the glued part for a while to make sure that the cone shape is secured.

Step 4:
Take the craft paper covered tissue paper roll and stick the 2 round shaped papers on it.

Step 5:
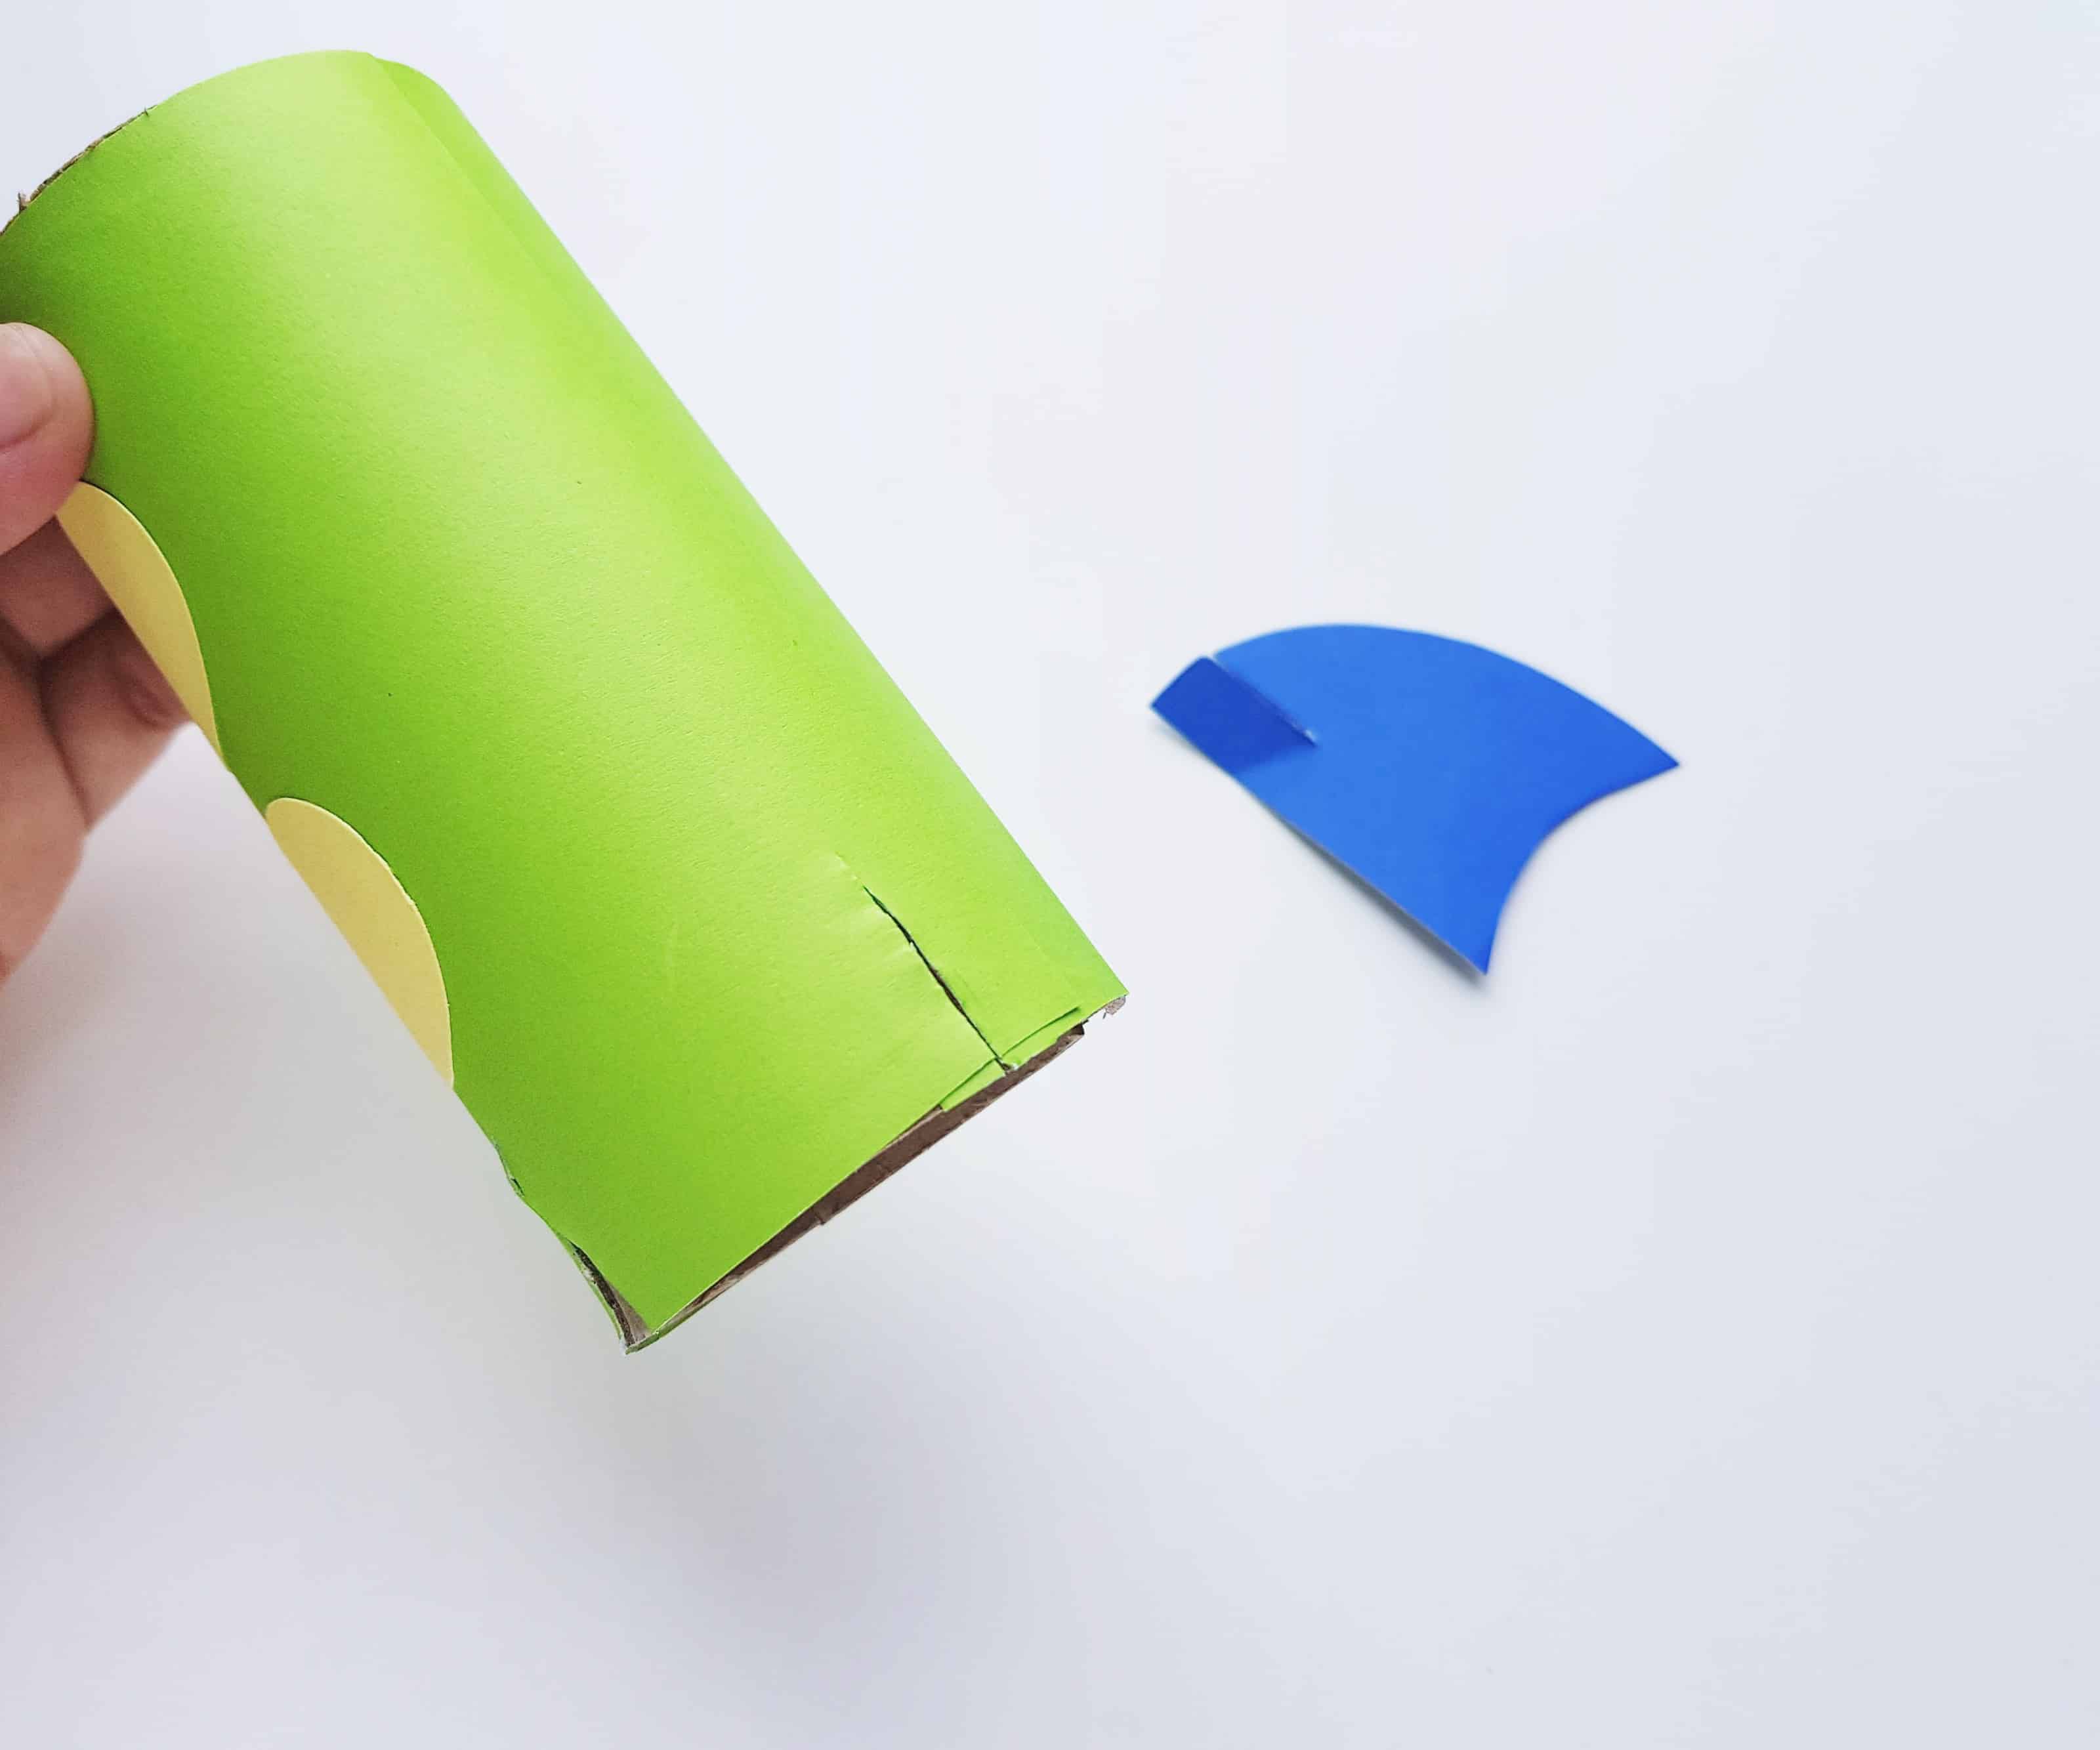
Cut a 1-inch slit from the bottom open end of the roll; you will need to cut 4 slits on the bottom end of the roll cross-wise.
Also cut slits along the red marked lines on the stand patterns.
Step 6:
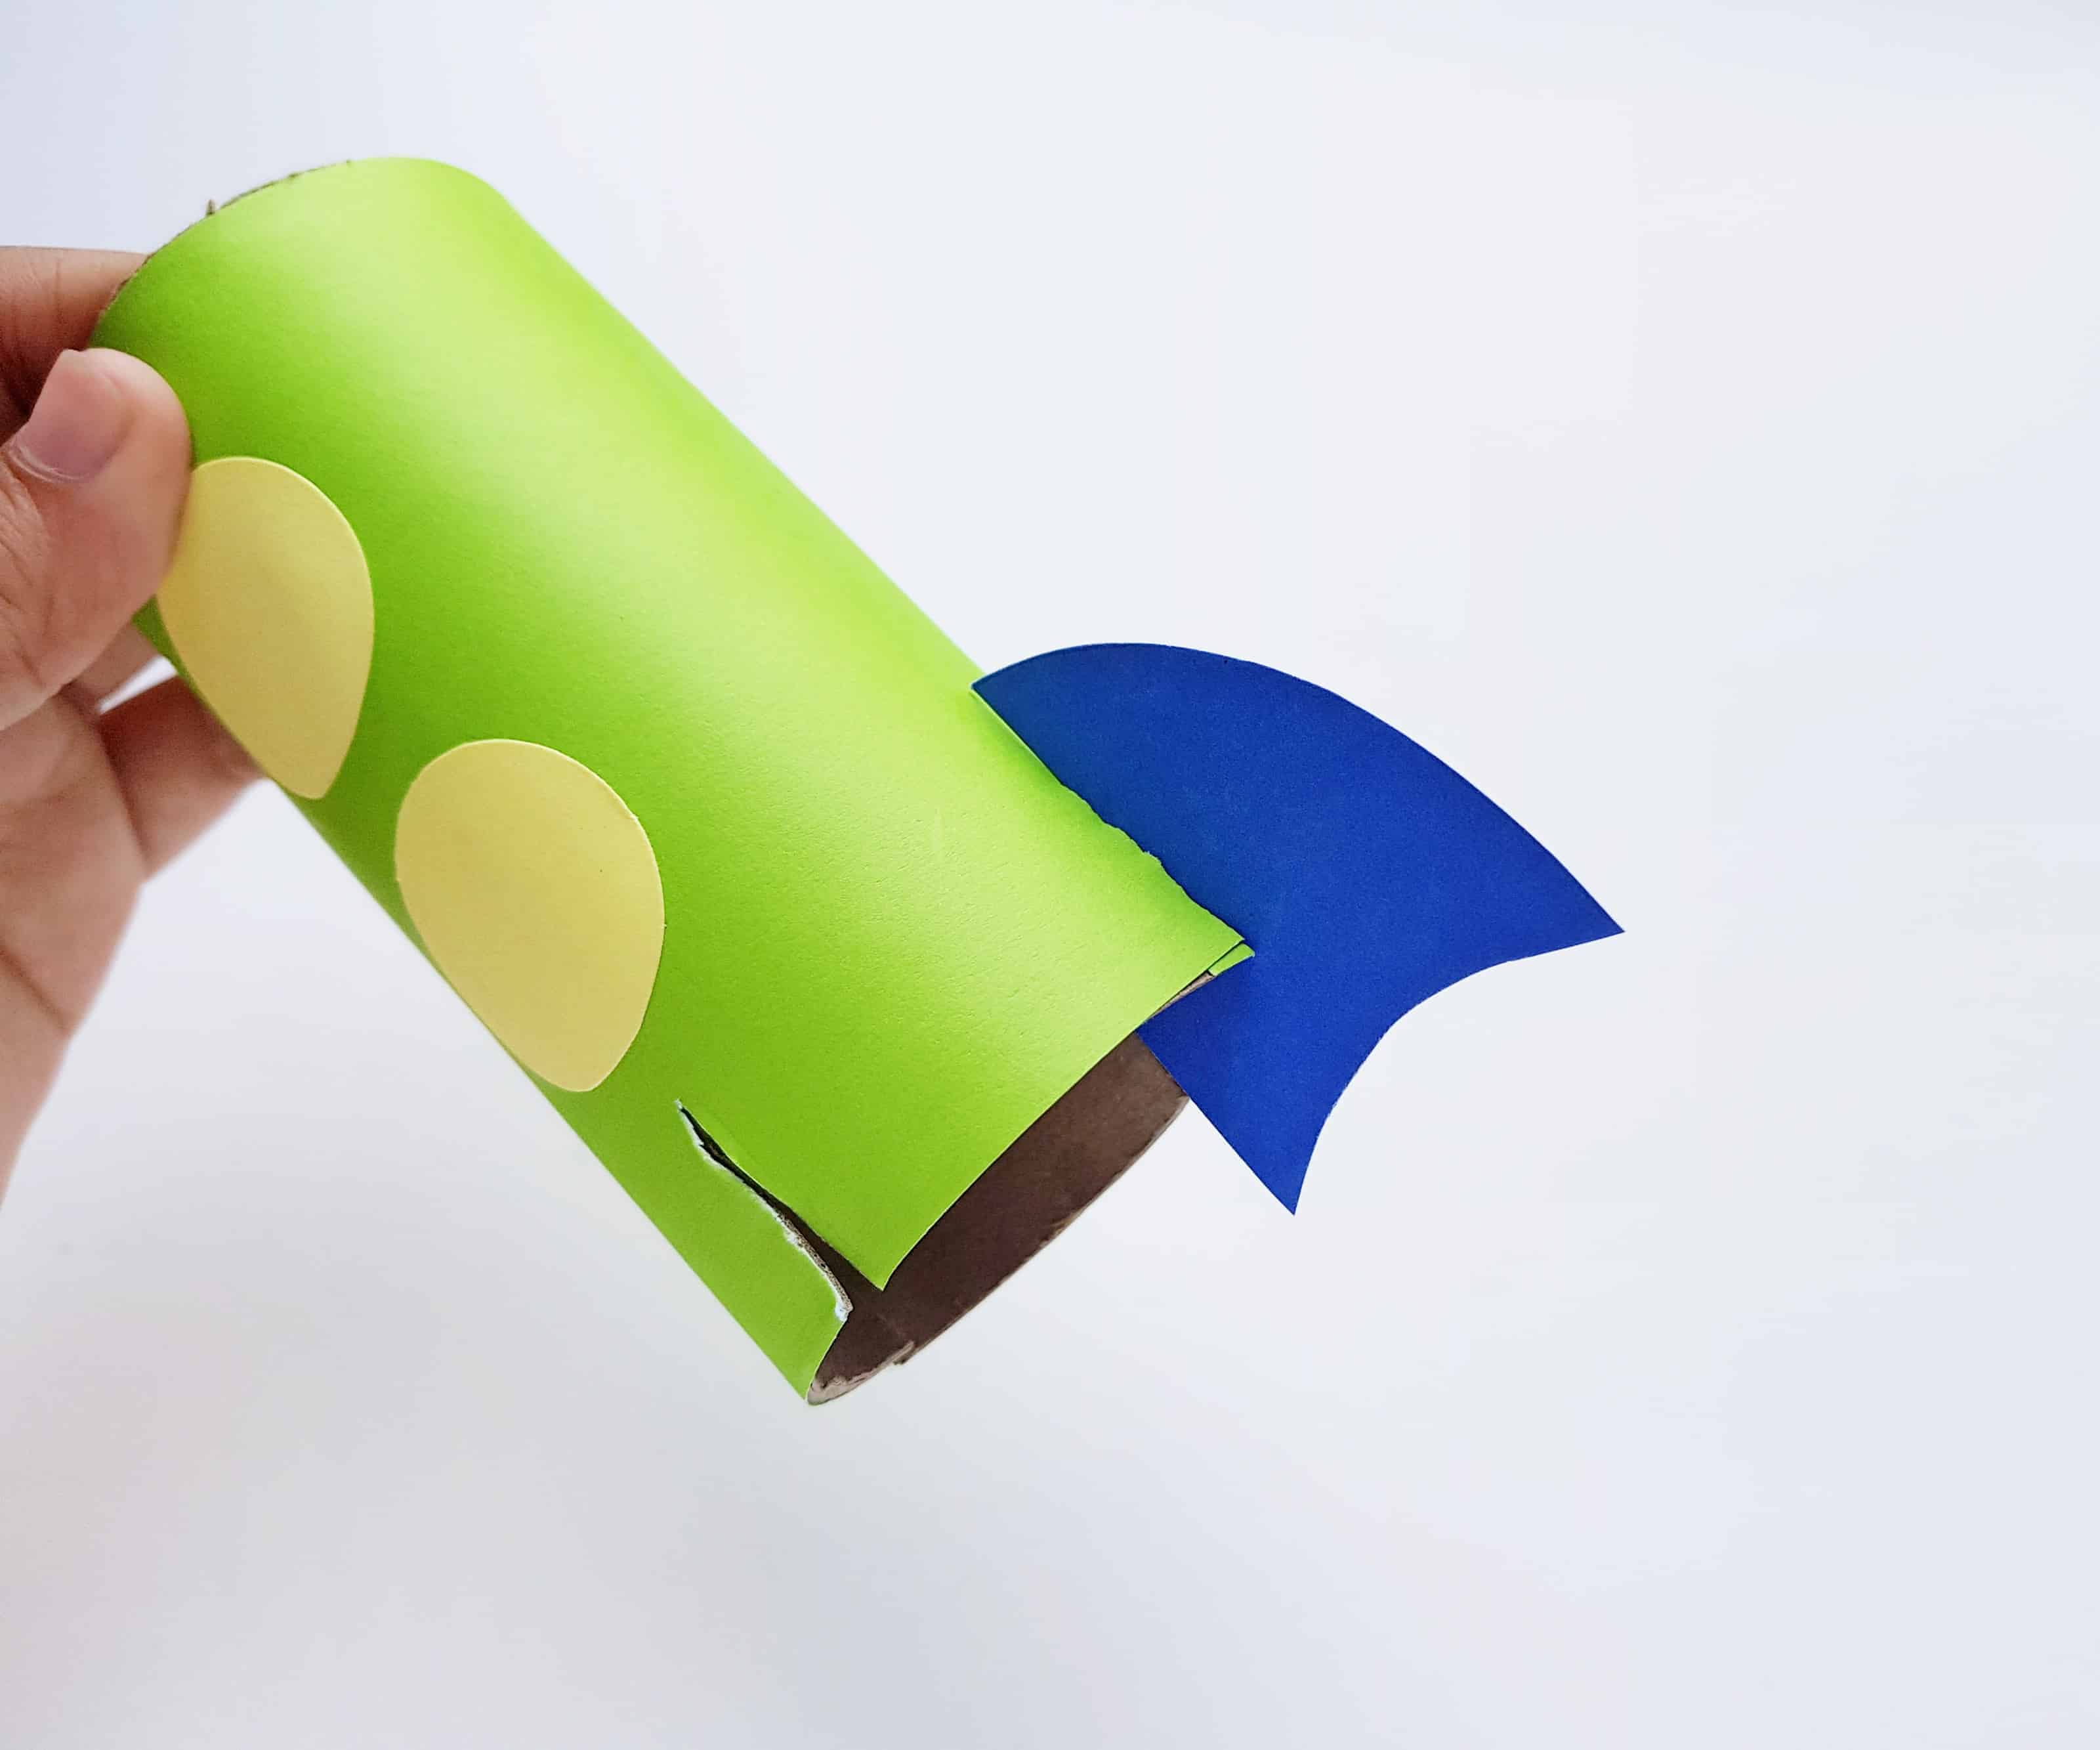
Take any one of the stand patterns and attach it with the roll by inserting it through the slits.
Step 7:
Similarly attach the rest of the stand cutouts.

Step 8:
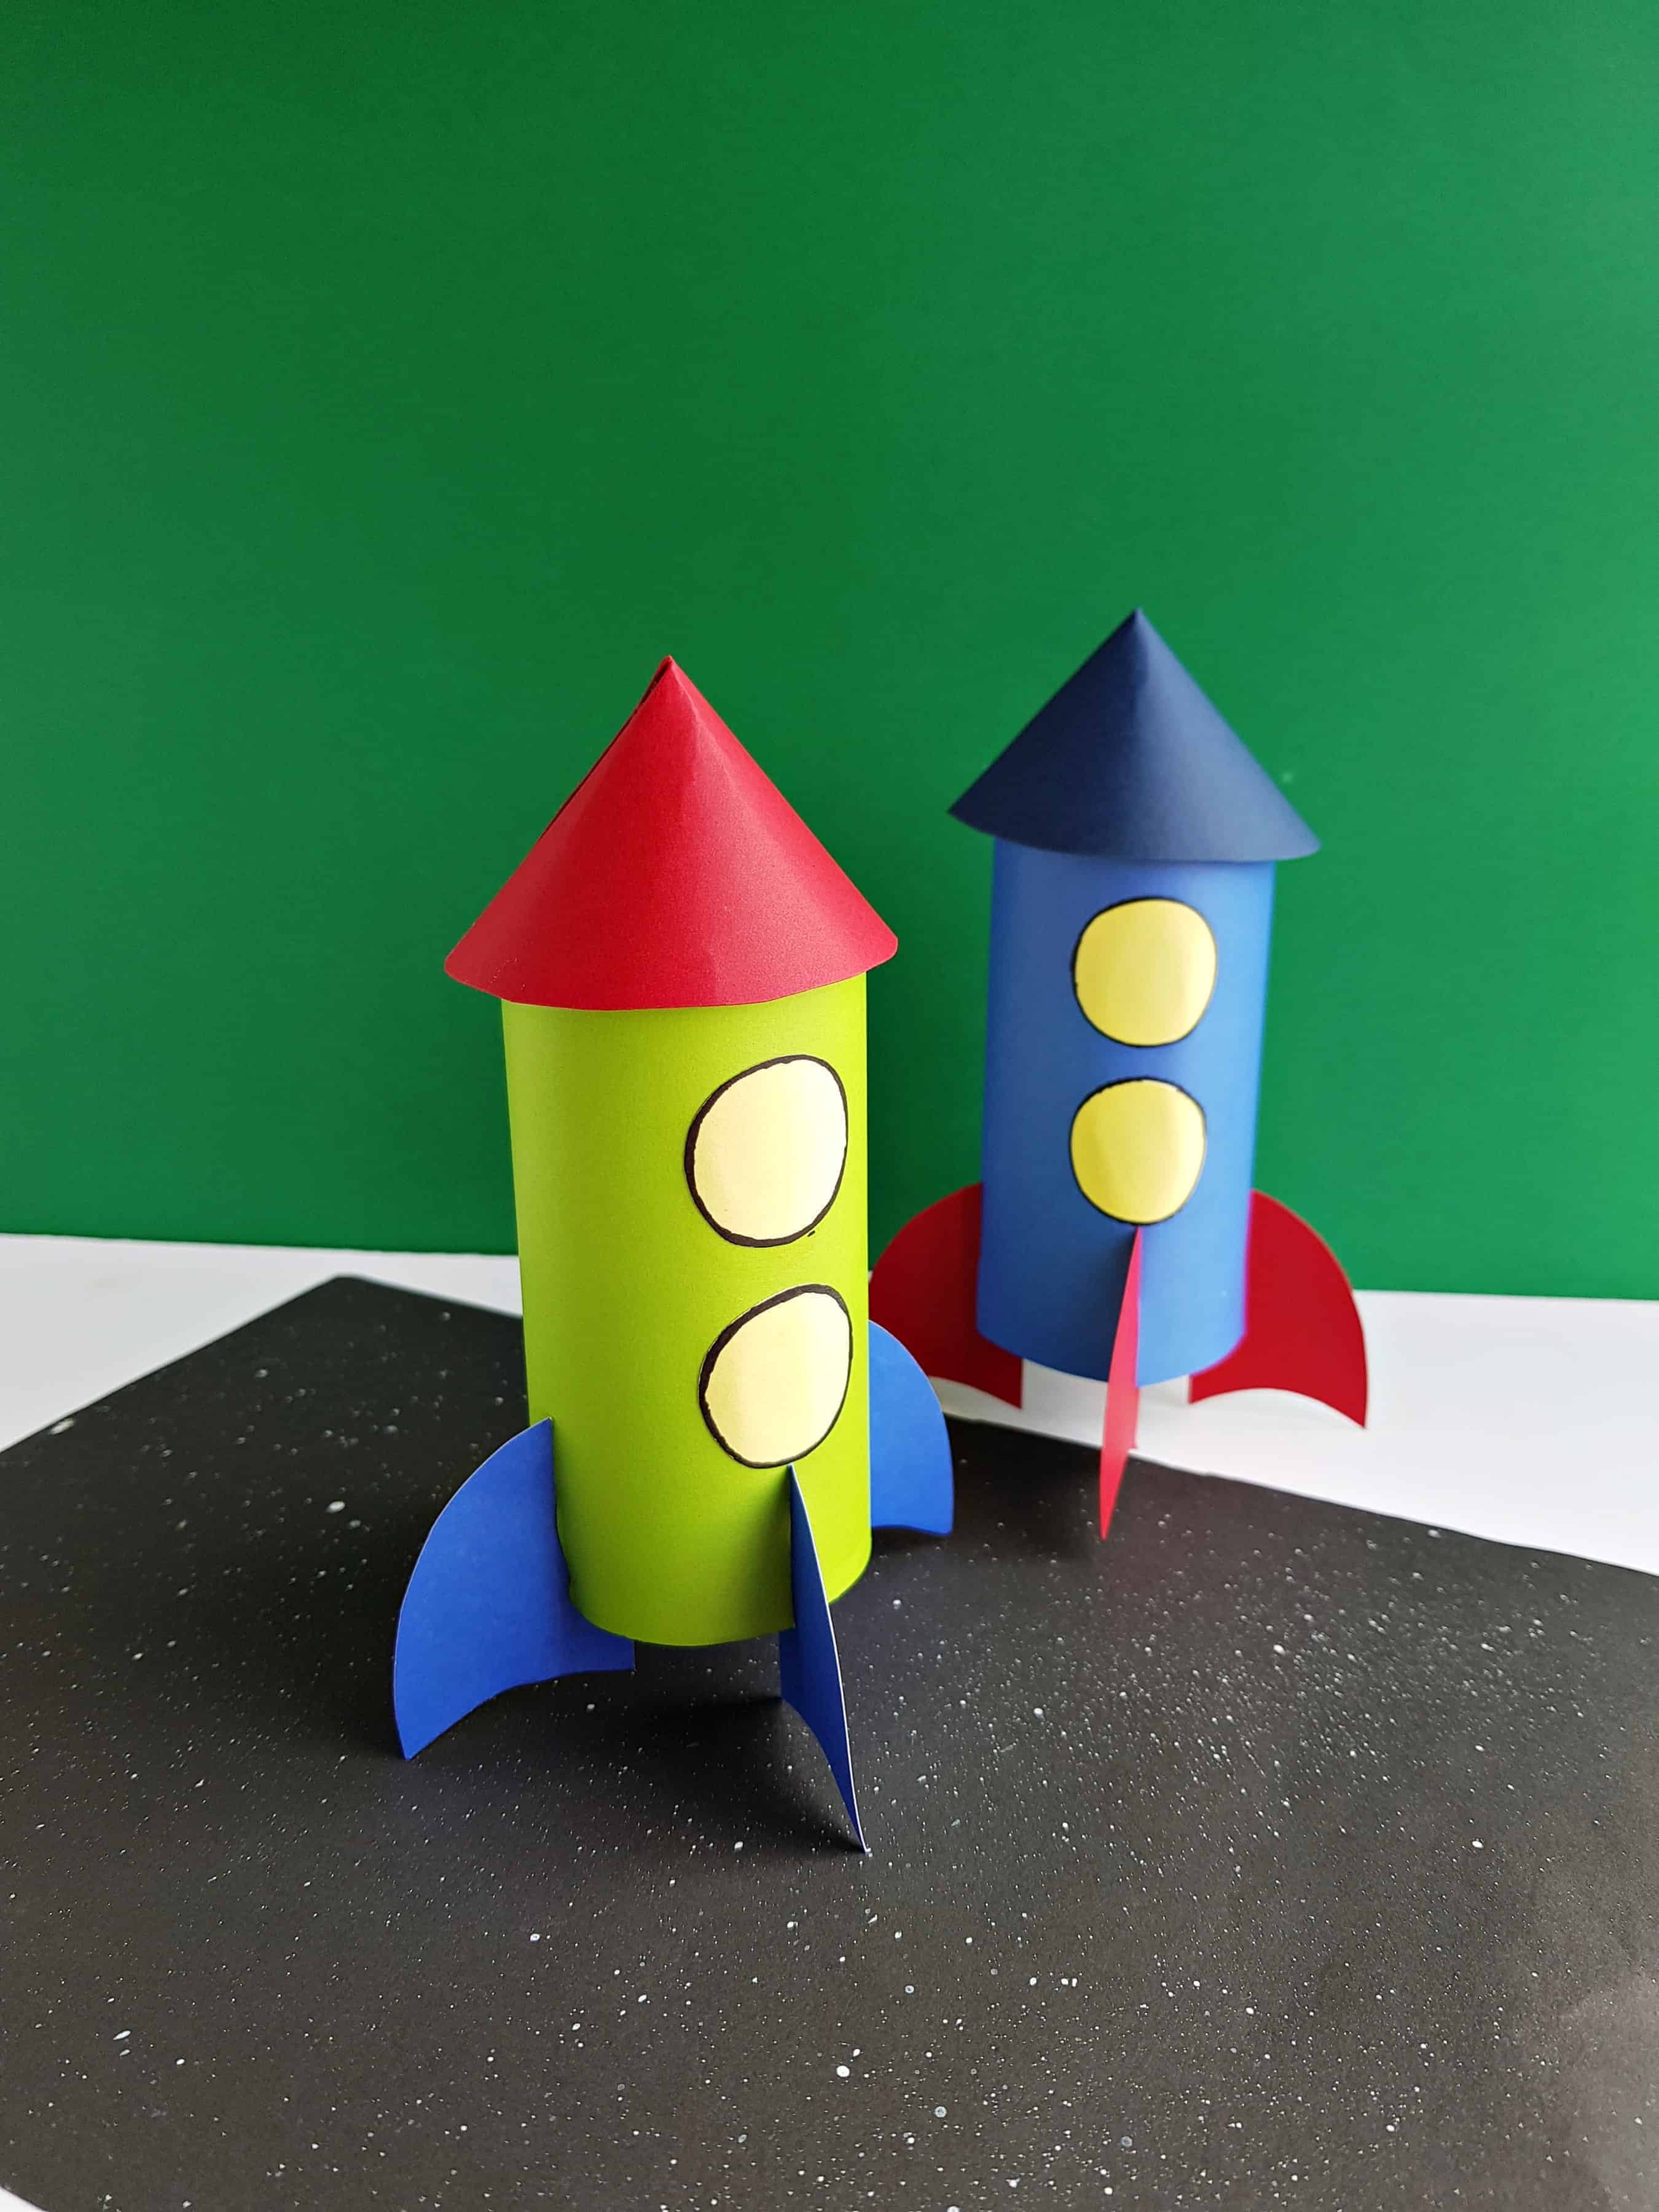
Finally attach the cone on the top end of the tissue paper roll rocket.

Your homemade space rocket craft is now ready.
Enjoy!
Download Your Free Space Rocket Template
Homemade Rocket Craft For Kids

This is a tutorial on how to make a homemade rocket craft.
Materials
- Tissue paper roll
- Coloured craft papers
- Coloured cardstock paper
- Pencil
- Craft glue
Tools
- Scissors
Instructions
We’ll need both craft papers and cardstock papers for this project.
Use craft papers to cover the toilet paper roll and to make the round windows of the rocket.
Use cardstock papers for the top cone and the stands of the rocket.
To get started, use a coloured craft paper to cover the entire outer surface of the tissue paper roll.
Select craft papers and cardstock papers for tracing the template patterns.
Trace the 2 round shapes on craft papers and trace the rest of the patterns on cardstock papers.
Take the pattern for the cone and apply glue along any one of its straight end.
Bring the 2 straight ends together by overlapping them and joining them along the glued part.
Press hold the glued part for a while to make sure that the cone shape is secured.
Take the craft paper covered tissue paper roll and stick the 2 round shaped papers on it.
Cut a 1-inch slit from the bottom open end of the roll; you will need to cut 4 slits on the bottom end of the roll crosswise.
Also, cut slits along the red marked lines on the stand patterns.
Take any one of the stand patterns and attach it with the roll by inserting it through the slits.
Similarly, attach the rest of the stand cutouts.
Finally, attach the cone on the top end of the tissue paper roll rocket.
Your homemade space rocket craft is now ready.
Enjoy!
MORE CRAFTS YOU MIGHT LIKE:
VAMPIRE LOLLIPOPS HALLOWEEN TREAT
THE BEST ZOMBIE IDEAS FOR HALLOWEEN
Angela Milnes is a Qualified Early Years Teacher who has specialised in Preschool and Kindergarten teaching. She has a wealth of experience teaching young children and is passionate about kids crafts and having fun as a family. Angela has also taught cooking skills and loves to share both family recipes and easy crafts here on The Inspiration Edit. Follow her on Pinterest!


I can’t find where to sign up for the newsletter to access the VIP Members Craft Library; I’d love access so I can make this cute rocket craft!
Hi Ashley, sorry the form was not working correctly. It’s now in the post.