Disney Cars Paper Plate Craft
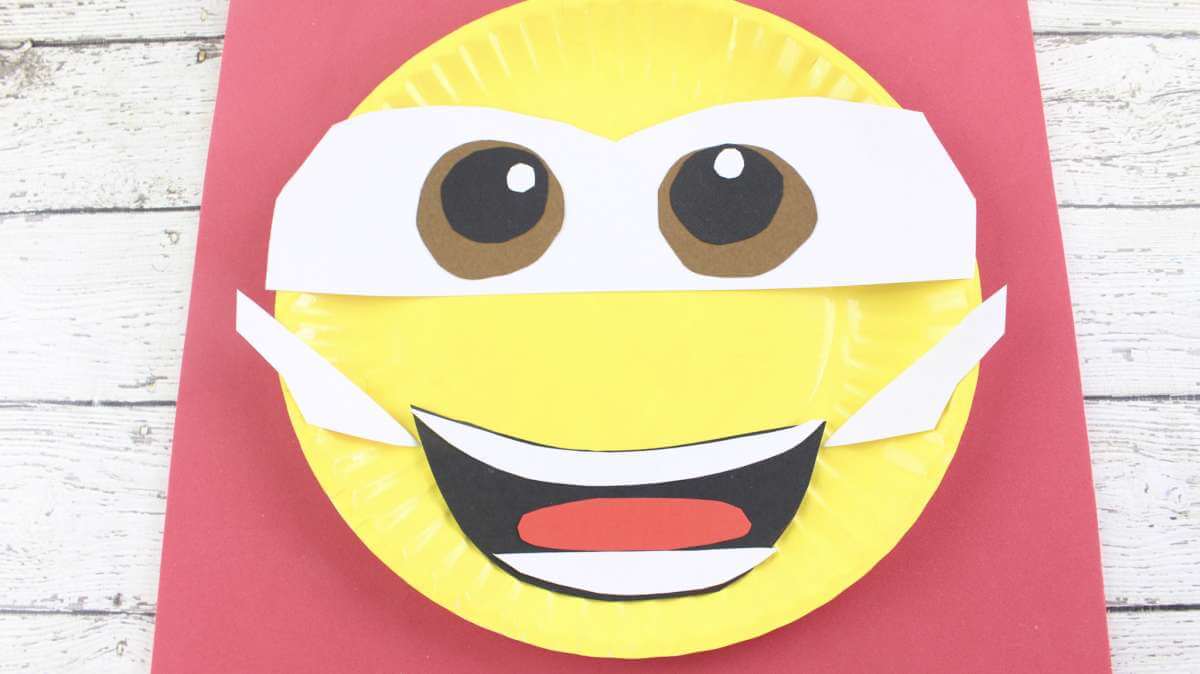
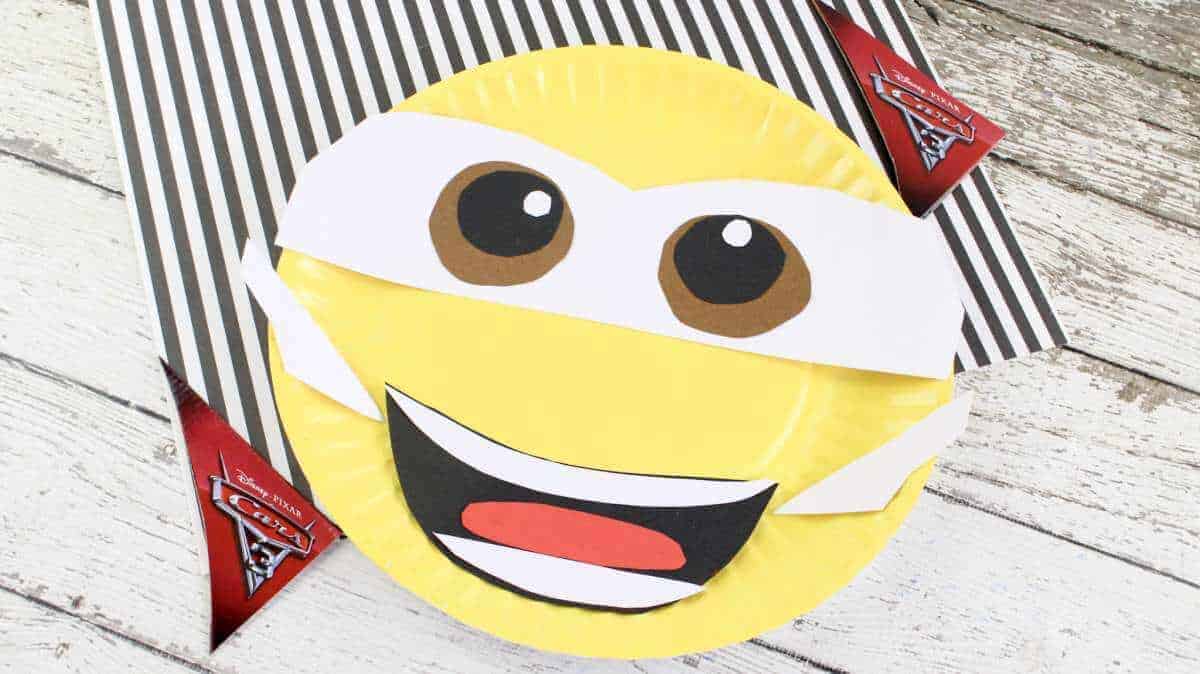
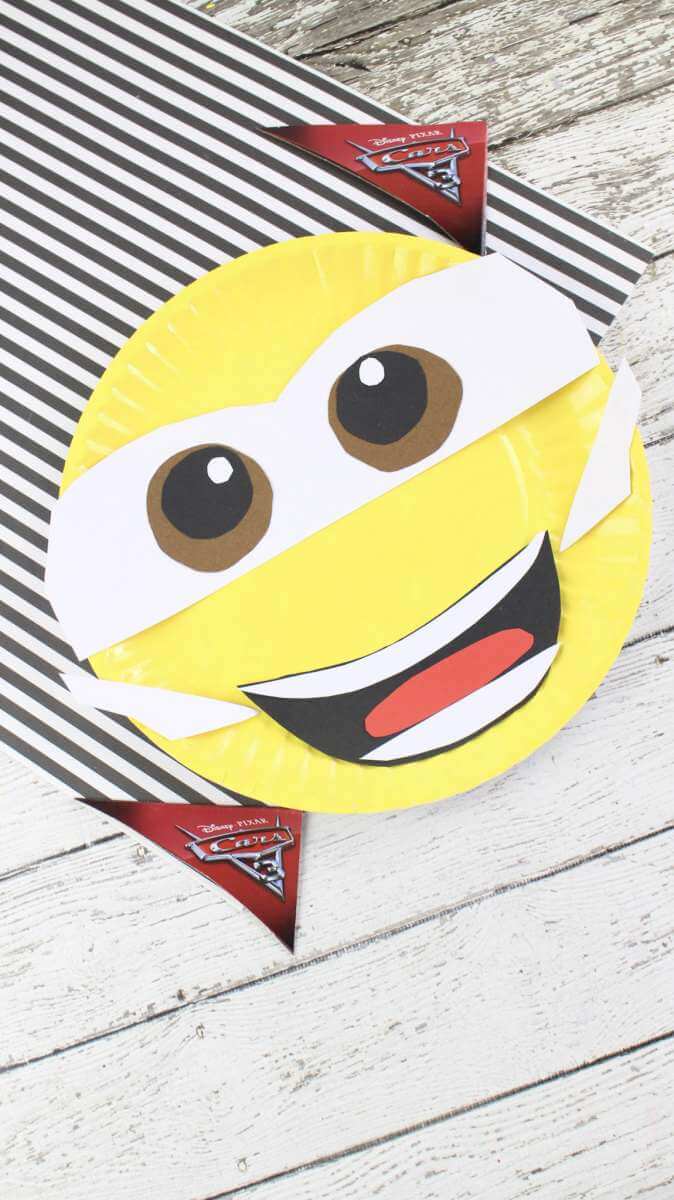
Today we have a fantastic Cruz Ramirez paper plate craft for you to try. It’s from the movie Disney Car’s 3 and I’m sure this will go down well with the little ones.
*I use affiliate links in this post. If you buy anything from my links I will earn a small commission*
What You Will Need for This Disney Themed Paper Plate Craft
Contents
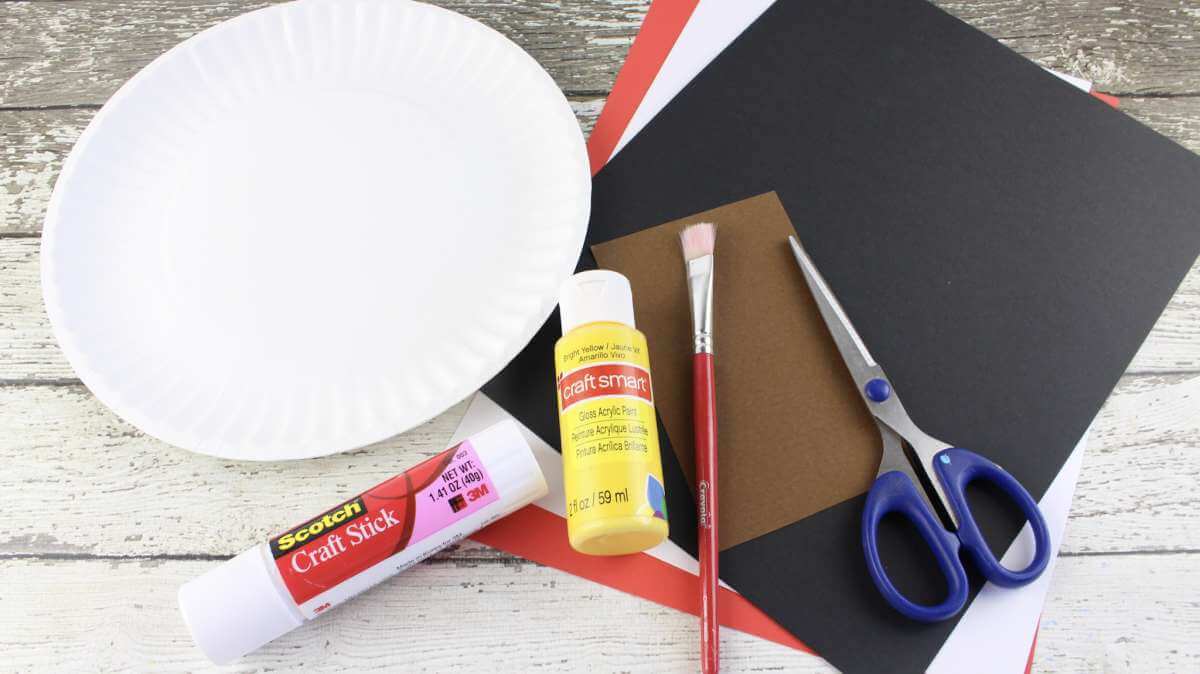
- 1 large white paper plate
- Yellow paint
- Paint brush
- Construction paper: black, white, red and brown
- Scissors
- Glue stick

RELATED POST: TOY STORY CRAFT IDEAS FOR KIDS
Nicole Home Collection 200 Count Everyday Dinnerware Paper Plate, 9-Inch, White Apple Barrel Gloss Acrylic Paint in Assorted Colors (8 oz), J20414 Gloss Real YellowPresa Premium Paint Brushes Set, 5 Piece


How To Make This Disney Paper Plate Craft
Paint the front of the paper plate yellow and set aside.

Cut out the windshield from the white construction paper.
It should at least be 3 inches long and the width of your paper plate. Save any remaining white paper for Step 4 and 6.

Cut out 2 circles from the brown construction paper for the eyes. (I used the lid to one of my spices and traced around it).

For the eye pupils, cut out 2 circles, the size of a half dollar, from the black construction paper.

Cut out 2 tiny white circles, the size of pencil erasers. Set aside.

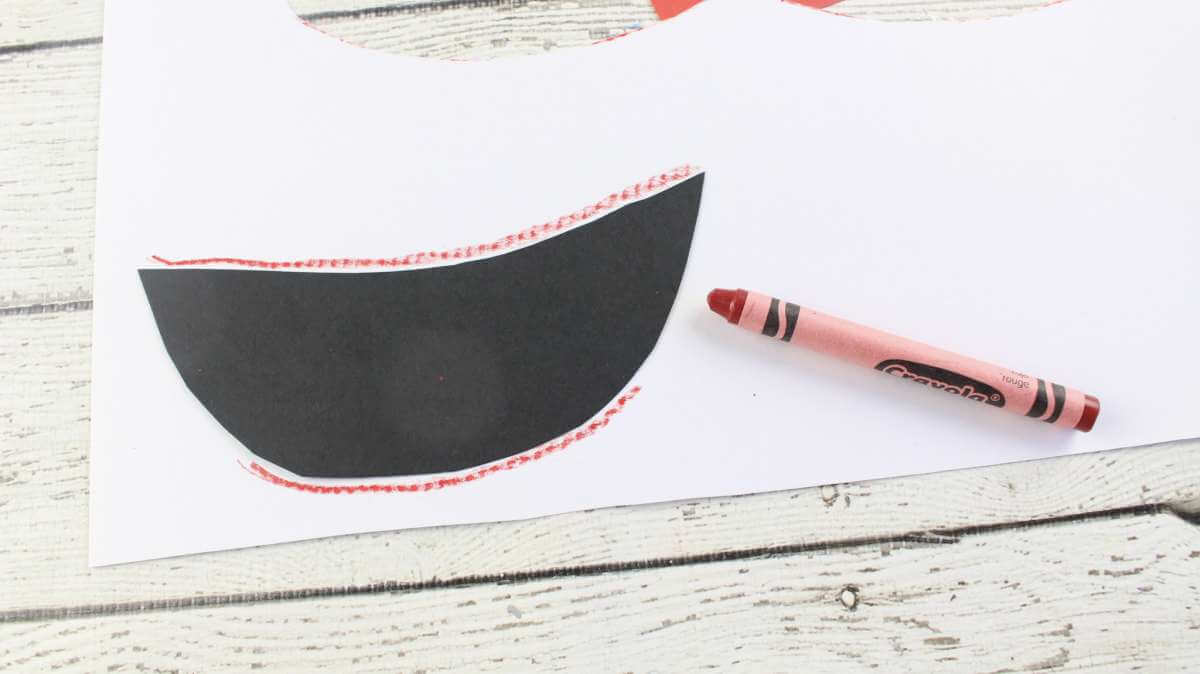
Cut out a large mouth from the black construction paper.
Cut out 2 smaller “smile” shapes from the white construction paper for the teeth.
These need to be small enough to fit into the large black mouth.
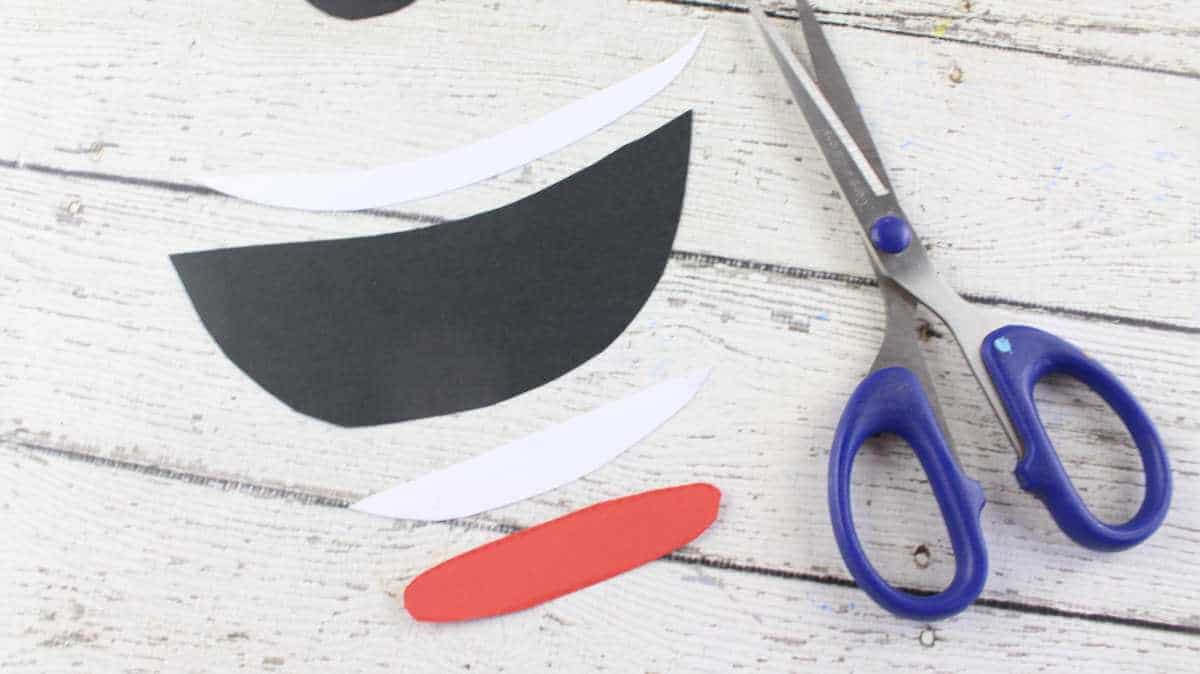
If needed, use your scissors to trim the shapes to help them fit up at the top and at the bottom.
For the tongue, cut out a long skinny red oval shape from the red construction paper.
How to Assemble This Paper Plate Craft
Apply glue to the back of both black eye pupils and attach to the middle of each brown eye.
Glue a tiny white circle up at the top of each black pupil. Glue the eyes on to the windshield.
Apply glue to the back of the windshield and across the paper plate.
Press the windshield down firmly on to the plate to help the glue stick to it.
Disney Pixar Cars 3 Piston Cup Race-Off Playset Disney Pixar Cars 3 Crazy 8 Crashers Smash & Crash Derby Playset


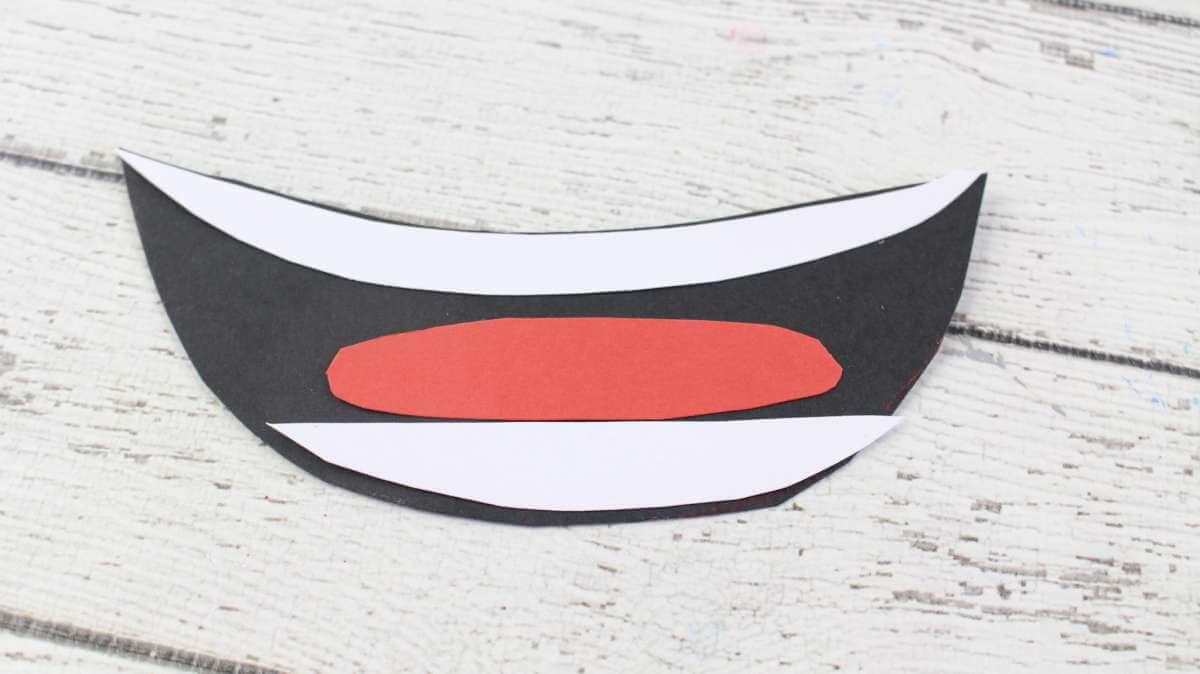
Apply glue to the back of the large mouth and glue it the bottom of the plate.
Apply glue to the back of the teeth and place in the mouth, one up at the top and the other at the bottom of the mouth.
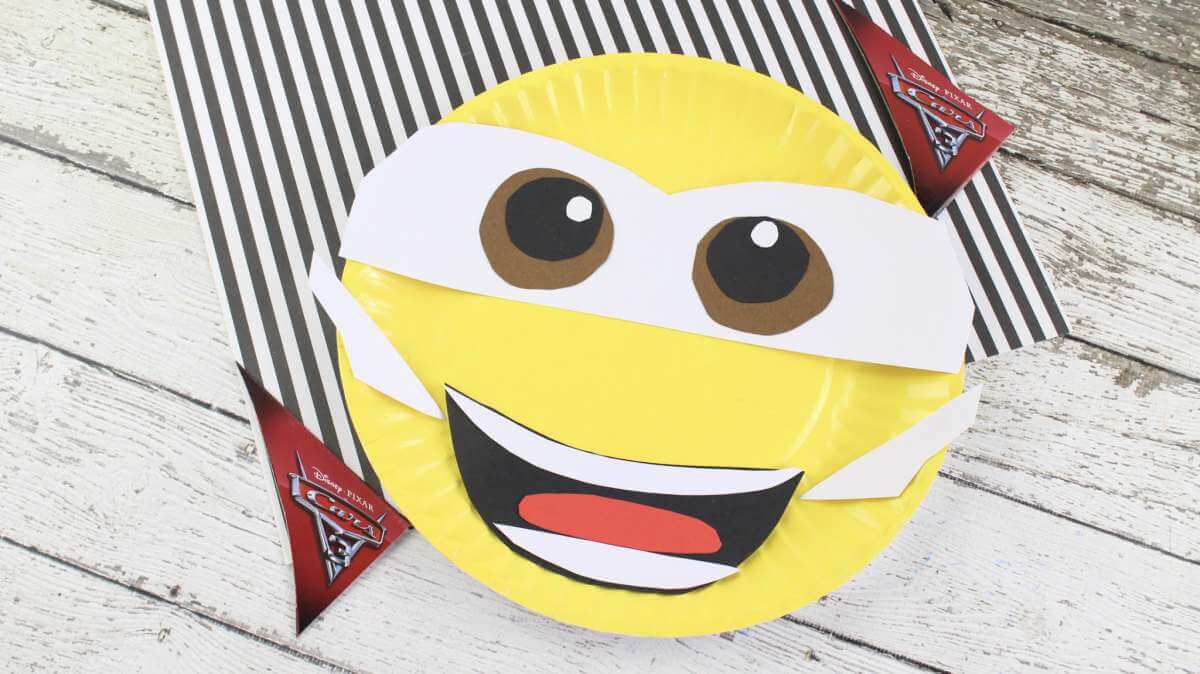
Apply glue to the tongue and place it in the middle of the mouth, between the teeth.
Check out our YouTube Video For Making the Cruz Ramirez Paper Craft
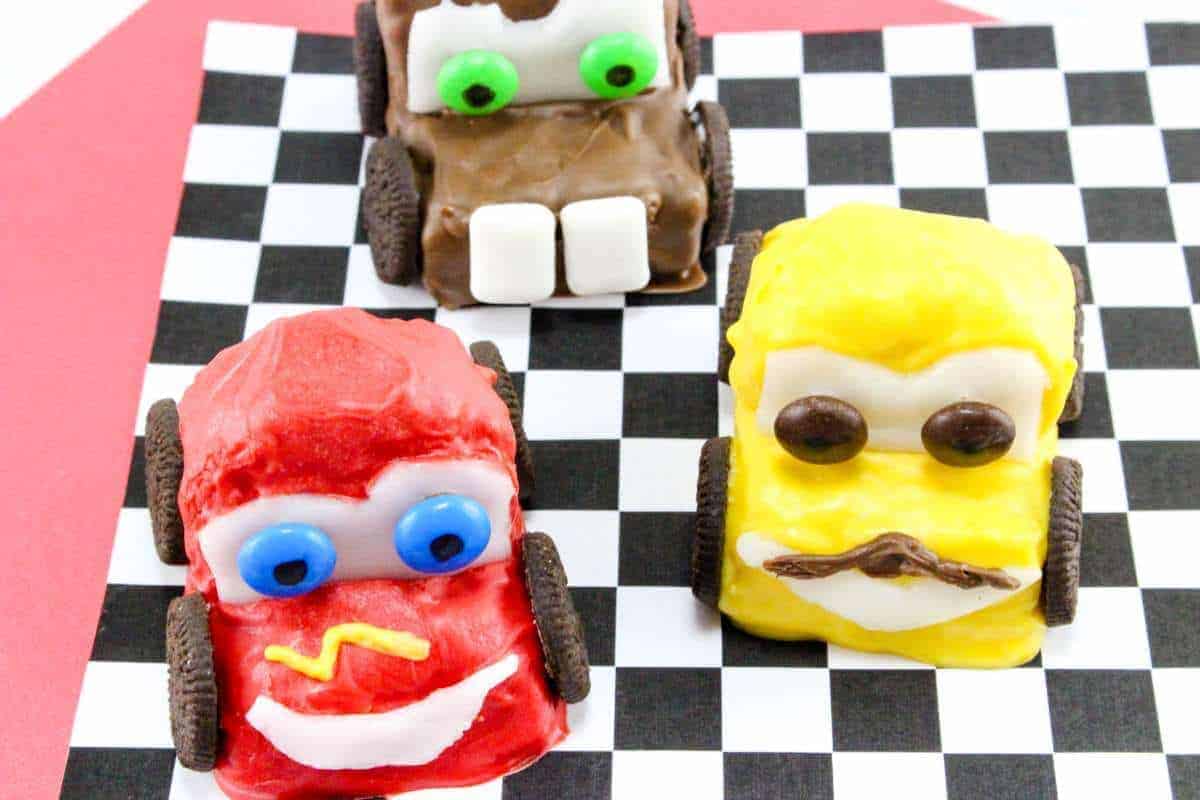
Check out our Disney Cars inspired crispy treats.
Related Products
Pacon 6555 Rainbow Super Value Construction Paper Ream, 45 lb, 9 x 12, Assorted, 500 SheetsFiskars 8 Inch Softgrip Scissors Straight, Stainless Steel (01-004761J)ELMERS All-Purpose Glue Sticks, Large, 0.77 Oz Each, 3 Sticks Per Pack (E5022)


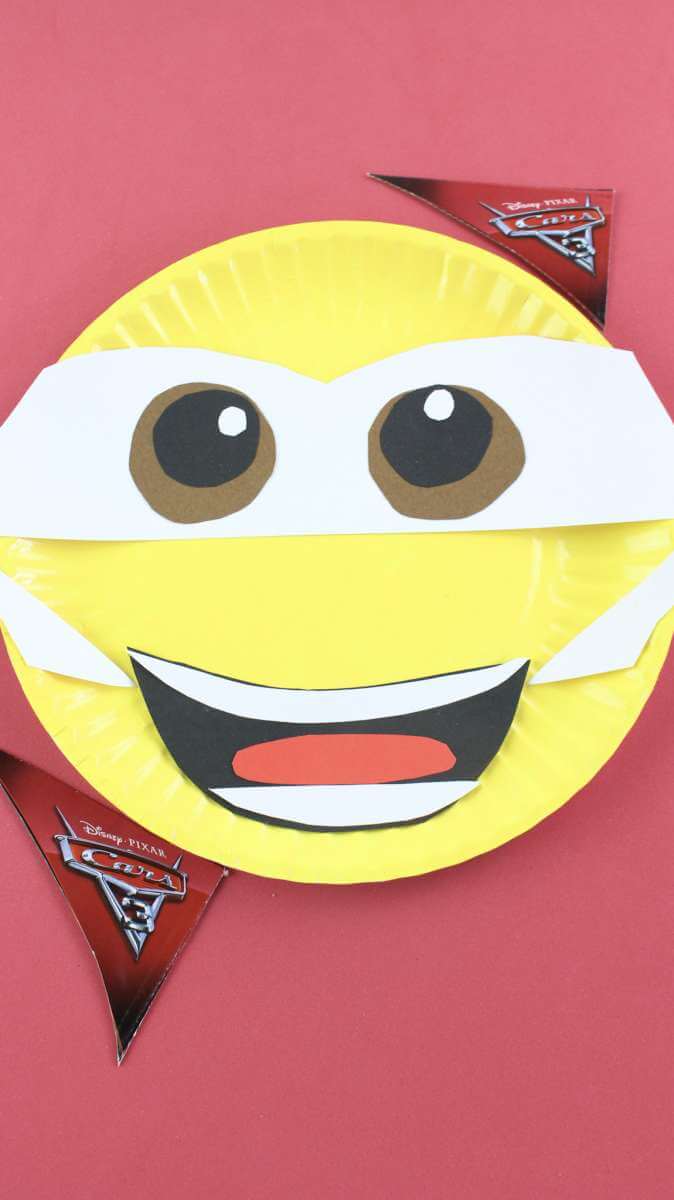
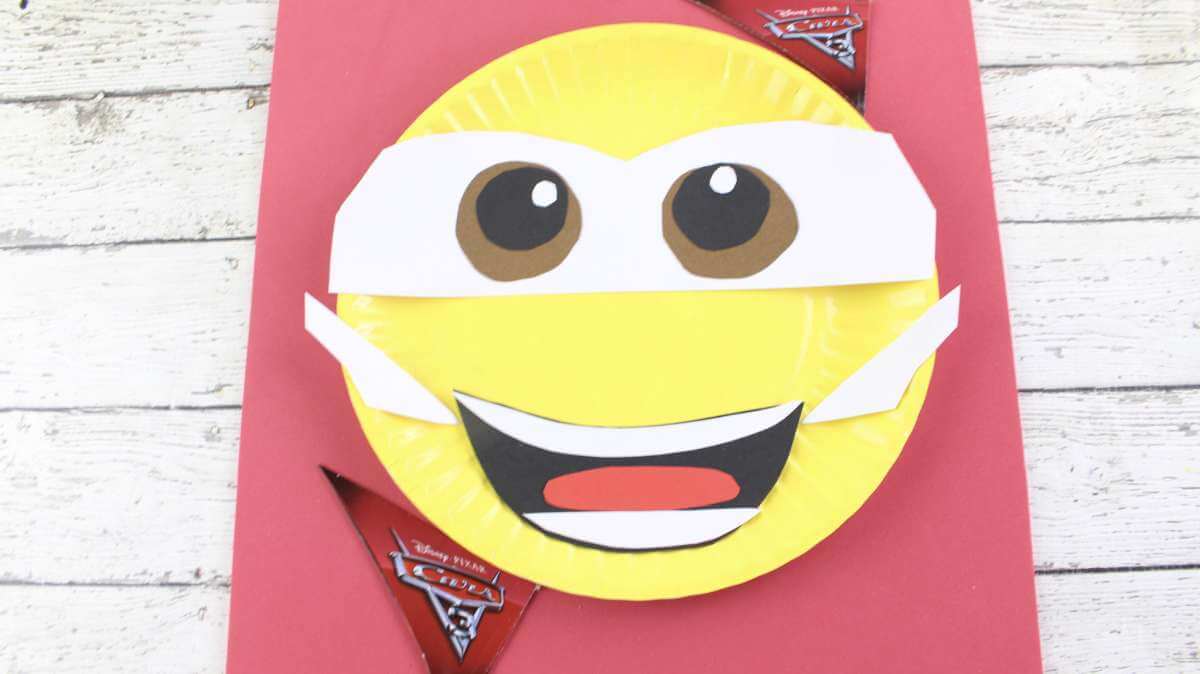
Disney Cars Paper Plate Craft

This is a tutorial on how to make a Disney cars paper plate.
Materials
- 1 large white paper plate
- Yellow paint
- Paint brush
- Construction paper: black, white, red and brown
- Glue stick
Tools
- Scissors
Instructions
Paint the front of the paper plate yellow and set aside.
Cut out the windshield from the white construction paper.
It should at least be 3 inches long and the width of your paper plate. Save any remaining white paper for Step 4 and 6.
Cut out 2 circles from the brown construction paper for the eyes. (I used the lid to one of my spices and traced around it).
For the eye pupils, cut out 2 circles, the size of a half dollar, from the black construction paper.
Cut out 2 tiny white circles, the size of pencil erasers.
Set aside.
Cut out a large mouth from the black construction paper.
Cut out 2 smaller “smile” shapes from the white construction paper for the teeth.
These need to be small enough to fit into the large black mouth.
If needed, use your scissors to trim the shapes to help them fit up at the top and at the bottom.
For the tongue, cut out a long skinny red oval shape from the red construction paper.
HOW TO ASSEMBLE THIS PAPER PLATE CRAFT
Apply glue to the back of both black eye pupils and attach to the middle of each brown eye.
Glue a tiny white circle up at the top of each black pupil. Glue the eyes on to the windshield.
Apply glue to the back of the windshield and across the paper plate.
Press the windshield down firmly on to the plate to help the glue stick to it.
Apply glue to the back of the large mouth and glue it the bottom of the plate.
Apply glue to the back of the teeth and place in the mouth, one up at the top and the other at the bottom of the mouth.
Apply glue to the tongue and place it in the middle of the mouth, between the teeth.
MORE CRAFTS YOU MIGHT LIKE:
HAMA BEAD PATTERNS: DIY SHARK KEYCHAIN
DIY MARKERS FOR GROWING VEGETABLES
SAND CRAFT: BEACH BUCKET AND SHOVEL SAND CRAFT

Angela Milnes is a Qualified Early Years Teacher who has specialised in Preschool and Kindergarten teaching. She has a wealth of experience teaching young children and is passionate about kids crafts and having fun as a family. Angela has also taught cooking skills and loves to share both family recipes and easy crafts here on The Inspiration Edit. Follow her on Pinterest!


Haha! This is awesome! And it would be great for my daughter! She’d find it so fun!
thanks. Let me know if you try it out!
This is a really cute idea to enjoy with the children on a summer day while they are on holiday. Who doesn’t love the adorable characters from Cars?
thanks
This is cute, I’ll have to send it on to my pals with children to keep them busy over the summer holidays 🙂
I think it is a great summer activity idea!
This looks like such a fun craft! I’ve never actually watched Cars but I’ve heard it’s great.
Ah yes. My daughter thinks so!
What a great idea, this is something any Cars fan would love to make, I used to love crafts like this when mine were younger x
I bet and a good way to get kids excited and ready for the movie.
Now that is one awesome looking paper plate! It is so happy and sunny, a lovely idea for a DIY.
Thanks Sarah! It is a fun DIY craft for kids.
What a cute and creative craft to do with the kids. I can wait to make this when my niece and nephew come over.
Thankyou
Ahh this looks great! I’ve heard the 3rd one is supposed to be better than the other two so we will definitely be watching it!
Yes I heard that too. I am looking forward to finding out!
What a fun craft to make! My nephew is obsessed with Cars the movie so I’ll have to do this with him x
Oh let me know how it goes Stephanie.
This looks like so much fun! I have little cousins and I’m hoping if I try this with them it might keep them active instead of running around me in circles! Great post! Thanks for the idea!
Oh I bet they would love it1
This is a really cute craft! I would love to try this with the kids!
Thanks. I hope you enjoy it!
My niece would adore this activity. She love making a mess. I’ll do this next time I see her. xx
I bet. Making crafts from paper plates can be fun!
What a fab little crafting activity for children…easy but fun too 🙂 x
Thanks. I know lots of kids would enjoy this activity. It could be fun to do and on a budget too!
thats so cute and like one big emoji my daughter would love to do this
thanks
What a great activity for children, especially with the summer holidays coming up!
yes. Enjoy!
What a cute craft activity! Kids would love this!
This is so cute. Little crafts like this are perfect for a raining day activity.
We have loads of paper plates here and are always looking for inspiration if things to make with them! This looks really good fun x
Every time I see your wonderful crafty projects I always think how easy they look but never get round to doing them. I am going to store these ideas up and try them out with my nephews and nieces when they next stay over x
oh that’s lovely to hear. Thanks.