Cute Easy Sew Unicorn Felt Craft
Today we have a fun and exciting easy sew Unicorn craft to share on the blog and I’m super excited to be able to share this today. It’s been so fun sharing Unicorn themed crafts here on the blog and they have been popular this year. I’m now thinking about other projects and other themes to move onto but Unicorns have been huge! Enjoy.


Supplies Needed for This Unicorn Sewing Craft
Contents
You won’t need too many supplies to make this super cute Unicorn craft. I like to purchase wholesale felt and wholesale ribbon so I have plenty of materials to choose from when making crafts either for myself or with a craft group
RELATED POST: GORGEOUS DIY UNICORN HEADBAND CRAFT FOR KIDS

How to Make a Felt Unicorn
Trace the patterns from the template on the selected felts. Use small or medium scissors to cut out the traced patterns.

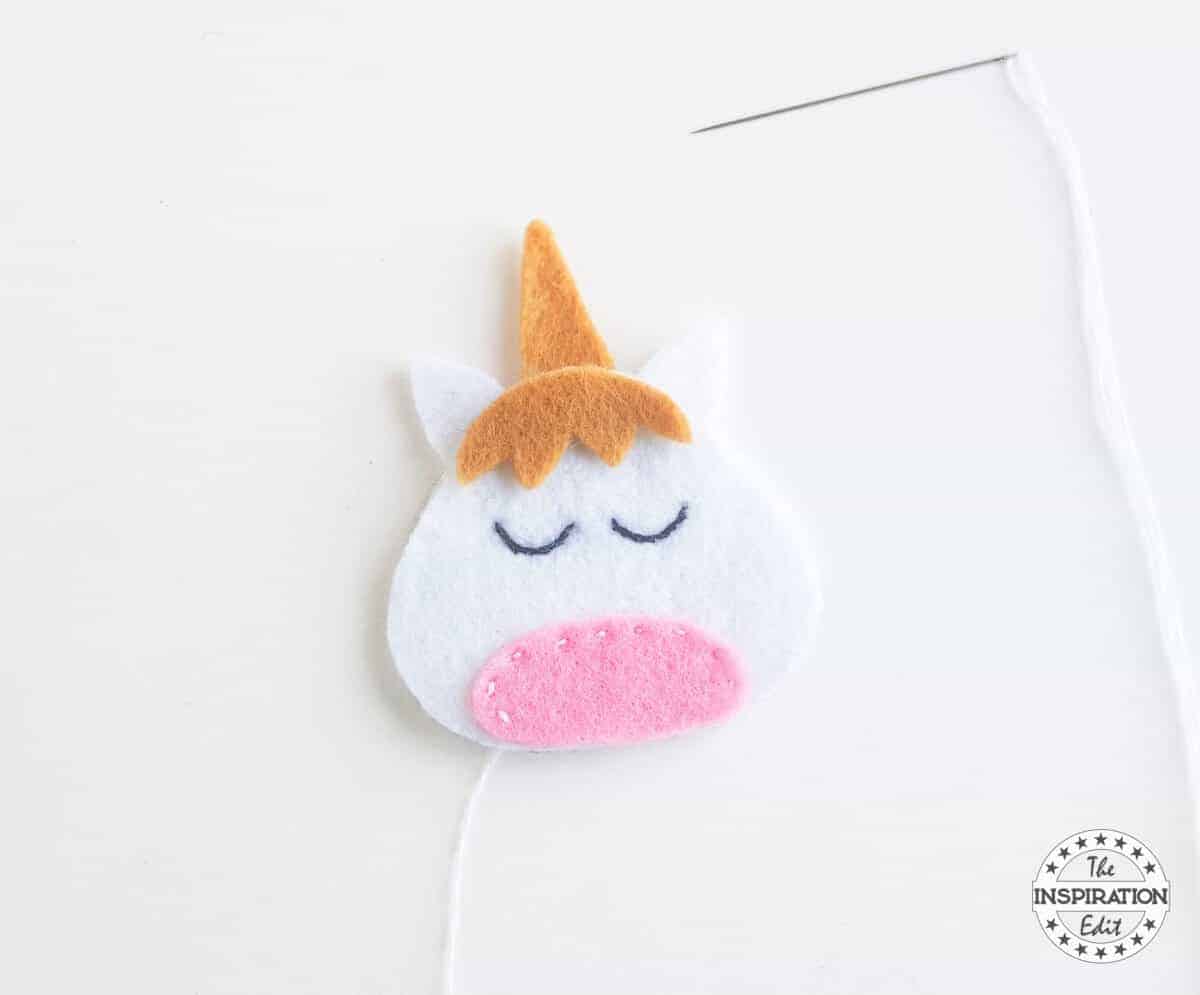
Take any one of the body parts and a needle with black thread. Stitch the eye patterns on the front body part.

Take the lower body part of the unicorn and level the bottom edges of both front body and the lower body part. Use needle and thread to stitch the lower body part with the front body part.

Place the other felt cut out for the body on a flat surface and then place the ears and the horn patterns along its top edge by overlapping a small amount of each pattern with the top edge of the body part.

Now neatly place the front body part on the top by matching the edges of both body parts.

Place the hair pattern on the front body by levelling the top edges of both pieces (front body and the hair). Now start to stitch all the patterns together. Start either from top or from bottom.
Keep a small opening to stuff the unicorn plush. Use the leftover felts for stuffing. Cut the scrap felts into small pieces and fill the plush with the through the open end.
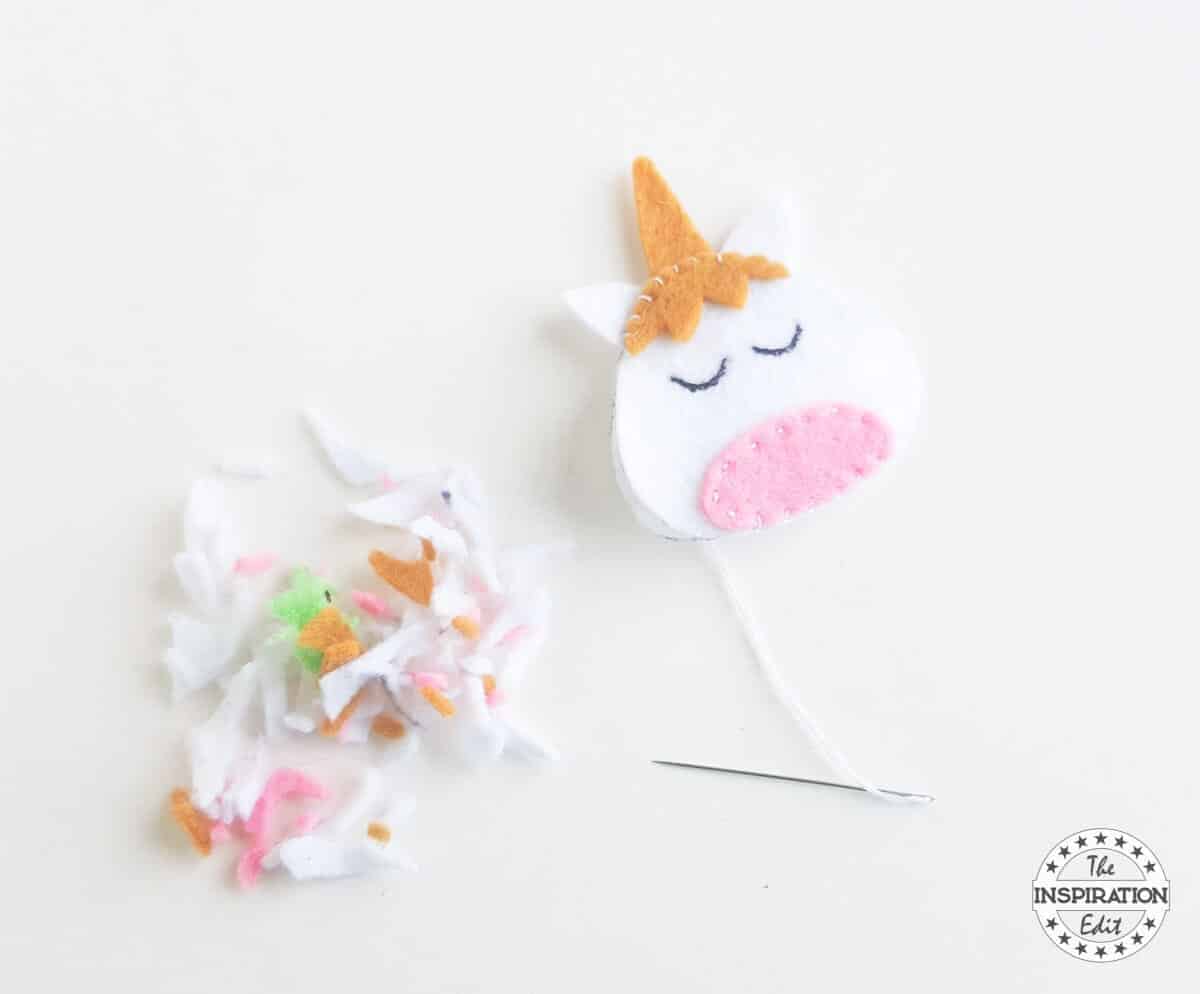
Once you’re satisfied with the stuffing you can stop and press the unicorn plush to make sure that the stuffing is even on the inside. Stitch the open end to close and secure the stuffing.
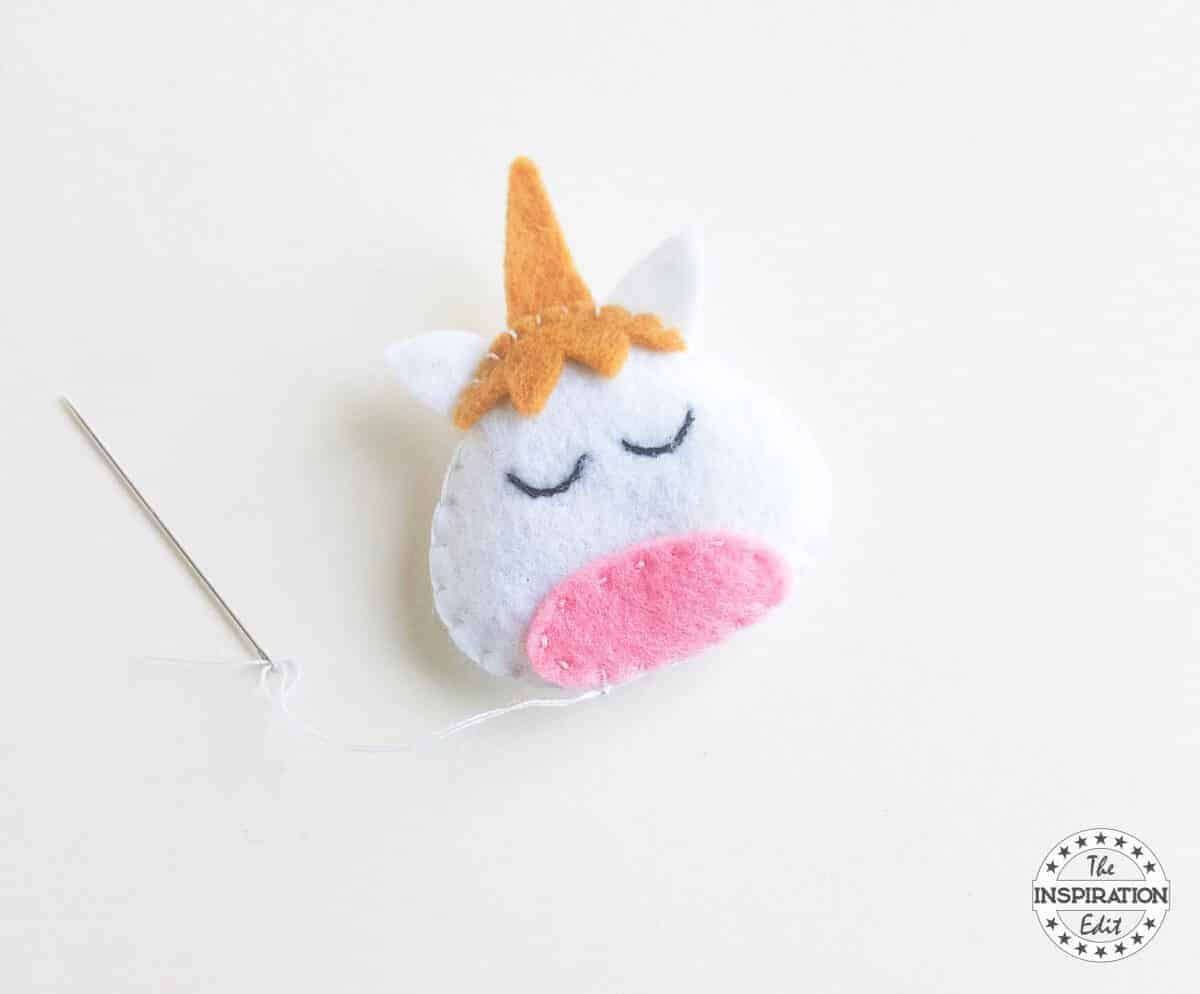
Take a small piece of ribbon (about 5 inches or any size you want). Fold the ribbon into half by joining the open ends to creating a loop. Glue or stitch the open ends at the back side of the plush to complete the charm.
Now here is the fun part!
You might want to buy some personalised ribbon with your brand, school logo or business name on it. That would allow you to personalise your Unicorn craft and make it an even more fantastic gift for someone special!

Enjoy!

Enjoy!

Cute Easy Sew Unicorn Felt Craft

This is a tutorial on how to make a sew unicorn felt craft
Materials
- Felt fabric
- Needle and thread
- Ribbon
- Pencil
- Black and pink sharpie
Tools
- Scissors
Instructions
Trace the patterns from the template on the selected felts. Use small or medium scissors to cut out the traced patterns.
Take any one of the body parts and a needle with black thread. Stitch the eye patterns on the front body part.
Take the lower body part of the unicorn and level the bottom edges of both front body and the lower body part. Use needle and thread to stitch the lower body part with the front body part.
Place the other felt cut out for the body on a flat surface and then place the ears and the horn patterns along its top edge by overlapping a small amount of each pattern with the top edge of the body part.
Now neatly place the front body part on the top by matching the edges of both body parts.
Place the hair pattern on the front body by leveling the top edges of both pieces (front body and the hair). Now start to stitch all the patterns together. Start either from top or from bottom.
Keep a small opening to stuff the unicorn plush. Use the leftover felts for stuffing. Cut the scrap felts into small pieces and fill the plush with the through the open end.
Once you’re satisfied with the stuffing you can stop and press the unicorn plush to make sure that the stuffing is even on the inside. Stitch the open end to close and secure the stuffing.
Take a small piece of ribbon (about 5 inches or any size you want). Fold the ribbon into half by joining the open ends to creating a loop. Glue or stitch the open ends at the back side of the plush to complete the charm.
Now here is the fun part!
You might want to buy some personalized ribbon with your brand, school logo or business name on it. That would allow you to personalize your Unicorn craft and make it an even more fantastic gift for someone special!
Enjoy!
MORE CRAFTS YOU MIGHT LIKE:
DR SEUSS CRAFTS KIDS FOX IN SOCKS HANDPRINT CANVAS
DIY PENCIL HOLDER THE FLASH SUPERHERO CRAFT IDEA
TOILET TUBE FUNNY MEN SCISSOR SKILLS ACTIVITY


Angela Milnes is a Qualified Early Years Teacher who has specialised in Preschool and Kindergarten teaching. She has a wealth of experience teaching young children and is passionate about kids crafts and having fun as a family. Angela has also taught cooking skills and loves to share both family recipes and easy crafts here on The Inspiration Edit. Follow her on Pinterest!


Thank you so much for this oh so fun and cute project!! I definitely want to show this to the kids over the summer at a summer camp I work at!
Oh awesome. I am sure they will love this project!
These are so cute! Your tutorial looks easy enough, coming from someone that doesn’t know how to do any DIY!
yes it’s a simple and easy to sew tutorial.
I loooooove felt crafts! In fact I just bought a huge pack of felt. These are adorable!
Deb x
http://www.bookinspiredplay.com
thanks. Glad you like this.
cute! My 8 yr old loves unicorns too. She’s at just the right age for this kind of craft. I am bookmarking so we can try this soon! thanks for sharing this!
Awesome. We look forward to hearing how people get on with the craft.
What an adorable craft! I love the step- by-step instructions! My 8yo is learning to hand-sew, and she would love this!
Lovely! We love felt!